


Video tutorial and easy photo scanning with Photoshop
Due to the daily needs of users to send documents, including photos, in this article we will discuss the contents to scan the photo and edit it in Photoshop software along with a step-by-step explanation.
Scanning with Photoshop, Before mentioning any subject, it is necessary to explain that in order to scan, it needs preliminaries and principles that we will follow step by step:
1- First, we connect the scanner device to our computer: As you know, scanners need two software to scan, the first ( d river) and the second special scanning software. But in terms of scanning software, due to the incompatibility of most of these software with Windows 7 and 8, but there is a simple and easy alternative to scanning software. With this method, you can easily scan your images with any type of scanner and in any Windows.
Scanning steps in Photoshop:
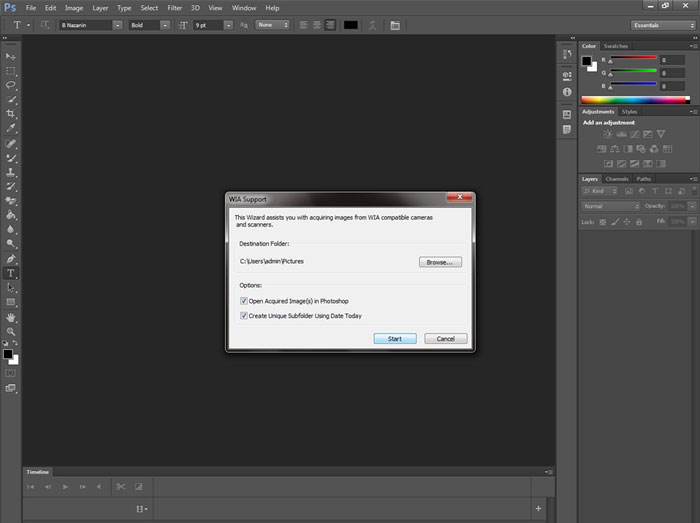
First open the Photoshop software, then go to the file menu and then click the Import option, then click the WIA support button.

After clicking on the WIAsopport button, a window will open in which we will press the Start button.
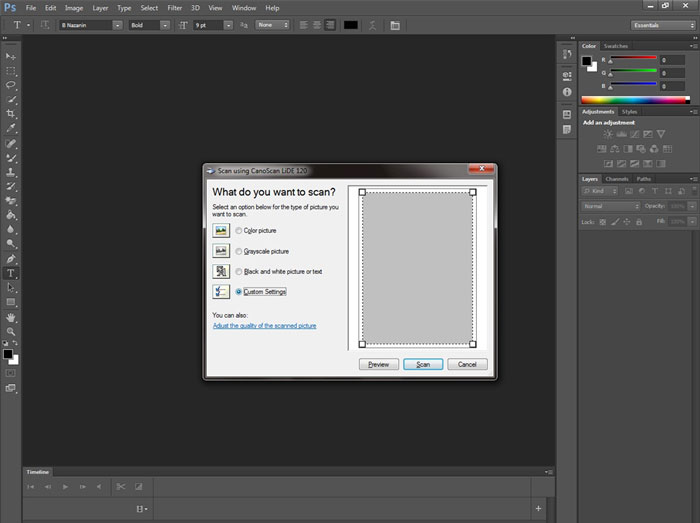
Then in the window that opens on the left, select the custom setting option and select the preview on the right . The photo will be scanned, and you can scan only the photo by dragging the selection mode. Scan the photo.
If you have any questions or problems with working with the scanner or Photoshop, let us know in the comments section.