


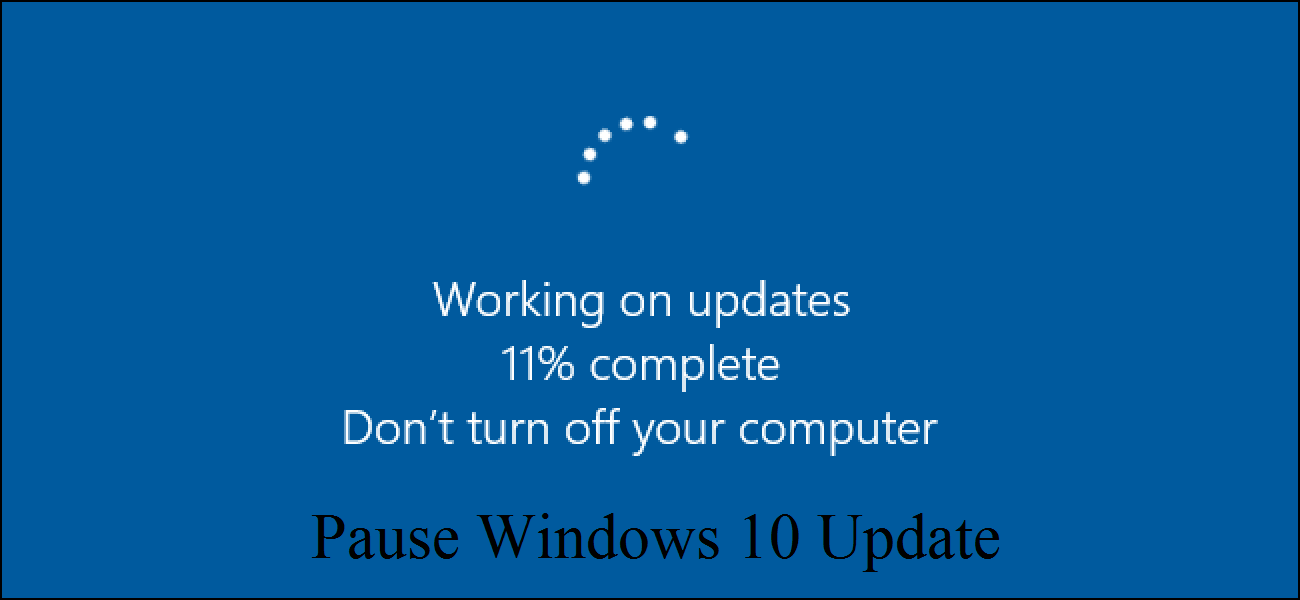
Pause Windows 10 Update
One of the advantages and disadvantages of Windows 10 at the same time is Automatic Updates, it is a good thing that the system will download updates as soon as they are available but some times your working with a pc that hasn’t any free space for download or maybe your quit ok with you’re current update so you don’t want to download anything else, today in this article were gonna talk about how to pause the updates and some extra details about it.
Avoid Major Updates
In some of the new Windows 10 update, the user gets to control the updates schedules manually, the system will no longer download them automatically or install them without you knowing or permission, when updates are available, you will receive a notification, saying there is an update available with this detail, and if the user doesn’t click on Download and Install button, the process won’t start.
Note: Remember to always check for your last installed update, with this method, you can get to know when your update is gonna expire, and your system won’t be protected any longer, since the real reason for publishing so many updates every month is to let the user work with a secured interface and operating system.
Simple Way for Pausing the Update
In the first step try pushing the Windows button on your keyboard, hit the gear shape button on the left bar to access the setting, or you can simply press the Windows key with the I key.
Head to the Update & Security and then open up Windows update, in this window you’ll see a Pause updates for 7 days option, click on it and the automatic download won’t bother you for the next 7 days, it won’t install or download any update.
Now for pausing the update process for more than 7 days, you can keep on clicking the “Pause updates for 7 days” button, after the day reached 35 days the button will turn gray and you won’t be able to click it anymore, that 35 day is the most that you can get by clicking on that button.
After this 35 day is over, the updates will again work normally and download every update available.
Also by going to the advanced setting on this page, you can choose a day to pause the update from downloading and installing, but the option would let you choose a day between 1 to 35 days in the future, which means, the user will have the same rule and limit of choosing the day like they had in the pause section.
Pausing with Group Policy
All of the ways that we told you in the upper section of this article, pause the updates for a short time and after not long the process would run again, but this is our favorite part, here we will show you how to disable the updates permanently.
For using this method :
- Open the start section and type gpedit.msc in the search bar, look for the Local Group Policy Editor which is often the top result when it comes to finding it.
- Go to the following path:Computer Configuration > Administrative Templates > Windows Components > Windows Update
- Now double left-click on the Configure Automatic Updates policy which is on the right side of the window.
- Here we have three different options for the update service, the first one Not Configured, which means it enables the automatic updates the second one is enabled and is capable of getting customized by the user and the values can be set by the administrator rules, the third one is disabled, fill the disabled box.
- Click on apply.
- Then click on OK.
This method will stop any running download or installed by the update, but the update section will be available to do manually, this means if the user tries to head to the update section and click on Check for Update, the program will still be able to download and install the update, only the ways of downloading is now more manually than automatic.
If you ever wanted to put the update process in the Automatic turn, while you at the Configure Automatic Updates windows, instead of selecting disable model, you’ll have to select the Not Configured mode and there’s no need for extra changes on the value and settings.
Customized Update
We can also change some details about the updates by selecting the enabled option.
- Open the start section and type gpedit.msc in the search bar, look for the Local Group Policy Editor which is often the top result when it comes to finding it.
- Go to the following path:Computer Configuration > Administrative Templates > Windows Components > Windows Update
- Now double left-click on the Configure Automatic Updates policy which is on the right side of the window.
- In this step, you’ll have to click on the enable option to see some extra detail about your update process.
Under the “Options” section, select the best settings to prevent updates from downloading and installing automatically on Windows 10:
- 2 – Notify for download and auto-install.
- 3 – Auto download and notify for install.
- 4 – Auto download and schedule the install.
- 5 – Allow local admin to choose a setting.
- 7 – Auto-Download, Notify to install, Notify to Restart.
Now you can choose the option that you want and click on OK.
Note: Updates will publish by with the purpose of making the system more secure and faster and also provide a better interface and graphical design, remember to manually update your system after 2 or 3 months of staying on the same update build.