How to put a photo on the text in Photoshop (video tutorial)
The effects and effects that we give to the photo make our photos attractive. This is very convenient and practical using Photoshop.
In this article, this is a tutorial for Photoshop CS5 and earlier.
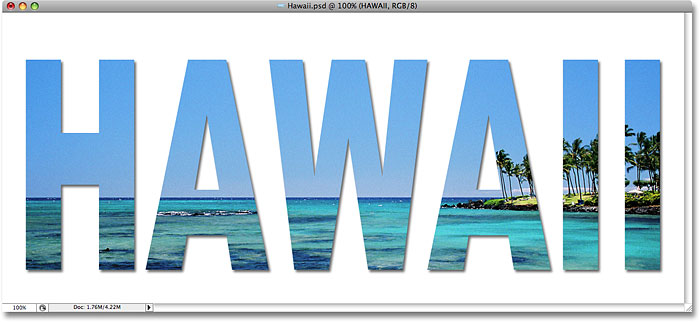
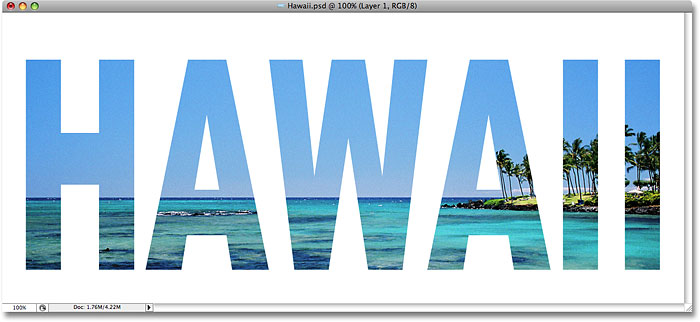
If you are using Photoshop CC or CS6, you can see a completely modified and updated version of this tutorial. Here is the effect we are looking for:
How to insert a photo in the text?
Step 1: Open the photo on your text
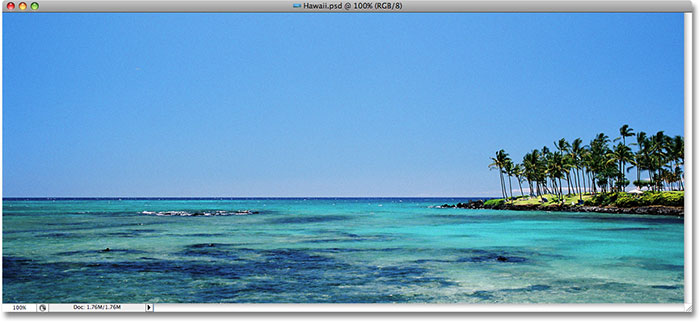
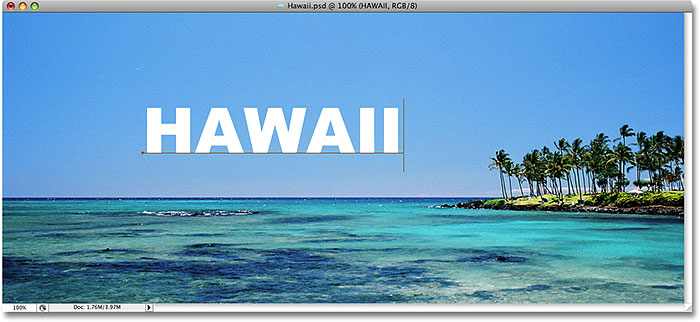
First we need the image we want to put in our text. I will use this panoramic photo in Hawaii:
Step 2: Copy the Background layer
If we look at the layer palette we can see that we now have a layer called Background. This layer contains our image. We need to copy this layer and the easiest way to do this is to use the keyboard shortcut Ctrl + J (Windows) / Command + J (Mac). If we look at the layer palette again, we see that we now have two layers. The main Background layer is at the bottom, and a copy of the Background layer that Automatically named Photoshop “Layer 1” sits on top of it:
Step 3: Add a new blank layer between the two layers
Next, we need to add a new blank layer between the Background layer and “Layer 1”. Currently, “Layer 1” is the layer selected in the Layers palette. We can tell which layer is selected because the selected layer is always highlighted in blue. Typically, when we add a new layer, Photoshop places the new layer directly above any layer that is already selected, meaning that Photoshop places the layer above “Layer 1”.
But this is not what we want. We want the new layer to be under “Layer 1”. Here is a useful trick. To add a new layer below the selected layer, hold down your Ctrl (Windows) / Command (Mac) key and click the New Layer icon at the bottom of the Layers palette. Holding down Ctrl (Windows) / Command (Mac) is a trick to place the layer below the currently selected layer:
We now have a new blank layer called “Layer 2” that sits directly between the Background layer and “Layer 1”:
Step 4: Fill the new layer with white
Currently, our new layer is completely empty. Let it fill with white so that it appears as a white background after we insert our image into the text. Go to the Edit menu at the top of the page and select Fill. This fills in the Photoshop dialog box. Select White for the Contents at the top of the dialog box, then click OK to exit the dialog box:
Nothing seems to have happened in the document window, as the image in “Layer 1” prevents “Layer 2” from being displayed, but if we look at the layer preview wallpaper for “Layer 2” in the Layers palette, We can see. Sure, the layer is now full of white:
Step 5: Select “Layer 1” in the Layers palette
It’s time to add your text, but to see the text when you add it, the text needs to appear at the top of “Layer 1”, otherwise the image on “Layer 1” will prevent the text from being seen. To make sure we can see our text, click on “Layer 1” in the Layers palette to select it. That way, as soon as we start typing, Photoshop creates a new typing layer for us and places the typing layer directly on top of “Layer 1”:
Step 6: Select the Type tool
We will need the Type Tool to add text to Photoshop, so select it from the Tools palette. You can also quickly select Type by pressing the letter T on your keyboard:
Step 7: Select a font in the options bar
Select the Type tool, go to the options bar at the top of the page, and select any font you want for the effect. In general, bold fonts work better. I am going to choose the Arial Black font. Don’t worry about font size now:

Step 8: Set white as your foreground color
This step is not absolutely necessary, but to help see my text, I intend to use white for my text color. The color you choose for your text does not matter because we fill the text with an image in an instant, but it still helps you to see the text when adding text. To set the text color to white, all we have to do is set the Foreground Photoshop color to white.
First, press the letter D on your keyboard to reset the Foreground and Background colors to their default state. Black is the default color for Foreground and white is the default color for Background.
To move them, the white color changes to Foreground, press the letter X on your keyboard. If you look at the Foreground and Background color swaps near the bottom of the Tools palette, you can see that white is now the Foreground color (left swatch):
Step 9: Add your text
Select the Type tool, select your font as the Foreground color and whiten it, click in your document window and add your text. Since I use an ocean scene photo in Hawaii, I want to type the word “HAWAII”:
After you have done this, click on the green tick in the options section.

Step 10: Resize and resize the text with the Free Transform command
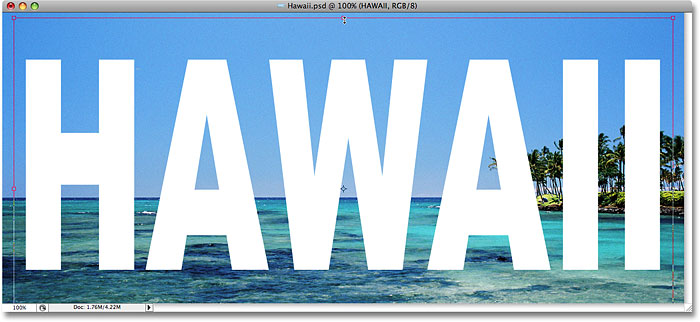
You will probably need to resize your text at this point and reposition it, we can do both using the Free Transform Photoshop command. Press Ctrl + T (Windows) / Command + T (Mac) on your keyboard to place the Free Transform box and handles in the text you want, then drag each of the categories to resize the text.
If you want to resize the text without distorting the shape, hold down the Shift key and drag all four corner handles. You can also resize the text from the center by holding down the Alt (Windows) / Option (Mac) key.
Finally, to move the text, click anywhere on the Free Transform box and drag your mouse to move the text inside the document window:
Press Enter (Windows) / Return (Mac) when accepting the change and exiting the Free Transform command.
Step 11: Drag the text layer below “Layer 1”
Now that you have written your text the way we want it to be, we need to move the typing layer below the text in the Layers palette. Click on the text layer, then simply drag it under “Layer 1”. You will see a thick black line appear between “Layer 1” and “Layer 2”:
When the black line appears to place the typing layer between “Layer 1” and “Layer 2”, release your mouse button:
Step 12: Select “Layer 1” again
Click “Layer 1” again in the Layers palette to select it:
Now that the image on “Layer 1” is being viewed, the text temporarily disappears into the document window.
Step 13: Create a clipping mask
To create the illusion that the image is in the text, we must use a clipping mask. This will “clip” the “Layer 1” image to the text on the layer, directly below it. Each part of the photo that appears directly above the letters will be visible in the document. The rest of the photo disappears from the view of the others.
By selecting “Layer 1” in the Layers palette, go to the Layer menu at the top of the page and select Create Clipping Mask:
Layer> Create Clipping Mask
If we look in the document window we can see that the image is now inside the text:
Step 14: Add a Drop Shadow (Optional)
To complete my effect, I want to add a drop shadow to the letters. If you want to do this, first select the type layer in the Layers palette, then click on the Layer Styles icon at the bottom of the Layers palette:
Select Drop Shadow from the list of layer styles that appear:

This box sets the Layer Style Photoshop section box in the middle column to Drop Shadow options. I’m going to drop most of the options, but I’m reducing the Opacity of the drop to about 60%, so it ‘s not too sharp and I’m bringing the Angle of the drop to 120 °:
When you are done, click OK to apply a drop shadow from the Layer Style box. Here is the final image of my “image in text”: