


How to import images into Photoshop or close them?
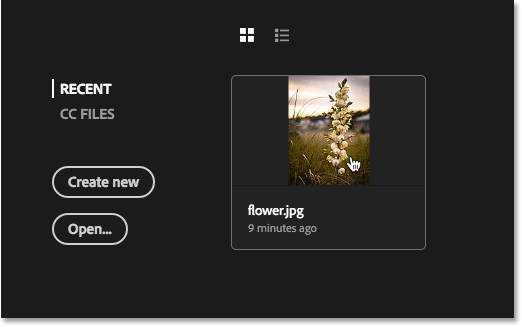
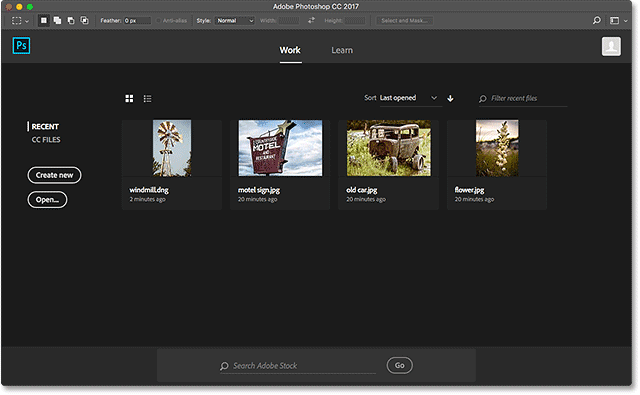
When we import images in Photoshop, we officially enter the startup space. If you have already opened one or more images, they will appear as thumbnails in the center of the page
Import images in Photoshop shows thumbnails of recently opened files.
If this is your first time running Photoshop, or clearing your recent file history, you will not see any thumbnails. Instead, the start screen appears with instructions in the center of how to get started in its original state
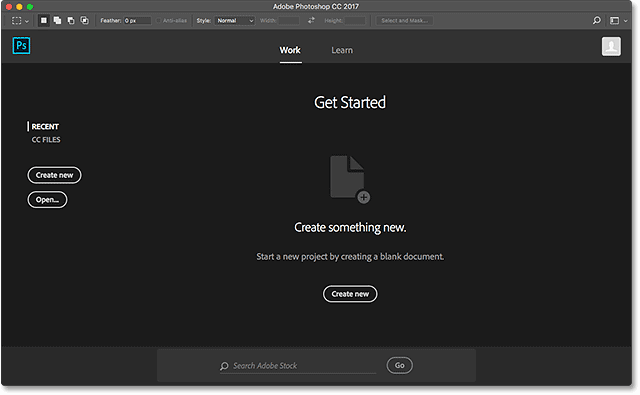
Start page without any thumbnails of recent files.
How to open the image from the start page
To open an image of the start screen, click the Open button in the menu on the left

Click the Open button on the start screen.
This will open the File Explorer window on your Windows computer. Navigate to where the image is stored. In my case, the images are in a folder on the desktop. Once you find the image, double-click it to select it
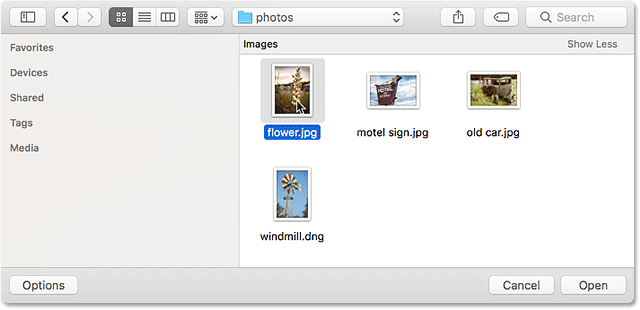
Double-clicking on it will select the image.
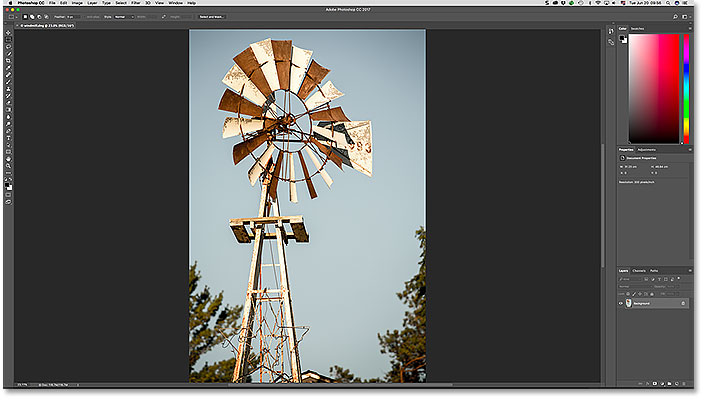
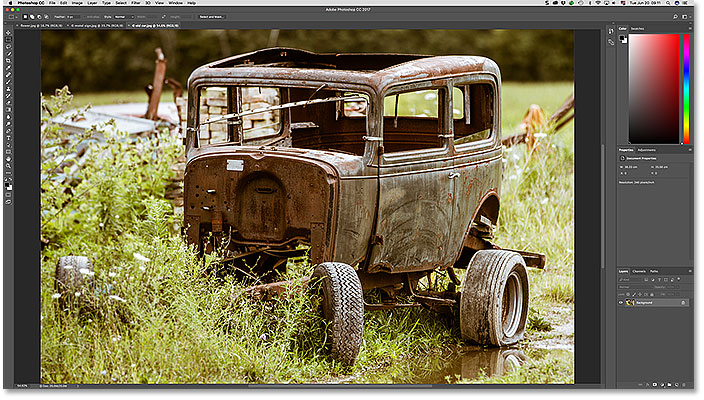
The image will open in Photoshop and is ready to be edited
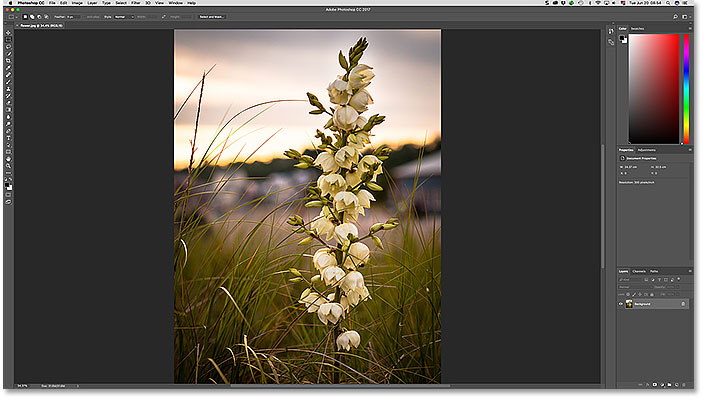
The first image opens in Photoshop.
Close image
To close the image, go to the File menu in the menu bar at the top of the screen and select Close

Reopen the file
This will take you back to the Photoshop start page, where you can find the thumbnails that we recently opened in the Recent Files section in the center. If we need to reopen the image for further editing, all we have to do is click on the thumbnail.

The first image opens again.
Hidden panel of recently opened files in Photoshop
How to open the image from the list of files
This time I leave the image open and open the second image. Since my first image is still open, I do not have access to the Photoshop start page. But there is no problem because another way to open the image in Photoshop is to go to the file menu at the top of the page and select Open. Also, if you disable the start screen, you can open the images
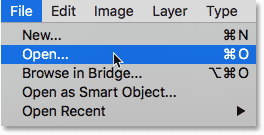
File> Open
This will open the File Explorer window again. Select the second image to open by double-clicking on it
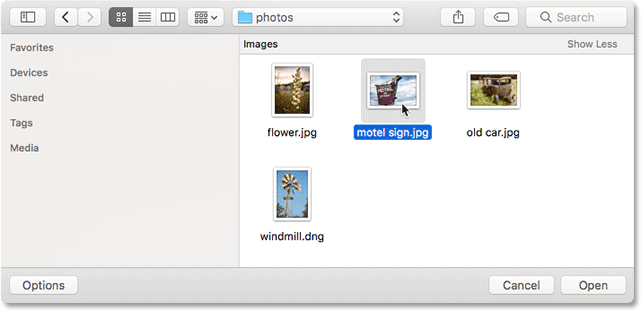
Select the second image.
And just like the first image, the second image opens in Photoshop
A new image opens.
Open the image using the keyboard
We saw that we can open images in Photoshop by clicking the Open button on the Start screen or by selecting the Open command in the File menu. We can also open images directly from the keyboard. Just press Ctrl + O. The File Explorer window opens on a Windows computer, and I can double-click on it to open the third image.
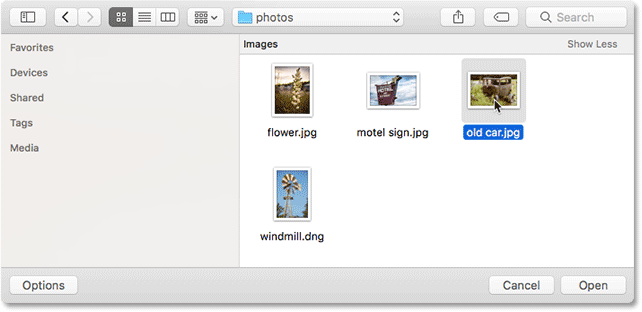
Select the third image.
Here, we see that the third image was opened in Photoshop
The third image opens.
Switch between multiple open images
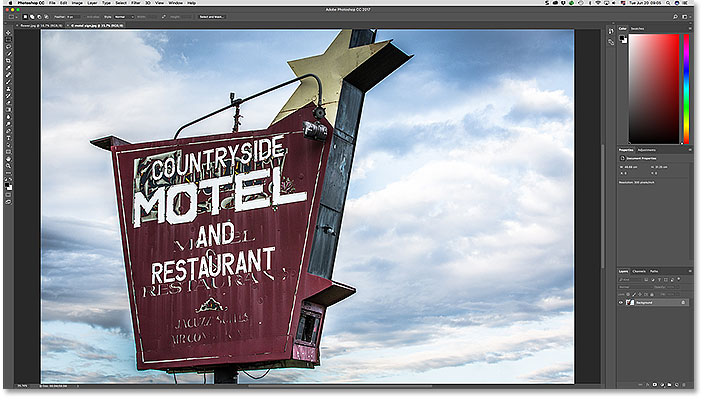
Three images are now open. Photoshop puts each new image in a separate document. They are called tabbed documents because each document has its own tab at the top of the page. Each tab shows the name of the image along with other information. To switch between open images, just click on the tab of the image you want to view.
For example, now I see the image “old car.jpg”. To change to the first image I opened (“flower.jpg”), all I have to do is click on its tab.
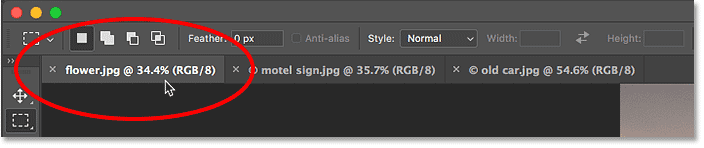
This hides the “old car.jpg” image and returns me to the previous “flower.jpg” image. All three of my images are open, but by default Photoshop only allows us to view one image at a time.

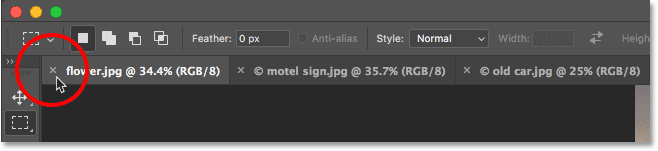
How to close an image
To close an image without closing the other photos you have opened, first select the image you want to close by clicking on the tab. Then go to the File menu and select Close. Or the faster method is by clicking on the small “x” symbol in the tab itself. On a Windows PC, the “x” is found to the right of the tab.
Close all open images
To close all open images at the same time, instead of closing individual tabs, go to the File menu and select Close All
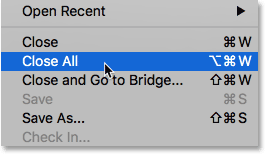
Go to File> Close All.
When all images are closed, you will be returned to the Photoshop start screen. Here, we see all three images that now appear as thumbnails in the recently opened files section
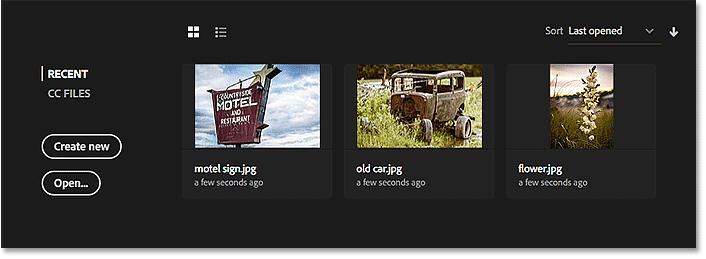
All three images are ready to be recreated.
How to open raw files in Photoshop
So far, all the images I have opened in Photoshop have been JPEG files, each with a “.jpg” file extension. But what about raw files? That is, images captured using the camera’s raw file format?
I press Ctrl + O on my keyboard to quickly open the File Explorer window again. Then I double click on the fourth image to open it. Note, however, that the image I want to open has another file extension, “.dng”. DNG stands for Digital Negative, which is a raw file format
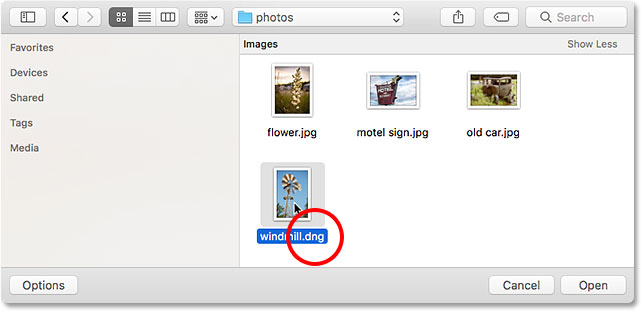
Open a blank file instead of a standard JPEG.
Each camera model has its own raw version and each has its own unique extension. For example, raw Canon files usually have a “.cr2” extension. Nikon uses “.nef”, while Fuji uses “.raf”. And as we have seen, Adobe also has its own raw format with the extension “.dng”. Raw files are outside the scope of this tutorial.
When we open JPEG files, they open directly in Photoshop as we expect. But when we open an empty file, something else happens. Instead of going straight to Photoshop, the raw files open first in Adobe Camera Raw. Camera Raw is a separate plugin that comes with Photoshop that launches automatically whenever we open a raw file.
Camera Raw is often thought of as a digital darkroom, because we use it to develop a raw image (correction of light and color exposure, adding some light and initial sharpening, etc.) before sending the image to Photoshop. do. Here we see that my image is open in the Camera Raw dialog box.
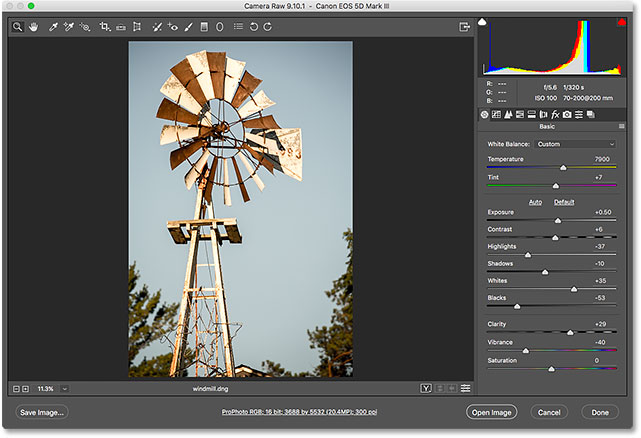
Recorded photos are opened as raw files in Camera Raw.
Camera Raw is another complete tutorial that we will cover in detail in other tutorials. Now, if your image is opened in Camera Raw, simply click the Open Image button at the bottom of the dialog
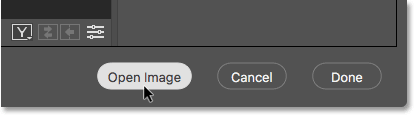
Click the Open Image button.
This closes the Camera Raw and opens the image in Photoshop

The image is transferred from Camera Raw to Photoshop.
Close the File menu and select Close to close the photo
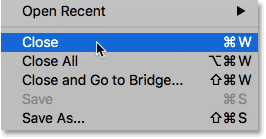
Go to File> Close again.
This brings us back to the Photoshop start page, now all four images appear as thumbnails in the recent files area
Return to the start page.
Switch between thumbnail view and list view
One of the last features we need to address on the new start page is the ability to view recently opened files as thumbnails or lists.
So far, we have seen them as thumbnails. But if you prefer to view the files as a list, click the List View icon just above the thumbnails on the left. To open an image in List View, just click on its name
![]()
Move from thumbnail to list view.
Click the Thumbnail View icon to return to the thumbnail view
![]()