How to add sunshine to images in Photoshop
I like to use Photoshop to create a scene that is ideal in real life. It is not wise to minimize the effect of the sun flame, and the presence of the sun makes a big difference, especially if you are looking for artistic results.
Sunshine They are a great way to add color and depth to your images.
Analyze your image first
The process of adding sunlight is very easy, it only takes two steps and it takes a few minutes. The hardest thing is to get to the real result. You need to analyze your image before doing anything. Start by looking at the position of the sun, how to wrap shadows and highlights.
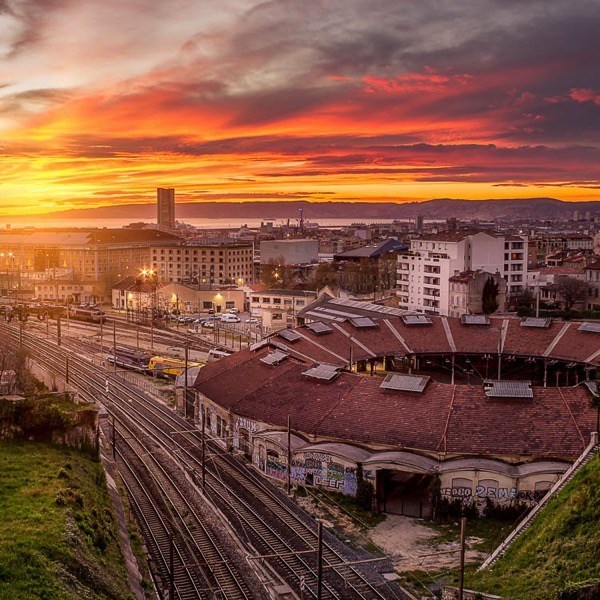
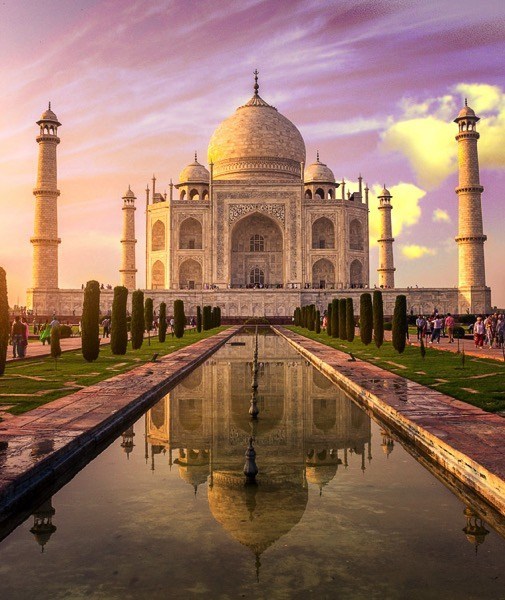
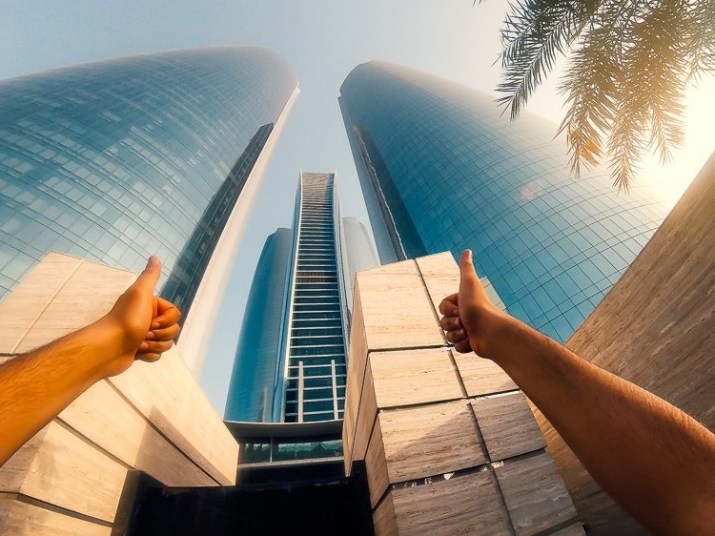
In the image below, I added a sunshine to the left, but before doing so I noticed that the highlight hits the crown from the left and the shadows are on the right side of the monument. If I were to place the flame on the right side of the image, the results would not be real because the highlights and shadows do not match the direction of the sunlight. Try to consider the position, direction and intensity of the light.
In the image below, I added a sunshine to the right of the image and the sun is in the right place.
We are not trying to create another sun, we are just reinforcing its color with more color and intensity.
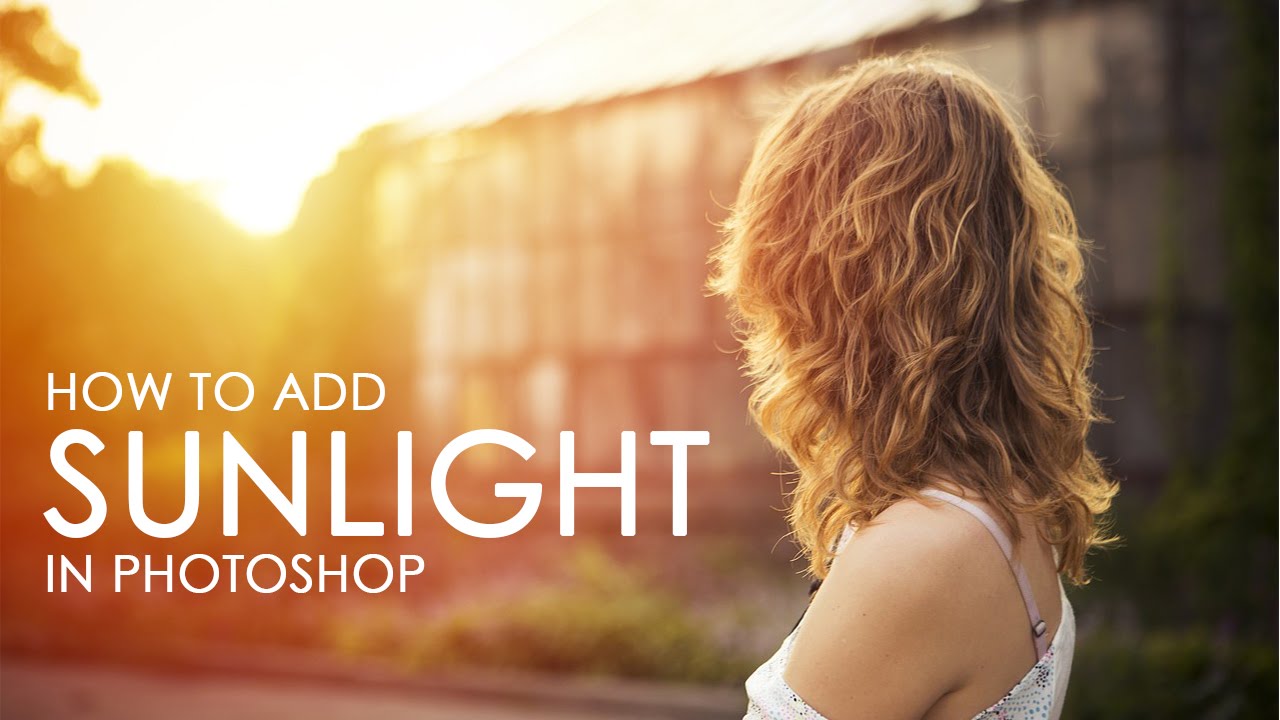
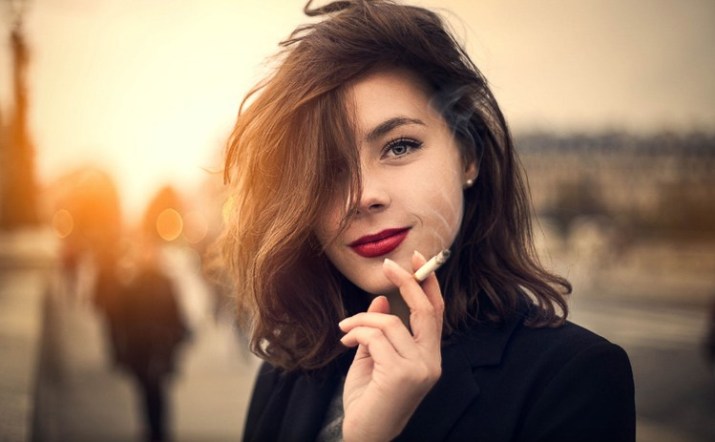
In this portrait, I added a ray of sunshine to the left of the model. The result looks realistic, because you can see that the orange tint is spreading and matches the shine of the model’s hair, but her face is not affected.
How to create and add a sunshine in Photoshop
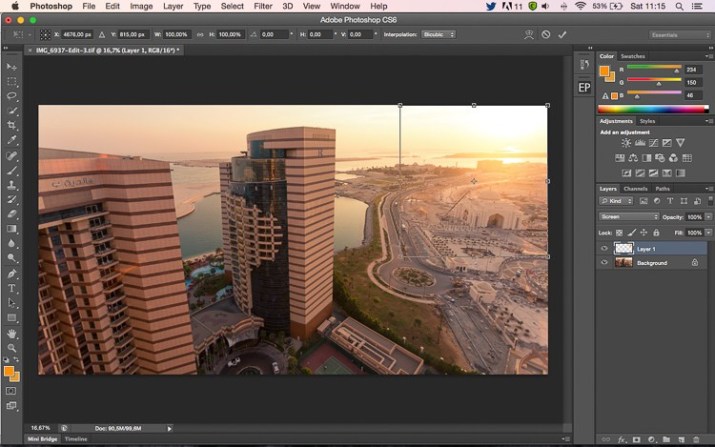
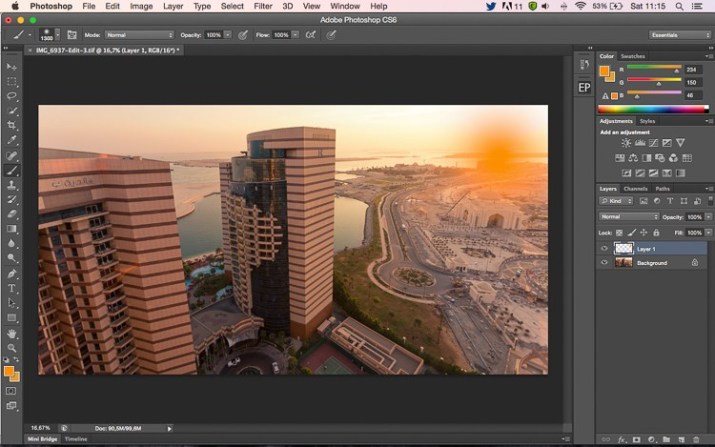
In fact, it is very easy to add a ray of sunshine in Photoshop. Start by opening your file in Photoshop and creating a new, empty layer. The next step is to analyze where you want to place your flame and how strong you want the effect to be. In this case, I want to place the sun’s rays at the top right of the image and make it look very large. The sun is setting in that position, but I’m not entirely happy with how it looks. I want it to be flaming and more alive.

Select the Brush tool and select a color
The next step is to select the Brush Tool with 100% opacity. Be sure to select a soft brush with a hardness of 0. (To adjust the softness and hardness of a brush, you must right-click on the image and increase or decrease the second option). I usually like to choose my color from the sun, the color code I use is # fd9424, but there are different ways to choose the color for the sun.
You can use the Eye Dropper tool and select a color from the image (the selected color is automatically adjusted in your palette). Or after you have created the beam, you can create a color / saturation adjustment layer that only affects that layer and just play around the flame to find the color you like.

Add rays
To create the sun’s rays, the first step is to create a stroke brush (just press once). Make sure your brush is perfectly large. By now your image should look something like this:

The next step is to colorize your current layer (the layer that has the brush). The default blend mode is NORMAL, you have to change it to Screen. Screen blending mode reverses both layers, multiplies them and reverses the result. After doing this, your sunlight will be brighter and will blend in with the sky.
Conversion
The next step is to select the sun layer and press CTRL + T to resize it. A small box appears, you can drag the corners to make it bigger. How much you want to enlarge it depends on the image and effect you want. If you enlarge it too much, it will brighten the shadows and the sun flare will affect the whole image.
Using the brush tool on a new layer is very useful because you have complete control over it. You can change your position, color, brightness or saturation at any time by creating new adjustment layers that only affect that layer.
If you think your effect is too strong, you can reduce the opacity of the layer; if it is not strong enough, you can copy the layer. Always remember that this effect must be subtle, otherwise it looks completely unreal. We only intend to create a scene by considering how light works .