


How to create a stylish border and frame in Photoshop + Download 20 beautiful ready borders
Adding a frame is easy as long as you know the steps. We’ll start by adding more space around the image using Photoshop’s Canvas Size command.
Learn how to create borders and frames in Photoshop! This step-by-step guide is suitable for Photoshop CC, CS6 and earlier. Photo frames are a great way to add a stylish and elegant look to your images.
Then, to create the frame, we will use a layer of Solid Color fill to fill the empty space. In this article, you will learn how to select a border color from Color Picker, and how to combine a border with a photo by selecting a color directly from the image itself.
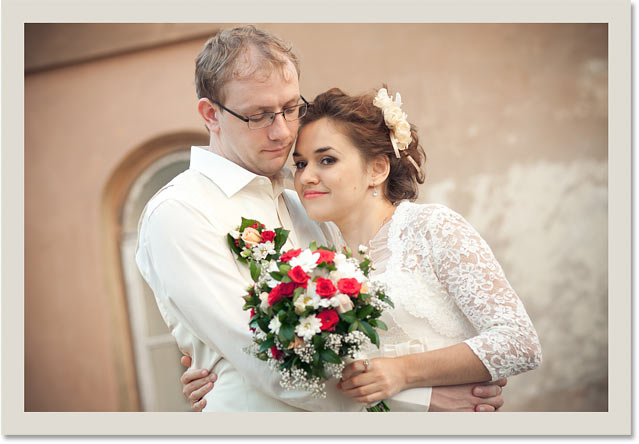
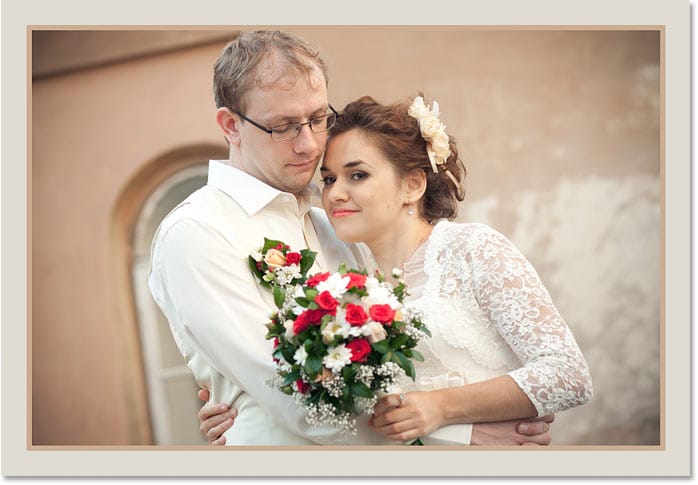
After adding the border of the main photo, I will show you how you can add another smaller border around the image using a layered effect. I will use the image:
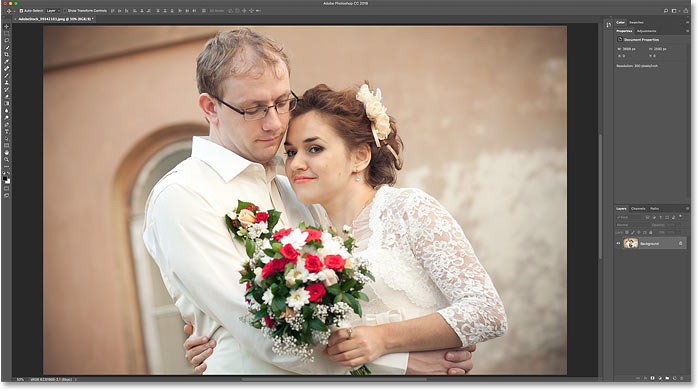
Below you can see the image and the surrounding area. In the next steps, you will learn how to customize border sizes and colors:
 we start!
How to create photo margins in Photoshop
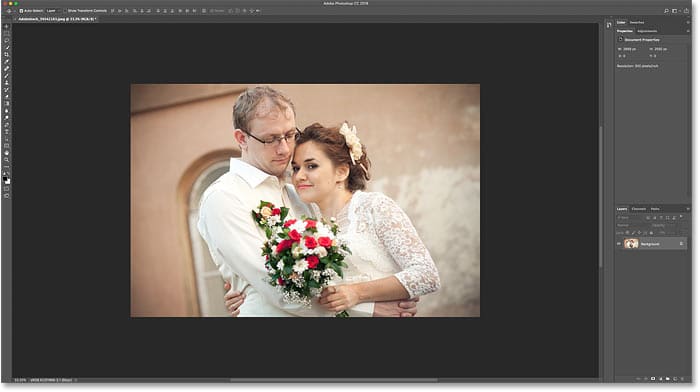
Step 1: Zoom out to create more space for the border
To create the border of the photo, we will add more canvas space around the image. So let’s make more space for our work by downsizing. To minimize the keyboard, press and hold the Ctrl key on a Windows PC or the Command key on a Mac, then press the minus key . This will give more space to the margins:
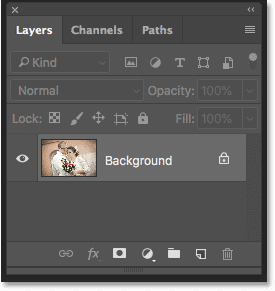
Step 2: Unlock the Background layer
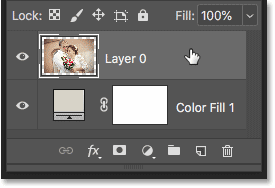
If you look at the Layers panel, you can see the image in the Background layer:
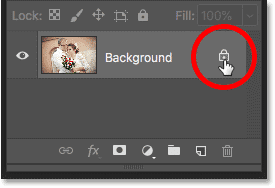
We need to unlock the Background layer so we can add other layers below it. To unlock the desired layer, in Photoshop CC, just click on the lock icon. In CS6 or earlier, press and hold the Alt (Win) / Option (Mac) key on your keyboard, then double-click. This will remove the lock icon and rename the layer to “Layer 0”:
Step 3: Open the Canvas Size window
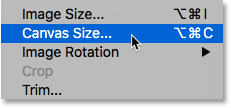
To increase the canvas space around the image, go to the Image menu in the menu bar and select Canvas Size :

Going to Image> Canvas Size.
Step 4: Add more canvases around the photo
In the Canvas Size window, check the Relative option. Then, in the Anchor grid, select the middle square. This adds a new canvas space around the image:
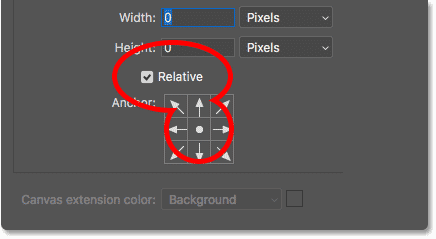
Then, enter the required size for the border of your photo in the Width and Height section. Keep in mind that the amount you enter is evenly distributed between the two sides. This is true of both width and height. So if you want to create a 1.4 (quarter) inch border around the image, you have to enter a size of 0.5 inches for width and height. For a 1-inch border, you need to enter a size of 2 inches. In other words, you need to enter twice the amount you need.
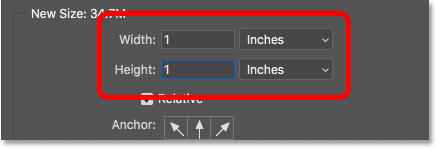
Here, I want a half-inch border, so I set the width and height to twice that, which is one inch:
Next, click OK to close the canvas to close the window. Here we see the new canvas around the image. The checkerboard pattern means that the existing space is now filled with transparency, we will add color to it later:

How to undo the canvas size and try again
To resize your border, you can go to the Edit menu and select Undo Canvas Size. Then open the Canvas Size window again (go to> Canvas Size) and try again:
Step 5: Add a layer of solid object paint
To fill the border with a color, we will use one of the solid color object layers of Photoshop. In the Layers panel, click on the New Fill or Adjustment Layer icon below:
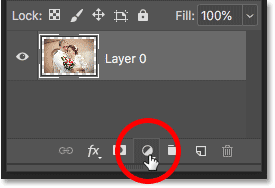
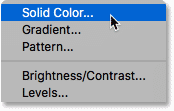
And select Solid Color from the list:
Step 6: Choose white for the border color of your photo
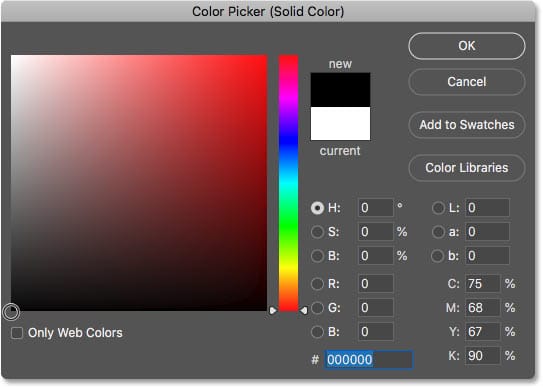
In Color Picker, select the color you want for the border. Here I will use white, but I will show you how you can change the color in an instant:
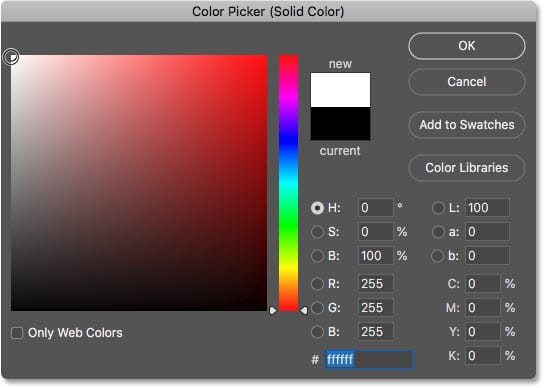
After making your selection to close the Color Picker, click OK. Photoshop temporarily fills the entire document with white and blocks the image:

5 practical action video tutorials in Photoshop for photographers
Step 7: Draw the fill layer (object color) below the image
To remove it, click again in the Layers panel and drag the fill layer below the image:
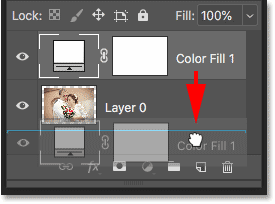
Drag the fill layer below “Layer 0”.
The fill color will now appear only inside the border:

Step 8: Change the border color (optional)
If you want a color other than white, you can double-click the color swatch to select another color for your border:
This will open the Color Picker option again and you can choose another color in it. As you try different colors, you can see a live preview of the new color in the image. So if I choose black instead of white:
The border color will change to black immediately:

How to choose a border color of the image itself
You can choose the color you want using the Color Picker option. Or choose a color directly from the image itself. Just move your cursor to the image and click on the color you want. Here I choose a light gray from the window in the background:
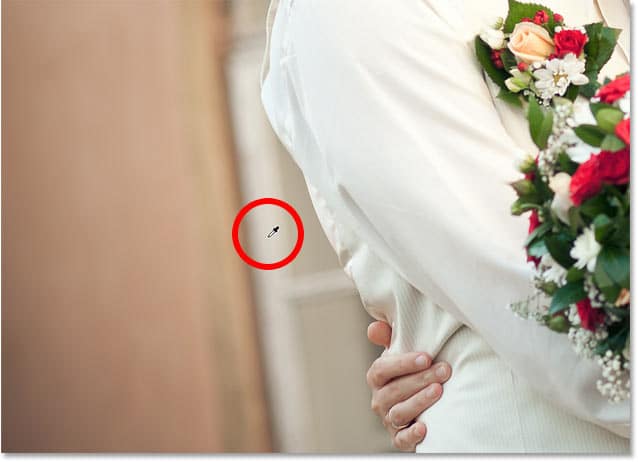
The border will change to a new color immediately. To confirm it, click OK to close the Color Picker:
The border of the photo is now more in line with the image.
How to add a smaller margin inside the main border
After adding the main border, let’s add another smaller margin inside the main border. We will do this using a layer effect.
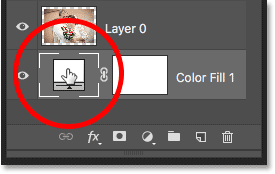
Step 9: Select “Layer 0”
In the Layers panel, select the “Layer 0” image:
You can select it by clicking on the image layer.
Step 10: Add a Stroke layer style
Now click on the Layer Styles icon (“fx” icon):
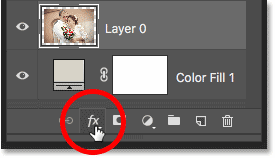
And select Stroke from the list:
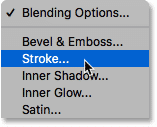
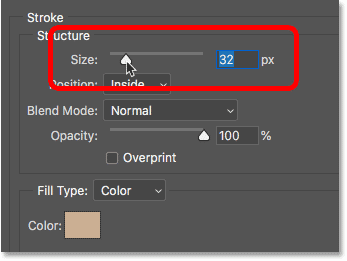
In the Layer Style window, set the Stroke color to black and make sure the Position is set to Inside. Then increase the Stroke width by dragging the Size slider :
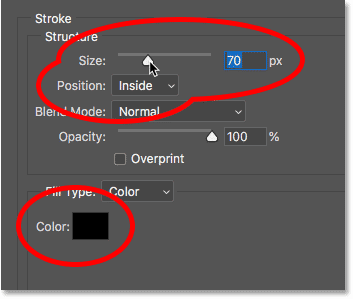
As you drag the slider, the size of the Stroke inside the main border increases:
Step 11: Stroke color change (optional)
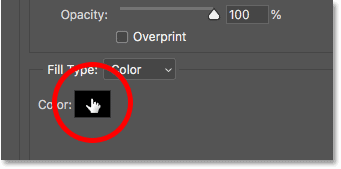
If you do not want black to be used as a Stroke color, you can change it by clicking on the color swatch :
Then select a different color in Color Picker. Or, just like we did for the main border, you can select a color directly from the image itself. I click on a color in the background:
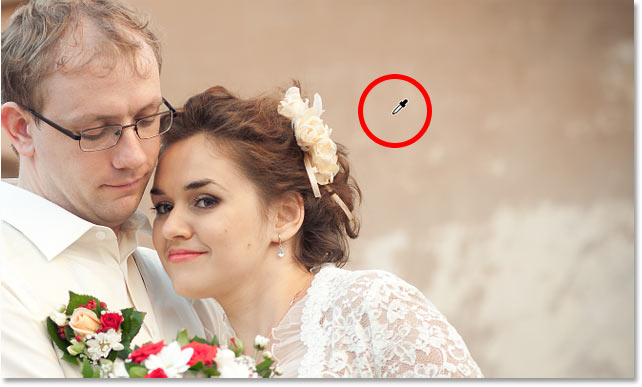
Stroke will be updated to the new color immediately. If you are satisfied with the color, click OK to close the Color Picker:
Step 12: Adjust the Stroke Size
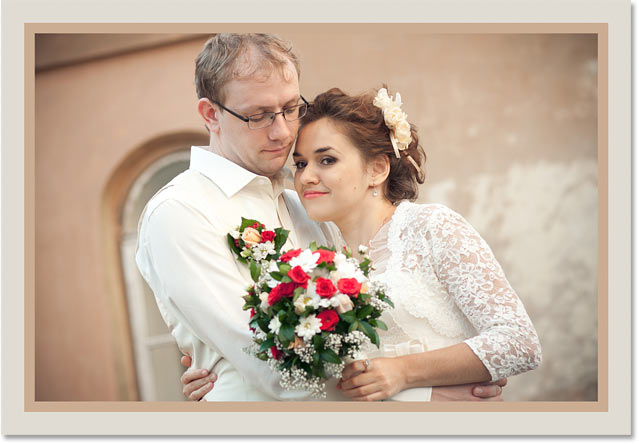
Finally, I adjust the Stroke size by adjusting the Size slider. Here I use a fairly large image, so I can choose a size of about 32px. And to confirm it, I click OK to close the Layer Style window.
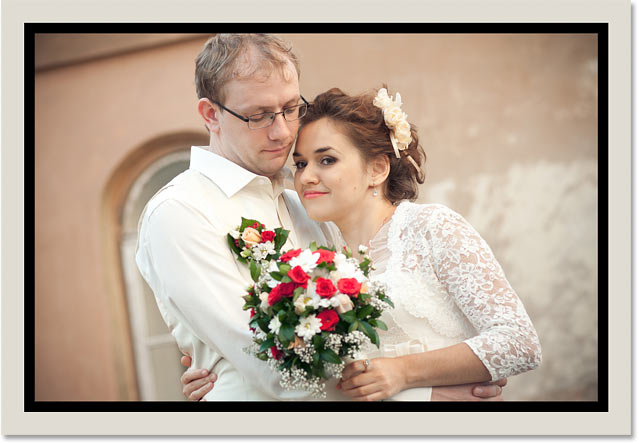
And here is the final result:
Our job is done! You can easily create borders around your images with Photoshop. It’s so easy!
20+ Frame Photoshop ideas | borders and frames,
https://www.pinterest.com/dedra1964/frame-photoshop/