


Complete tutorial on how to create a beautiful landscape in Photoshop
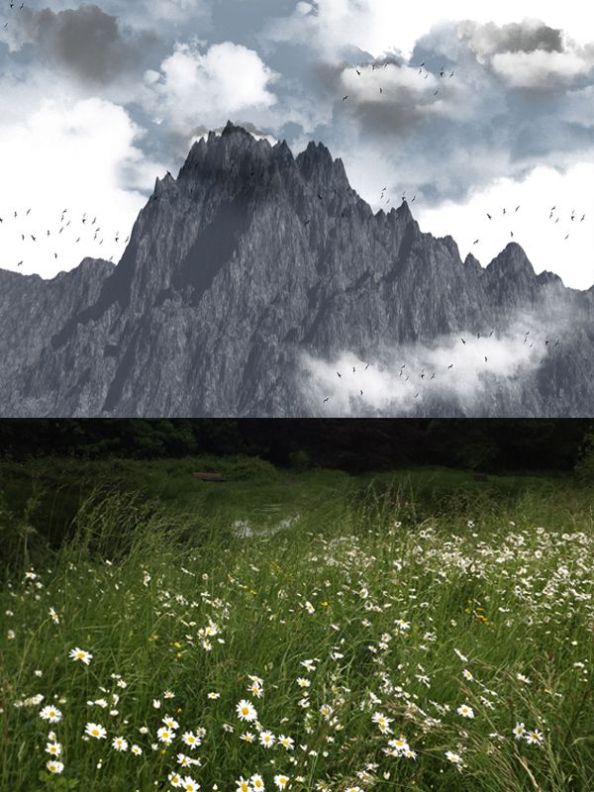
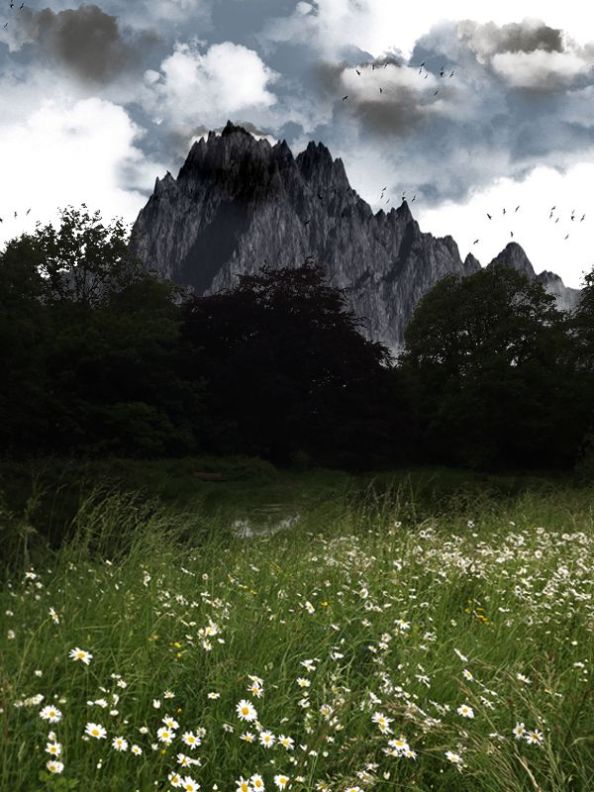
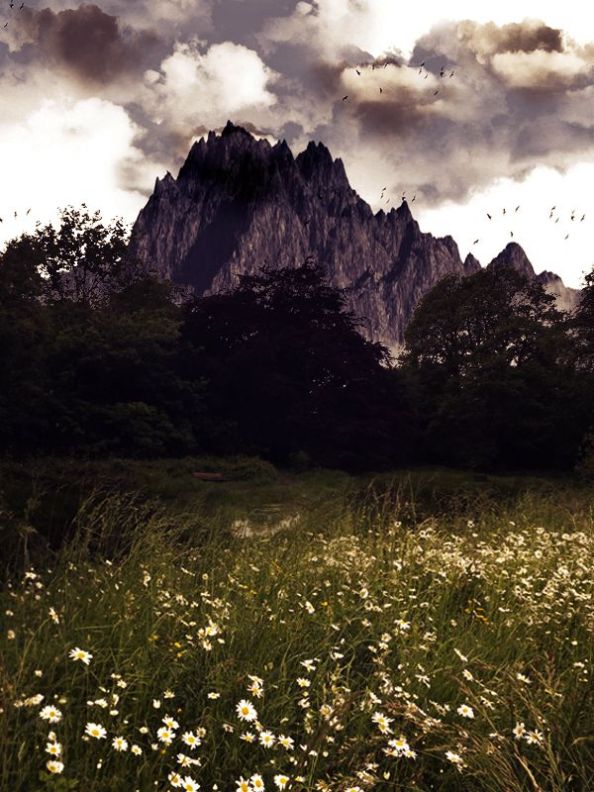
In this tutorial, you will learn how to combine several different images with the help of Photoshop to create a landscape like the one below.
This scene is a combination of the following three photos:
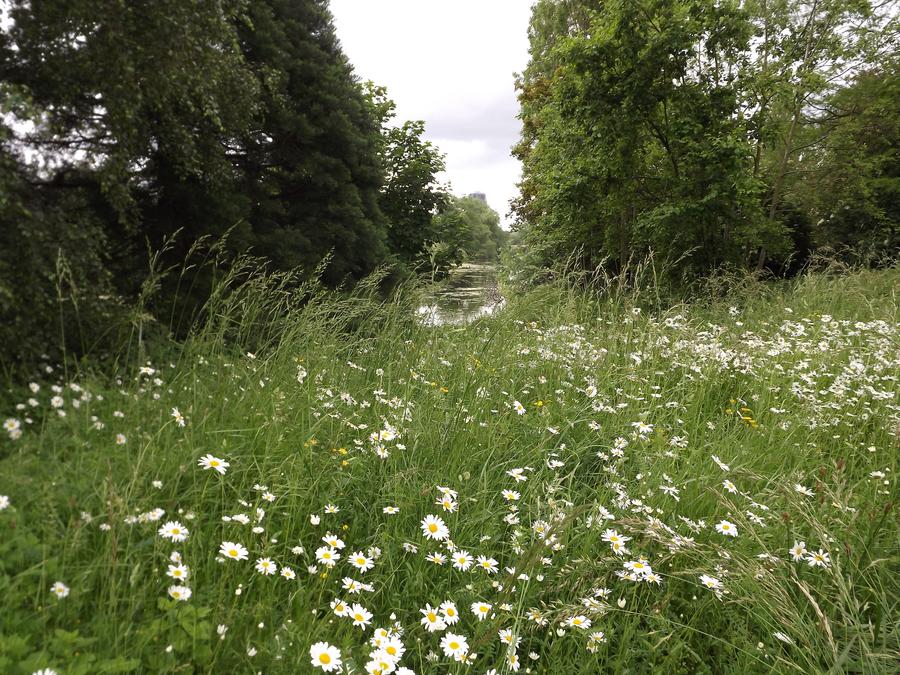
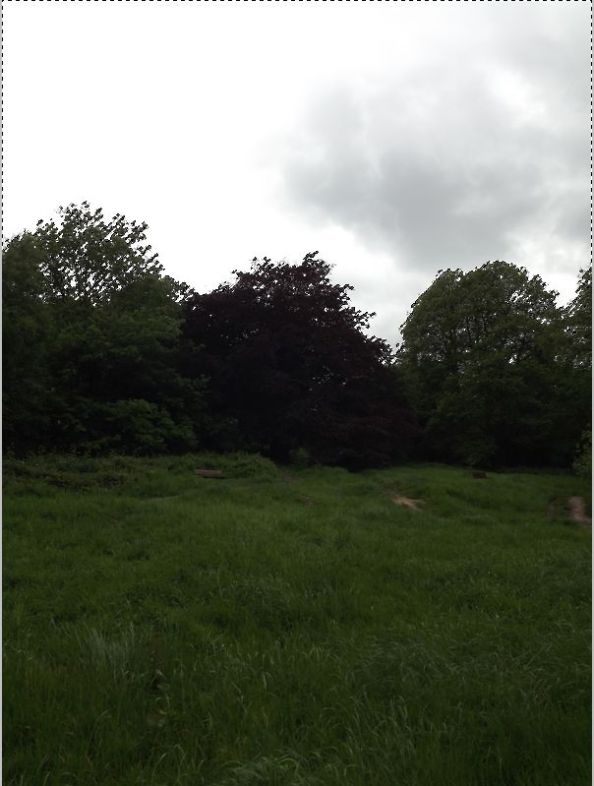
First view:

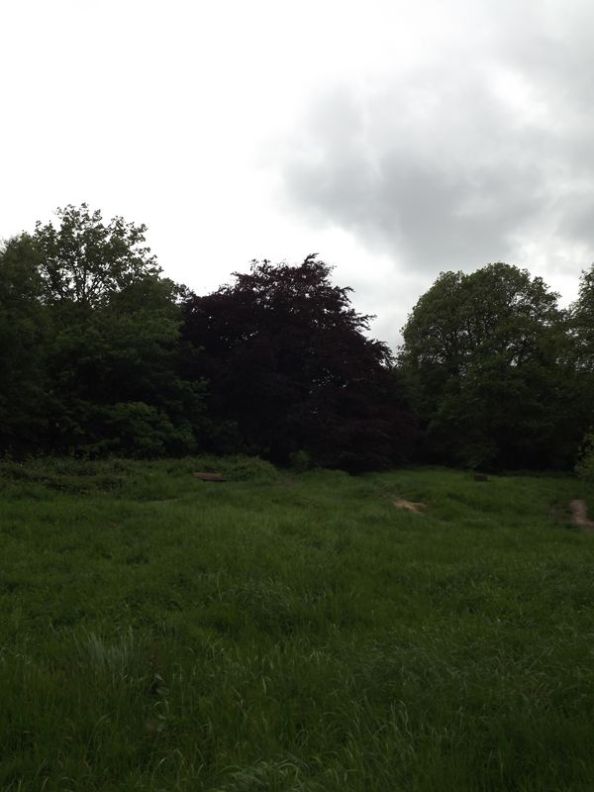
Second scene:
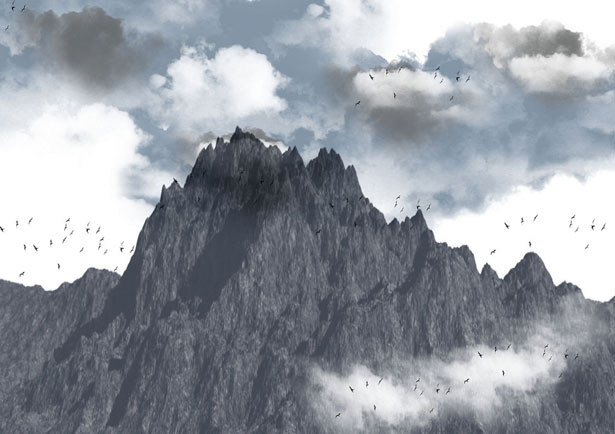
the mountain:

Step 1
Open the first scene photo.
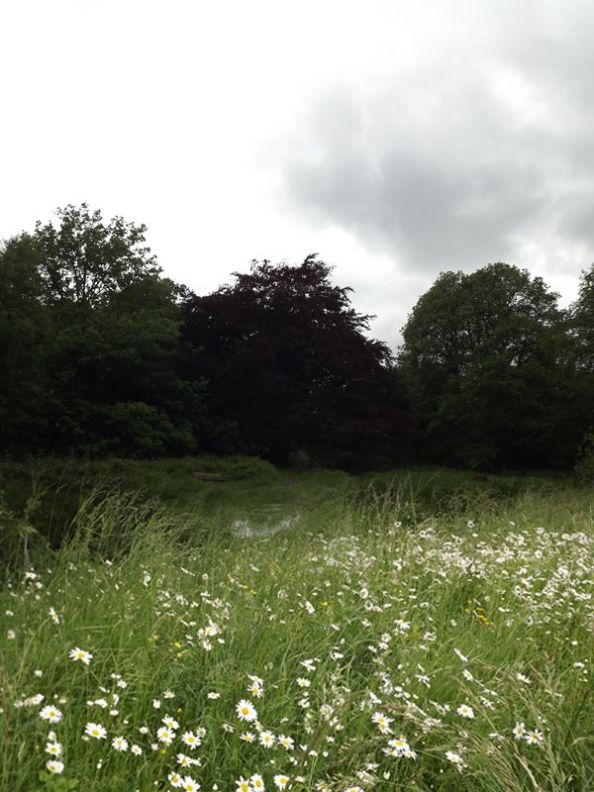
Step 2
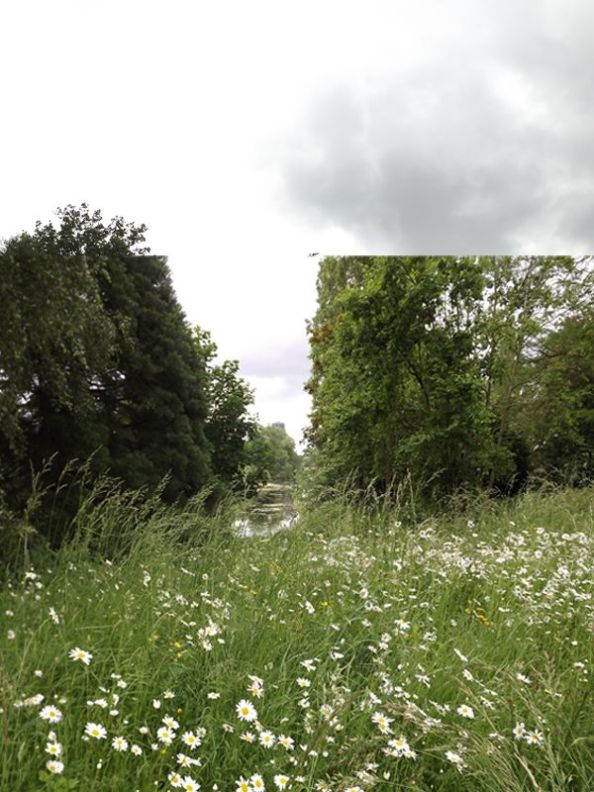
Open the second scene photo and place it on top of the first scene as shown below.
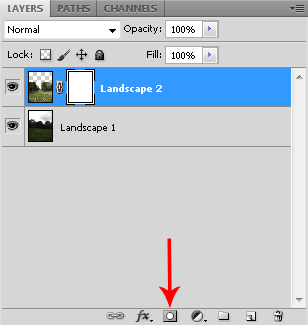
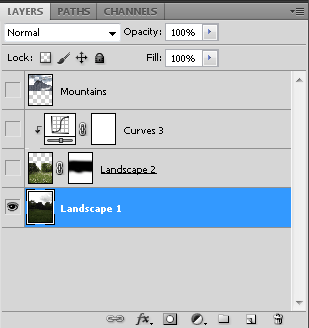
Step 3
In the Layers panel, click on the second landscape layer once, and then add a Clipping Mask to that layer using the icon shown in the image below.
Step 4
Now erase the extra parts of the second scene in the masking clip with a soft black brush. To do this, it is better to have the Opacity of the brush at 20% to make the combination of these two photos look more natural.
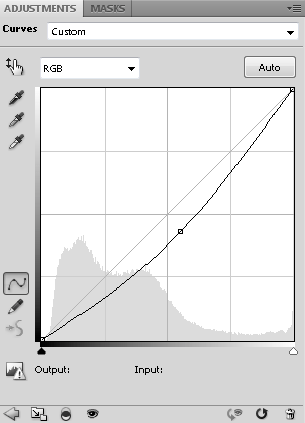
Step 5
To correct the light of these two photos, click on the second view again and follow the path Adjustment Layer> Curves. Now adjust the color and light correction curve according to the image below (set the Output and Input values to 110 and 141, respectively).
Step 6
Open the photo of the mountain and place it on top of the previous photo.
Step 7
Now we have to do something to combine this photo with the previous two photos. To do this, first activate the first landscape layer.
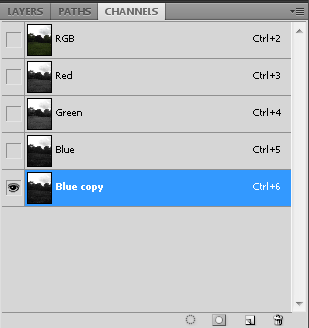
Step 8
Go to Channels in the Layers panel. Now you need to select the image that has the most contrast. If you look at the picture below, you will notice that the last image (Blue) has more contrast than the other three images.

Step 9
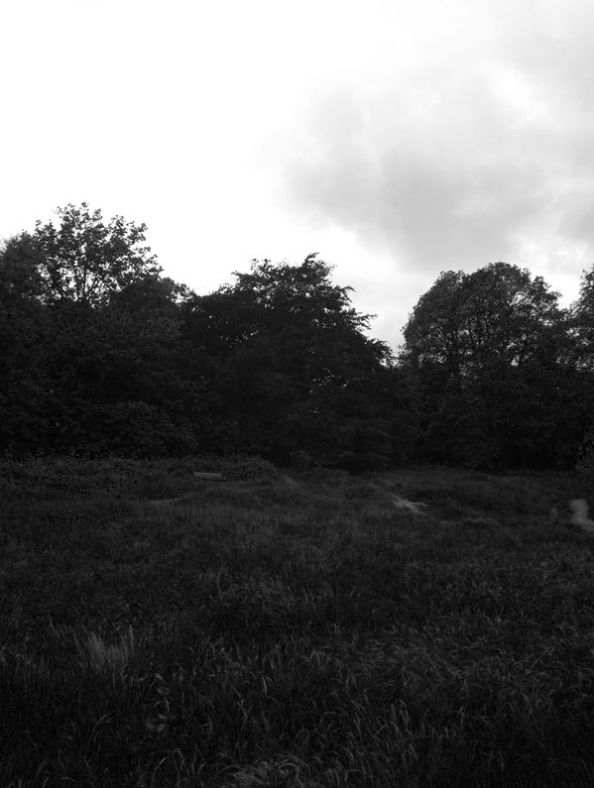
Right-click on Blue and select Duplicate Layer. In the page that opens, click Yes to get a duplicate of it. Now click on Blue Copy.
Step 10
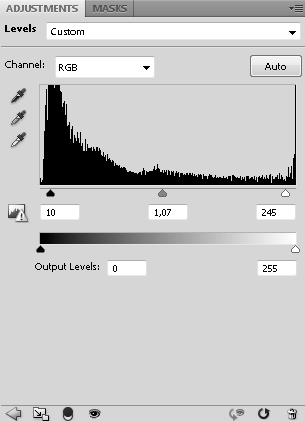
Now you need to increase the contrast of the photo a bit. To do this, go to Image> Adjustments> Levels. In the opened screen, you can increase or decrease the contrast by moving the arrow.
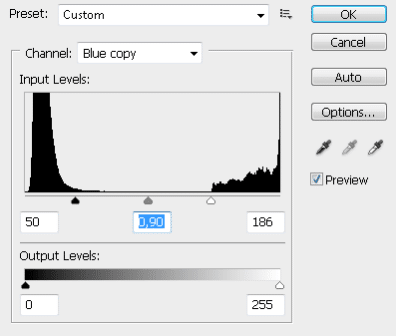
Step 11
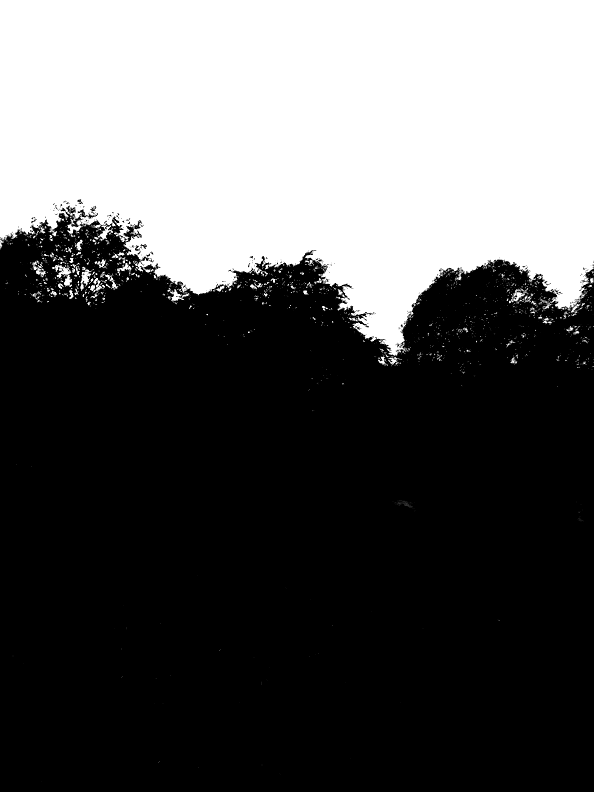
Paint parts of the photo that are not black with a black brush.
Step 12
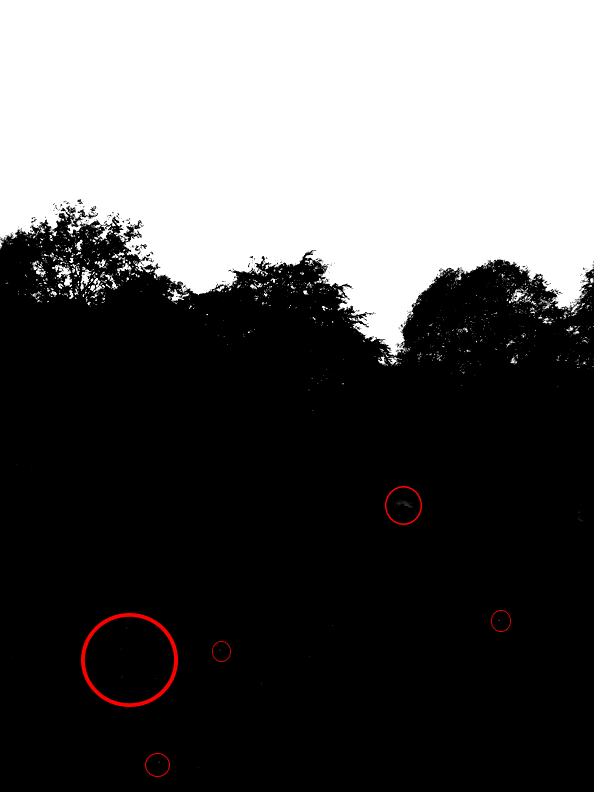
Now hold down the Ctrl / Cmd key and click on Blue Copy. This will select the top of the photo.
Step 13
Now delete Blue Copy. In the Layers panel, go to the Layers section.
Step 14
Follow Select> Inverse to select the bottom of the image.

Step 15
Add a clipping mask to the first scene to clear the sky.

Step 16
Activate all layers and place the mountain layer below the other layers.

Step 17
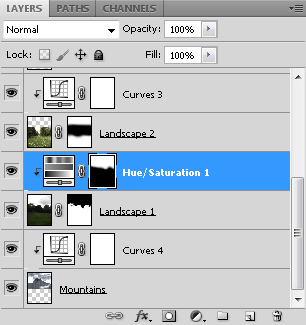
To improve the color of the images, apply Hue / Saturation settings on the first scene layer. Set the Lightness value for this photo to minus 44.
Step 18
After adding the clipping mask, blacken the bottom of the image using the brush.
Step 19
To add fog to the middle of the photo, create a new layer on top of the other layers and draw in the middle of the photo with a soft, white brush.
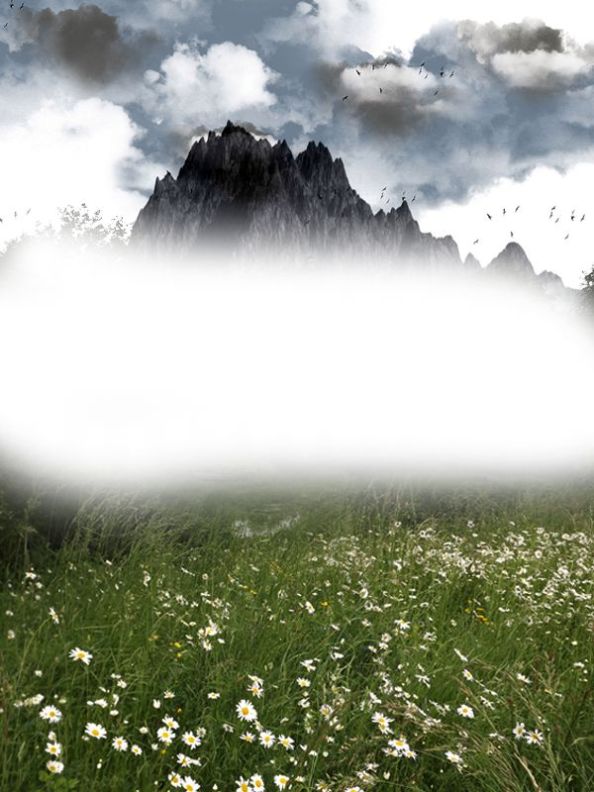
Step 20
Add a Gaussian Blur effect of 100 to the photo.
Step 21
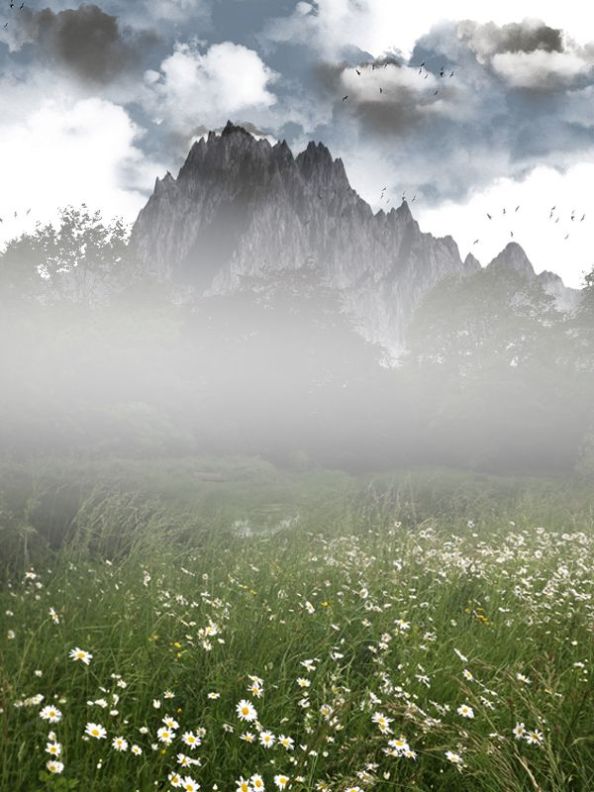
Set the layer mode to Overlay with a value of 35%.
Step 22
Now it’s time to play with the settings and color of the photo.
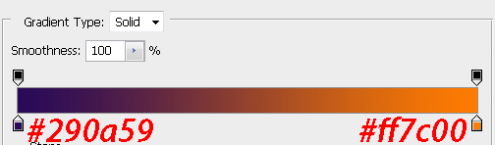
Set the Gradient Map color between purple and orange as shown below, set it to Soft Light and the opacity and Fill to 90%.
Step 23
Slightly increase the contrast of the photo as shown below.
Step 24
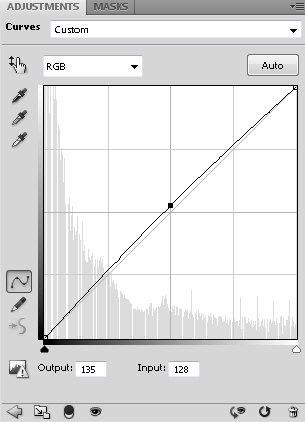
Adjust the color and light correction curve as shown below.
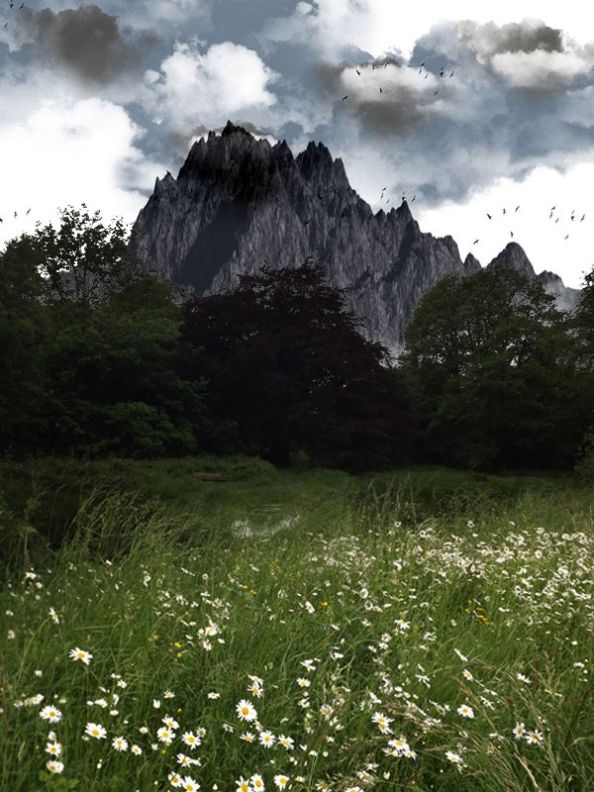
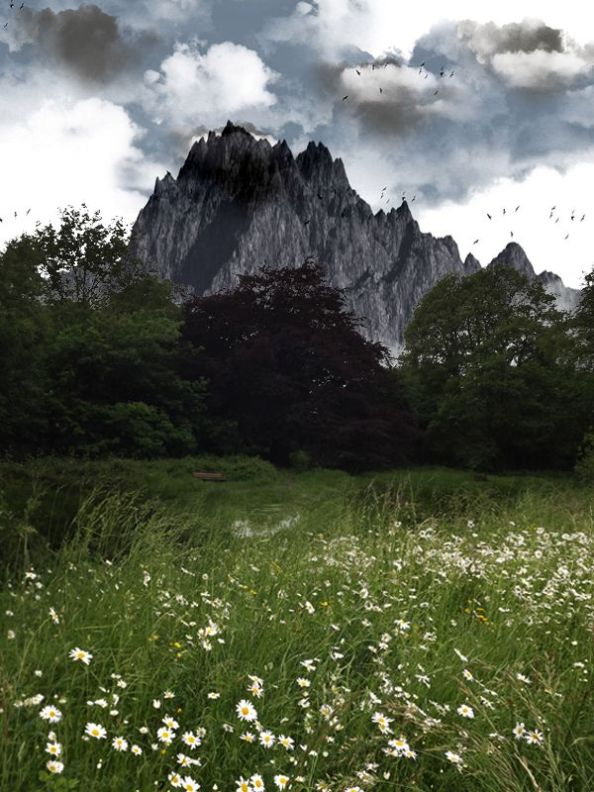
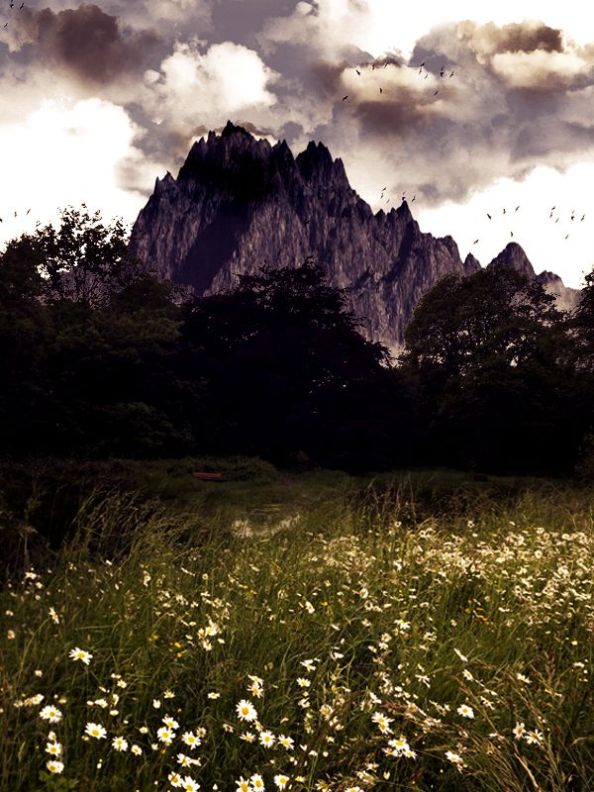
Final result
