


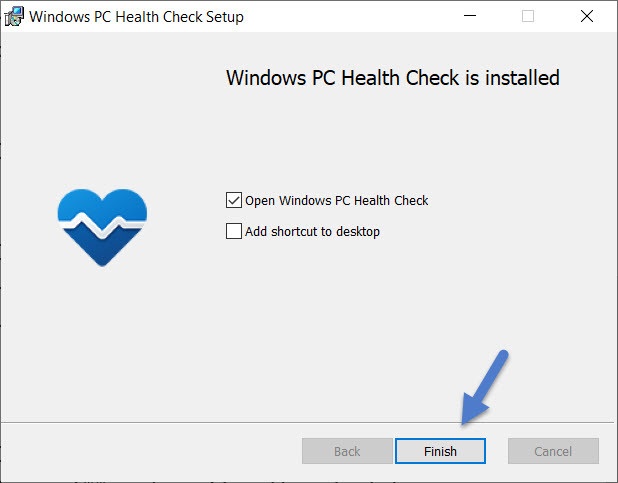
How To Get PC Health Check Confirmation To Install Windows 11
Microsoft Unveiled Windows 11 At A Pre-Scheduled Event Yesterday. Although Windows 10 Was Supposed To Be The Latest Version Of Microsoft’s Desktop Operating System, The Redmondians Unveiled The New Windows At A Time When We Least Expected It.
As always, there may be normal resistance to a new operating system among users.
We were used to Windows 10, and, naturally, we do not have much desire to migrate. But Windows 11 gives us enough reasons to do so.
The new Windows looks revolutionary, and it may prove to be over time. By the way, if you have trouble getting PC Health Check confirmation to install Windows 11 like most users, follow this to the end.
TPM 2.0, a bypassable prerequisite?
In terms of the hardware required in the main components, except for one or two cases, there is no significant difference with Windows 10. The most important prerequisite for Microsoft for Windows 11 is the TPM 2.0 module.
A security hardware key that sits in place on motherboards. Most new motherboards have slots for this key, but the module itself must purchase separately.
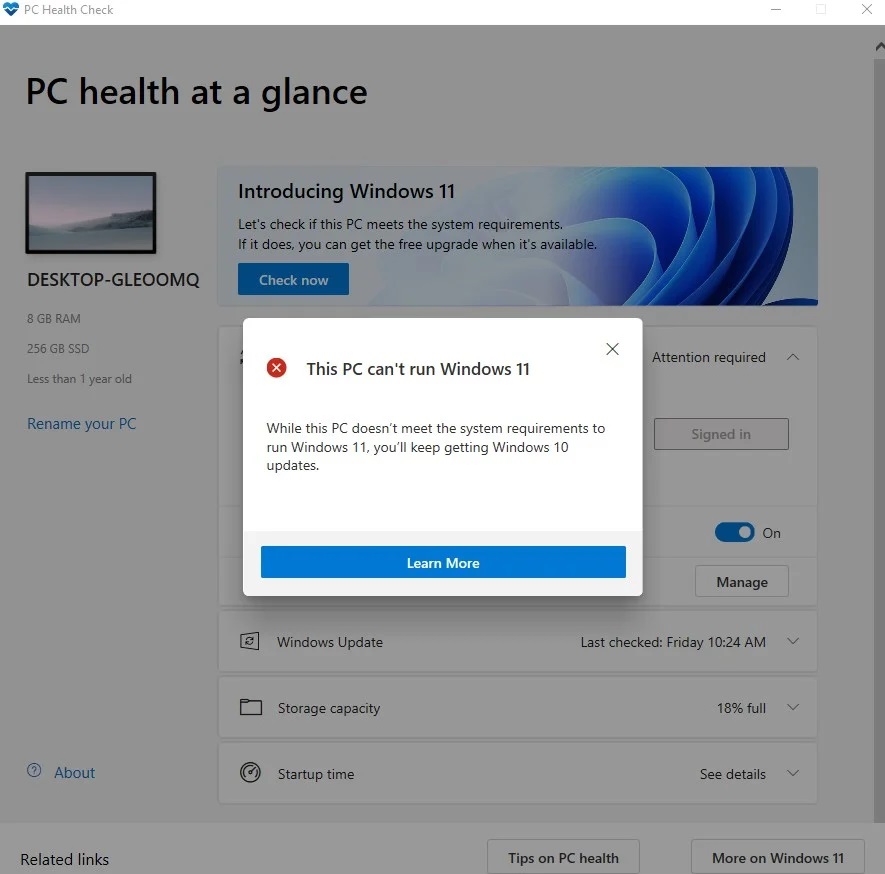
The connection between this module and this tutorial is that this TPM is the main reason for the incompatibility of users’ systems with Windows 11 in PC Health Check software.
It does not matter if you have the latest generation of motherboards and processors; when you install the software, it says that your system is not eligible to install Windows 11.
We do not have the TPM module at the moment, but with a series of changes in the BIOS, we can get the PC Health Check confirmation to install Windows 11.
We did this on two different systems with Asus and MSI motherboards. The process is almost the same and only differs from the motherboard BIOS environment.
BIOS changes to get PC Health Check confirmation Windows 11 installation
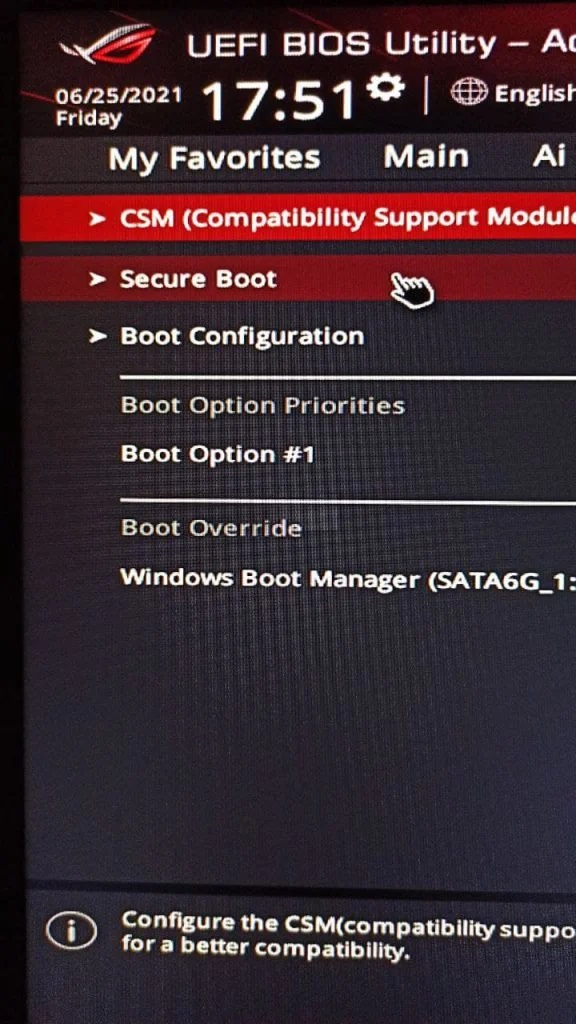
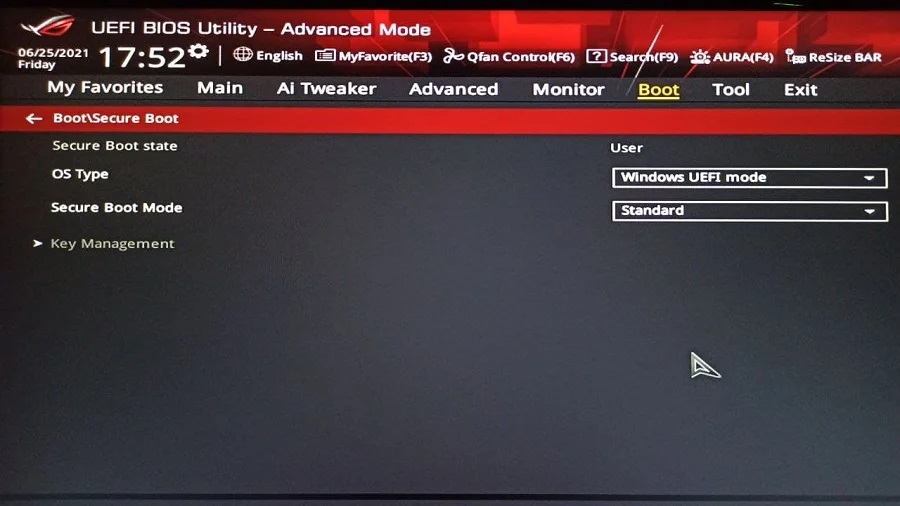
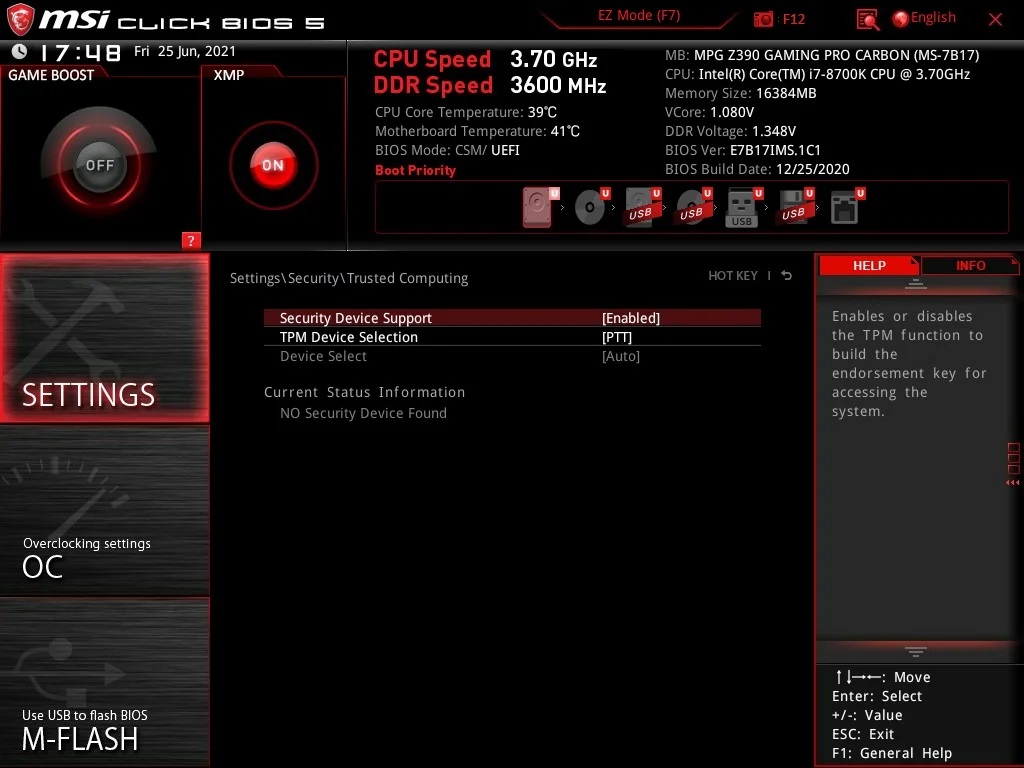
Before we enable TPM in the BIOS, we need to note that your system must support UEFI and Secure Boot. So we need first to enable Secure Boot in the motherboard BIOS.
To do this, we enter the BIOS environment. (After the system restarts and the motherboard logo appears, press the Del key on the motherboard one after the other until the BIOS environment appears).
Then go to the Boot tab and find the Secure Boot option and enable this feature as shown below.
With only the above settings, PC Health Check does not consider your system ready to download Windows 11. The principle of operation is the same as TPM.
The BIOS of Asus motherboards is searchable, and you can easily find the settings in this section by searching for the term TPM. After finding the TPM settings, select the Enable Firmware TPM mode.
Note that the Enable Discrete TPM option does not solve our problem.
The TPM version may vary depending on the motherboard model. The latest motherboards support TPM 2.0. The version that Microsoft recommends for Windows 11. After making the changes, save the settings and exit the BIOS.

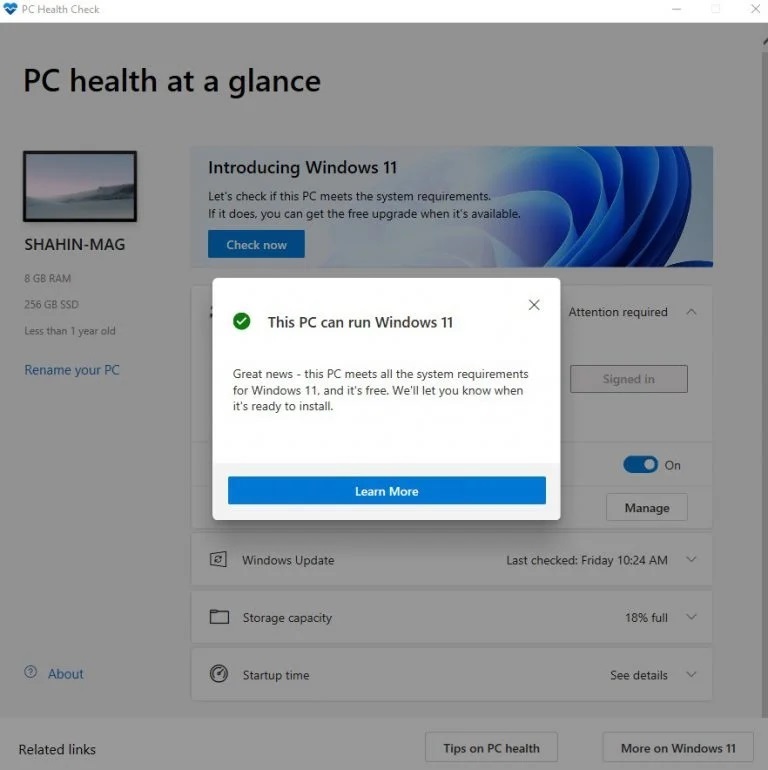
After booting the system, if the rest of your system is compatible with Windows 11, by running the PC Health Check software and selecting the Check Now option, you will see that the system software qualifies you to install Windows 11.
Windows 11 is free, and after its public release, all Windows 10 users can download and install the Windows Update.
The question for us right now is, simply by changing the BIOS, will there be no problem installing Windows 11, or is it necessary to install the physical TPM module?
This is what we will find out after the release of the new Windows.