


18 Fundamental Principles of Good Mobile Photography
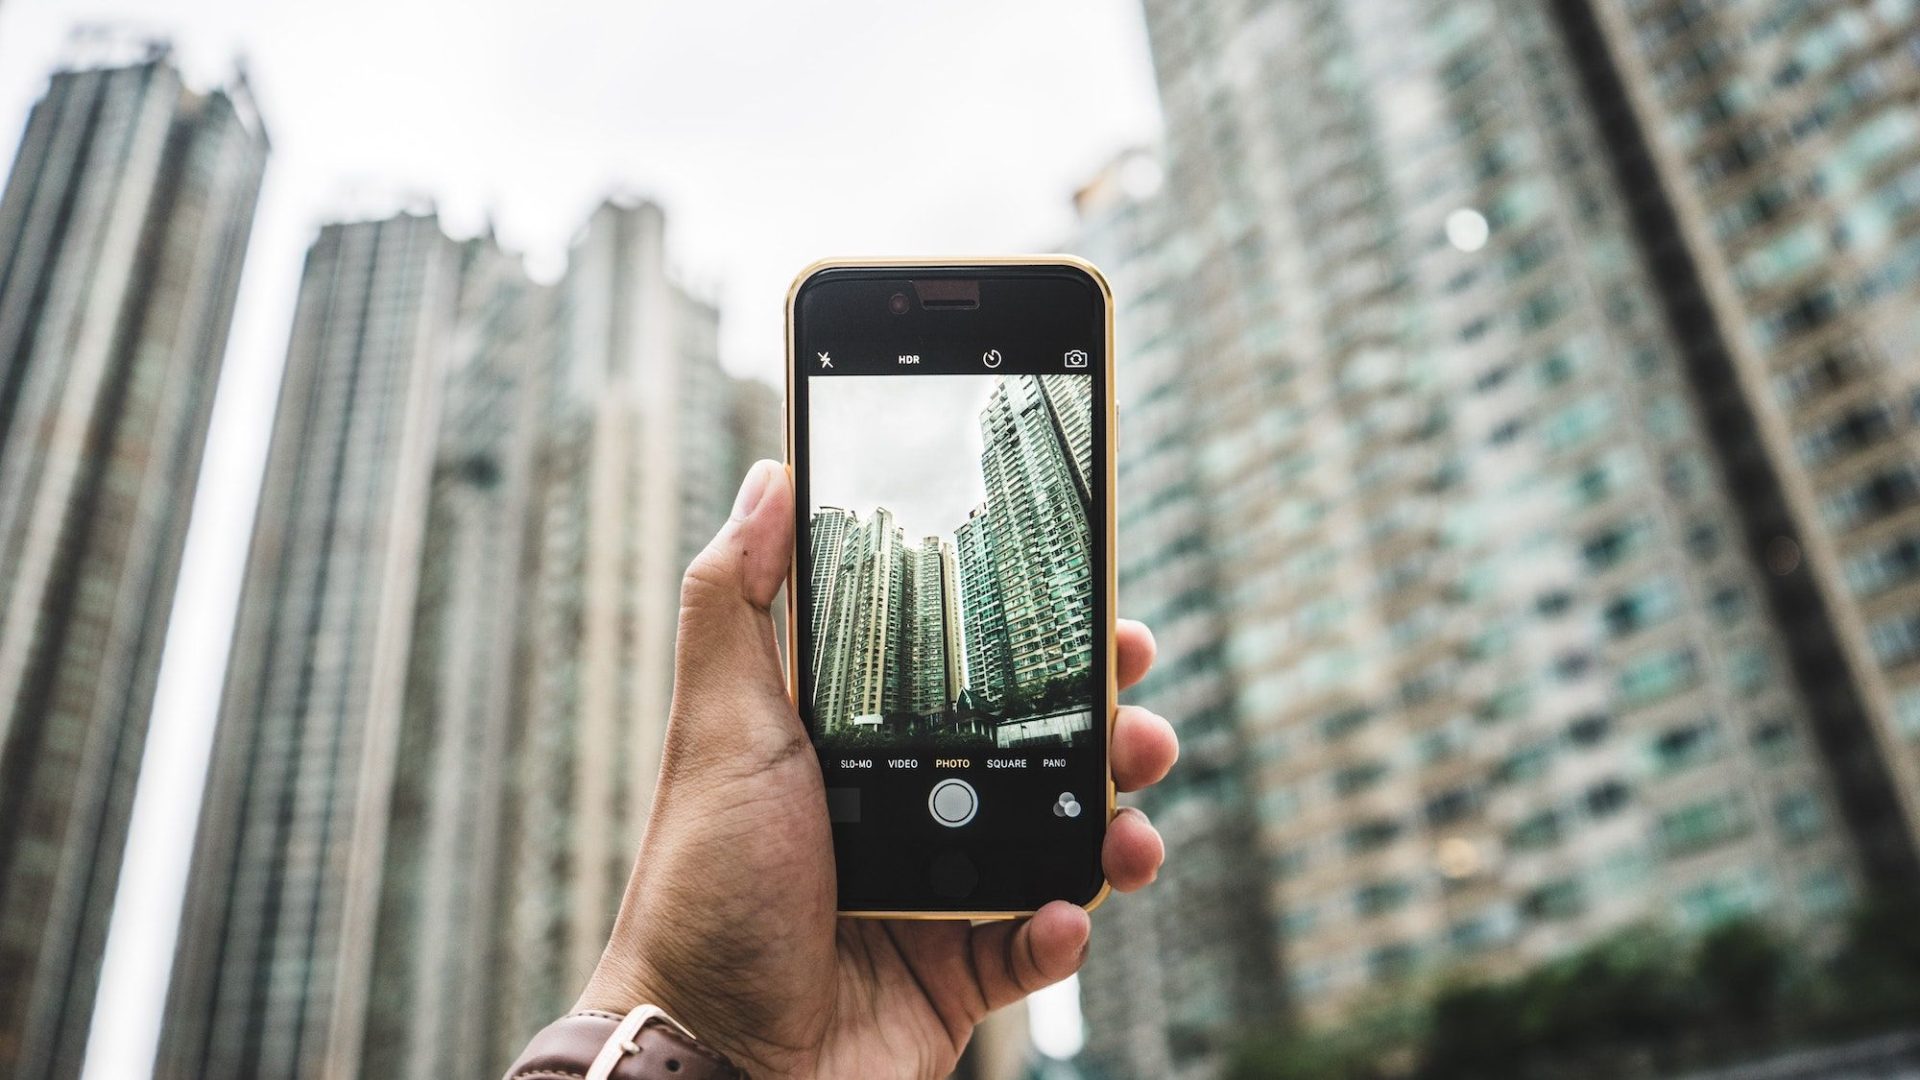
Before ten years ago, photography was an art or a profession that you only had to get a camera to do. During this time, many aspects of human life have been changed by smartphones. Today, many professional news and sports photographers use their smartmobile phones. Professional mobile photography training is also gaining more and more applicants. The main reason is social networks, which have made businesses, bloggers, brands, and personal pages need high-quality photos.
But how can you take high-quality and professional photos with a mobile phone? While it may be thought that everything depends on the quality of the phone’s camera and its resolution, it is not. Many impressive photos you see on social media are taken with average phones. If you are familiar with photography principles and techniques, you can take acceptable photos with any camera and vice versa. You can also upgrade your phone after success in the initial stages.
In this article, we will teach professional mobile photography by introducing the principles of photography and 18 practical techniques for this skill. Finally, we present five mobile phones with high-quality cameras. If you are interested in photography or need to acquire skills, join us and start your work by holding your mobile phone.
The Seven Principles of Photography
From the most expensive professional digital or analog cameras to the cheapest mobile phones, Whatever tools you have for photography, you must know the basics of this art. We introduce the most important of these principles in this section.
Recognizing patterns in photography

From any subject you photograph, you should be able to recognize visual patterns in the context of your photo. In addition, if you arrange or arrange the issue yourself, you should be able to form at least one pattern in it. Patterns are visual repeating elements that unify the image and make it easier for the viewer to understand.
Compliance with rhythm and movement in photography
Photography has a rhythm, like music. This word means that the subjects and photographic elements are placed behind each other with regular or at least thought intervals. The rhythm of different parts of your photo can be different. To follow this principle, when taking professional mobile photography, imagine that the background is the background, the screen of music lines, and the subjects are your notes, which you need to put together at logical intervals.
The term “Movement” in photography is usually associated with digital and analog cameras, taking the shutter speed and following the subject. However, this issue is also considered in professional mobile photography training courses. The meaning of movement is the direction of the viewer’s eye when scrolling through the photo. Some elements, such as lines, create demand.
The more uniform the direction of the photo elements, the faster the photo. This means that the human eye reads the image more quickly. Colors can also advise on the idea. In this way, it attracts the viewer’s eye with warm colors and gradually moves toward cold colors.
Create an emphasis on the photo.
Each photo should have a point of emphasis. Where color, space, texture, and lines combine to create focus. Simply put, the subject in the photo’s center is also its focal point. But their orientation to each other determines this point for a photo with more than one subject. Color contrast can also emphasize your issue or topic of focus.
Maintaining visual balance
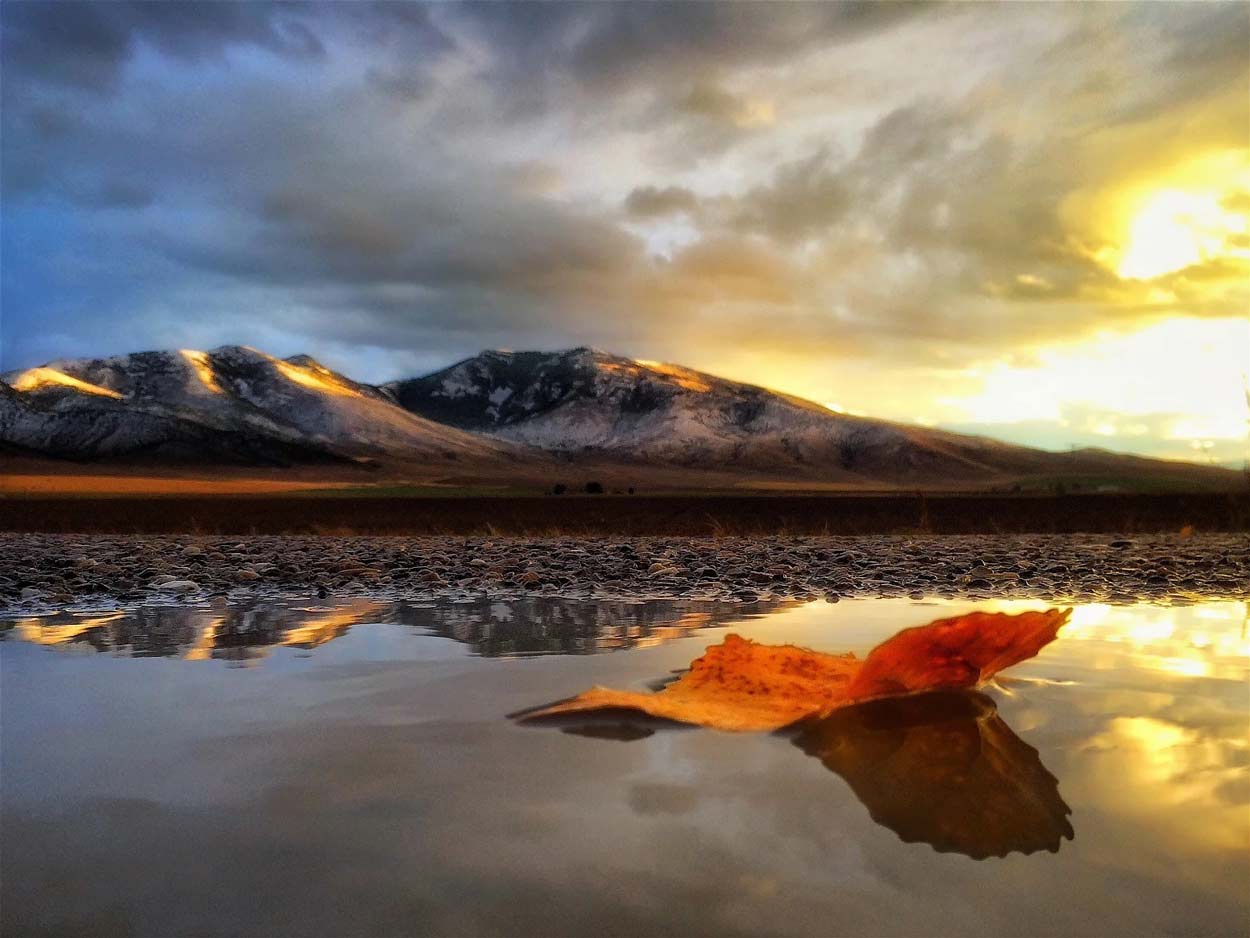
Another important principle of teaching professional photography with a mobile phone or camera is to observe balance. What is meant by balance is how the visual weight of the image leans. Generally speaking, photos are divided into the following ten categories:
Symmetricacentralhich, the number of elemeAsymmetric sides of the image, is equal.
Radially symmetrical, like the spokes of a bicycle tire, around a central point, and circular.
Asymmetric, the main subject is one-third of the image (from all directions), and the rest is visually quieter. Even the other side of the image can be matte or have special effects. This principle is also known as the one-third rule.
Whether in professional photography with a mobile phone or with a camera, you should know that symmetrical photos create a feeling of peace, and asymmetrical images create anxiety in the audience. Choosing the type of photo balance is necessary according to the surface you want to make.
Adhering to contrast technique in photography
Contrast is one of the basic principles of almost all arts, including photography. In professional mobile photography training courses, particular emphasis is placed on this principle because this tool often does not provide the photographer with the necessary settings to create contrast, like professional photography cameras. Therefore, it is required to achieve this quality by contrasting objects, background textures, lines, and colors.
Compliance with the principle of unity in photography
Unity is one of the essential principles of learning professional phone photography. The meaning of this principle is that the different elements of the photo have some harmony or harmony with each other in terms of color, texture, appearance, nature, etc. Otherwise, your previous efforts to create balance, emphasis, and contrast will remain fruitless. If you assemble the photography set yourself, paying attention to its elements in advance is better.
With this explanation about the principles of photography, we will continue to teach professional photography with a phone by reviewing 18 critical points.
1- Buying a mobile phone with camera quality priority
If one of your main goals for buying a mobile phone is photography, you should prioritize the quality of the camera. If you’re on a budget, lower your expectations on other phone features like looks, sound quality, etc. Although most people only consider the number of pixels, this feature alone will not be enough for professional mobile photography. Therefore, pay attention to the following features:
- Processor quality and power: A16 Bionic, Dimensity 9200 Plus, and Snapdragon 8 Gen 2 are among the best mobile processors.
- Sensor size, which should match the number of pixels in your camera. For higher pixels, at least a 1.7/1 sensor will do. In general, it is better to have both the number of pixels high and the size of the sensor to be significant.
- Aperture size: If your photography style is such that the subjects are always sharp and the background is blurred, a mobile phone with a smaller aperture number, such as 8, or a higher exposure, will be more suitable for you, and vice versa.
- Magnification capability: Of course, the bigger, the better.
- Type of lens: The Moment Wide 18mm, ShiftCam 10x Macro, Xenvo Pro Kit, and Apexel 36x Tele are high-quality lenses.
HDR support: We will explain more about this feature in another part of the article.
In addition, your phone should be able to make different settings like a camera. For professional mobile photography, sometimes you must change settings such as ISO, white balance, and shutter speed. It is also better if your mobile phone allows you to change the focus from AF-C or continuous to AF-S or MF.
If your phone supports camera2api technology, you will also have these features when taking photos. This way, you can photograph moving and still subjects or create your desired focus.
2- Using the Gridline to balance the photo

In the previous part, we discussed the principle of balance in photography. One of the most important advantages of mobile photography is the gridline tool. Gridline can be turned on when taking Android phone photos in your phone’s camera application settings. Using this 9-house grid, you can easily follow the rule of one-third or take a symmetrical photo.
If you plan to take an asymmetrical photo, following the rule of thirds horizontally and vertically is better. Of course, maybe after some time of professional mobile photography, you won’t need this tool anymore. Follow the steps below to use Gridline on iPhone:
- Settings
- Photos & Camera
- Grid
3- Using HDR in professional mobile photography
One of the most essential tools mobile phones provide for photography is High Dynamic Range or HDR. This feature of the phone’s camera app helps the photographer to achieve better light balance and contrast. HDR brings the image closer to what the human eye sees. Of course, this tool is mainly taught in professional mobile photography training. Because many regular phones lack it or this feature does not have the required quality.
HDR is especially effective in low-light environments. This tool prevents overexposure in the background and dimming of the subject by preserving details in the dark area. Many iPhones take photos in HDR by default. But if you have another phone, you should check the existence of this feature.
4- Using the experiences of bloggers in professional mobile photography
This point seems obvious, But many photographers, especially mobile photographers, are unaware of it. In today’s world, most of the videos and photos we see are taken with mobile phones. Professional bloggers and vloggers have good experience in this field. Many of them share their experiences on YouTube through educational videos. Therefore, you don’t need to reinvent the wheel or buy expensive courses to learn professional mobile photography. It is better if you have a download tool from YouTube because you can download the methods and use them later without the need for the Internet, even when you are busy with photography.
5- Using lighting in mobile photography
The best light for professional mobile photography is natural light. The flash of mobile phones rarely has the required quality. If you need a lot of light, postpone your photography time to the day as soon as possible. If you don’t have natural light, various lighting hardware such as LED, softboxes, and ring lights can aid you. Ringlight is especially useful for portrait photography with the phone. Also, after taking a photo, you can adjust your morning with the Exposure tool in photo editing programs.
6- Determining one subject and no more in mobile photography
Except in artistic and special projects, having more than one subject in professional mobile photography is not recommended. Because this tool is not suitable for focusing on more than one topic or issue. To focus, it is usually enough to tap your phone’s screen. After that, a square will be drawn around the point, indicating that the focus has been successfully achieved. Focusing also helps to adjust the lighting of the photo.
7- Prevent camera shake by using a tripod
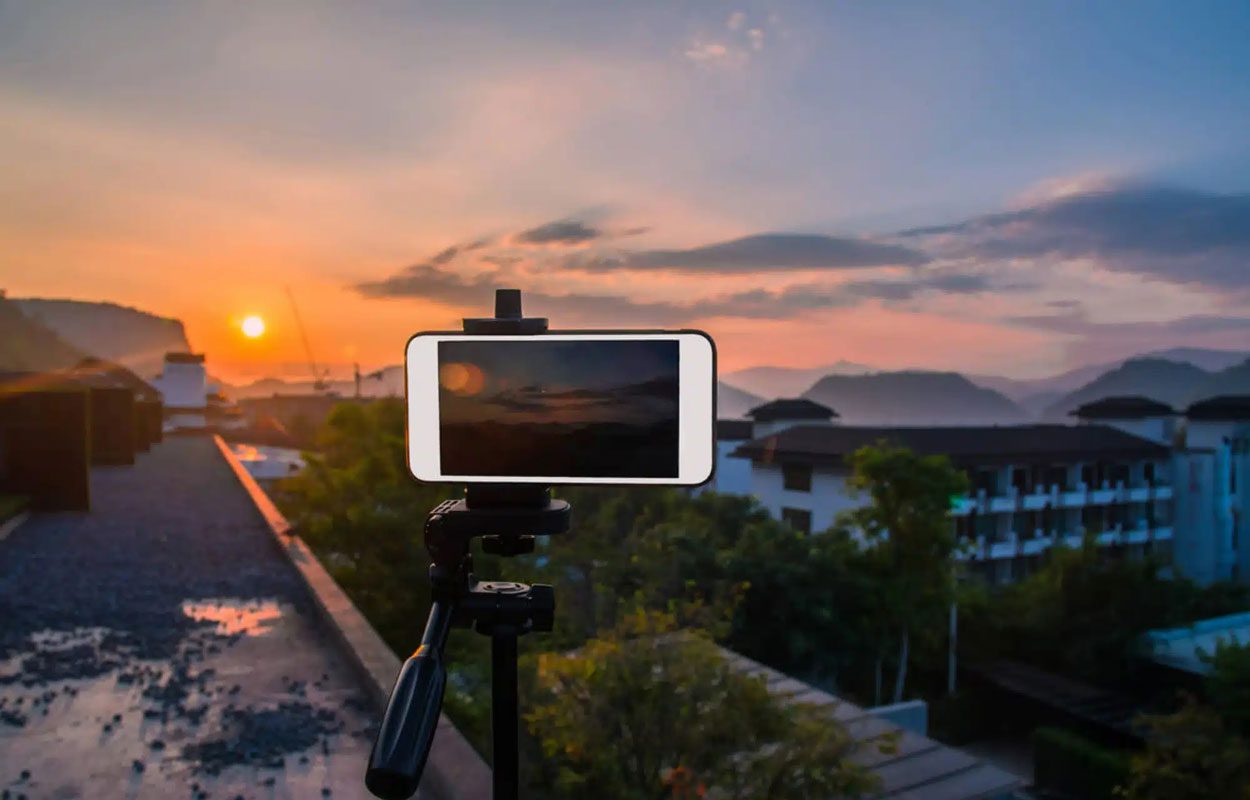
Professional and semi-professional photography cameras benefit from a technology called image stabilization. But mobile phones do not have such technology. Therefore, it is necessary to fix this tool in any way possible and avoid vibration. Leaning the camera is a simple solution, but it is the best anti-shake tool for professional mobile photography with a tripod.
Various forms of tripods are available in the market. Their price is not high. Therefore, it is recommended to get their high-quality and comfortable type. Some tripods are so dry that they may damage the body of your mobile and take your energy to work with them.
Even for selfies, using a tripod instead of a monopod is recommended. Because they mostly occupy less space and are lighter. Also, the price of anti-vibration monopods is usually expensive. If you like photography in natural and uneven environments, use flexible tripods, which are naturally more expensive.
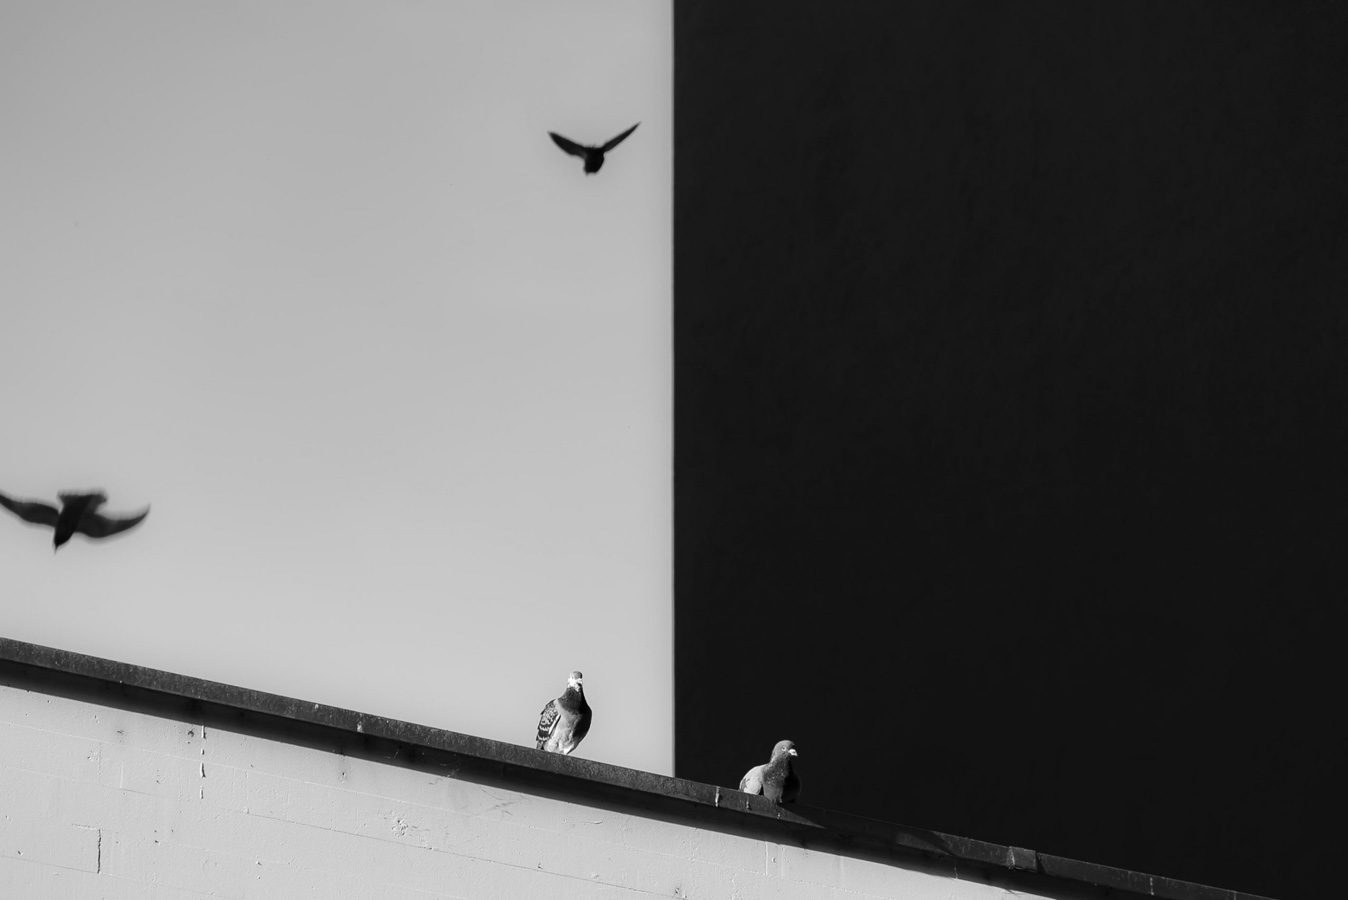
8- Optimum use of negative spaces

Negative space is one of the specialized concepts and terms of photography, called the space around the subject. Any subject or object in the photo, called positive space, must be surrounded by some negative space for the image to be composed appropriately. Otherwise, the image will look either too busy or too lonely. In professional mobile photography, you must also learn how to achieve a balance in this type of space.
The more negative space around a subject, the more prominent the issue will appear. For example, a lone bird in a vast blue sky or a tree in a sizeable monotonous plain are examples of subject emphasis using sizeable negative space. Depending on your photography goal and the subject’s importance, you should decide on the amount of negative space around it.
The advantage of learning photography with a professional phone is that better phones have a larger zoom or zoom range. Therefore, they allow the photographer to play more with the space without distorting the quality of the image. Of course, using the digital zoom of mobile phones is generally not recommended.
9- The importance of creative perspective in phone photography

Photography with mobile phones also has advantages over photography with cameras. One of them is that this tool allows the photographer to find creative perspectives or shots in ordinary shots. Sometimes, finding a unique angle and holding your phone from a distance is enough. The lightness and fit of the mobile phone in the hand allow you to rotate it easily. This possibility makes it easier to take professional photos with mobile phones in crowded and high-traffic environments.
10- Using the raw format in professional phone photography
One of the most essential techniques for teaching professional mobile photography is taking raw photos in RAW format. This format collects more information about the subject and the negative space around it. Information that we rarely see in JPEG and PNG formats. With your raw photos, you have more editing opportunities that can lead to unique results. For example, you can change the lighting, colors, resolution, white balance, etc., after taking the photo. Fancy filters also look better and more organic on RAW images.
Every professional mobile photography training course or video emphasizes that the photographer must also master photo editing software. Even in some studies, software training such as Photoshop is also seen. This is because mobile photo editing applications do not have enough tools, or if they do, they need a lot of processing power, which increases the cost of buying a phone. Therefore, it is better to take the photo RAW and then edit it in Photoshop or other software.
11- Use of filters in photography
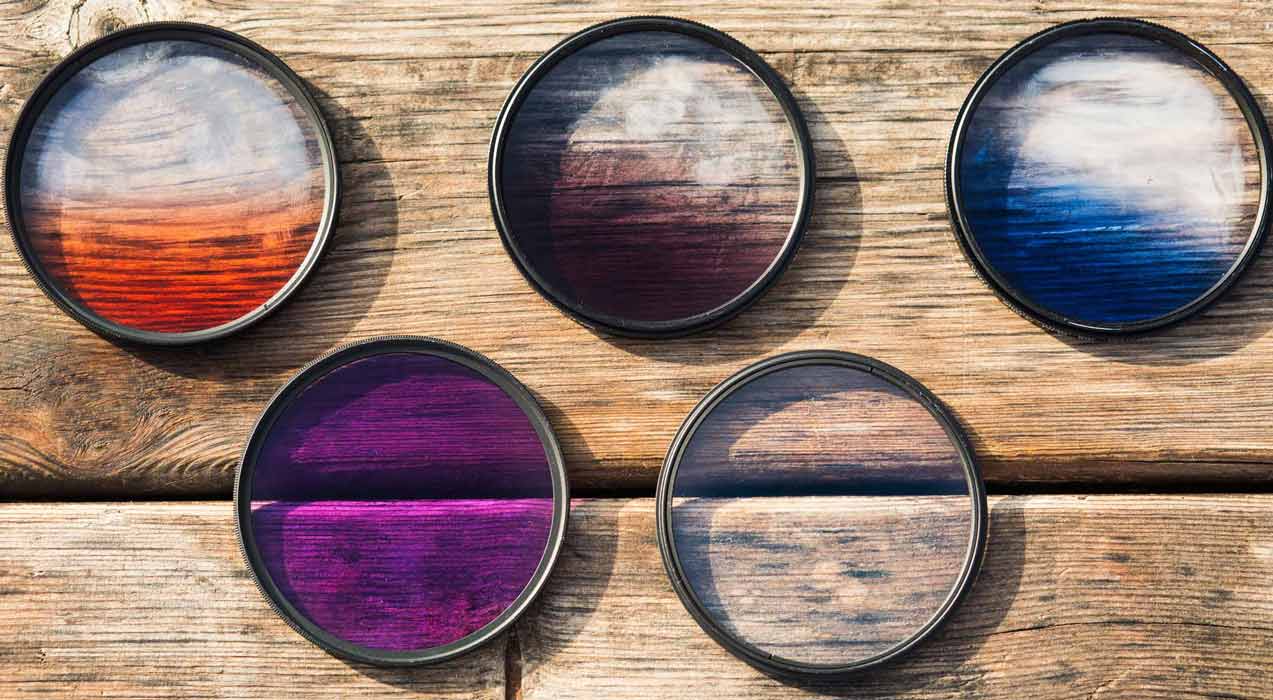
Although it is recommended to use professional photo editing apps for basic edits such as light and color adjustments, you are free to choose mobile apps for applying filters. Applications like Lightroom, Photoshop Express, and Snapseed have diverse and attractive filters. Like a lens, color physical filters are also installed on the phone sensor.
The filter can enhance your desired mood. For example, the so-called vintage filters can give your photo a nostalgic or romantic look if you are into city photography. In addition, applying a filter will also compensate for some defects in your image. Especially if you have glare or high contrast in your photo, a filter can reduce them.
12- Using the remote shutter
You will have sharper and better-quality images for professional mobile photography if you can get a remote shutter control. It would help if you had a tripod to mount your external shutter. With the wireless shutter, you no longer need to tap the camera screen. So you won’t have to worry about extra shake, blurring, out-of-focus, or messed up scene settings. This tool is handy for photos you take of yourself. By using it, you can get more natural moods. The remote shutter has different prices, depending on the quality of the body and its features, ranging from 100 thousand tomans to eight million tomans at the time of writing this article.
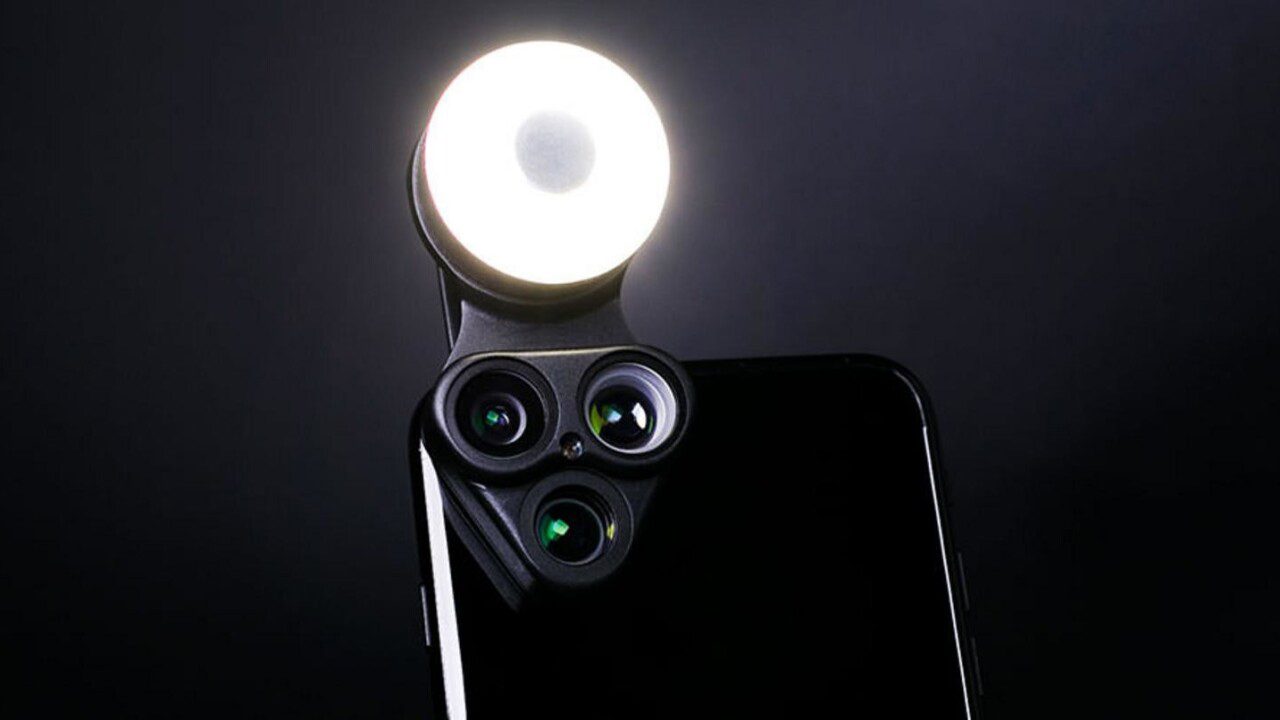
13- Use of external lens
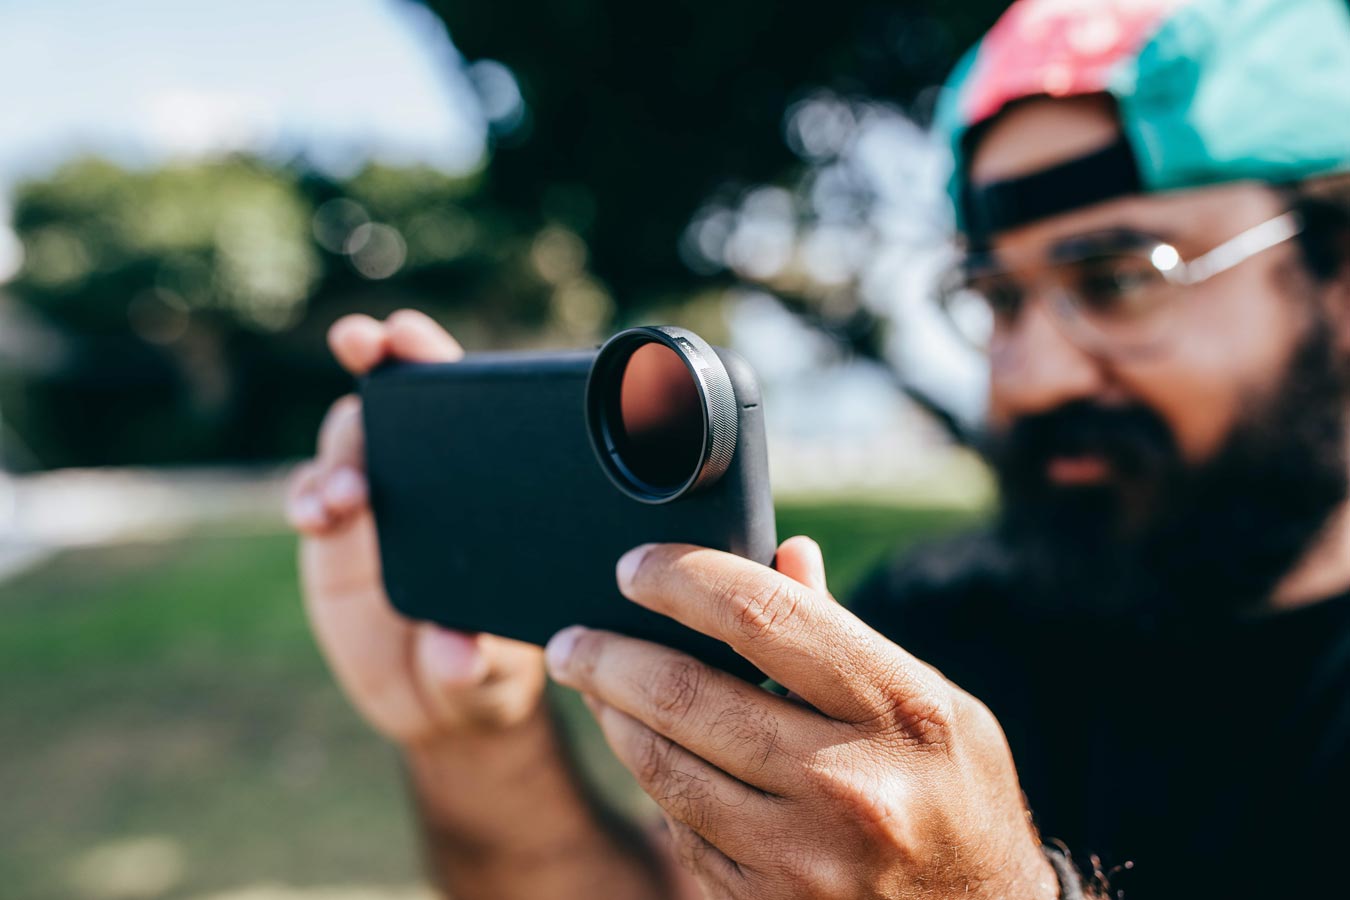
If you are a professional mobile phone photographer in different telephoto and wide lens modes, maybe even the best mobile phone will seem limiting to you. The best solution in these cases is an external lens. This hardware is installed on the lens of your phone. Some have a base, and others stick to the back of the phone. Using an external lens lets you quickly and easily achieve your desired state.
An external lens is also called an add-on lens. This hardware has different types of comprehensive, Tele, fisheye, macro, etc., like internal lenses. Especially if your phone has only one camera, these lenses can help you. Moment brand has done very well in this field. The price of external lenses when writing this article starts from 1.2 million Tomans. High-quality models of this product are light, waterproof, and shockproof.
14- Use of third-party applications
In many mobile phones, despite the relatively high quality of the camera, the photo quality of the device’s native application is low, or its features are few. In general, it is recommended to use third-party apps for professional mobile photography. Some of these apps for Android devices include:
- Camera FV-G Lite
- Open Camera
- Camera ZOOM FX Premium
- ProCam X – Lite
Camera ZOOM FX Premium and ProCam 7 are also suitable for photography with iOS phones. If your phone does not have the possibility of manual settings ma, dual mode, or taking raw photos, these programs can give you these features.
15- The correct setting of resolution and speed
Particular emphasis is placed on speed and resolution in every professional photography training course. We recommend increasing the answer as much as possible. In some cameras, you may have to crop it after taking a photo due to blurring or distortion in the corner of the picture, But instead, you will have better quality in the rest of the image. Unlike the resolution, it is recommended to keep the shutter speed at the device’s native setting, which is usually 4:3. Otherwise, you may also see blurring or distortion in the center of the image.
16- Registration of optical paths with a mobile phone
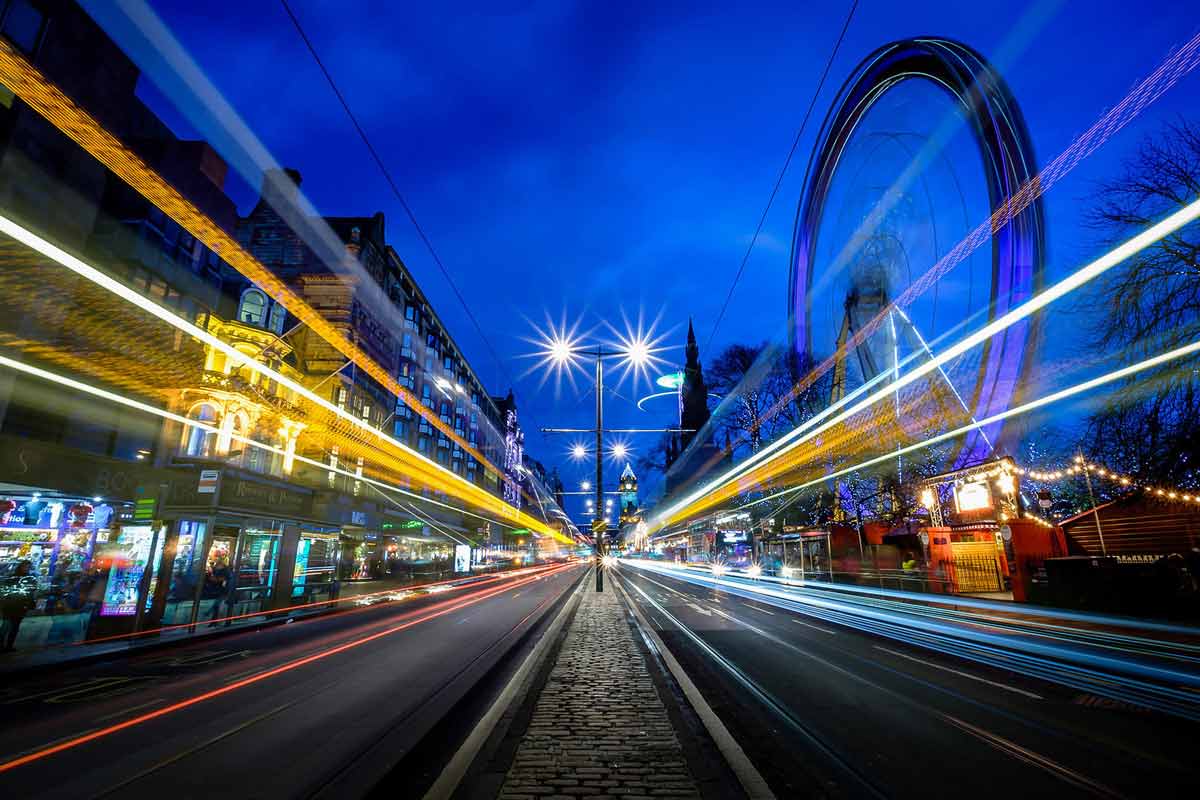
Mobile phone is perhaps the best photography tool for recording light trails. Light path means the lines created by different light sources, such as cars. They cannot be seen with the eyes but can be recorded with a mobile camera. With ordinary photography cameras, you will also have this possibility; mobile does it faster. For this purpose, you need to fix your phone and put it in the most open exposure mode.
17- Using dark objects to adjust the aperture
As we said before, in professional mobile photography, aperture setting is mainly limited, unlike photography with cameras. If your phone is advanced and has Pro-Mode, your job will be simple, but if not, you will have to use some creative techniques. One of these techniques is the use of dark objects. For this purpose, and when the ambient light is intense, you can place a piece of dark cloth or paper between the camera and your subject. Then, let the camera adjust or tap the screen if it’s in manual adjustment mode. Then, take the paper or cloth and quickly take a picture.
18- Maintenance of mobile phone
Observing the following general points can also give you a better experience of mobile photography:
- Always be sure of the cleanliness of your phone lens.
- With a full battery, start shooting.
- Always have enough space to store new photos on your phone.
- Postpone photo editing until after the time you have dedicated to photography. Otherwise, part of your battery will be spent working with editing programs.
- Remove the photos from the phone at the day’s or photo session’s end.
- Use high-quality protectors for the body and screen of the phone.
- Be careful with the temperature of the phone when shooting during the day.
- When taking photos, close other applications so that maximum mobile processing power is used for the photography application.
The best mobile phones for professional photography
The most expensive phones on the market are not necessarily the best options for professional photography. At the end of this article, we introduce five models of the best phones on the market at the time of writing this article for photography, which are:
- Samsung Galaxy S23 Ultra: With one 200-megapixel sensor, one 50-megapixel sensor, two 12-megapixel sensors, and two 10-megapixel sensors
- Xiaomi 13 Pro: With three 50-megapixel sensors and one 12.5-megapixel sensor
- Google Pixel 7 Pro: With three sensors of 50, 48, and 12 megapixels
- iPhone 14 Pro Max: With one 48 and two 12-megapixel sensors
- Google Pixel 6a: With three sensors of 12.2, 16, and eight megapixels
Final tips on professional mobile photography
Along with learning professional phone photography, you should also know the importance of experience. Especially if you intend to do artistic photography, you should be able to express yourself in photography. So don’t be afraid to experiment. Also, I always see and learn from professional mobile photographers. Zuka Kotrikadze, Matt Louder, and Eric Chu are examples of these people. What techniques do you use for professional mobile photography? What do you think is the best phone for photography? Please share your opinion with us and other readers of this article.