


Important Camera Settings For Filming And Live Streaming
Camera Settings Are The Most Important Introduction For Video Content Producers And Streamers.
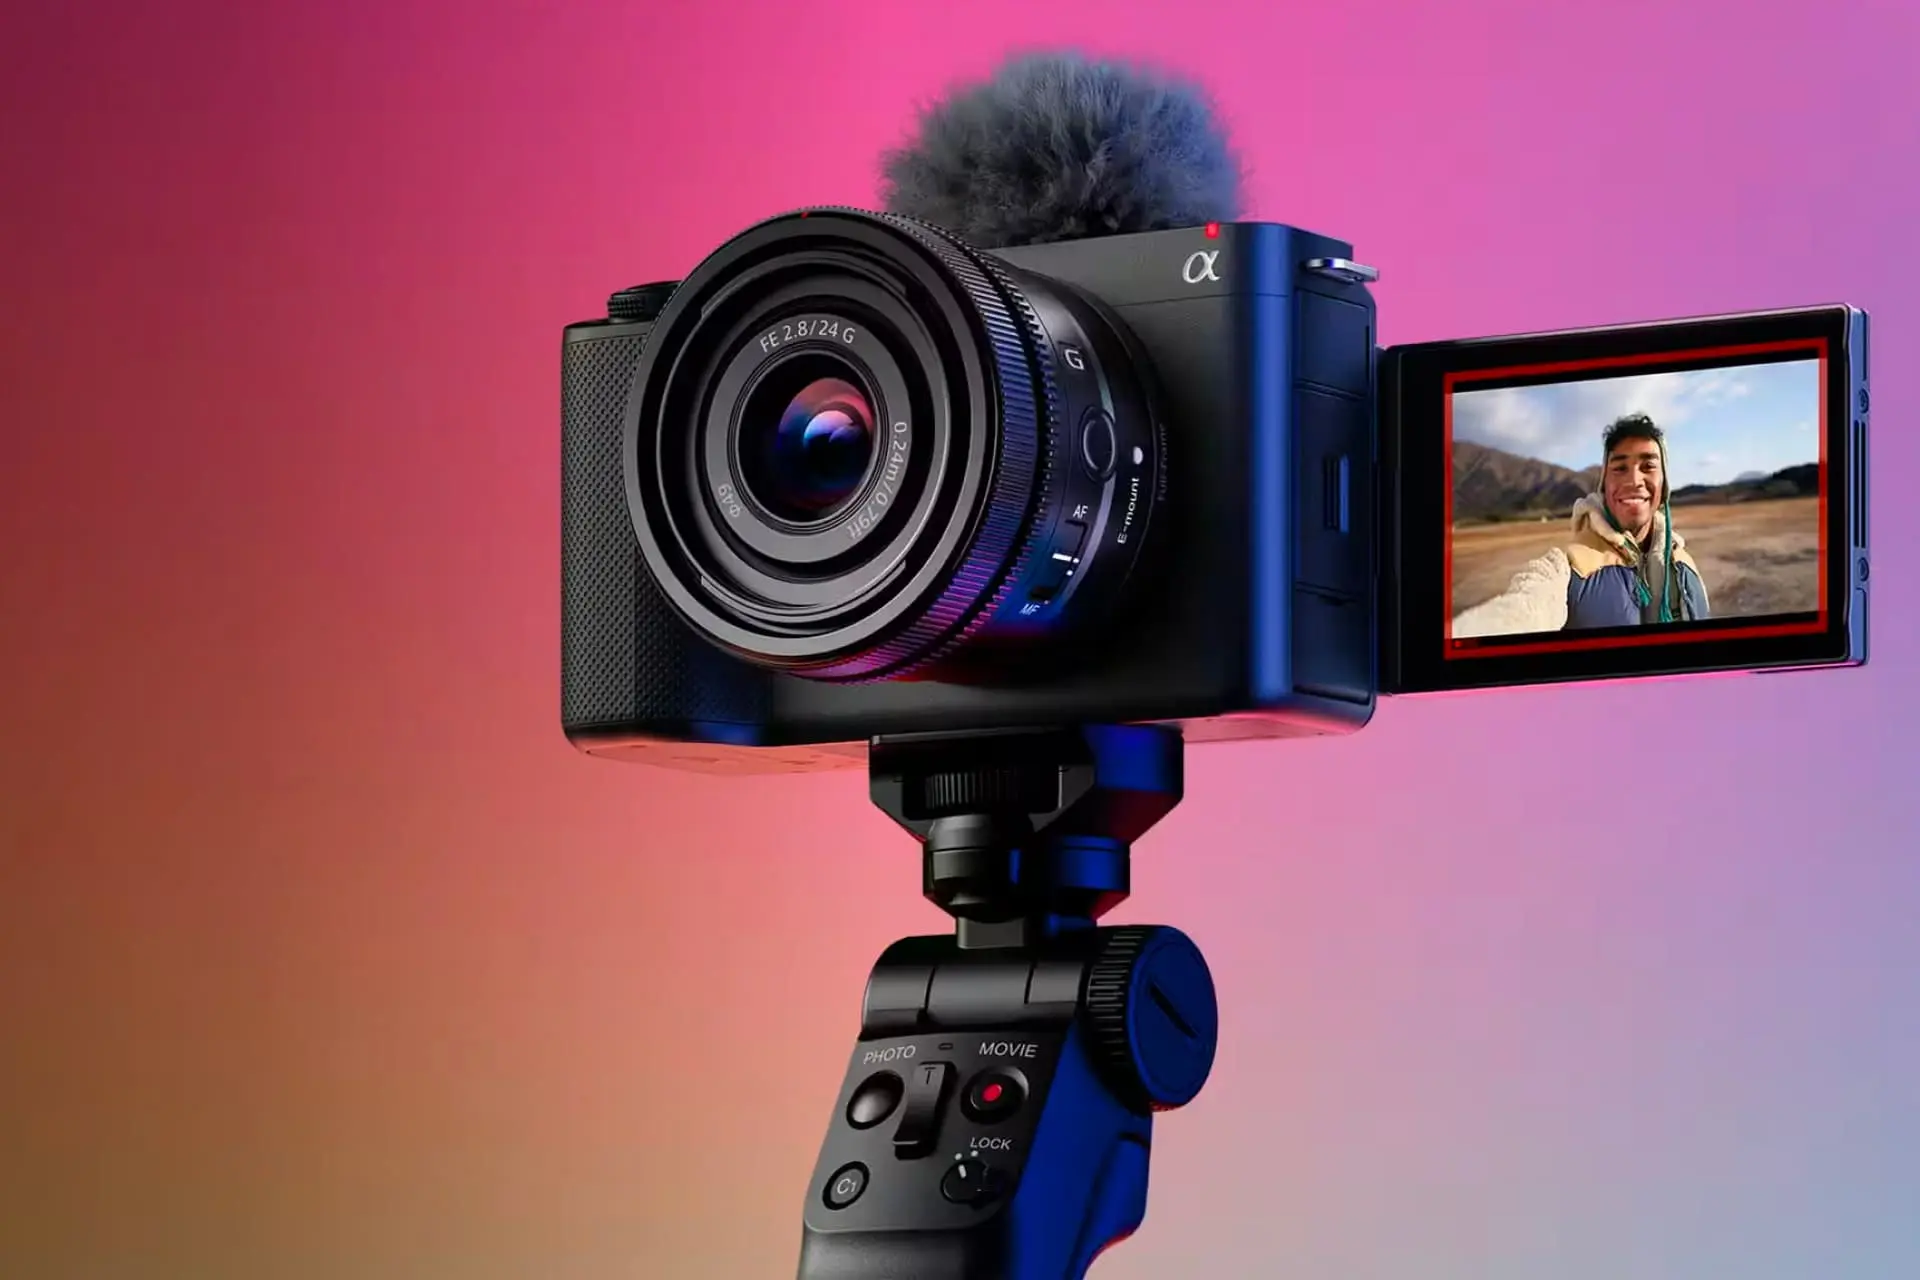
It doesn’t matter if you are a professional YouTube video content creator or webcam streamer; Using the best camera settings to display the image is essential. This article will mention some basic camera settings for filming and live streaming.
Use movie mode to shoot video.
Some cameras can record video in photography mode, but the Movie mode is recommended to use the best quality and cut the image for display in the players. For example, if captured in 4K mode in many cameras, it creates a movie cut, which can only be activated in (Movie) mode.
First step lighting
You don’t need studio-grade lighting for proper video output, But the right lighting conditions offer the user more options in settings. The more ambient light, the better the image output, But poor lighting conditions limit the settings.
1. Aperture
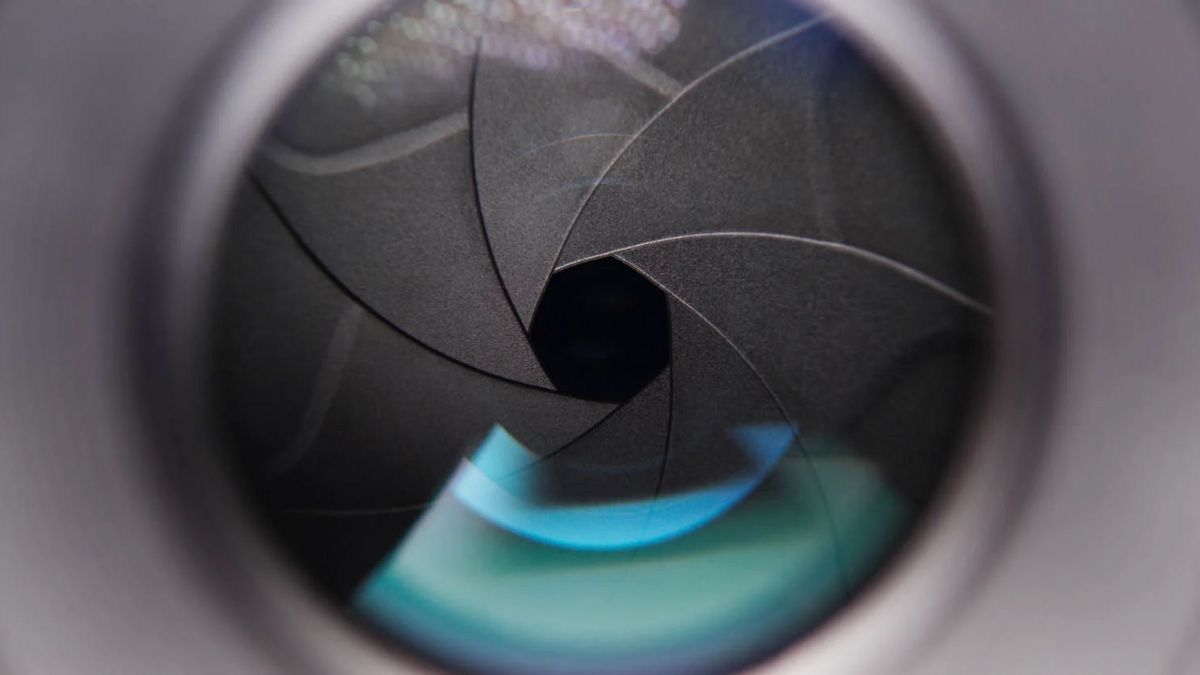
The aperture of the camera lens is the amount of space it is for light to pass through to the camera sensor to capture the image. A lower aperture ratio means more open space for light to pass through, resulting in more exposure and blurring of the background. For example, a lens with an aperture of f/1.4 has a greater depth of field than a lens with an aperture of f/4.
Video recording with a wide aperture is better in low-light conditions. However, if the video is recorded in good lighting conditions, the open gap can still provide more options for setting the light. A closed gap is recommended when you want the subject’s background to be precise or the lighting conditions are suitable.
When recording video, the amount of background blur is essential. If you are recording video in a closed environment, due to poor light conditions, you should open the aperture, which will make the background of the footage darker. Still, in the open environment with sunlight, the amount of aperture opening and blurring of the experience can be adjusted as desired.
2. Shutter Speed
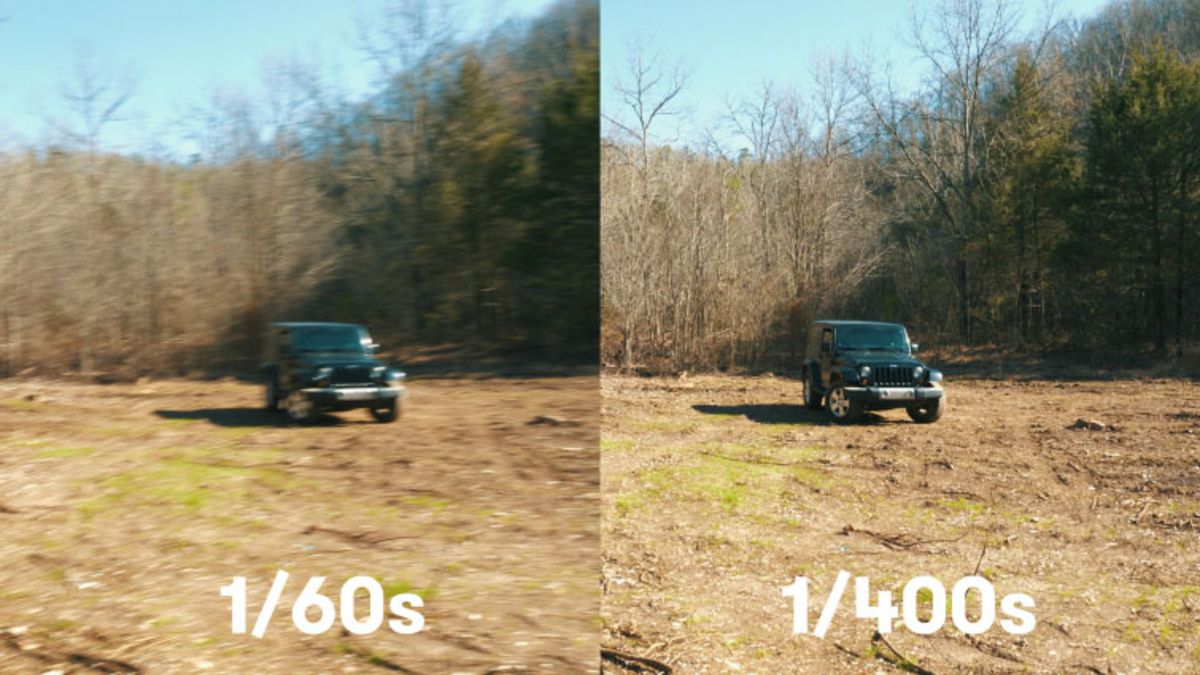
Shutter speed is how long it takes for light to enter the sensor from the aperture. By slowing down the shutter speed, the lens aperture stays open longer, allowing more light to enter. By increasing the shutter speed, the gap remains open for a shorter period, which causes less exposure.
In short, the shutter speed determines the amount of motion blur and the exposure length, which is how long it takes to capture a photo or frame of video. The camera’s shutter speed should be multiple close to the video frame rate for video. Ideally, set the shutter speed to about twice the frame rate of the video. It doesn’t need to be precise twice the frame rate, But try to be as close as possible.
If you record video at 24 frames per second, use a shutter speed 1/50. If you are recording at 30 frames per second, set the shutter speed to 1/60. Use a shutter speed of 1/125 when recording a 60 fps video.
At least you can match the camera’s shutter speed to the video’s frame rate. For example, if you shoot video at 30 frames per second (29.97), the minimum shutter speed should be 1/30 to have acceptable video quality; But when the subject moves, the image will be too blurry.
3. ISO
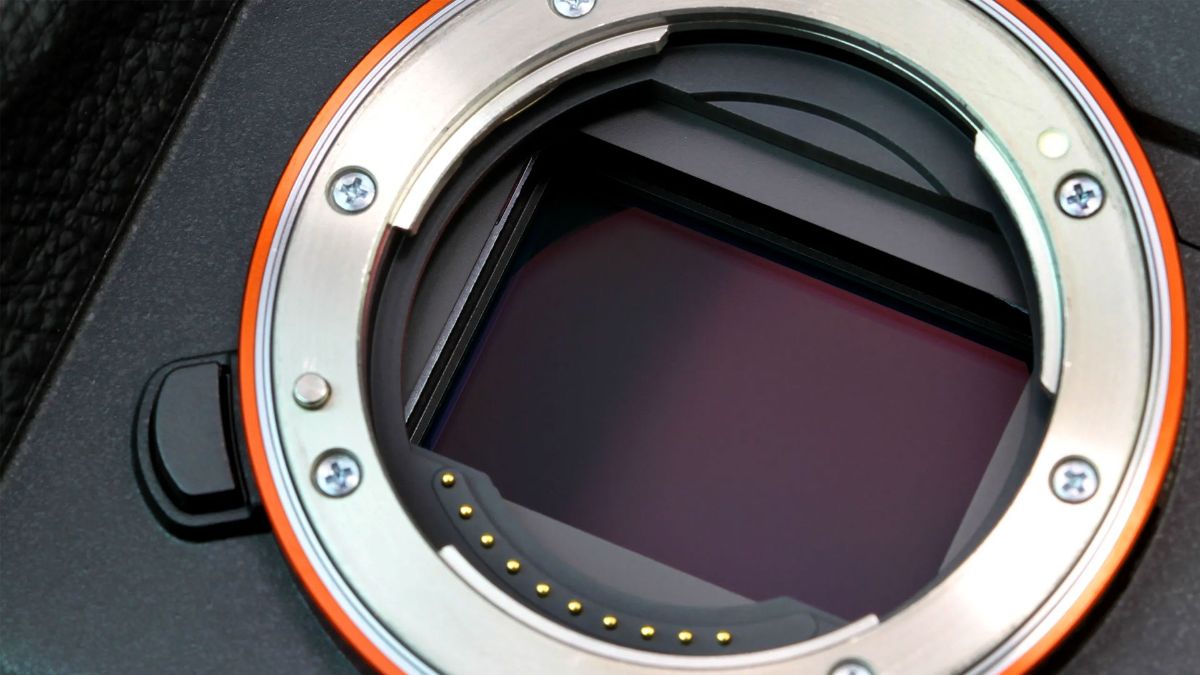
ISO is the sensitivity of the camera sensor to light. The higher the number, the more light the video will record and the more noise the video will have. But if the ISO is lower, the sensitivity to light and the video noise will also reduce.
The amount of ISO should be adjusted according to the ambient light, and after changing the morning, be sure to change the ISO and, in the last step, go to the aperture and shutter speed.
4. White Balance
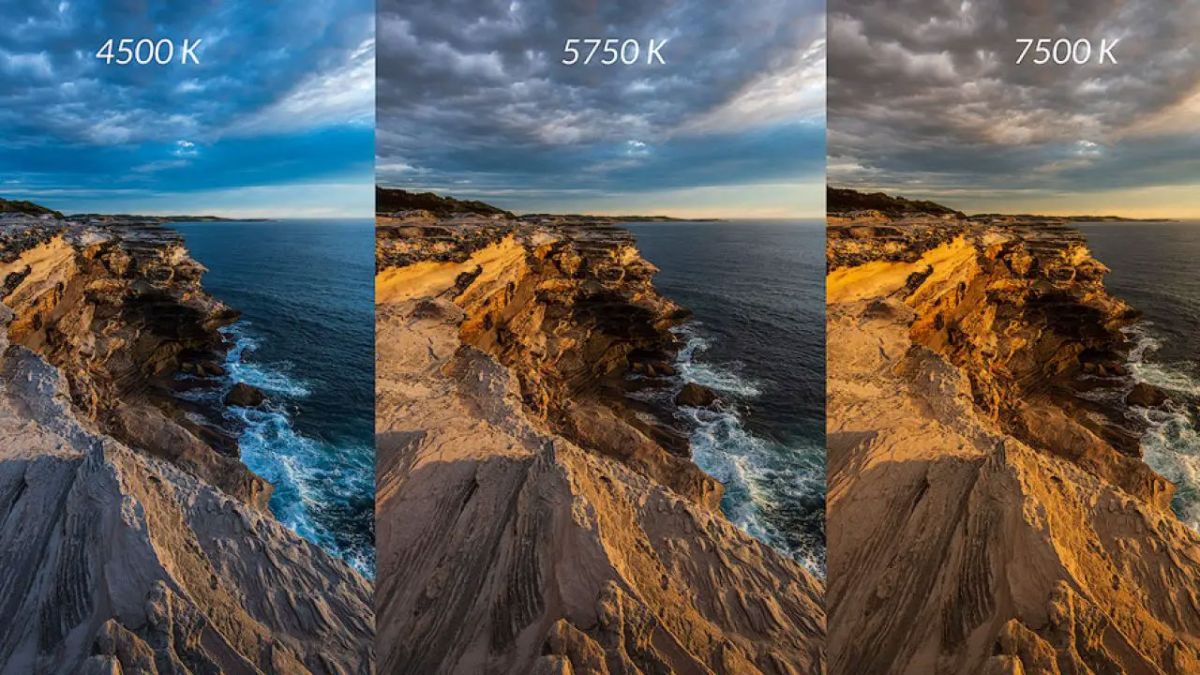
White balance is the color temperature of the image. A lower white balance makes the image cooler and shows more blue. A higher white balance makes the image warmer and shows more yellow-orange color.
You are adjusting the white balance to make the image more natural. If you set the white balance manually, changing it according to the light of each environment is suggested. For example, in artificial studio light, a white balance of 5000K seems reasonable; But in the conditions of sunlight and whether the light is warm or cold, the white balance is different.
Proper use of imaging tools makes the video more professional. If you have a movie camera; But don’t use its settings correctly, it’s worse than a webcam with the correct settings.