Unlock Peace of Mind: How to Enable System Restore in Windows 11 & 10
System Restore is an important backup feature in Windows 10 and 11. This feature allows you to create restore points before installing new programs, drivers, or Windows updates. If something goes wrong with something you’ve installed on your PC, you’ll always have the option to go back to the previous point, back up your PC, and start over.
In this guide, we will show you how to use System Restore in Windows 10 and 11 and how to manage different restore points. We will also explain how you can fix various problems that you may encounter during the recovery process.
What is System Restore in Windows?
As an IT professional, you are familiar with the System restore feature in Windows and its purpose. You may also have avoided working with it in the past because many believed it to be unreliable rather than useful; it is harmful.
However, when more serious problems arise on Windows PCs, it will be a vital tool among your tools. System Restore is a tool designed to repair and protect the operating System. This feature takes a daily snapshot of key Windows registry and system files and stores that information as a restore point.
When data corruption occurs or the failure to install a program is frustrating, System Restore can return the System to a much healthier state without the need to reinstall Windows 10 and 11.
How does System Restore work in Windows?
System Restore allows the user to restore their computer to an earlier state. System files, installed programs, Windows registry, and other system-related settings are all restored to the state they were in when the snapshot was taken. This option is great for when you need to test the installation of the program, because it allows you to restore your System to the previous point.
In previous versions of Windows, the system recovery technology was simpler. Windows used a file filter that monitored the state of key Windows system files and then overwrote any unexpected changes from the local file cache under the Windows folder.
With the advent of Windows Vista and the help of system recovery, Volume Shadow Copy Service was used as a backup technology. This feature allows file changes to be taken into account at the block level at any point on the volume (C drive), and a backup copy of those files can be prepared and later referred to and restored. Another advantage of this feature in Windows is the ability to use the Windows Recovery Environment (WinRE) to access similar functions.
With the advent of Windows, Microsoft decided to disable System Restore by default. To start the protection operation, this feature must now be enabled through the GUI or Group Policy.
What happens during recovery?
During recovery, these parts of Windows are read from the selected restore point and transferred to the existing Windows installation:
- Windows registry
- The files in the Windows File Protection (Dllcache) folder
- User profiles
- COM + and WMI databases
- Specific file types monitored
- IIS metabase
After “staging” these changes in Windows, a reboot occurs. When the operating System is closed, some of these changes are applied, and a backup version of the files is prepared and copied.
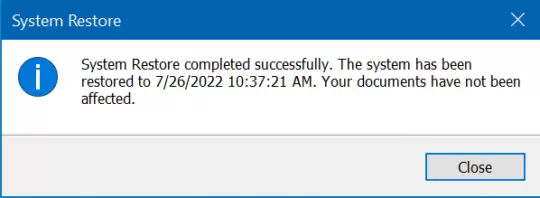
After the reboot, the remaining changes will be completed, and you will most likely return to the login page. When you log in, Windows will let you know if the restore was successful.
How long does system recovery take?
The time required to perform a recovery varies greatly due to the number of variables involved. These variables include the overall performance of the computer system, the number of changes made to the System between the snapshot and the current time, and other factors.
For example, suppose you have already created a restore point. Then, proceed to install Visual Studio 2022, uninstall Microsoft 365 enterprise apps, update your Windows 10 version from 1909 to 20H2, and install Putty.
In order for your restore operation to complete, System Restore will basically uninstall Visual Studio 2022, reinstall Microsoft 365 apps, roll back Windows 10 version from 20H2 to 1909, and uninstall Putty.
All these operations take a lot of time, and this feature may have limitations. However, it is definitely worth it!
How to use System Restore in Windows 10 and 11
Well, up to this point in the article, we know what System Restore is and what it is used for. Let’s walk through the steps to make sure the feature is enabled, check the configuration options, show you how to take a manual snapshot, and then perform the restore ourselves.
How to access and enable System Restore in Windows 10 and Windows 11
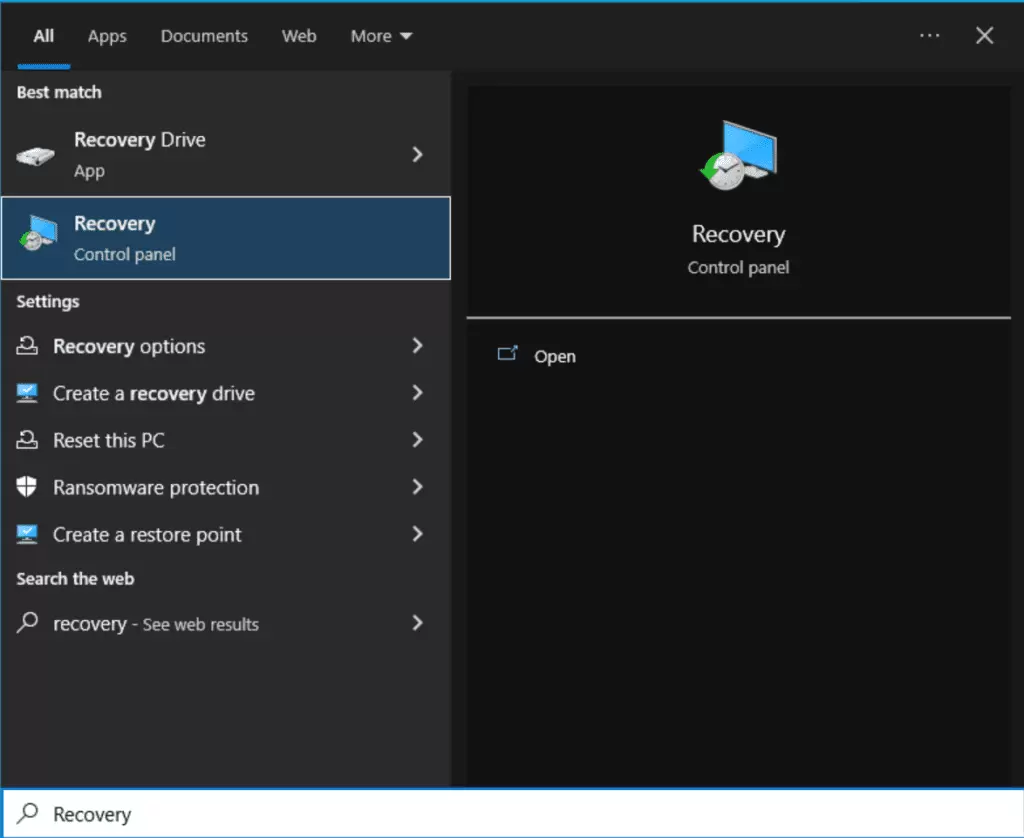
There are several ways to open the System Restore GUI in Windows. The fastest way to access it is to click on the Start button and type the word “Restore”. Select the “Restore” control panel item to open the “Advanced recovery tools” menu.
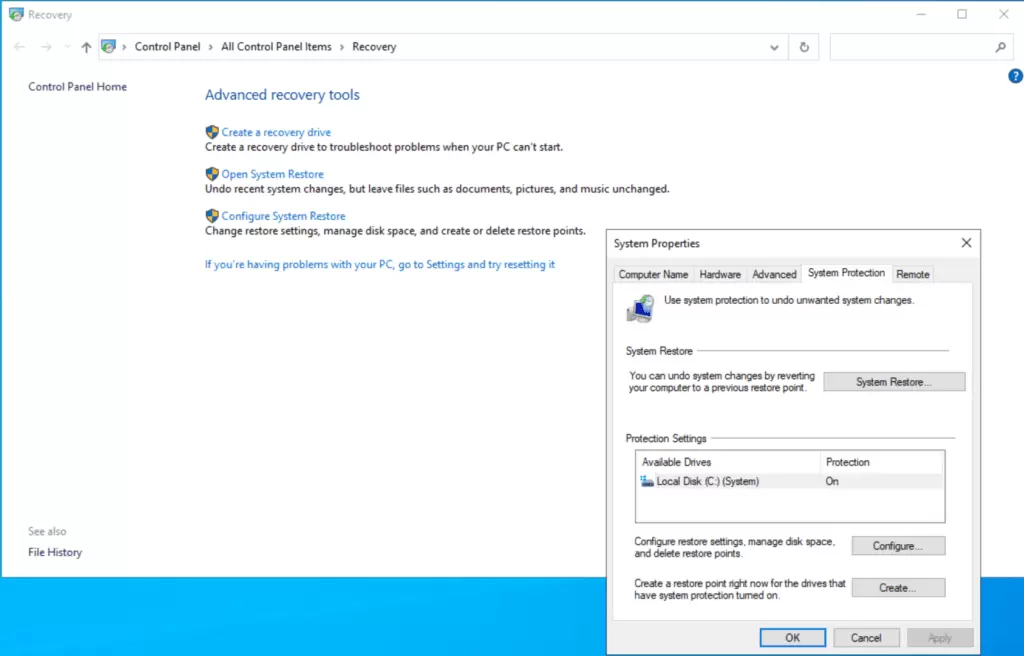
Here, you can select the last option, ‘Configure System Restore’.
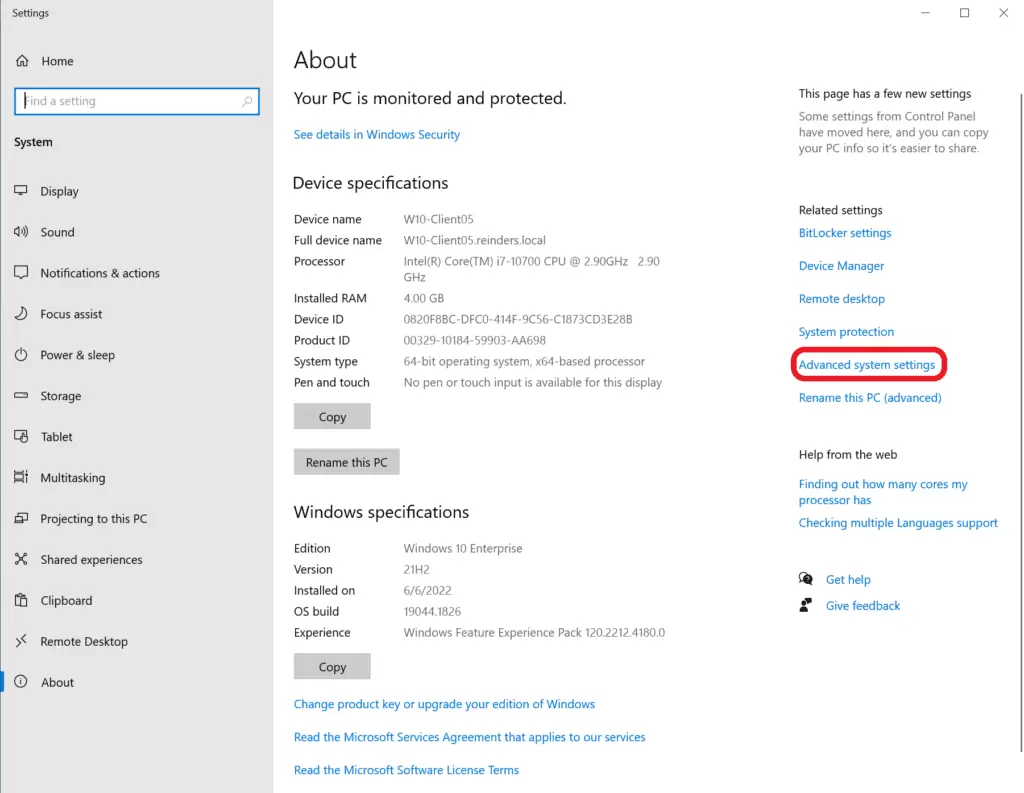
Another way is to right-click the This PC icon on your desktop and click Properties.
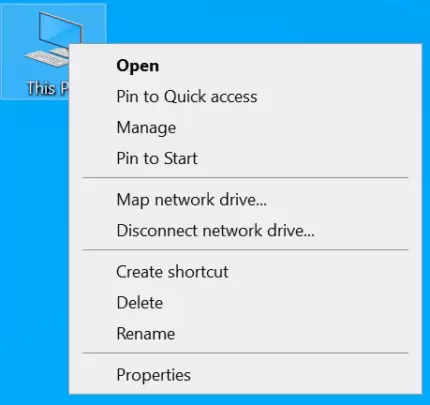
Then click on the Advanced system settings link on the right side. Finally, click on the “System Protection” tab at the top!
Well, before I show you how to view and delete existing restore points, we need to enable them first!
Click on Start and type “Restore.” Then, select the Recovery Control Panel item at the top of the list.
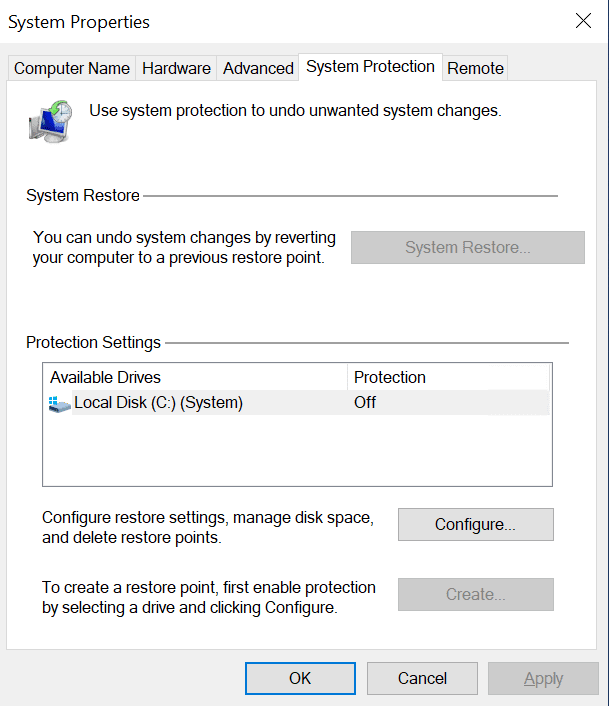
Click on Configure System Restore. Click the “Configure…” button.
In the next step, click on “Turn on system protection”. Be sure to select a certain percentage of the disk volume that you want to set aside for restore points. Here we have chosen 10%.
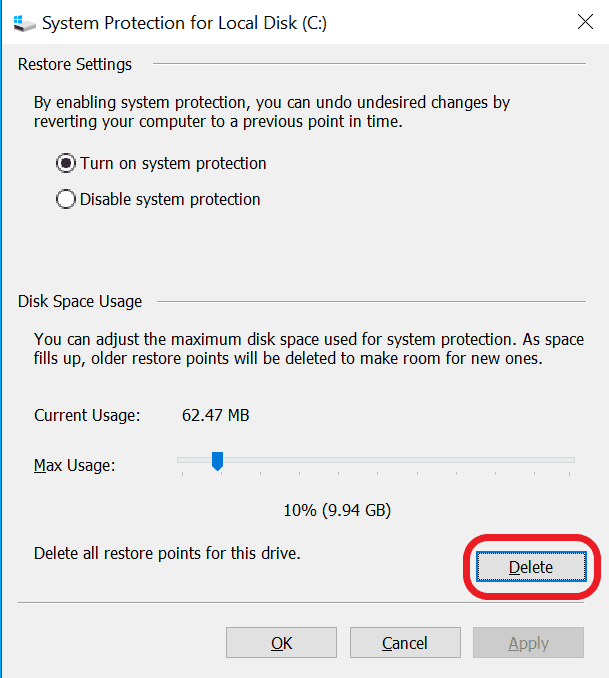
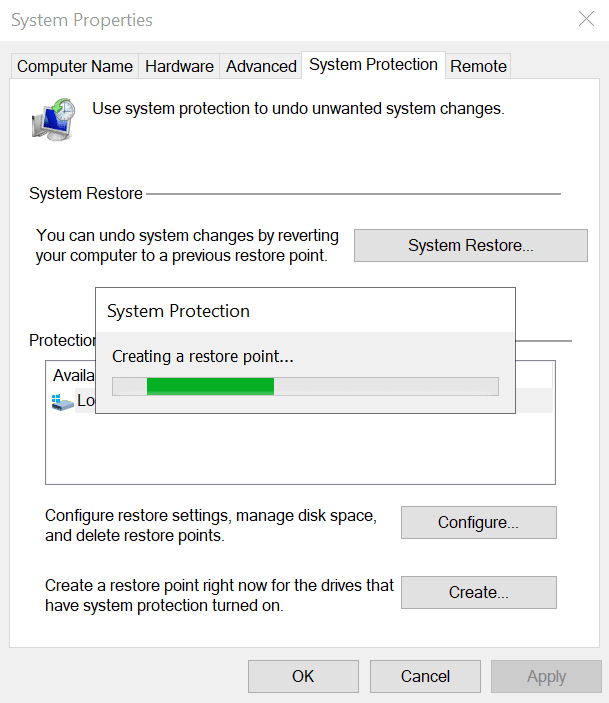
To finish, click the Create… button at the bottom and name the snapshot whatever you want. I set mine to “Initial Snapshot!” I leave
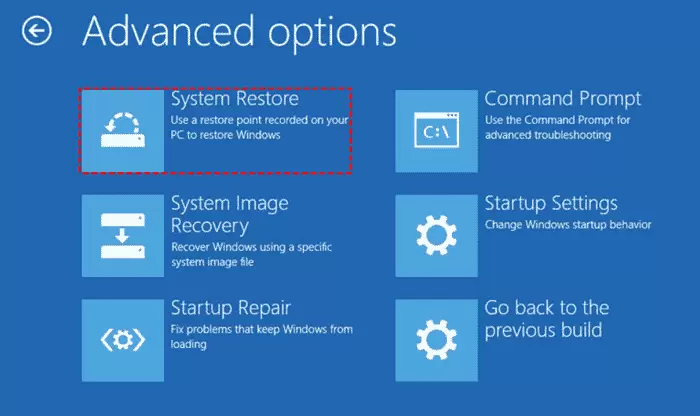
How to go back to a previous restore point
Now, I can show you how to view the available restore points and how to restore them. Return to the System Protection tab in the System Properties window, click the “System Restore” button, which is now clickable, and click.
You will see a list of restore points from which to choose. Select one and click the “Scan for affected programs” button. Windows will then show you what will be “reversed” if that snapshot is used.
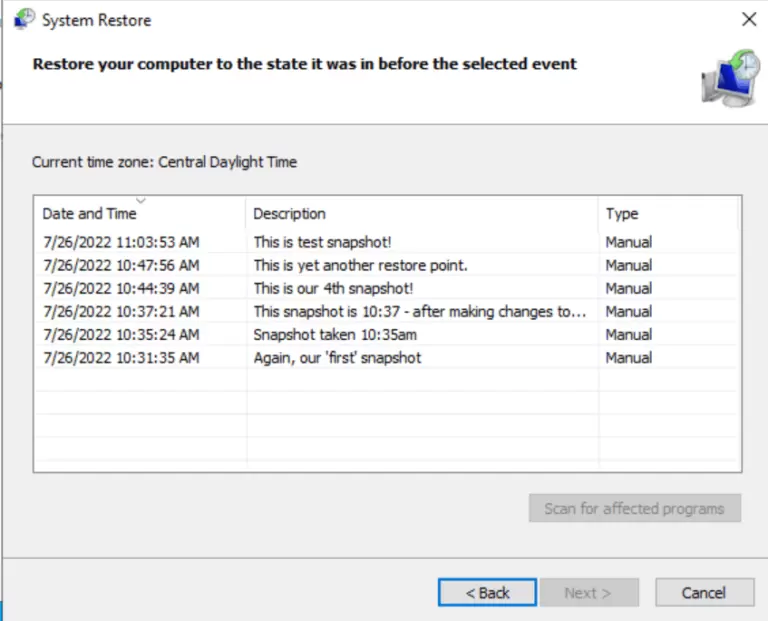
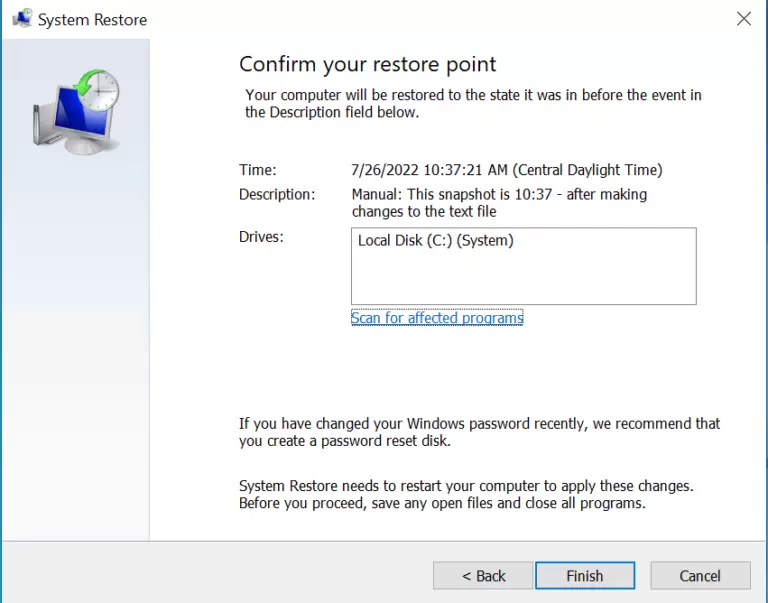
Let’s continue to select one of these restore points and see the changes. Select one of the manual restore points and click Next.
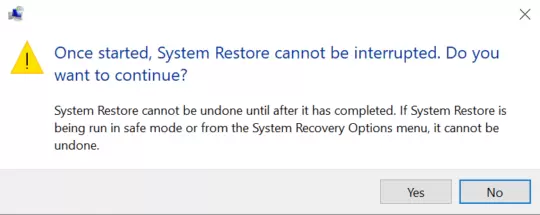
Receive a warning before proceeding…
At this stage, we wait a little…
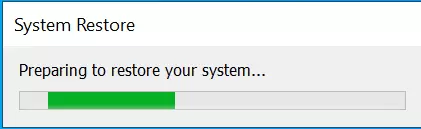
And here the reboot is done.
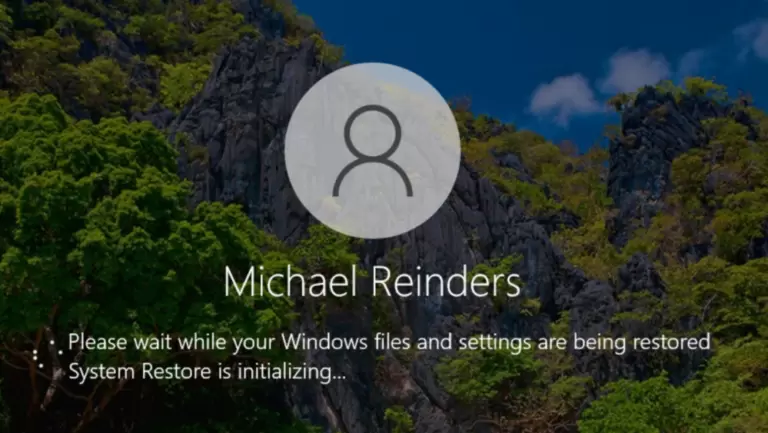
And after restarting the device, we will return to the previous points! At this point, your work is done.
FAQ
What is System Restore?
It’s a feature that captures snapshots of system files, settings, and the registry so you can roll back to a working state.
Will System Restore delete my personal files?
No — it affects system settings and installed programs only; your documents, images, and personal files are safe.
How often should I enable or use it?
Enable it as soon as possible, and use it when your system misbehaves—before applying risky updates or installing unknown software.