


Learn the Basics of Photoshop in Less Than 25 Minutes! (Visual Learning)
Photoshop is a very powerful program. If you want to use Photoshop but you do not know where to start, we will teach you the basics all week.
Photoshop In this post we will take a look at each option in the toolbar. On the right side of the screen you will find the palettes and what is in the menus. Are you ready? Let’s get started.
Part 1: Familiarity with the basic tools of Photoshop
Photoshop sections generally consist of the following 3 sections:
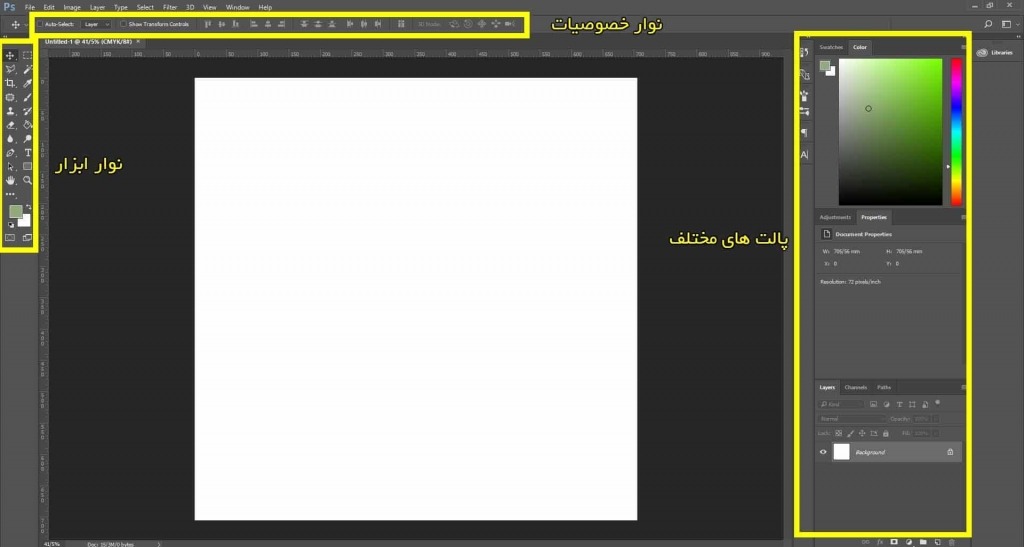
The toolbar section, which is the most important part of Photoshop, includes the following tools:
Each tool is described in more detail below (by learning these tools, you have learned a great deal about Photoshop!):
We do not intend to teach you all the tools, but we will mention almost each of them. To learn this tool better, import a photo in Photoshop right now. (Press the + O key on the keyboard) and test each of the options we describe below.
![]() Move Tool Move tool – Press the V key on the keyboard. The move tool simply lets you move objects in one layer in Photoshop. Hold and move the mouse as your Photoshop layer moves.
Move Tool Move tool – Press the V key on the keyboard. The move tool simply lets you move objects in one layer in Photoshop. Hold and move the mouse as your Photoshop layer moves.
![]() Marquee Mark (M button key) Mark allows you to select part of the canvas in a shape. By default you can select the shape of a rectangle (or a full square if you hold down the shift key). You can also choose the shape of an oval (or the shape of a full circle if you hold down the shift key).
Marquee Mark (M button key) Mark allows you to select part of the canvas in a shape. By default you can select the shape of a rectangle (or a full square if you hold down the shift key). You can also choose the shape of an oval (or the shape of a full circle if you hold down the shift key).
![]() Lasso Lasso Tool (L Button) Lasso is a free shape selection tool that allows you to drag around the canvas and select anything that covers the Lasso area. In this tool, you also have access to polygon arrows. Allows you to tap on the canvas and create magnetic dots that work like normal dots and try to find the edges for you automatically.
Lasso Lasso Tool (L Button) Lasso is a free shape selection tool that allows you to drag around the canvas and select anything that covers the Lasso area. In this tool, you also have access to polygon arrows. Allows you to tap on the canvas and create magnetic dots that work like normal dots and try to find the edges for you automatically.
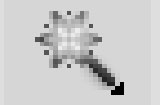 Magic Wand Clicking on an area of the magic wand tells Photoshop to select the point where it clicks and anything similar around it. This tool can be used as a raw method to remove the background. Photo backgrounds are used.
![]() Crop Tool – Delete part of an image (C button key) The crop tool is used to delete part of the image. Crop your photo. You can specify the exact size and range and limit the crop tool to those proportions or you can cut as much as you want.
Crop Tool – Delete part of an image (C button key) The crop tool is used to delete part of the image. Crop your photo. You can specify the exact size and range and limit the crop tool to those proportions or you can cut as much as you want.
![]() Eyedropper – The drip tool (I button) The drip tool lets you click on any part of the canvas and specify its color at that point. Gives.
Eyedropper – The drip tool (I button) The drip tool lets you click on any part of the canvas and specify its color at that point. Gives.
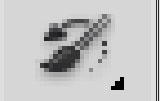
![]() Healing Brush – Repair Brush (J Button) The Healing Brush lets you select a part of a photo as a sample and use it to paint another part. When you’re done, Photoshop examines the surrounding area and tries what Combine what you have painted with the rest of the image.
Healing Brush – Repair Brush (J Button) The Healing Brush lets you select a part of a photo as a sample and use it to paint another part. When you’re done, Photoshop examines the surrounding area and tries what Combine what you have painted with the rest of the image.
![]() Paintbrush and Pencil – The brush and pencil (button B) is a tool that works like a brush. The brush is a tool that simulates a pencil. However, the brush can be adjusted on many types of brushes. You can Paint with ordinary and standard colors or even leaves and other shapes.
Paintbrush and Pencil – The brush and pencil (button B) is a tool that works like a brush. The brush is a tool that simulates a pencil. However, the brush can be adjusted on many types of brushes. You can Paint with ordinary and standard colors or even leaves and other shapes.
![]() Clone Stamp – Like the restoration brush, the simulator stamp allows you to take a sample of a part of a photo and use it to paint another part.
Clone Stamp – Like the restoration brush, the simulator stamp allows you to take a sample of a part of a photo and use it to paint another part.
 History Brush – History brush (Y button) History brush allows you to go back to a specific time. Stick to the current photo. For example, if you turned on the whole photo while trying to create a specific area before turning it on, you can remove the date brush and paint that area to restore the previous darkness.
![]() Eraser Tool – Eraser Tool (E button) The eraser tool is almost like a brush except that it erases instead of painting.
Eraser Tool – Eraser Tool (E button) The eraser tool is almost like a brush except that it erases instead of painting.
![]() Paint Can and Gradient Tools – The color bucket (G button) can allow you to create a gradient tool by default. The default gradient tool creates a gradient that combines the background and background tool ( Although you can create a gradient by loading and creating predefined slopes, some of them use two colors)
Paint Can and Gradient Tools – The color bucket (G button) can allow you to create a gradient tool by default. The default gradient tool creates a gradient that combines the background and background tool ( Although you can create a gradient by loading and creating predefined slopes, some of them use two colors)
![]() Blur, Sharpen, and Smudge Tools All three of these tools act like brushes, but each has a different effect on your image. The Blur tool will blur the area where you are painting. The Sharpen toolsharpens it and the Smudge tool gets dirty around the canvas. The blur tool is designedto create soft colors or to create Smoke that you can add to your photos is very useful.
Blur, Sharpen, and Smudge Tools All three of these tools act like brushes, but each has a different effect on your image. The Blur tool will blur the area where you are painting. The Sharpen toolsharpens it and the Smudge tool gets dirty around the canvas. The blur tool is designedto create soft colors or to create Smoke that you can add to your photos is very useful.
![]() Burn, Dodge, and Sponge Tools (press O) These three tools such as brushes which are the light intensity and color can be controlled tool Burn (Burn) can be areas darker the Abzardaj can they Rasbk make applying Sponge (Sponge) Can saturate the color in the area you are painting with. These are very useful tools for touch touches.
Burn, Dodge, and Sponge Tools (press O) These three tools such as brushes which are the light intensity and color can be controlled tool Burn (Burn) can be areas darker the Abzardaj can they Rasbk make applying Sponge (Sponge) Can saturate the color in the area you are painting with. These are very useful tools for touch touches.
![]() Pen Tool The pen tool used to design vector graphics can also be used to create ways that can be used for a variety of things that will be discussed in the next lesson. Looking at the video you can see a created path.
Pen Tool The pen tool used to design vector graphics can also be used to create ways that can be used for a variety of things that will be discussed in the next lesson. Looking at the video you can see a created path.
 Type Tool – Type tool (T button) The typing tool allows you to type horizontally. The tools hidden under the horizontal tool allow you to type vertically and create a vertical horizontal cover.
![]() Path Tool – The Path Tool (Button A) The Path Tool lets you navigate the paths created around. It looks like a navigation tool but for paths.
Path Tool – The Path Tool (Button A) The Path Tool lets you navigate the paths created around. It looks like a navigation tool but for paths.
![]() Shape Tool – The Shape Toolallows you to create custom rectangles, round rectangles, circles, polygons, lines and shapes. These tools are very useful when designing or creating shape masks for photos.
Shape Tool – The Shape Toolallows you to create custom rectangles, round rectangles, circles, polygons, lines and shapes. These tools are very useful when designing or creating shape masks for photos.
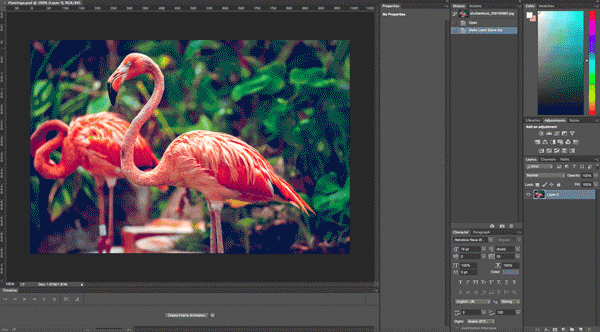
 Layers Layers The Layers palette lets you see all the layers of your document. When you start learning Photoshop, you use layers more than anything else. Layers allow you to organize and arrange layers and adjust blending modes. Adjust the transparency and opacity of layers, group and combine layers, and a host of other things we will learn in future lessons.
 Adjustments Settings Your settings panel is where you can easily create and edit adjustment layers. Adjustment layers are non-destructive image changes that affect all of the following layers and can even be turned on and off. Their most common use is color correction, but there are a variety of settings that you can change dramatically.
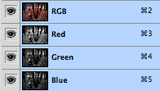 Color Channels Color Channels The color channels palette lets you look at the specific colors that make up your image. When you select a particular color, you will notice that your image will be displayed in different black and white versions. This is because each color channel is just a monochrome image that represents light in each channel. For example, the channel Red is just a look at the red light in your photo. Changing the shape between these different channels to create a stretch of contact with the Venice color channel is useful for turning your black and white photo into an attractive one. Will be discussed in later lessons.
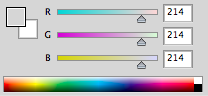 Color Picker The color picker of this palette allows you to change even your foreground and background colors using the slider.
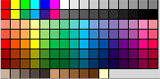 Color Swatches Color Swatches A color palette is a set of predefined colors that you can quickly choose from. You can load prototypes in several other sets.
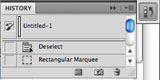 History The History palette lets you go back in time to undo previous changes. The standard cancel command (in the edit menu) simply works between undoing and rewriting the last action taken on your image. The date panel is somewhere. You can do more than 50 actions by default.
Part 2: Familiarity with commonly used tricks
1- Resize, rotate, invert and bend the image

Open the Photoshop software. Next on the menu Edit click > Transform> and from here any changes that you like on the photo of your choice. But you can also use a much easier way. Press the control and T keys ( Ctrl + T ) at the same time. A box appears around the photo. Resize the photo. Now hold Shift + Alt and change.
Now hold Shift and change. To rotate the photo, move the mouse pointer to the corner of the photo and rotate the photo when it changes shape. If you want to mirror the image upside down, right-click on the image and select flip after hitting the + T control .
When you are done, press the Enter keyTap. If you want to distort or bend the image in your image, hold down the control button after hitting the T control, and at the same time hold down the mouse click and move the mouse. Just as easily!
2- Cut photos with Magnetic Lasso Tool (magnet)
A great Photoshop tool for selecting the outer border of a photo (for example, when you want to crop an image of a person in the desert and take it to a forest image). This simple tool for selecting objects in a photo helps you to carefully select a part of the photo (for example, a person’s face) and separate it from the rest of the photo and do whatever you like with it (for example, face Move with another person’s face).
This important Photoshop tool, which is often used to separate a background image or background, is accessible from the left menu of Photoshop (as shown). Simply hover and hold the mouse pointer over the third option. In the tiny menu that appears, the last option is the same magnet.
When you have selected the magnet, go to the image, hold the left mouse button and place it on the edge of anything you want to cut and move the mouse (like scissors). When the selection is done, right-click and do whatever you like with that piece (for example, cut it by pressing ctrl + X , and then create a new layer and move it by pressing ctrl + V )
3- Select an image component with the Magic Wand tool
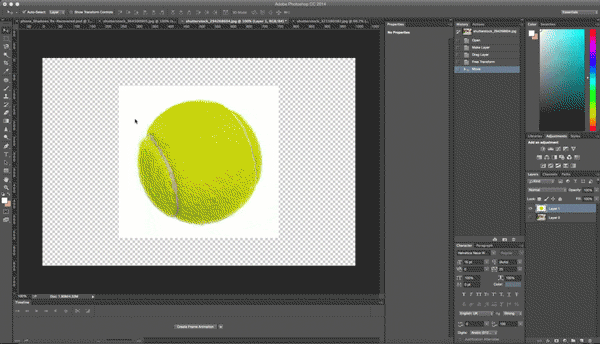
MagicVand is another tool of choice and is different from the Lasso tool . If a part of the image has a solid color and is easy to select, you can click on that part by pressing the W button on the keyboard and easily select that element in the image with just one click. (For example, selecting the blue sky in a photo and cropping it).
Just be aware that when you press the w button, the icon showing the two squares in the top bar is in the selection mode ( Add to selection ) so that with each click, new parts of the image that you need, Add your selection.
4- Tool to add new elements to the custom shape photo
Did you know that in addition to photo editing, you can easily add shapes and design elements in Photoshop to your images? This tool contains the basic shapes that everyone needs in the design, such as square, line, circle, oval, arrow, and… To access the custom shape tool option , hold down the mouse button and place it on the square icon. Move the menu to the left to make the menu appear smaller.
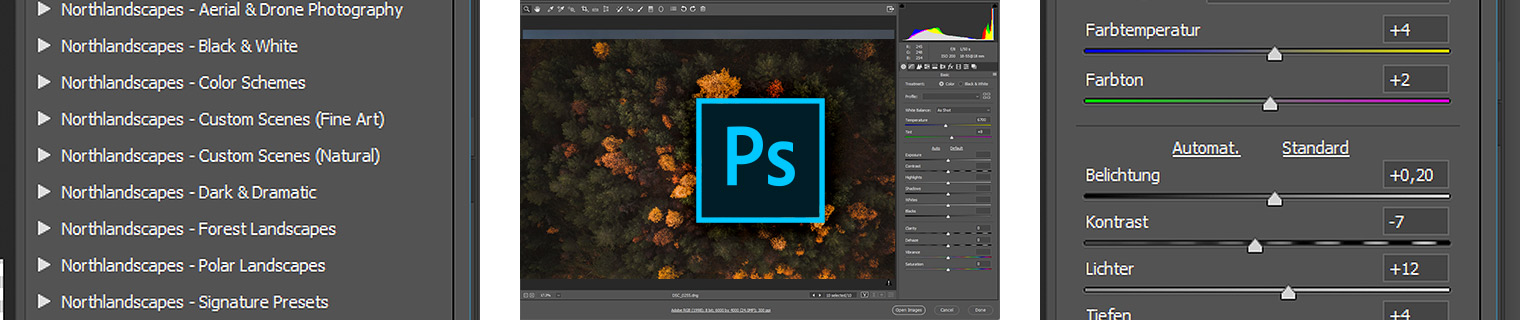
5- Adjustment layers light, color and image adjustment tool
When you install Photoshop, there are a number of tools on the right call adjustment (or from the image tab and then the adjustments section ) that can make the images in Photoshop really more beautiful. This tool allows you to easily adjust the color, tonality, contrast or brightness of the image and.. The good thing about this tool is that it does not damage the original image and all changes are made in a new layer. (See image) To learn this tool, be sure to do it yourself and edit the images with this tool to understand how each tool works.
6- Quickly effect an image with Layer Styles
You should try this tool yourself. It’s very easy, double click on any layer of the photo you have ( Layers section on the right) and then select any effect you like. This section includes effects of image glow, shading, border drawing, and more. But try not to use these effects too much because it so-called chips and artificial your image!
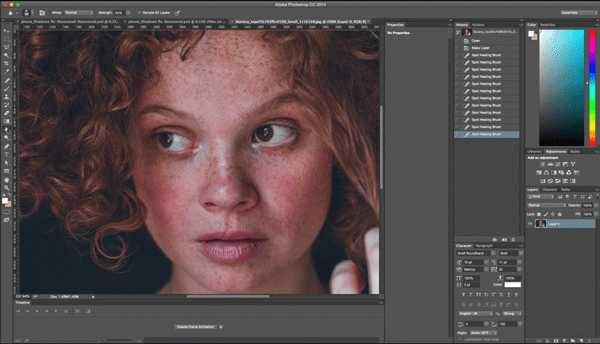
7- Removing facial, body and نق defects with Spot healing brush
One of the key tools of Photoshop and a tool for fixing flaws. One of the tools that many of us like really existed during our adolescence and to remove blemishes and pimples or other defects for us. Just place the tool on the part of the image you want to edit and click. Photoshop automatically samples the area around it and corrects the area you want. From the left menu of Photoshop, the seventh option from the top.
8- Shine and freshness in a Dodge tool image section
This tool brightens the pixels of a part of the image. For example, you can use this option to make your eyes look fresher and more vivid in a photo, not tired and sleepy! Just try not to use it too much because the photo will look like a spaceman. To activate and use this tool, in the left menu, click on the shape similar to a magnifying glass. Try to increase or decrease the Range or Exposure options to achieve the desired result.
9- Blur part of the image in Photoshop Blur tool

For example, crystallizing or blurring or blurring the image is using for various purposes and is very practical. For example, fixing the defects of a part of the image or censoring a part of the image, you just have to remember not to use it too much like other tricks. To activate and use this tool, click on the icon that looks like a drop of water from the menu on the left.