Introduction to Windows Admin Center in Windows Server 2019
In The Last Issue Of The Free Windows Server 2019 Tutorial, We Became Somewhat Familiar With Server Manager, a tool that allows us to access the functionalities of Windows Server easily.
In this issue, we will continue our discussion on the above topic.
Add servers
When discussing professional Windows server management, you will find that most of your work is in a domain environment with all connected servers. If you click “Add other servers to manage” on the above page or select “Manage” at the top of the window and then “Add Servers,” a window similar to the one below will appear.
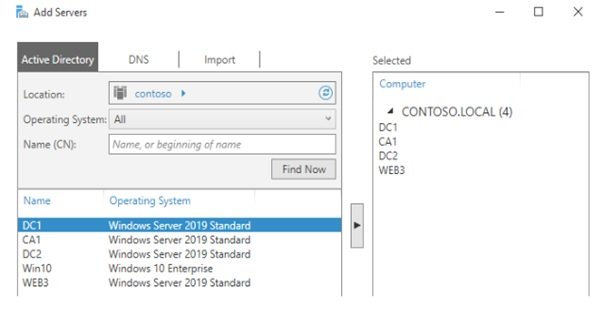
You can click the “Find Now” Button to display the machines available on the Network. After viewing the servers, you will select and manage them. To address the servers, select the desired server and click the “Selected” Button in the middle of the window to move it to the right panel.
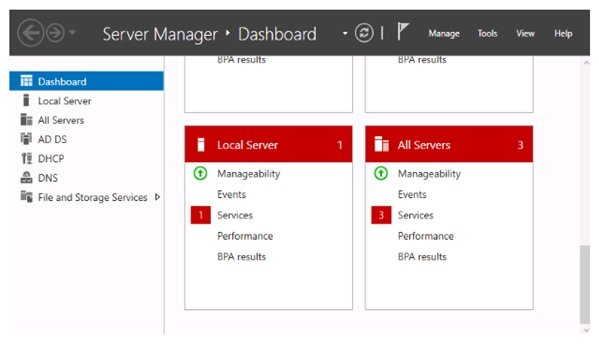
After clicking OK, the server administrator provides you with more Information about the servers and their maps. You will see a login message and server Information when you log in to this single server.
In the example above, we are logged in to a server called CA1. However, no role is installed on this server by default. As a result, the Server Manager provides simple Information. The image below shows that some services are not running on the CA1 server infrastructure.
Note: If you click the Add Server Button, you will not see any options because there are no servers on your Network that the domain controller can detect.
Adding multiple servers to Server Manager is beneficial for monitoring and managing servers, as well as for future configurations. As you may recall, we used Server Manager to add maps to our server.
However, Server Manager’s function in adding maps and attributes to servers is more comprehensive than we have seen.
First, select the server, and then install your maps on other servers. If you add servers to your domain controller and then click “Add Roles and Features”, you will see a List of servers imported to the domain controller that are sufficient to add a role to the server. The image below shows the servers we added to our domain controller.
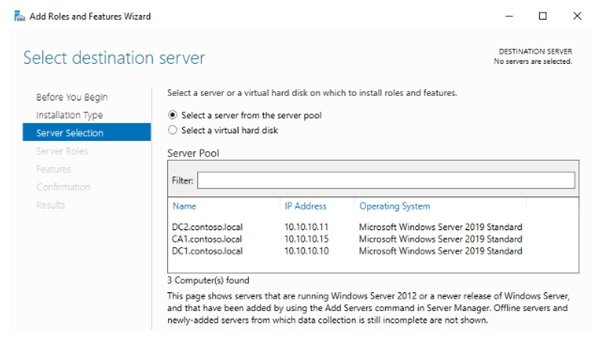
You do not need to sign in to add an AD DS-like role to other servers, as your domain controller can perform this task.
Remote server management tools
Using Server Manager helps you log in to a single server and access, manage, and monitor other servers. But what if you were to take it a step further and work with a little more advanced features? For example, what do you think about using a computer on your Desktop to do different things on each server?
This unique feature is achieved by installing a Microsoft toolkit called RSAT (Remote Server Administration Tools). For example, a Windows 10 client computer is online, networked, and connected to a domain. We must download and install the RSAT tools from the following address on this computer.
https://www.microsoft.com/en-us/download/details.aspx?id=45520(Link)
If you are using Windows 10 Blade 1809 or later, the tool is available as a Windows component and an optional feature you must enable.
To activate the above feature, go to the Windows 10 Settings program, navigate to the Apps section, and select the Optional Features option to view the available optional features. Then, click the “Add Feature” Button.
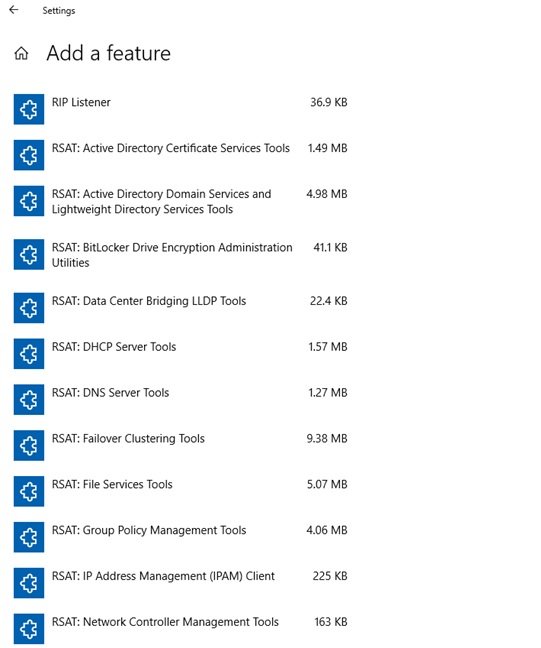
The various RSAT modules are installed manually in Windows 10 Build 1809 in the order shown above. If you do not find the Remote Server Administration Tool on your computer, download the File and click on the installation File to install the component on your Windows 10 client computer.
After installing the RSAT tool, you can locate it by typing “Server Manager” in the Windows 10 search box. The tool will appear as shown below.
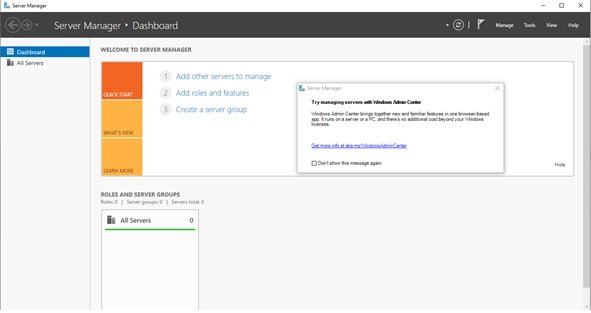
As shown in the image above, Server Manager in Windows 10 allows you to access and manage servers. Click “Add other servers” to order and select your servers. The user interface of the above tool is identical to the one you are already familiar with in Windows Server 2019.
Has the RDP reached its end?
The above tools have raised the question of whether RDP-like mechanisms have come to an end. Not! Advanced solutions and methods for managing server components are provided to control them remotely, eliminating the need for direct access to the servers.
Do. We occasionally have to log in directly to the servers, even using the most efficient and up-to-date management tools. Network administrators still use RDP to gain full desktop-based access for managing and monitoring all servers, as the mechanism is convenient and better suited for specific tasks.
Remote Desktop Connection Manager
Given that RDP is still an efficient way to manage servers, let’s examine this tool’s capabilities, which offer a centralized management solution. You can use RDP tools to communicate with servers and client computers within your Network. Remote Desktop Connection Manager is a handy platform that stores various types of RDP communications that you have established with your environment.
Communication storage enables you to organize servers into groups in the future without needing to remember their names and store input Information, such as login credentials and passwords. The above tool has several capabilities that we will not discuss in this article. To download the above tool and become more familiar with it, please refer to the link below.
Https://www.microsoft.com/en-us/download/details.aspx?id=44989(Link)
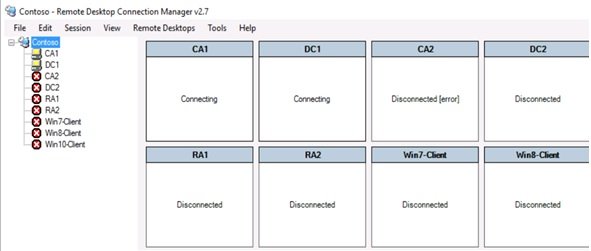
The following figure shows a view of the above tool.
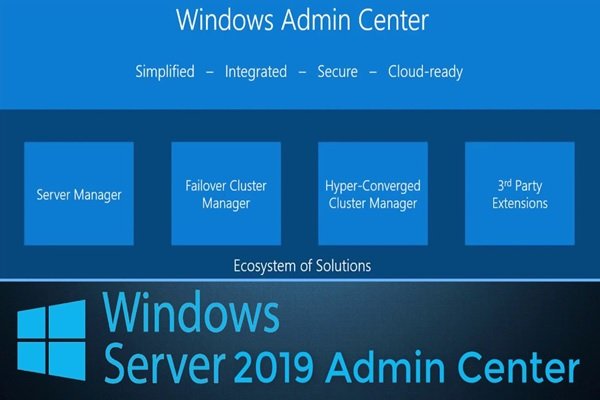
Windows Admin Center
All the tools discussed earlier have excellent performance and provide the best server management solutions. However, Microsoft has given Network administrators another efficient tool, called the Windows Admin Center (WAC). Windows Management Center is a client and server management platform that provides easier management of machines.
The above tool is browser-based; once you install it, you will have excellent access to the Windows Admin Center through a web browser. The WAC can manage servers, server clusters, and provider-based infrastructure clusters. It can also manage client machines equipped with Windows 10. Are you familiar with the Microsoft Honolulu project?
If so, then Windows Admin Center is the Honolulu project that has been renamed and is now ready to use. Windows Management Center is designed to support third-party vendors and develop the above interface capabilities by building add-ons.
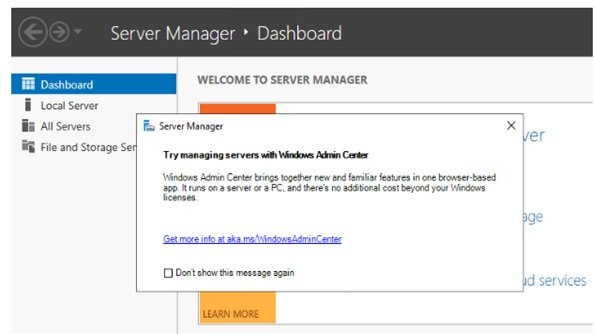
You are already somewhat familiar with the interface mentioned above. When you run the Server Manager tool, you will see a message introducing you to the Admin Center. If you click the link in this message, you will be taken to a page where Microsoft has provided additional Information about the above interface.
Install Windows Management Center
To install the above tool, you must first select where the WAC components are installed. You can bypass this, but only if you’re a tech-savvy individual who knows what they’re doing.
In Windows Server, click on the link above to open the WAC tool page in the browser. Of course, you can also use the following link to open the above tool page.
https://www.microsoft.com/en-us/cloud-platform/windows-admin-center.(Link)
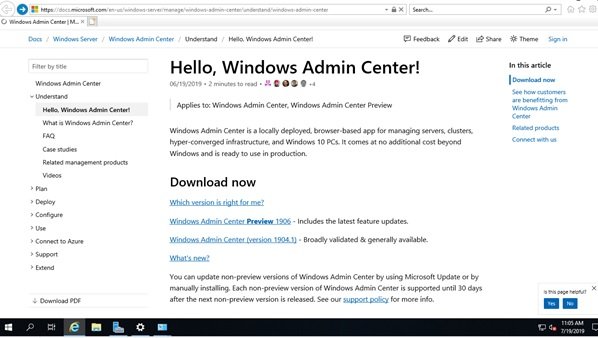
Click on Windows Admin Center (version 1904.1) to start the download process on the above page. The above File is 60 MB in size.
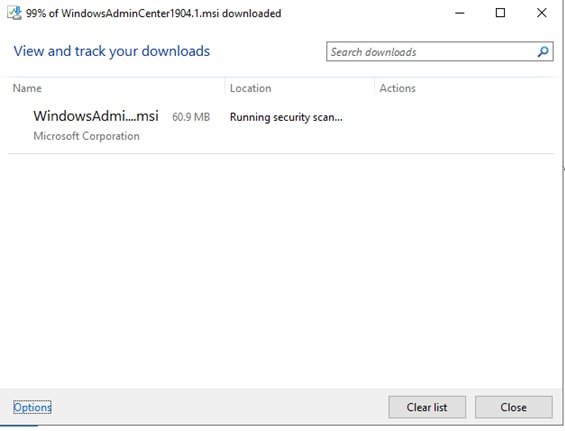
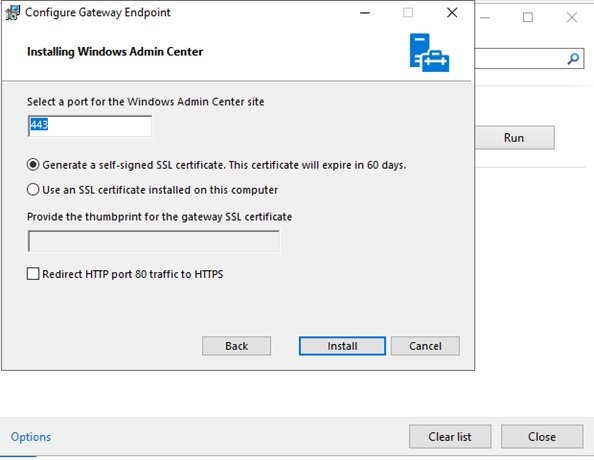
Once downloaded, run the installer to install it on the host device. Accept the default options to complete the installation process. It is better to select the default option for the certificate that Windows Server will create, which will expire after 60 days, rather than specifying port number 443.
The installation process may be a bit time-consuming.
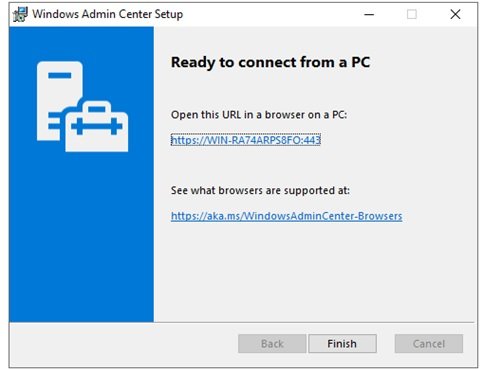
After completing the installation, record the address in the figure below and click the Finish Button until the Windows Admin Center page appears in your browser.
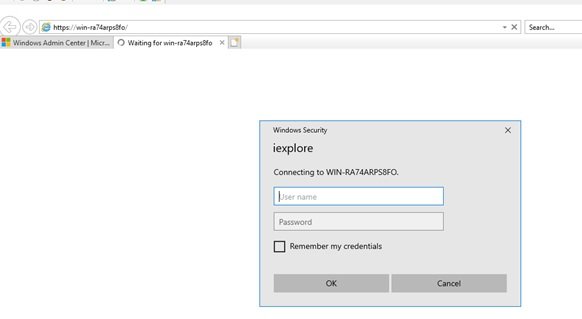
When you run the above tool, a window similar to the one below will appear, requesting your username and password. (If you do not have user accounts on Windows Server and are using the default mode, enter the Administrator username and the password you have chosen to log in to Windows Server.)
Note:
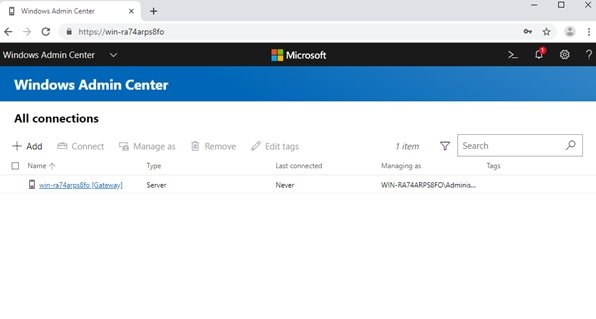
Windows Central Management tool does not run on Internet Explorer; therefore, we recommend using Microsoft Edge or Chrome. If you install Chrome on your server and enter the address of the above tool into it, the Windows admin window will appear, as shown below.
In the next Windows Server 2019 free training session, we will continue the above topic.
FAQ
What is Windows Admin Center?
It is a web-based management tool for administering Windows servers, clusters, and hyper-converged infrastructure.
Why use Windows Admin Center in Windows Server 2019?
It centralizes management tasks, reduces reliance on traditional consoles, and improves administrative efficiency.
Is Windows Admin Center suitable for remote management?
Yes, it is designed for secure remote server management from a single interface.