How to Stress Test a WordPress Website in 2023 – Step-by-Step
Do you want to know how your site performs when traffic increases and are you looking for how to stress test a WordPress website?
The stress test or performance test (Load-Stress) of a WordPress website shows how your website performs in different conditions. This way, you can ensure fast performance and solve any problems.
What is a website stress test?
Site stress testing allows you to see how your website performs in high-traffic situations. This will help you prepare for increased traffic and see how your site handles the load and pressure.
Usually, the amount of traffic a website can handle is determined by your WordPress hosting plan or host. However, stress testing helps to find these limits and reveal problems that may occur due to high traffic.
For example, a sudden increase in traffic can cause your site to crash and use up all server resources. Similarly, you can also see which WordPress plugins, themes, code snippets, and images don’t work in extreme conditions.
By testing the performance of the site, you can easily fix any problems or correct settings that may have been configured incorrectly. As a result, you’ll provide a better user experience and be prepared for high-traffic situations.
However, let’s see how to stress test a WordPress website.
How to Stress Test a Website
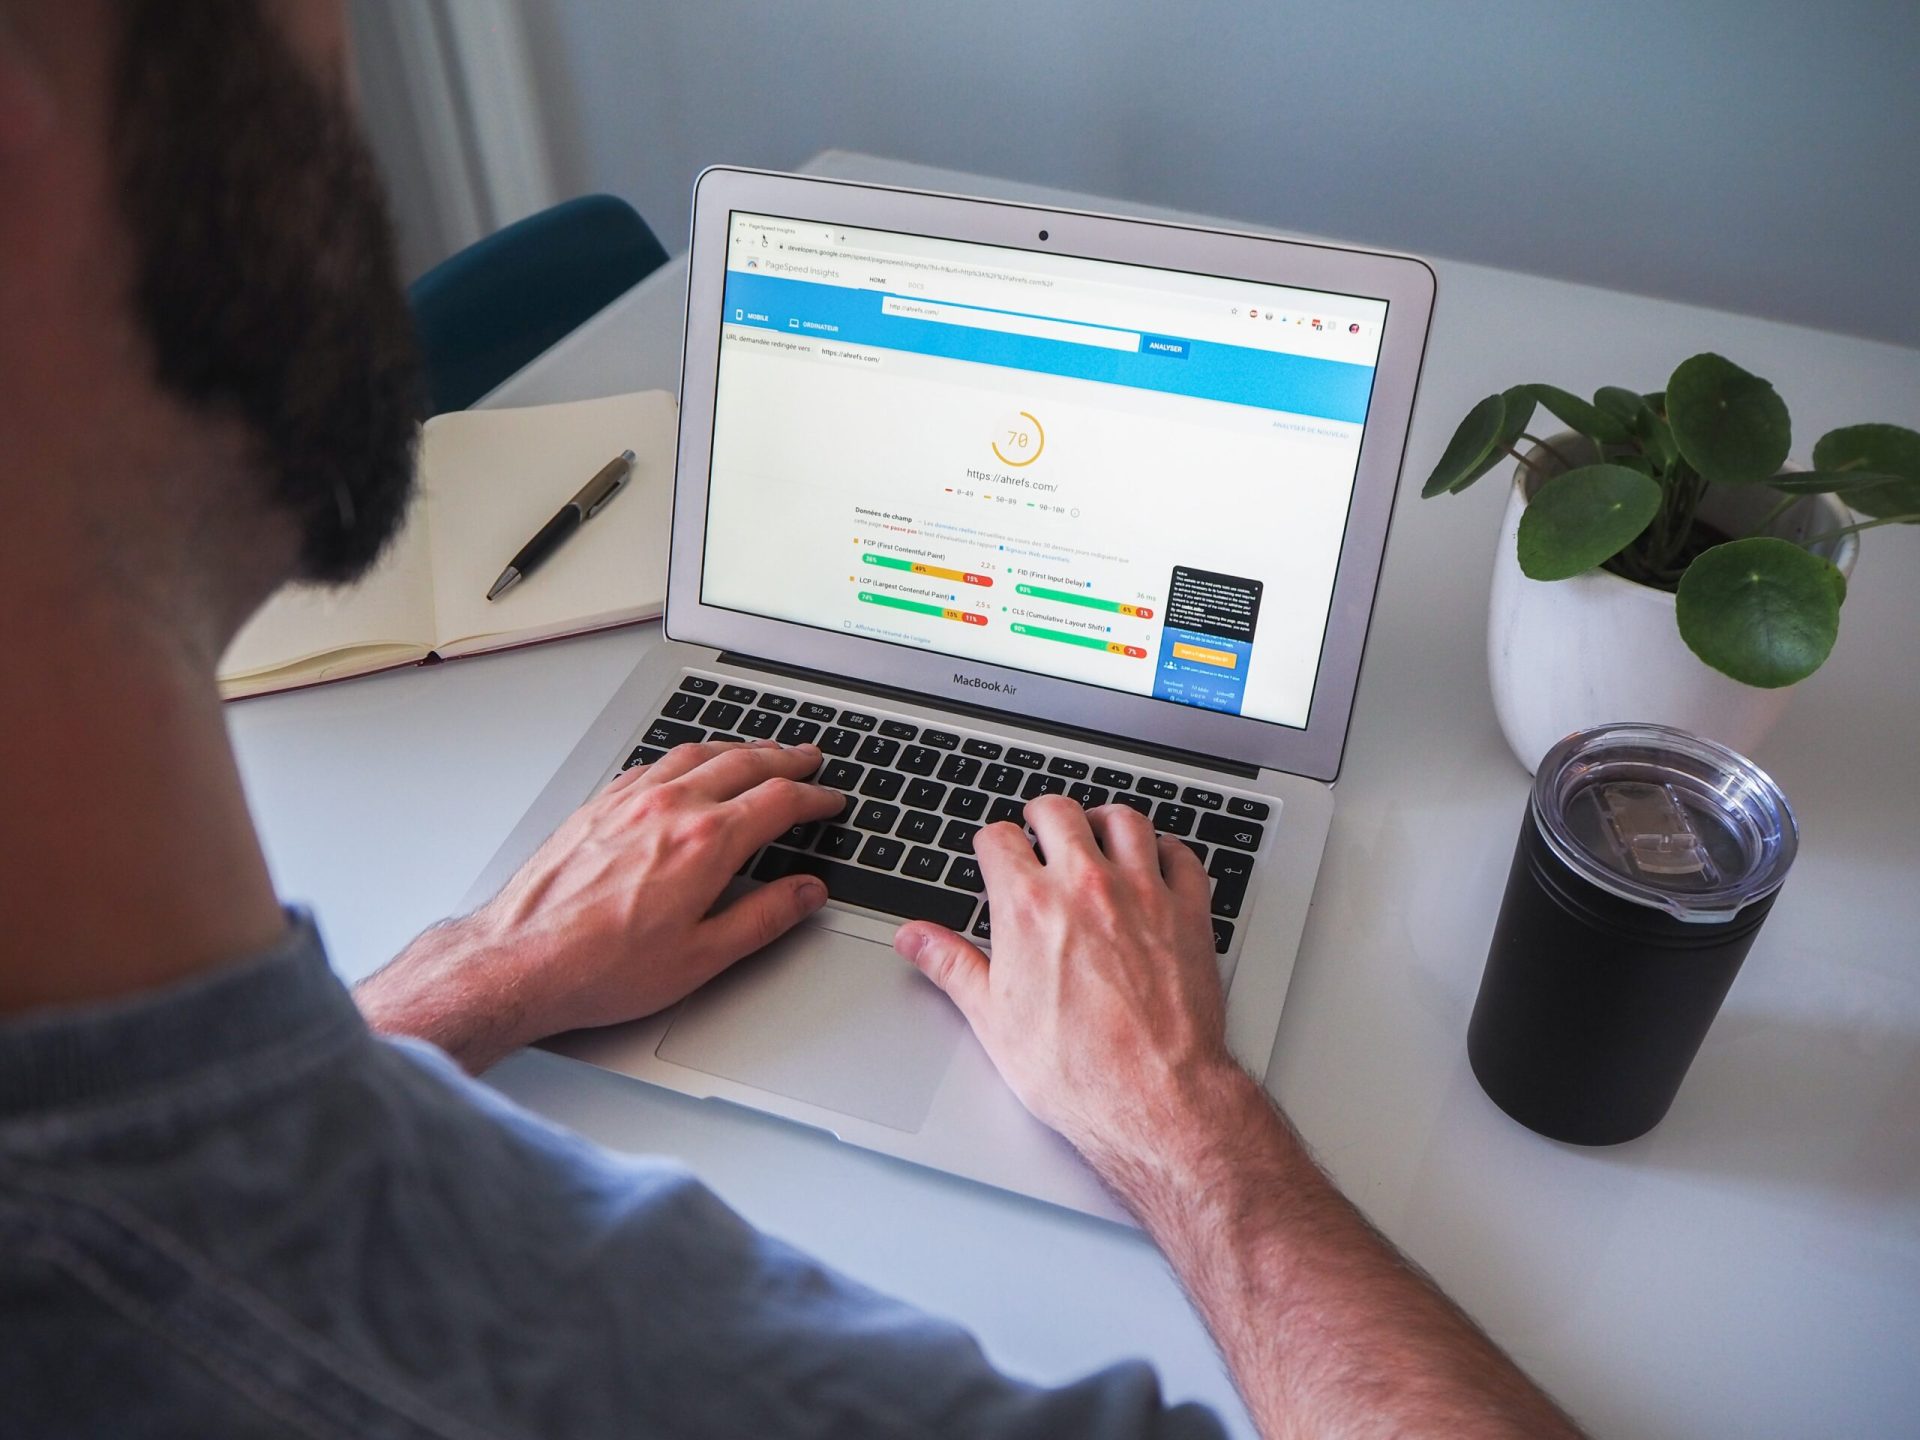
When it comes to measuring the performance of your WordPress website, you will find many speed testing tools such as PageSpeed Insights, Pingdom or GTmetrix.
While these tools help your site load faster, they don’t tell you how the website will perform under high traffic.
To stress-test a WordPress site, we will use Loader.io for this tutorial. This is a free tool that simulates high-traffic situations and performs a series of tests.
First, you need to sign up for a free Loader.io account.
So, in the first step, you need to go to the Loader.io website and create a free account. Simply click the “Sign Up Now” button to get started.
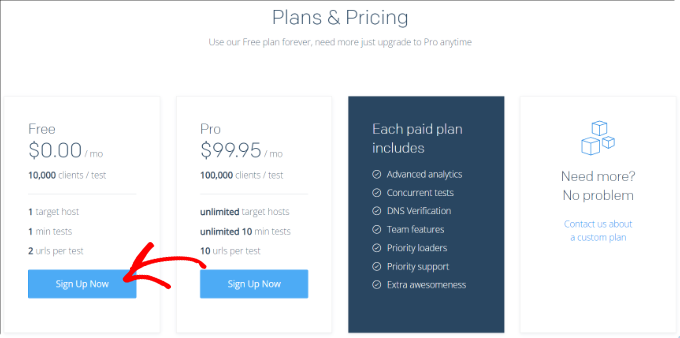
After that, you will see the different pricing plans offered by the tool.
Go ahead and select the “Free” pricing plan.
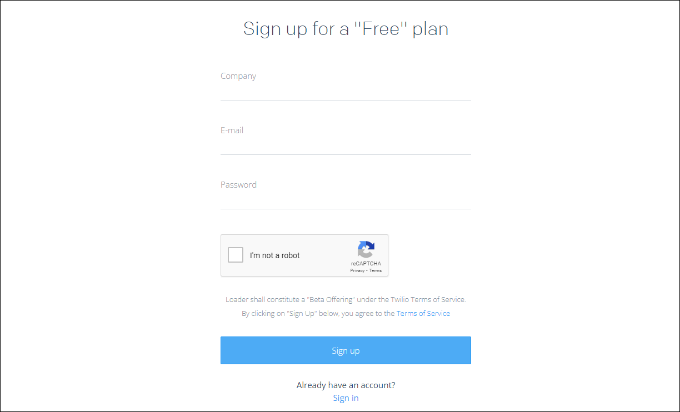
Next, you can enter the details to sign up for a new account.
Loader.io asks for company name, email address and password. Once you’ve added these details, simply check the reCaptcha box and click the “Sign Up” button.
You will also receive a confirmation email. Simply check your inbox and click the link in the email to verify your account.
Adding new hosts to Loader.io
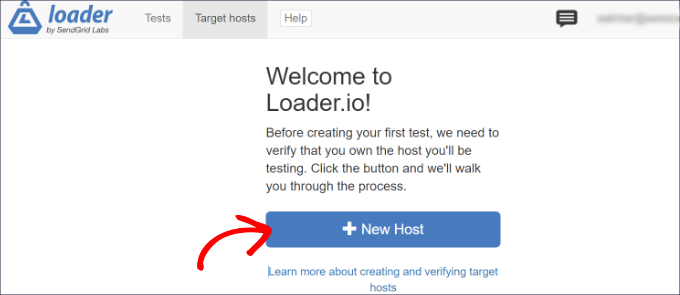
After that, you can set up a target host by clicking the “+ New Host” button.
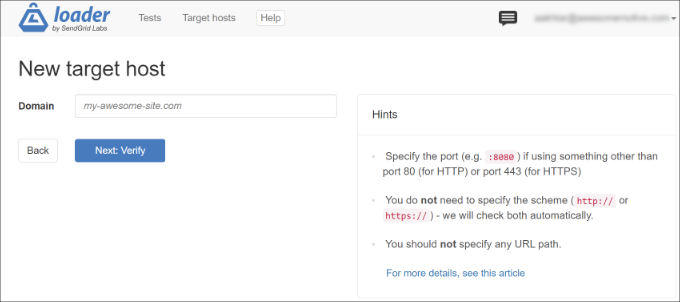
Next, you need to enter your domain name.
Once done, simply click on the “Next: Verify” button.
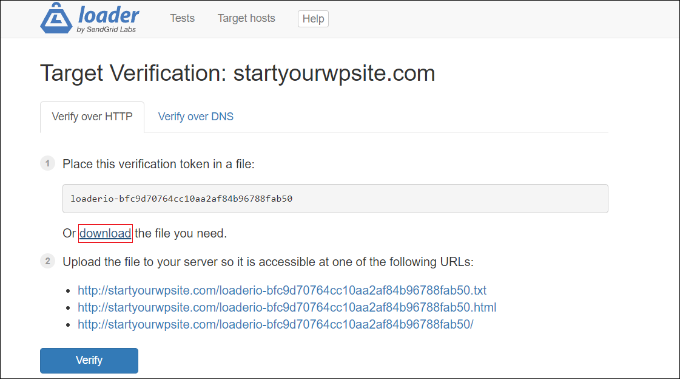
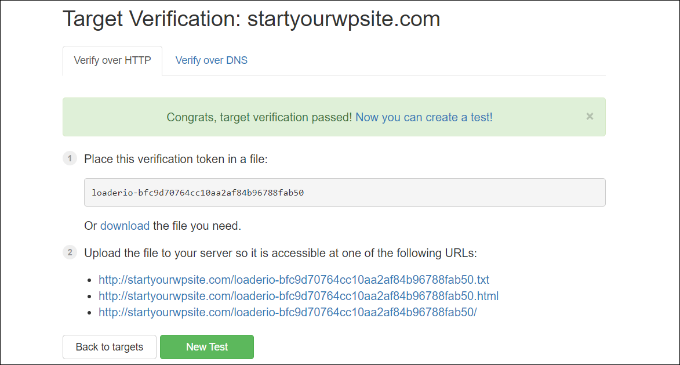
Next, you need to verify your domain. You can do this by authenticating via HTTP or DNS.
For this tutorial, we use the Verify over HTTP option and download the verification file. Go ahead and click the “download” link and save the file to your computer.
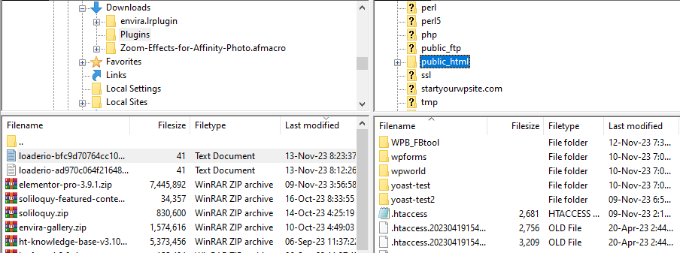
After downloading the file, you need to upload it to the root folder of your site. This folder is usually called “public_html”.
You can use an FTP client to upload files.
After uploading the file, you can go back to the Loader.io website and click the “Verify” button.
After verification, you should see a success message.
how to stress test a wordpress website 08 – how to stress test a wordpress website
Next, you need to click the “New Test” button and set up a stress test for your website.
Configure stress test settings
On the next page, you can change your stress test settings. You can start by adding a name for your test.
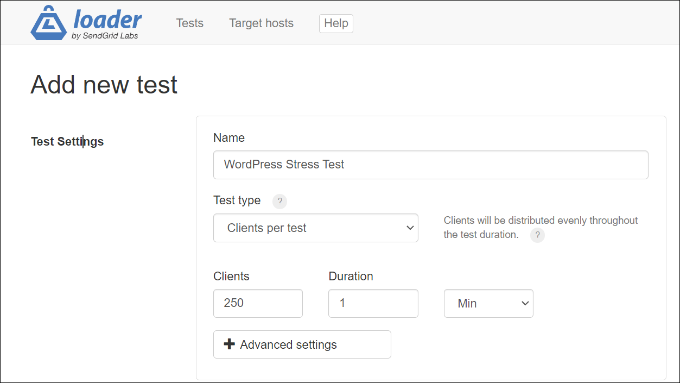
After that, you have to choose the test type. Loader.io offers three types of tests which are:
- Clients per test – In this, you can test how your site performs when a certain number of visitors visit your site for a certain period of time. You can set the number of users and the duration.
- Clients per second – This scenario tests your site for a certain number of client requests per second.
- Maintain client load – under this type of testing, the number of users is maintained constant throughout the duration of the test. When there is a constant load for a certain time, it will stress test your site.
We recommend running several tests using each of these types. This helps to discover the problems that your site may face under different scenarios.
If you scroll down, you will see the user request settings. For general testing, we recommend using the default settings and do not need to change anything.
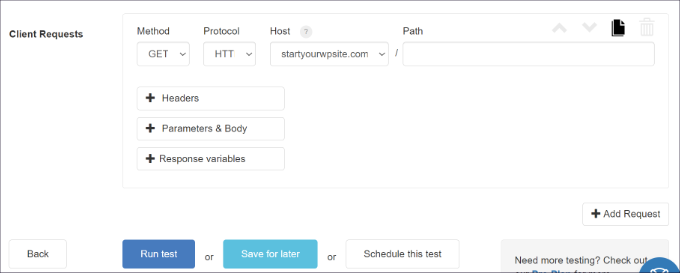
Now, you are ready to stress test your WordPress site. Go ahead and click the “Run test” button.
Analyze your stress test results
The Loader.io tool runs a stress test for your website and collects the results. You can then analyze them to see how your site performs under high traffic conditions.
For example, you can start by looking at the average response time. The shorter the response time, the faster your website will load.
In our test, when 250 users visited the site for 1 minute, the average response time was 590 milliseconds, or 0.59 seconds.
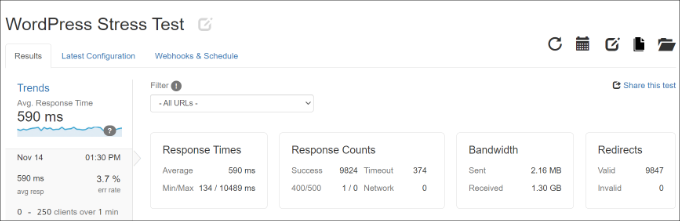
This is a fairly decent reading and indicates that the website is not slowing down significantly under heavy load.
However, the maximum response time recorded was 10,489 milliseconds or 10.489 seconds. Now you can look at the graph below to see when the response time increases compared to the number of customers.
For example, our testing showed that there was a spike when the number of users exceeded 150, and a maximum response time was observed when the number of customers reached approximately 200.

Using these insights, you will get a rough idea of how your site performs when a certain number of people visit.
Now you can repeat this step and run multiple tests using different scenarios. For example, try to increase the number of visitors, test the duration and use different types of testing.
Tips to improve response time and increase site performance
If your WordPress load tests show slow performance under high-traffic conditions, you can try different things to speed up your site.
Here are some tips to improve response time and manage traffic load on your site:
1. Upgrade your WordPress hosting plan – If you are using a host that has a limited number of visitors per month, then consider upgrading to a higher hosting plan or dedicated WordPress hosting. That way, you’ll get more server resources and your site can handle the extra traffic if there’s a surge.
2. Use a caching plugin – A caching plugin will reduce the load on your site’s server and help improve performance. Instead of going through all the steps of requesting a web page, it provides users with a static site version. As a result, your site will load faster and provide a better user experience.
3. Setting up a Content Delivery Network (CDN) – A CDN is a network of servers that serves users static cached content based on location. This helps reduce the load on your site’s server and improve response time.
4. Optimize your images and videos – Unoptimized images can lead to performance issues on your site and increased server load. For starters, you can compress large image files to reduce response time. If you host videos on your site, upload them to YouTube or Vimeo and embed them in your content.
5. Remove Unused Plugins and Themes – If you have WordPress plugins and themes that are not being used or have too many resources, remove them. They can slow down your WordPress site by loading unused scripts and using a lot of server resources.
Conclusion
Another WordPress tutorial series on how to stress test a WordPress website is over. We hope that this training will be useful for you to learn and understand the comprehensive performance testing (Load-Stress) training of the site; If you also know a more detailed explanation about site performance testing that is useful, you can post it in the comments section so that this article can be updated with your name.
FAQ
What is a stress test for a WordPress website?
A stress test evaluates how your site handles heavy traffic and peak load conditions.
Which tools can I use to stress test WordPress?
Popular tools include load generators and performance platforms that simulate many users.
Why should I stress test my site?
To identify bottlenecks, improve performance, and ensure stability during high traffic periods.