


How to Protect Excel File on Windows and Mac
If you use a computer, you probably have some Microsoft Excel documents on your Mac or PC that you don’t want others to find and read. So, you have to do something to protect your documents. In the following, we want to teach you how to protect Excel files on Windows and Mac.
After all, Excel serves not only ordinary people, but also businesses, government agencies, and millions of other people around the world. Whether you’re creating charts, converting PDF files, or just importing rows and tables of data, the best way to keep that information safe is to learn how to protect an Excel file.
Table of Contents
- Add password
- File encryption
- Additional security options
Add password
Step 1: In Excel, open the document you want to password-protect.
Step 2: Click on File and then Info.
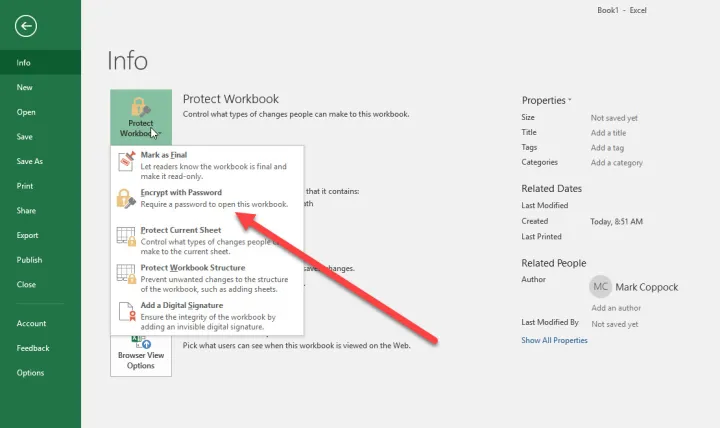
Step 3: In the next step, click on the Protect workbook option. From the drop-down menu, select Encrypt with password.
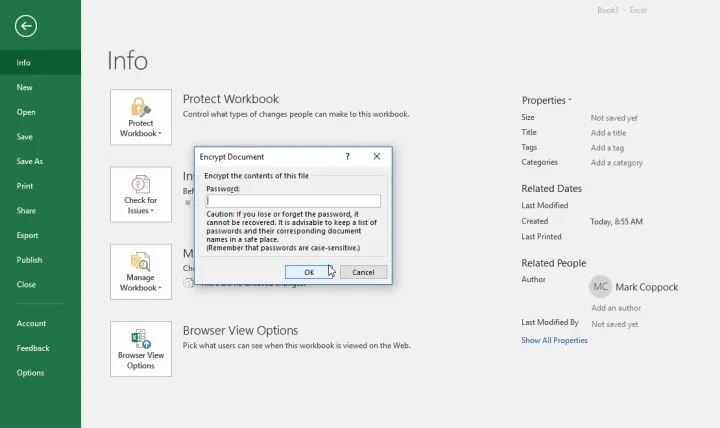
Step 4: Excel will then ask you to type the password. Choose one that is complex and unique and write it down in a quality password manager for yourself.
File encryption
Now that you’ve password-protected your most essential files, it may be worth adding additional layers of security to your system. The easiest way to protect a large number of files is to encrypt them. Fortunately, encryption programs aren’t hard to find. Windows 10 users have a built-in encryption tool called BitLocker.
Additional security options
Excel also allows you to apply more custom security options to your file if necessary. It’s important to know what these other options do so you can create the right security for your project. In the Protect workbook section, you will find several additional features that you may find useful:
Mark as final: This will mark the file as final, letting other people know that they shouldn’t make any changes.
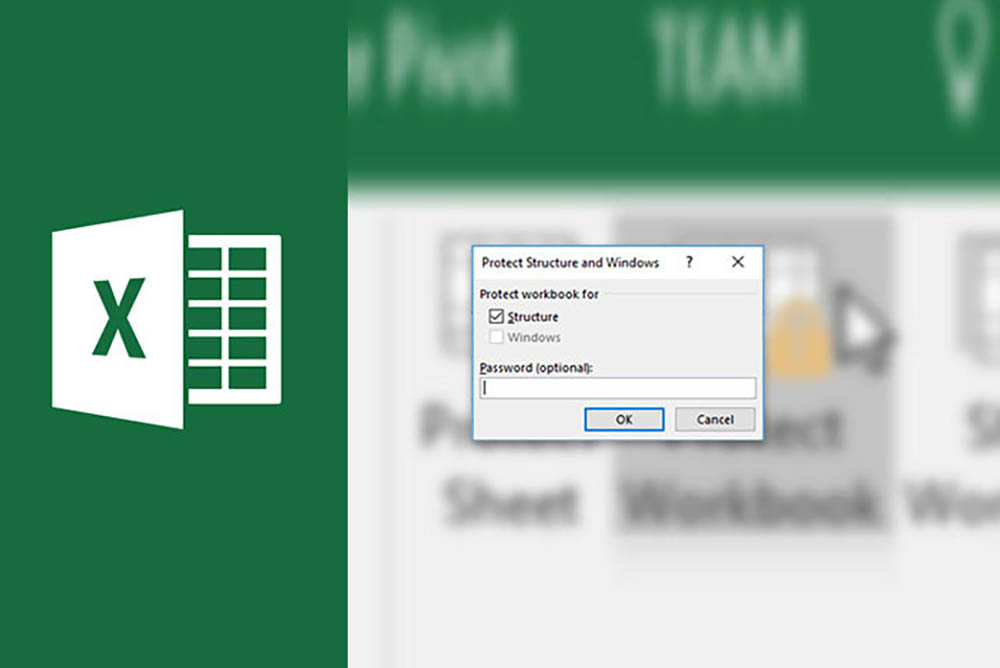
Protect current sheet: This will protect the currently selected worksheet with a password so that people cannot make any changes or only certain types of changes. It’s a useful option if there’s only one sheet in the workbook that you want to protect, and you don’t mind people being able to see the information — you just don’t want them messing with anything. You’ll notice that there’s also an option to do this with the Workbook structure, which protects larger changes to the Workbook (like adding a new sheet) unless people have the password.
Add a digital signature: By adding a digital signature, you can ensure that only you have access and control over your Excel files.
Protecting Excel files is a very important task that many people ignore. There are many security measures to ensure your information is kept private and secure, starting with password protection.