


How To Install Windows 3.1 On Ipad
It’s Been A Long Time Since Windows 3.1 Debuted, And Newer Versions Are Now Available With Many More Features; But If You Still Want To Work With This Windows, But Do Not Know How To Do It, Do Not Miss This Article.
The MS-DOS emulator in the App Store is called iDOS 2, and you can install Windows 3.1 on your iPad; Then, play the classic Windows games or easily surprise your friends. This article explains how to install iDOS 2.
iDOS 2
Fast Company editor Harry McCracken recently tweeted that he was testing Windows 3.1 on the iPad. Thanks to his efforts, this Windows can now use on the iPad.
To run Windows 3.1 on an iPad, you’ll need to purchase an app called iDOS 2, which is available in the App Store. The app is currently priced at $ 4.99, which seems reasonable considering what it can do.
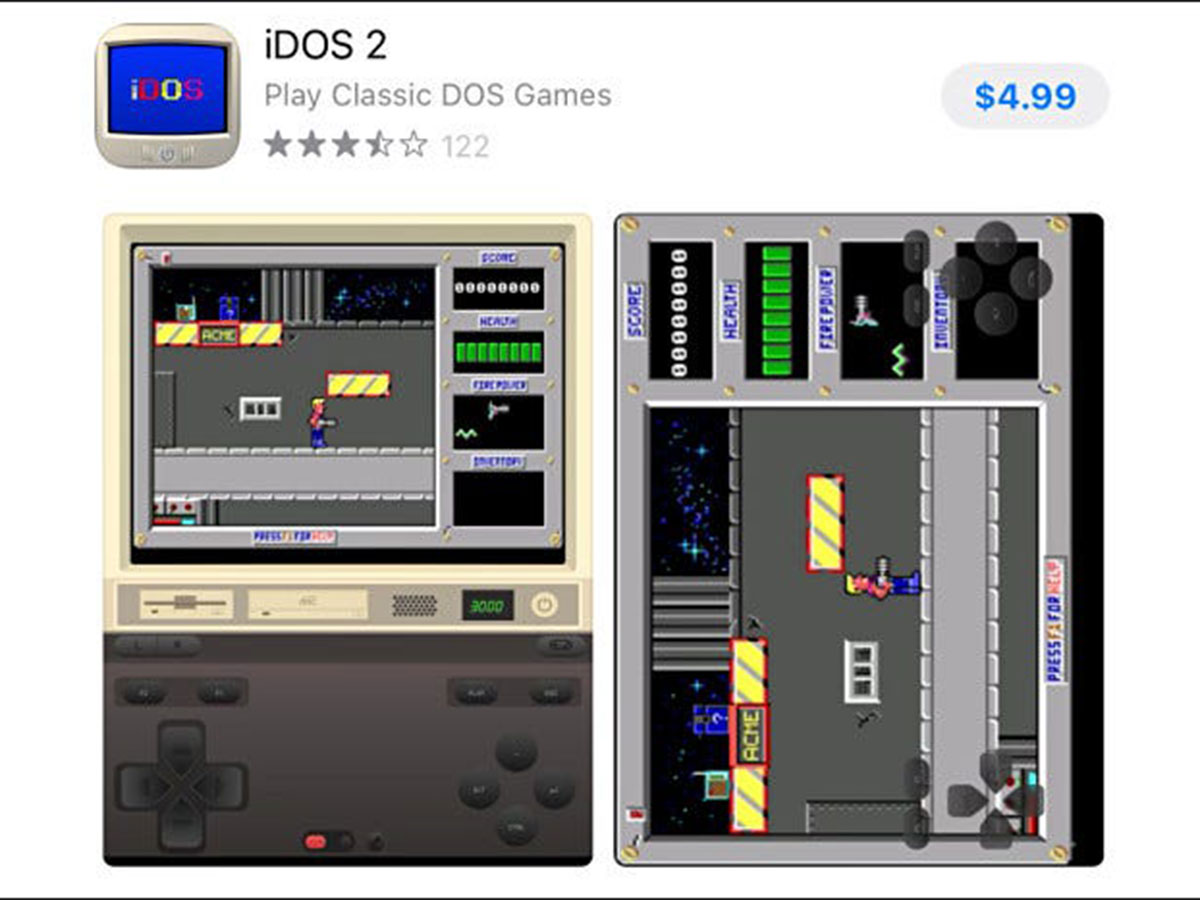
iDOS does not have a good track record in the App Store. In 2010, the previous version of this application was removed by Apple from the App Store; Because it allowed people to execute unverified code downloaded through iTunes.
Last year, the app’s developer changed it to allow access to DOS files from iCloud or the File app, and Apple approved iDOS after the fixes. Since then, the name of this application can be seen in the App Store list, and we hope that the situation will remain the same.
After purchasing and installing iDOS 2 on the iPad, run it once to make sure the folders needed to work in the Files app are created. Once running, the app creates a folder called iDOS in the On My iPad section; This folder is important.
Before going into the Windows startup steps below, you may want to get acquainted with how iDOS works.
In the vertical direction, you will see a window at the top of the screen that contains the video output of the simulated MS-DOS device.
Below that, you’ll see a toolbar that lets you load disk images (if you tap the floppy drive), check the speed of the DOSBox simulation (a black box with green numbers), and take a screenshot or settings Change (by tapping the power button).
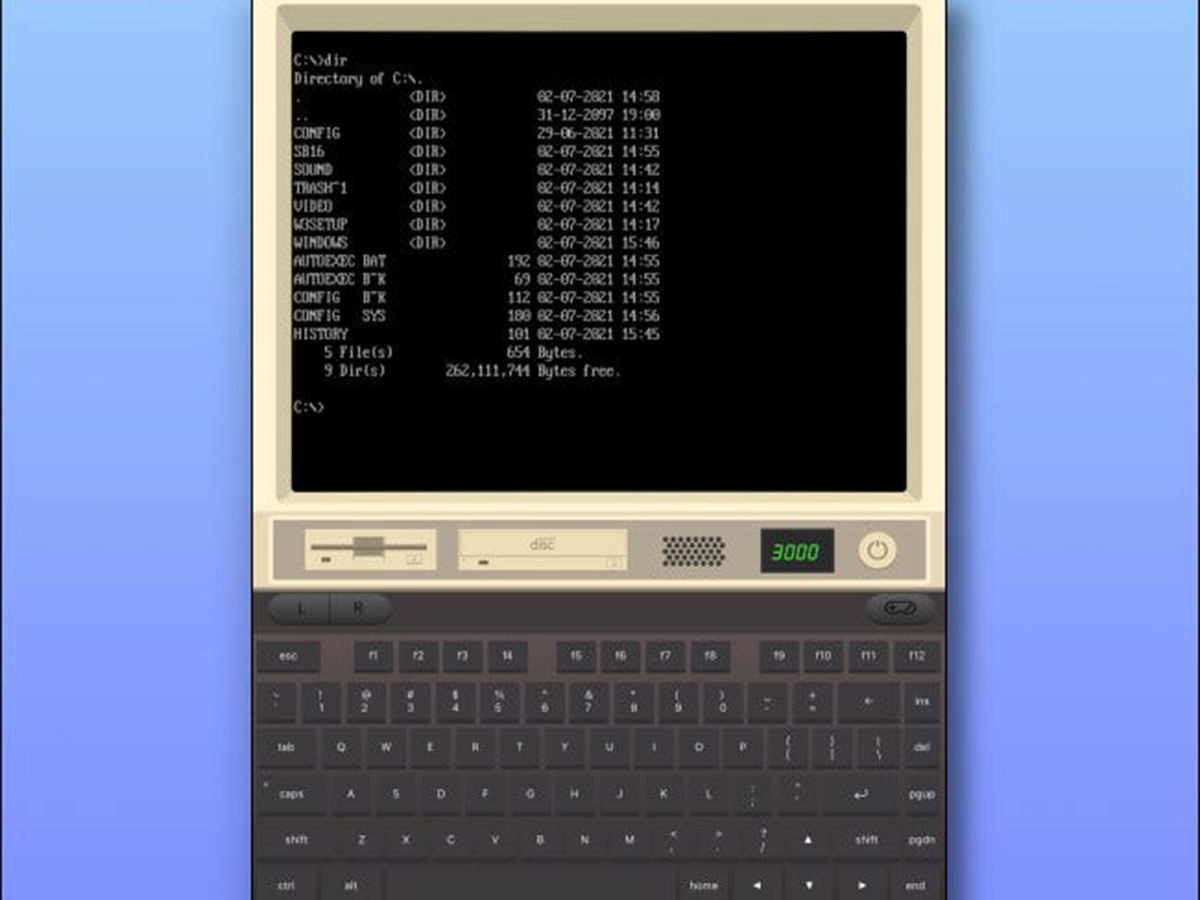
At the bottom of the screen, you’ll see a keyboard that lets you type whatever you want into your MS-DOS device. If you flip your iPad horizontally, the MS-DOS display takes up the entire screen, and you can open the toolbar whenever you want by tapping the center of the screen, giving you access to the keyboard, mouse, and gamepad options. Find.
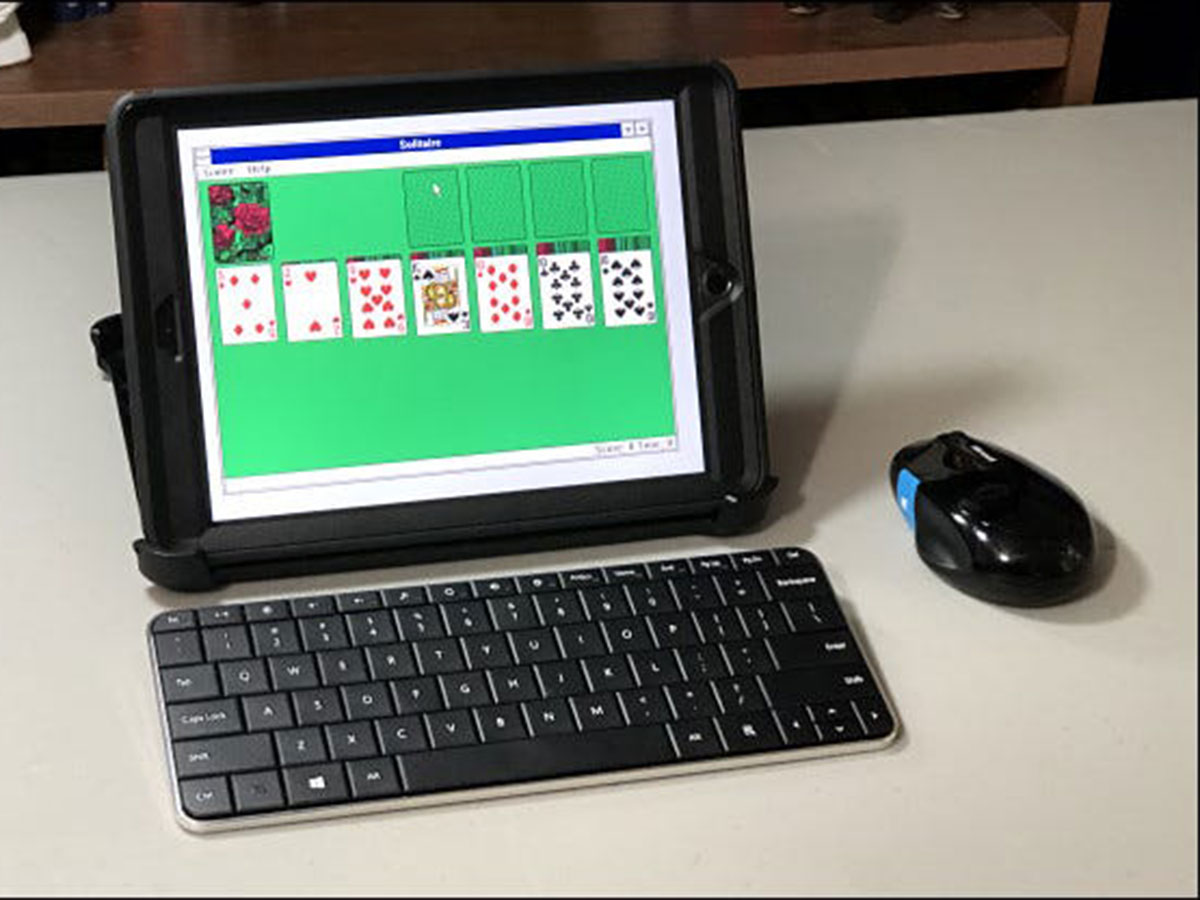
Set the Bluetooth keyboard and mouse
After installing iDOS 2, you may want to use it with your mouse and hardware keyboard. Fortunately, this is easy to do as long as you use an iPad OS 13 or higher. Just go to Settings> Bluetooth and pair your favorite Bluetooth keyboard and mouse.
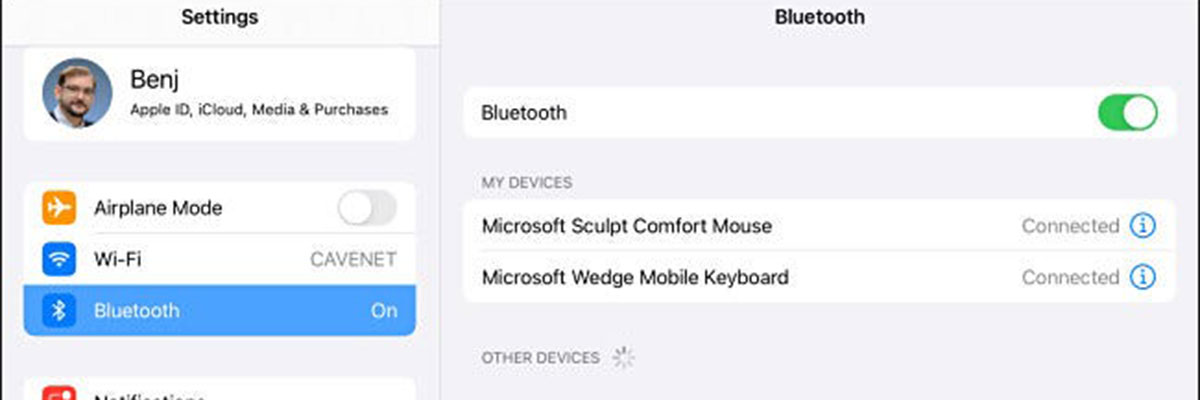
If you have trouble pairing a Bluetooth keyboard with iDOS 2, open the settings menu, go to Accessibility> Keyboards, and disable the Full Keyboard Access option. If that doesn’t help, you can still use iDOS 2 with the on-screen virtual keyboard.
Download and prepare Windows 3.1 installation files
It is difficult to do the work related to this part; Installing Windows 3.1 on iDOS 2 requires you to copy the installation files to the iPad somehow. The good news is that if you have the original Windows 3.1 floppy disk, there is a perfectly legal way to do it; This step is completed by copying all the files from the floppy disk and placing them in a folder.
If you own these disks, you have permission to use Windows 3.1. You may also be able to find installation files anywhere on the web.
No matter how you access the installation disks, copy the contents of each to a directory that you may need to use on another device, such as a PC or Mac. On a PC, WinImage or 7- Zip can extract files from disk images.
In our example, all the duplicate installation files from seven different Windows 3.1 installation disks place in a folder called w3setup.
Copy Windows 3.1 installation files to iPad
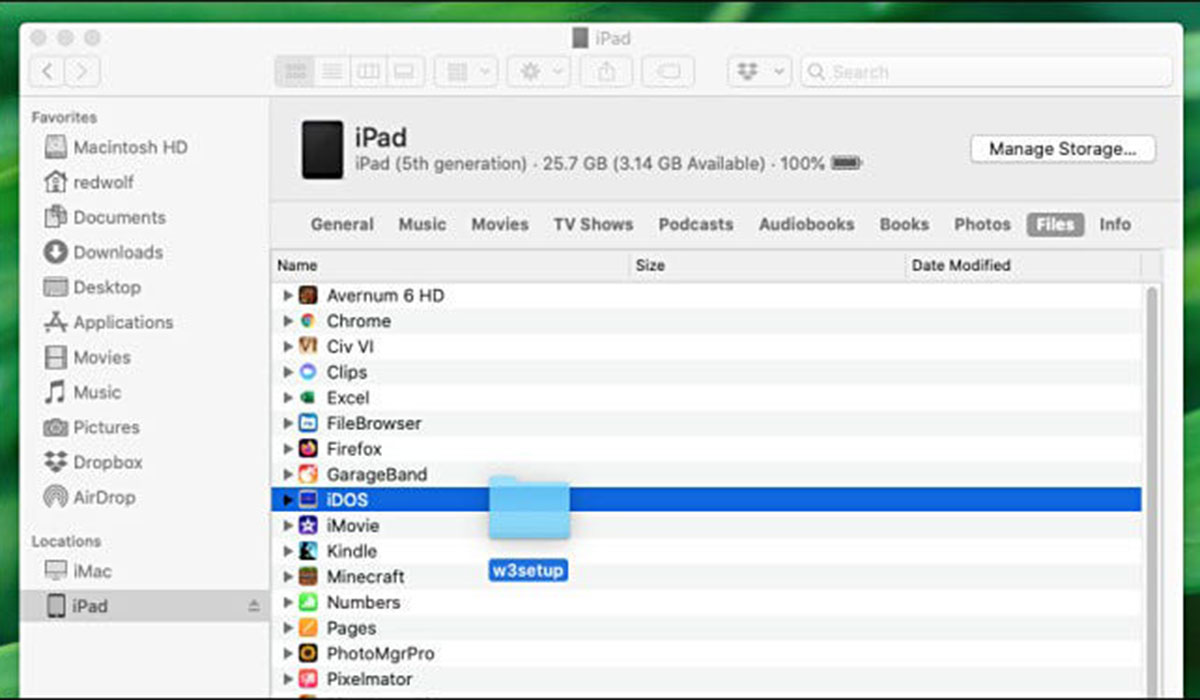
Once you have all the Windows 3.1 installation files in one folder, you need to copy the w3setup to the iDOS 2 folders in the Files app. There are many ways to do this.
One way is to connect the iPad to the Mac and then place it in the Finder sidebar and click on Files. Then drag the w3setup folder from the Finder or desktop to iDOS in the Files list.
(On a Windows PC, you can install iTunes and use iTunes File Sharing to do this.)
You can also use iCloud Drive, Dropbox, or another cloud storage service as an intermediary. After transferring the files to the iPad, use the Files app to copy the w3setup folder to iDOS.
Install Windows on iDOS 2
Installing Windows 3.1 on iDOS 2 is easy as long as you have the Windows 3.1 installation disc contents in the w3setup folder. Everything you put in the iDOS folder in Files automatically becomes the content of the MS-DOS C driver.
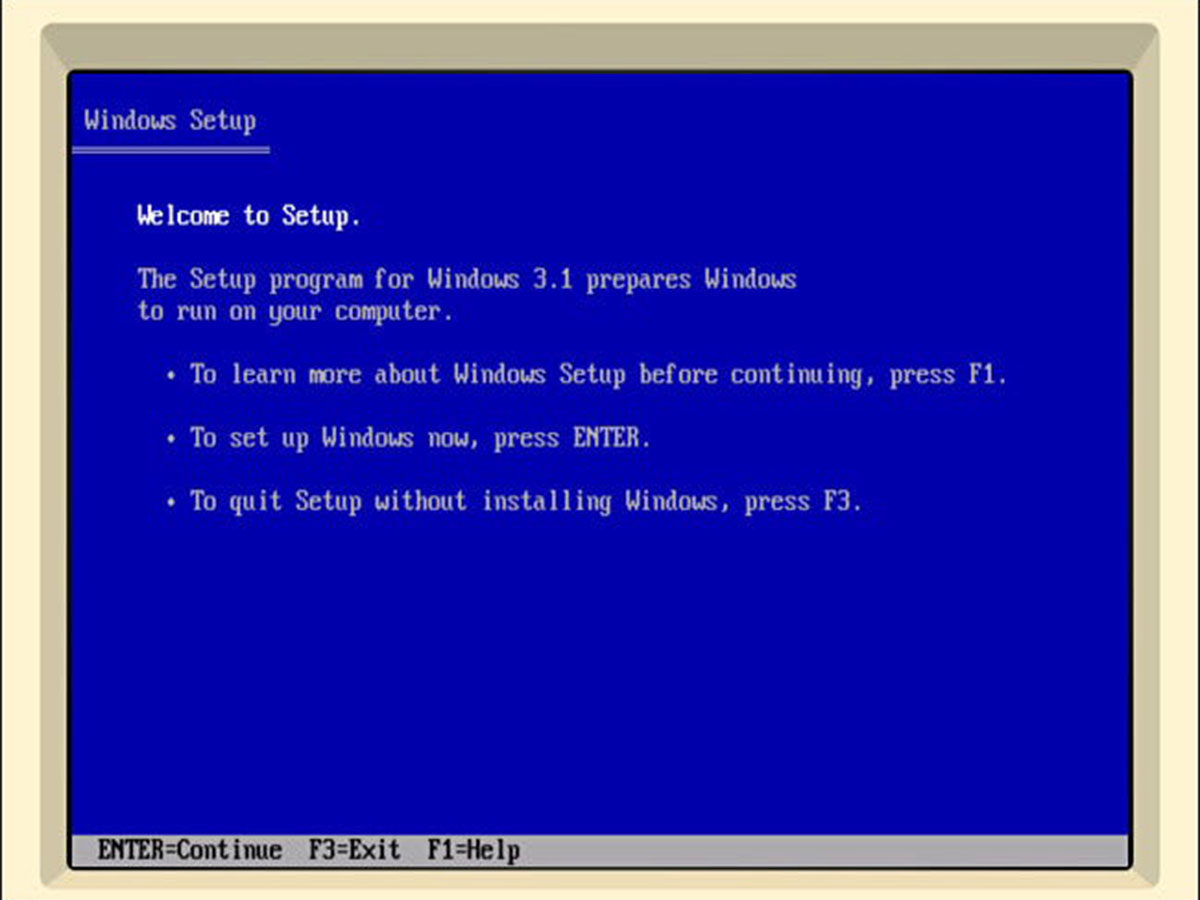
To start installing Windows, run iDOS 2 and, using the keyboard (real or virtual), type w3setup \ setup in C: \> prompt and press Enter. You will see a blue installation page that says: “Welcome to the startup page.”
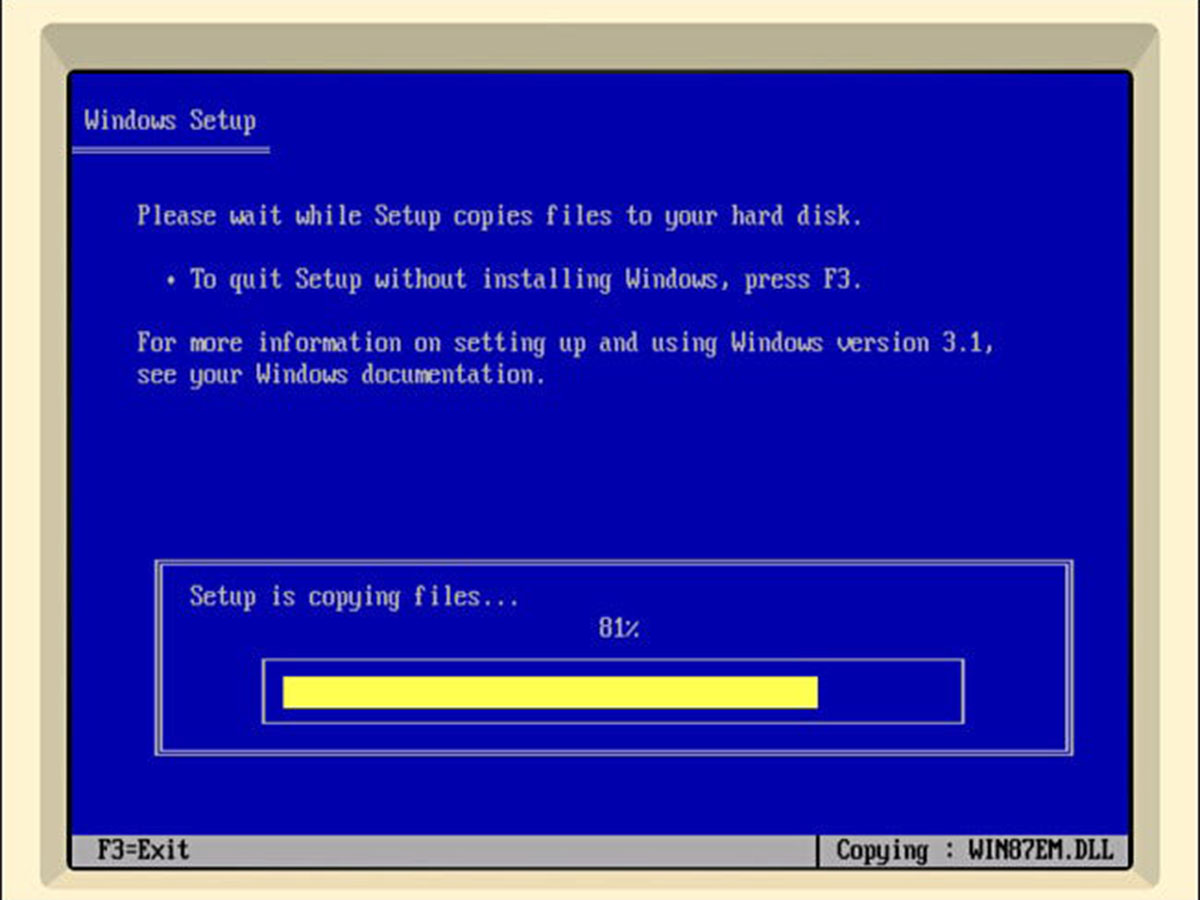
Press Enter and then press Express again to select Express Setup on the next screen. Windows Setup starts copying files from the w3setup folder to a new folder called C: \ WINDOWS.
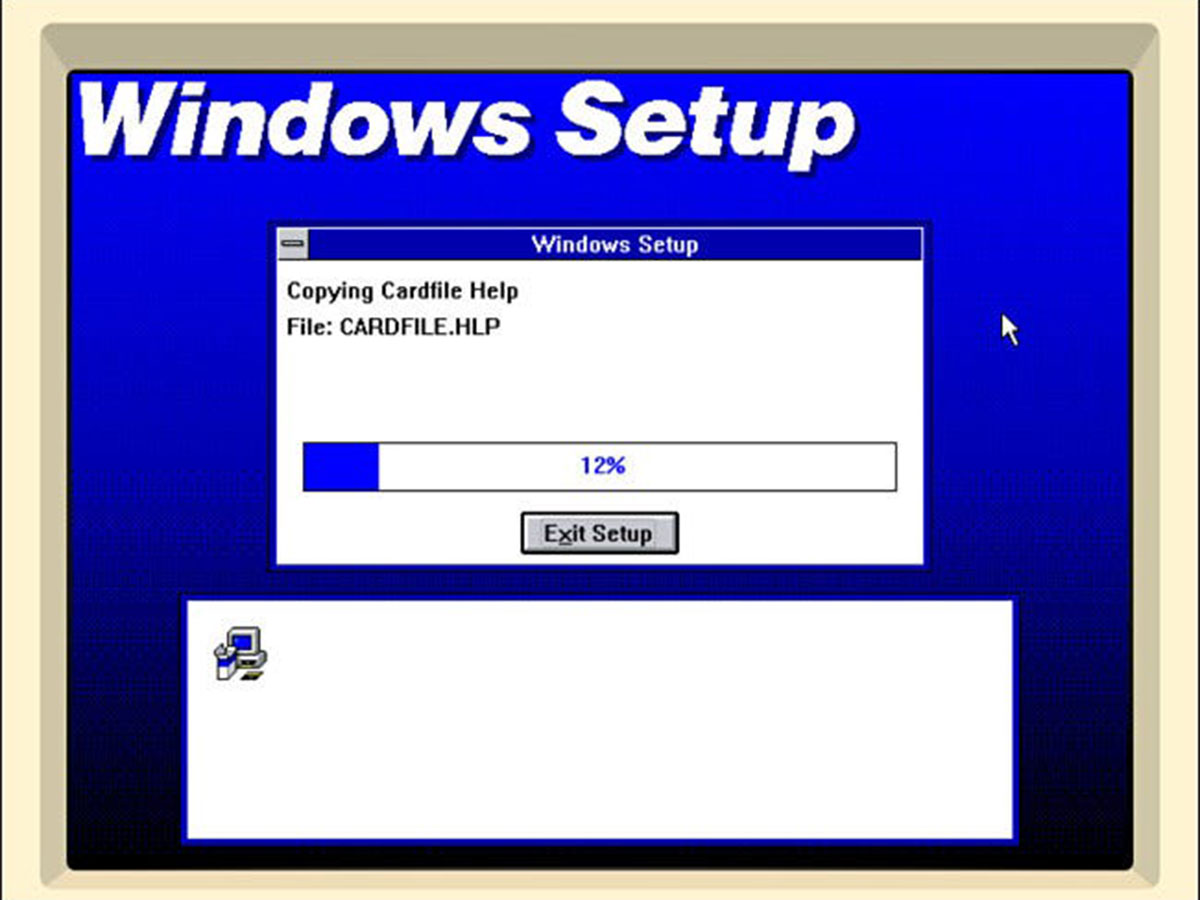
After a few moments, the settings change from MS-DOS character mode with a blue background to a Windows 3.x-style graphical installation screen. At this point, the mouse should activate, and you can move its cursor around the screen. When your name is asked, type whatever you like and click Continue or press Enter twice. The installation will continue.
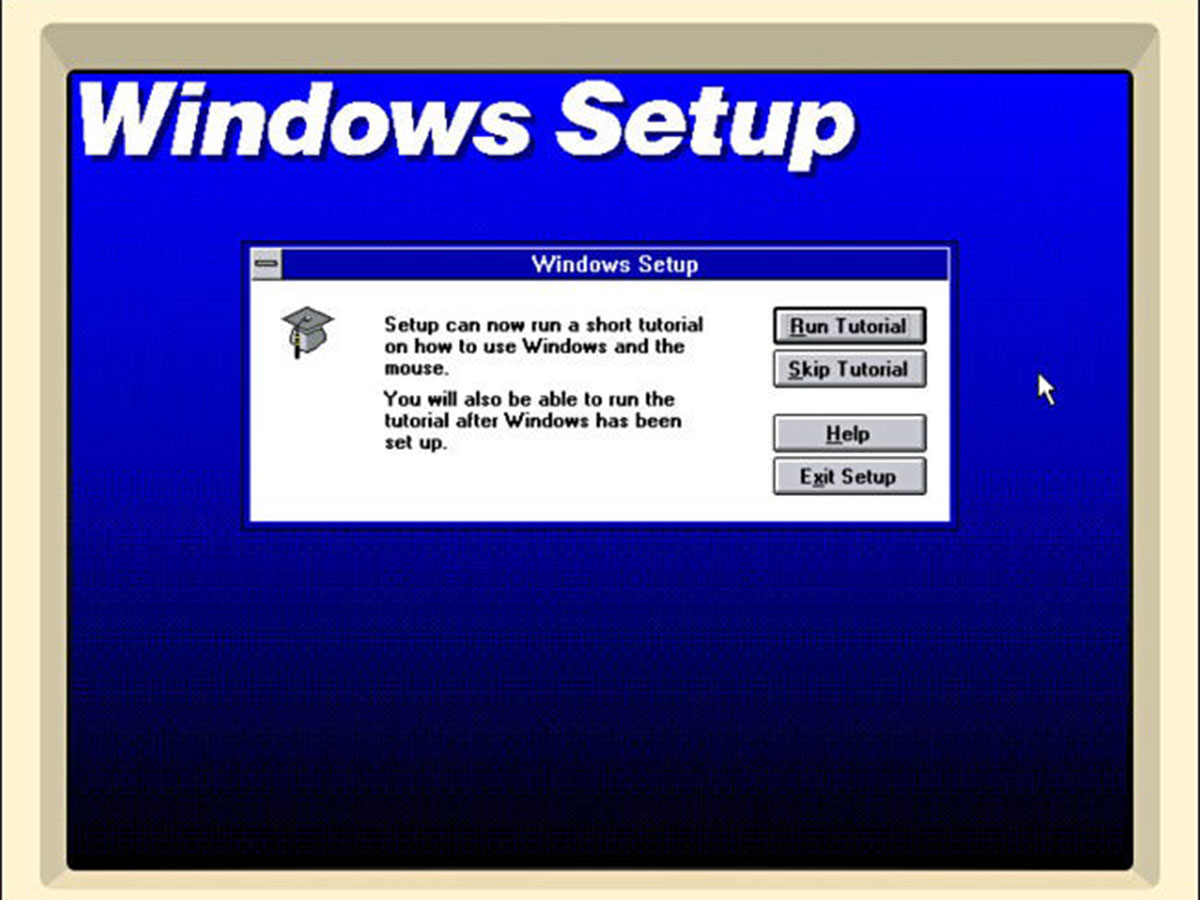
After copying all the files, Windows Setup may want to adjust the printer settings. Select the No Printer Attached option and click Install. If you are asked if you would like to watch the tutorial in this section, select Skip Tutorial to skip this step.
Finally, you will see the Exit Windows Setup window appear. Restarting MS-DOS does not work on iDOS 2; So you have to use App Switcher and drag iDOS 2 upwards to leave it.
Run Windows 3.1 on the iPad
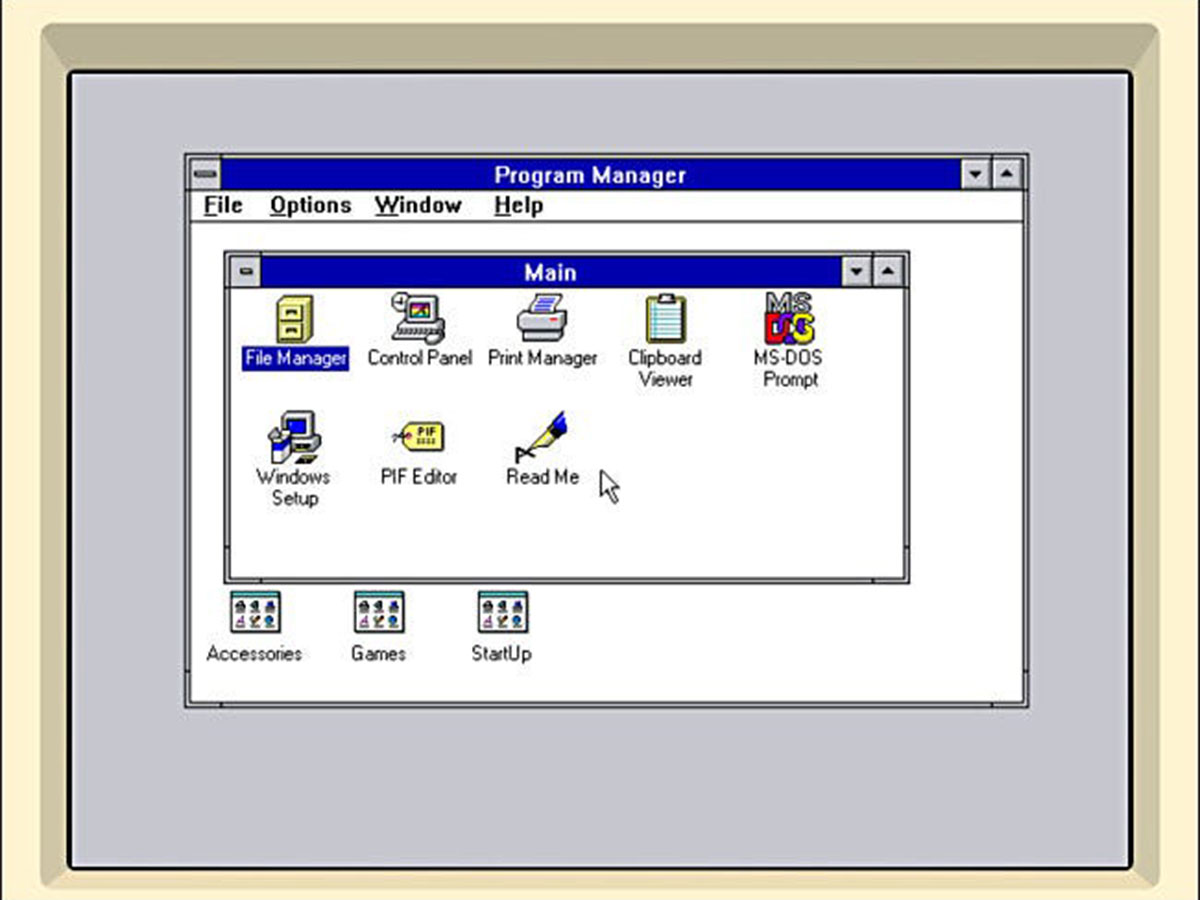
Once you exit iDOS 2, rerun it. Now that Windows 3.1 is installed, it’s time to run it for the first time. In C: \> prompt, type Win and press Enter. After a short while, you will see the homepage of Windows 3.1.
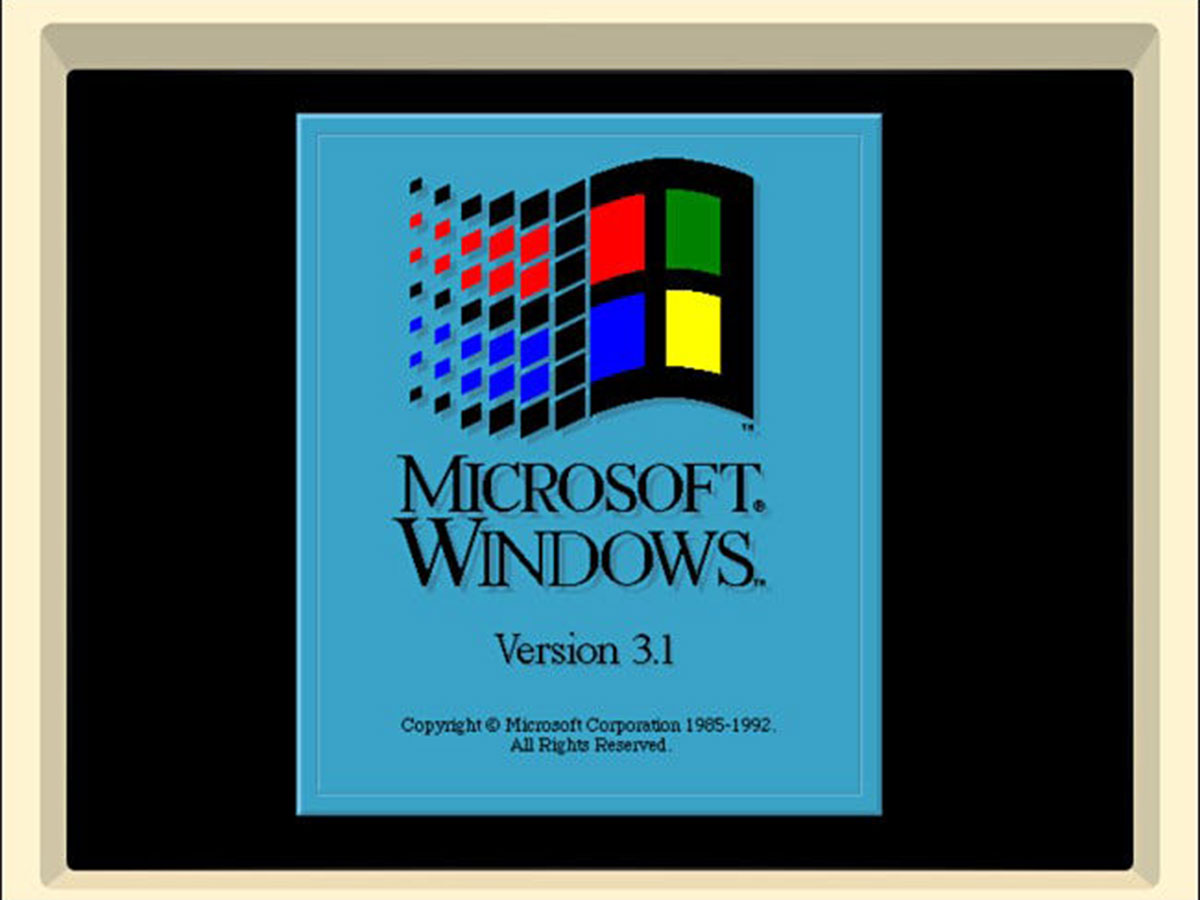
After that, you will be on the Windows 3.1 desktop. Congratulations, you have successfully installed this version of Windows on your iPad.

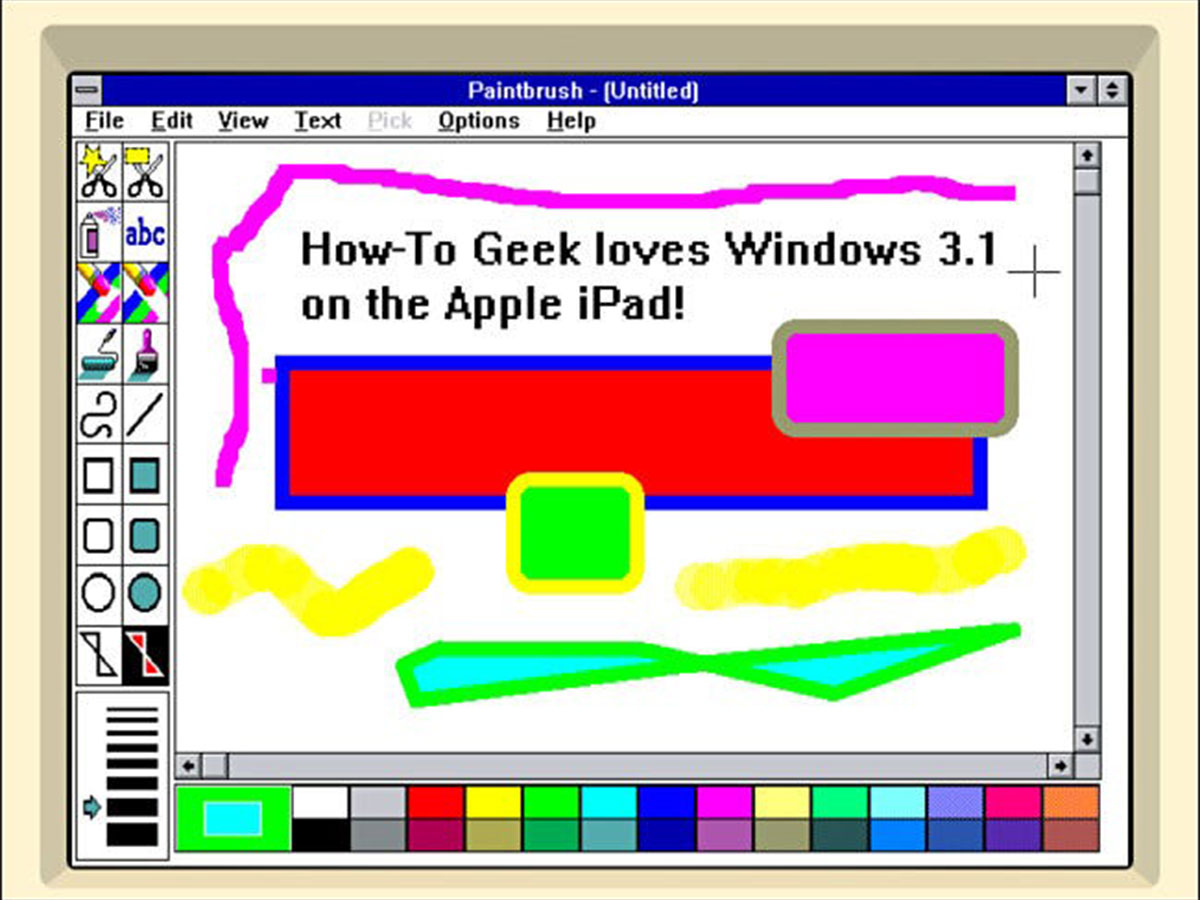
You can go straight to the Games section and play memorable games like Minesweeper in the past. If you feel artistic, go to the Accessories section and run the Paintbrush app.
Of course, you do not always have to see the iDOS border around the screen. To remove it, rotate the iPad horizontally. By doing this, you will have an excellent and full-screen experience of Windows 3.1 on the iPad.
Audio support and more games
By default, Windows 3.1 does not play audio on the iPad; Unless you have a specific audio driver installed. To do this, you must first download the Soundblaster 16 Creative Audio Driver available on the RGB Classic Games website. Extract the zip file to a folder called sb and copy it to the iDOS folder.
To install it, run iDOS 2 and type sb \ install in C: \> prompt and follow the on-screen instructions. Remember to change the Interrupt option from 5 to 7.

If you want to have more Windows games, the Internet Archive is a good place to find them. With the ability to run these games in the browser, you can try them out before copying them to the iPad.
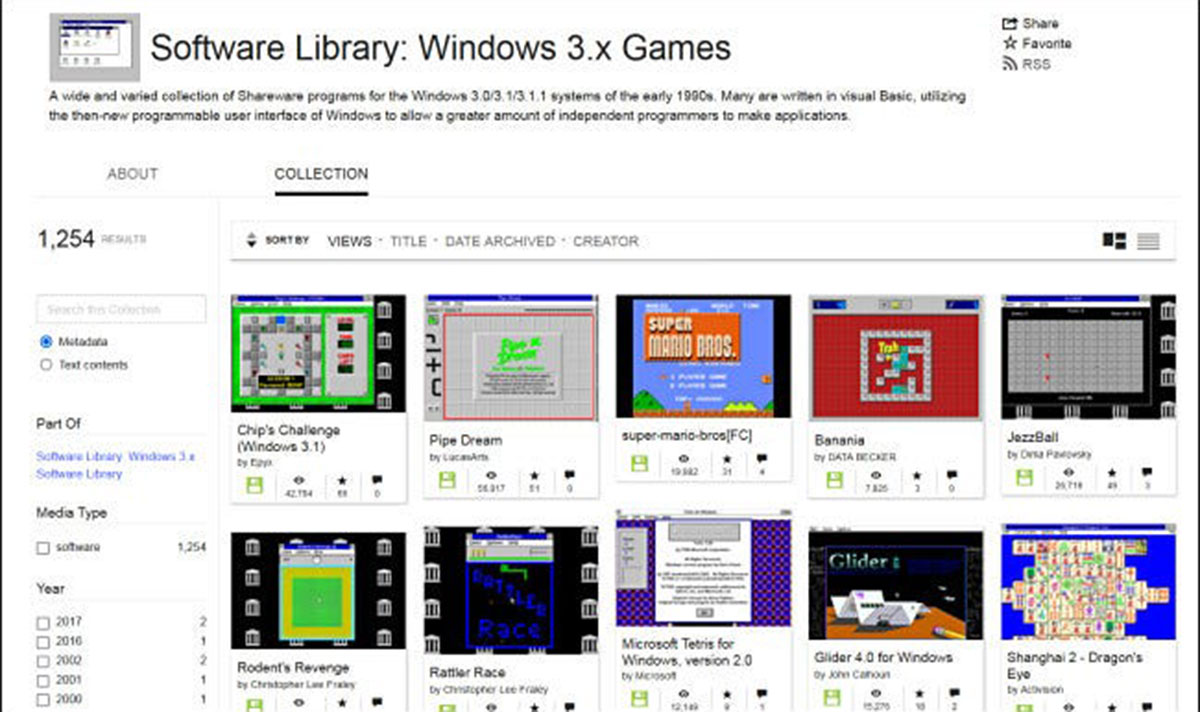
If you find your favorite game on the Archive Internet, you can usually find the zip file for it on the right sidebar. Download the file to your Mac or Windows computer, extract it to your folder, and then copy it to the iPad’s iDOS folder.
You can install it in Windows 3.1 by selecting File> New> Program Item in Program Manager. Then, go to the game directory and run the main EXE or COM file. If you find these steps boring, you should know that you are right, and that was the way it was with Windows at the time.
One of the most important and fascinating parts of training today is that you can do all of the above on your iPhone. Just keep in mind that whenever Windows or any other application asks you to restart your computer, you must close iDOS and rerun it.