


Video tutorial on how to give effects to Persian and English texts in Photoshop
In this tutorial you will learn how to create a jumbled text with colors that combine at the intersection of letters in Photoshop. Creating this text is very easy.
Photoshop, All we have to do is select a text, shape the letters we want, change their color, and bring them closer together so that they overlap.
The first method: with the help of the following videos
If the above videos did not work for you, follow the step-by-step tutorial below:
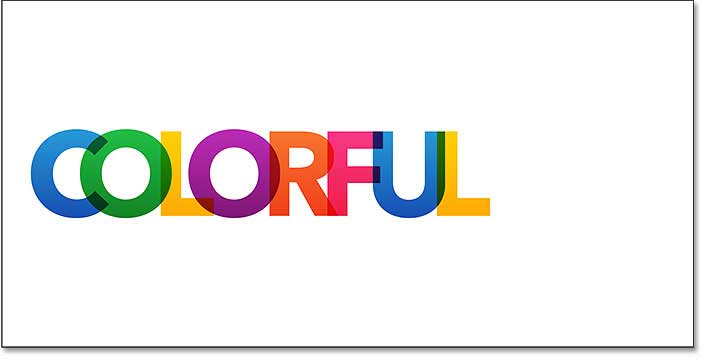
We use one of Photoshop’s layer blend modes to combine colors where the letters overlap. So let’s do it step by step. I use Photoshop CC, but every step we take is fully compatible with Photoshop CS6. The image below is what we want to create in this tutorial:

How to create overlapping texts in Photoshop
Step 1: Create a new document
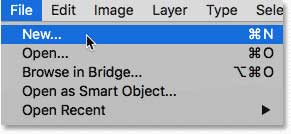
Get started by creating a new document in Photoshop. Go to file and select New:
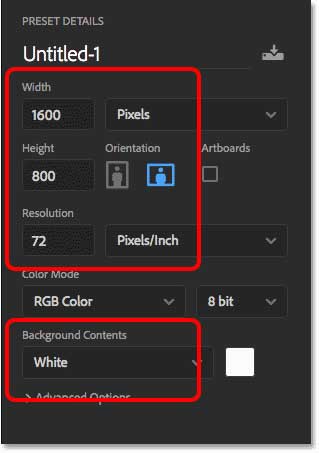
Create a document with Width dimensions of 1600 pixels, Height 800 pixels, Resolution 72 pixels / inch and Background Contents White. Click create or ok – depending on your version of Photoshop – to create a new document:
Step 2: Enter your text
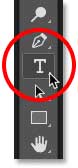
From the Toolbar, select Type Tool:
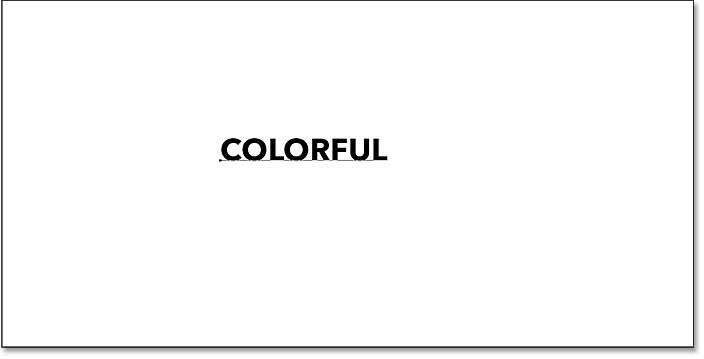
Select the font you want from the Options Bar. For this effect, bold fonts are better. I am using Avenir Next Bold. Set the text size to 72 pt.

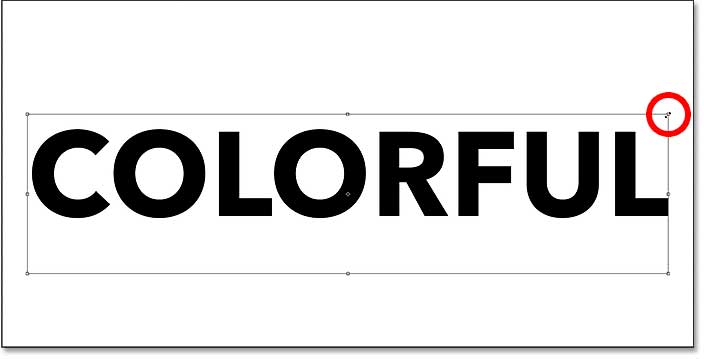
Make sure the color you choose is black so that it is clearly visible on a white background. If it is not black, press D on your keyboard to reset it. After selecting the shape of the letters, we will change their color. Click on the document and enter your text. I chose the word COLORFUL.
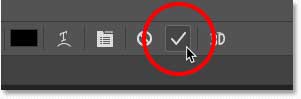
Click the checkmark in the Options Bar to accept the text.
Step 3: Resize and move the text with Free Transform
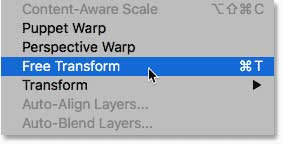
To resize the text, go to the Edit menu and select Free Transform.
Photoshop installs Free Transform to manipulate text. To resize text, press and hold shift while clicking and dragging each corner of the text. When you are satisfied with the size and position of the text, press Enter -Win- / Return -Mac- on your keyboard to exit Free Transform.
Step 4: Change your text to form
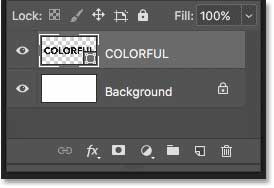
The Layers panel shows a new layer.
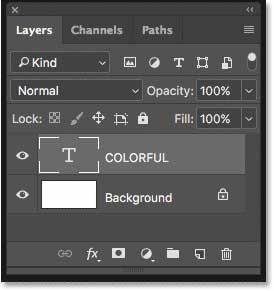
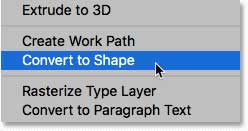
We need to turn letters into shapes. Go to the Type menu in the Bar menu and select Convert to Shape.
Return to the layer panel and the Type layer is now the Shape layer – the text layer has been converted to the shape layer.
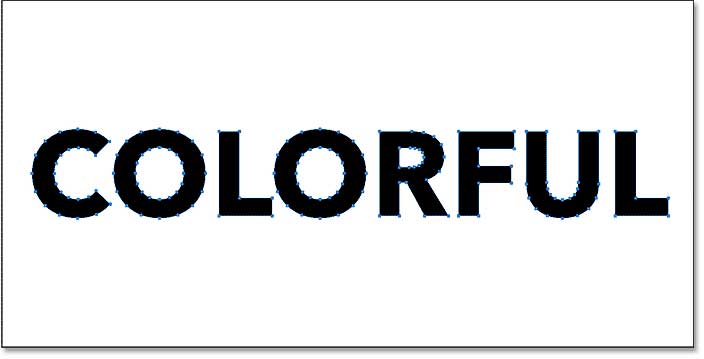
In the document, we see the path of the lines around the letters, meaning that the letters are actually shapes.
Step 5: Move each letter to your layer
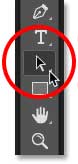
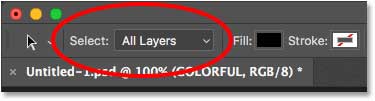
To stack the letters and combine their colors, we need to put each letter on a separate layer. Select the Path Selection Tool from the Tool Bar.
Then in Photoshop CC go to the top of the Options Bar and change the Select option to All Layers. This is easier said than done. This option is not available in Photoshop CS6, but you can still easily select letters.
Return to the document window, click on the white background to deselect the letters. Then click on the first letter from the left to select it. The line path only reappears for the same letter:

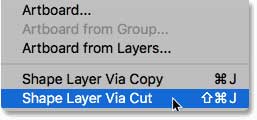
To move this letter to its own layer, go to the Layer menu, select New, and select Shape Layer via Cut – be careful to select the cut, not the copy. Or a faster way – and my suggested way for this – is to press Shift + Ctrl + J -Win- / Shift + Command + J -Mac- on the keyboard.
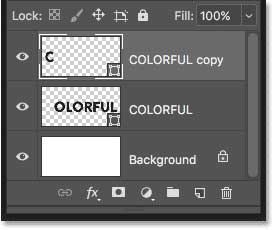
Nothing seems to have happened, but in the Layers panel, we see that the first letter has been moved to its Shape layer.
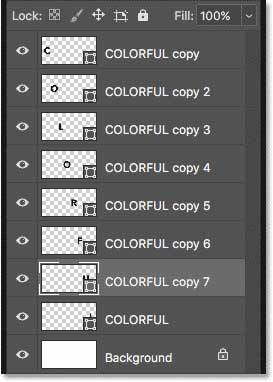
Continue transferring the rest of the letters to their layers:
To move the rest of the letters to their separate layers, click the letter with the path selection tool to select it – in Photoshop CS6 you have to double-click. Then press Shift + Ctrl + J -Win- / Shift + Command + J –Mac- to cut the letter to its layer. Put all the letters from left to right in their separate layers. When you reach the last letter on the right, you can leave it because it is the last letter left in the original Shape layer.
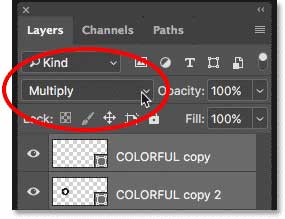
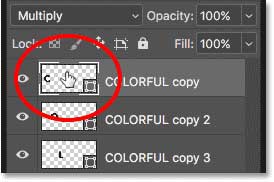
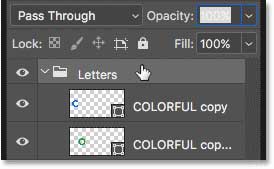
As you can see in the figure below, change the blend mode from Normal to Multiply.
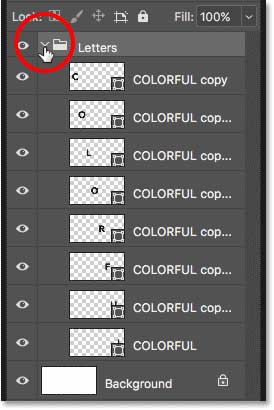
Step 7: Place the shape layers in the layer group
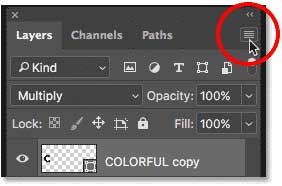
After selecting the shape layers, we need to place them in the layer group. Click the menu icon in the upper right corner of the layers panel.
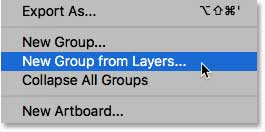
Then select New Group from Layers.
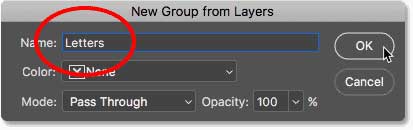
In the new group, enter the group name letters and then ok.
Return to the layer panel, the shape layers are now in this group. Click in the area shown in the figure below:
Step 8: Change the color of each letter
Now it’s time to change the color of the letters. Start with the first letter on the left. Double click on the top shape layer.
This will open the Color Picker – Photoshop. I choose light blue. To use the same color I used, set the value of R to 30, the value of G to 117, and the value of B to 197.
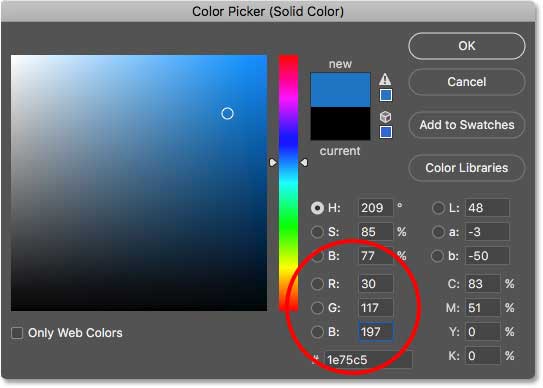
Click OK to close the color selector and the first letter will appear in the same color.

Repeat the same steps to change the color of the second letter:
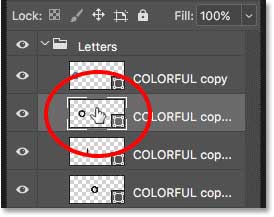
In the color picker, select another color, I choose green with settings R for 25, G for 161 and B for 53.
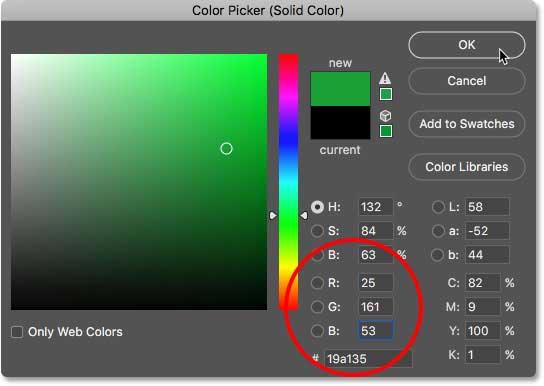
Click OK and you’ll see the second letter turn green – or whatever color you choose.

Change the color of the rest of the letters:
Follow the same procedure for the rest of the letters. The values I have chosen for the rest of the letters are as follows: for the letter L yellow with R = 255, G = 190, B = 0, for O purple with R = 158, G = 33, B = 150, for I chose R orange with R = 244, G = 99, B = 36 and for F pink with R = 243, G = 43, B = 104. For the letter U, we choose the same blue color we chose for C, and for the letter L, we use the same yellow color as the third letter.

Step 9: Choose a gradient for the Layer group
To give a gradient to the letters, click on letters at the top of the layers panel as shown below.

Then click on the layer style icon at the bottom of the Layer panel – fx icon:
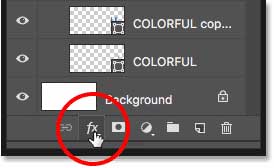
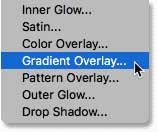
Select Gradient Overlay from the list.
This will open the following window to adjust the gradient. Open the Gradient Picker. Then double click on the third black and white gradient.
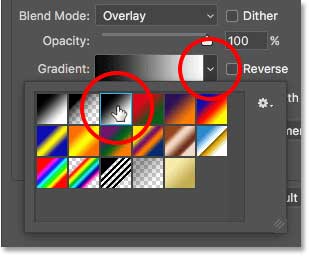
Set the Blend Mode to Overlay and the Opacity to 100%, the Style to Linear and the Angle to 90 degrees; And then ok:
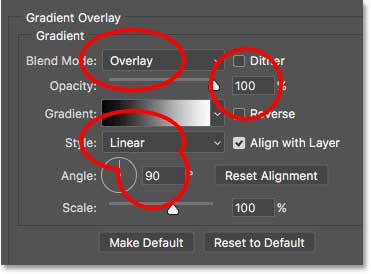
The gradient appears on the letters. So that the top of the letters is lighter and the bottom is darker.

Step 10: Select the Move Tool and set it to Auto Select Layers.
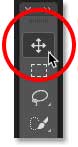
In this part, we bring the letters closer together so that they are on top of each other. From the Tool Bar, select Move Tool:
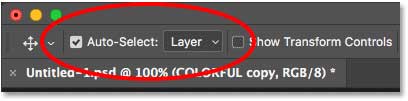
Then in the options Bar, make sure that Auto-Select is on and on the layer, not the group, this allows us to select each letter with just one click on the letters.
Step 11: Drag the letters together so that they overlap.
Click on the letter to select it. Shape layer in layer panel is highlighted for that letter. Then drag the desired letter on the side letter to place part of the letter on the other letter. Hold shift when dragging. Here I clicked on the second letter – o green – and dragged it to the first letter. Note that where the letters are stacked, their colors are combined.
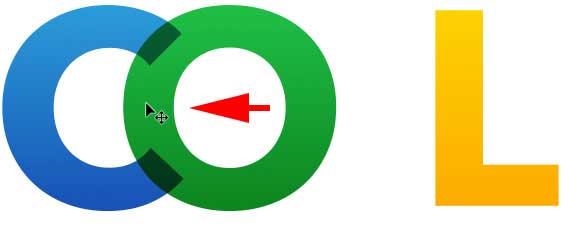
I clicked on the third letter to select it and then dragged it to the letter O. Click only once to select the letters, and then clicking a second time will drag it, in other words, you can select and move the letter at the same time.

If you make a mistake in this area – for example, you randomly select two letters together and move – Ctrl + Z – Win – / Command + Z – Mac – to undo the last step you took. If you want to deselect a letter, click on the white screen.
Move the rest of the letters as well:
Continue to stack the letters until they all fall apart. Pay attention to the above points when dragging letters. Below you can see the result of my work. The only problem is that after bringing the letters closer together, our word in the document looks very small. In the next step we will tell you to resize it.
Step 12: Resize the text
Since all our letters are in separate layers, to resize, we need to resize the layers in the group. Once again, click on Letters in the layer group at the top of the layer panel to select it:
On the keyboard, press Ctrl + T -Win- / Command + T -Mac- to quickly select the Free Transform command in Photoshop. Then, as we did before, grab the shift and drag the corners of the text to resize it.
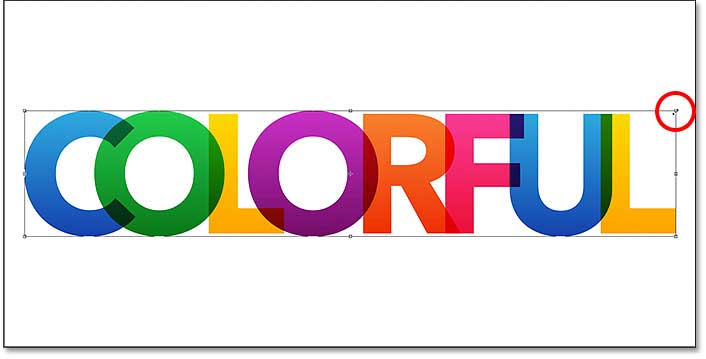
Press Enter on the keyboard to exit free Transform. You did it! My final task after making a few adjustments to make the color jumbled letters is as follows:

If you have any questions or comments, please let us know in the comments section of Photoshop Text Effects.