
How to Capture Video from Windows
There are many reasons to shoot video from Windows and other operating systems. You might want to record a video for YouTube, make a software tutorial video, or create a complete presentation for your business.
Capture Video: The first thing you can do is download video recording software from the operating System. Of course, the operating System has some great options in this area, but you may not know that Windows is equipped with such a feature by default.
This tool is available in the pre-installed Xbox application.
How To Capture Video From Windows And Other Operating Systems?
You can also record videos from the browser window without downloading and installing heavy programs. This depends on what you plan to record, the hardware, and the duration of the video.
Video recording from a Windows environment
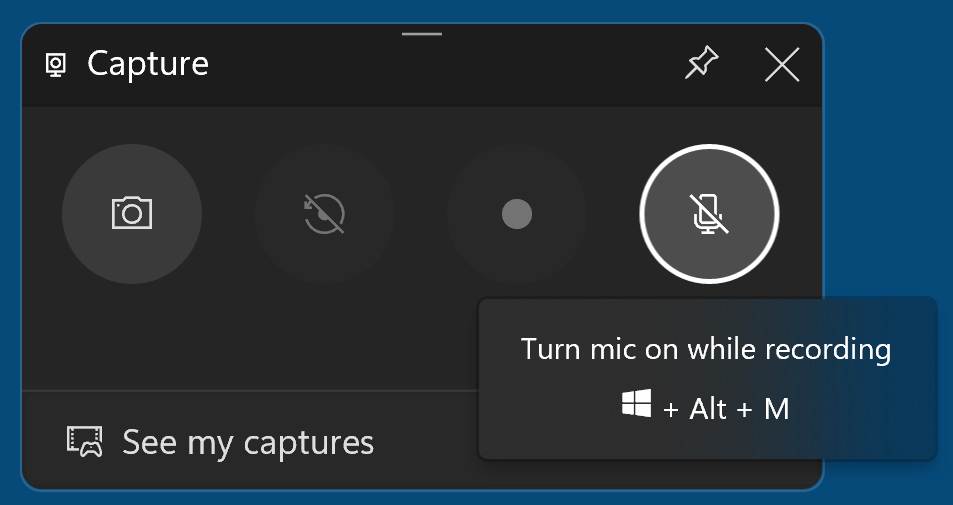
This feature is almost hidden, but Windows 10 still has a default movie recorder designed to capture game scenes. To find it, open the default Xbox app and press the Windows and G keys simultaneously. Then select the Yes option.
Select Start Recording to start the recording process, use the Windows + Alt + R shortcut keys, and use the same shortcut to end the recording. The recorded videos are visible in the Windows Videos folder in MP4 format.
To change this feature’s settings, log in to your Xbox account and go to the Game DVT section. You may not be able to change the video storage folder here, but you can control the recording quality, turn the microphone on and off, and set the ultimate video recording time.
Unfortunately, not all devices running Windows 10 can take advantage of this feature, and to use this tool, your device must be equipped with a video card that supports one of the following encoders.
Intel Quick Sync H.260
Nvidia NVENC
AMD VCE
If your device does not have these features, you can use Windows environment recording software.
Filming from the Mac OS environment
Recording video from a Mac environment is much easier than from Windows. If your device has the Mojave operating System, you can access all the video recording features and settings by pressing the shortcut keys Shift + ⌘ + 5.
In Mac OS, you can capture the entire screen, a section, or a window in particular, and finally edit, save, or share it.
Video recording from an Android environment
Android Q will also be equipped with a default recorder. If Android Q is installed in beta, you can go to Settings and select About Phone. Here, you can access features hidden before the official release by changing the operating System mode to Developer Mode.
Afterward, return to the settings menu, select Developer Options, and then Feature Flags. Here, you must enable the ‘settings_screenrecord_long_press’ option.
Then, pressing the power Button will display a series of options. In the meantime, holding the Screenshot option will activate the video recording mode after a few seconds, and you can shoot videos from the Android user interface.
Video shooting from the iOS environment
Shooting from an iOS environment is as simple as shooting from a Mac OS. First, go to the settings section and select Customize Controls in the control center section. Enable the Screen Recording option here.
Now bring up the environment from which you want to film. Swiping the screen from bottom to top (from top to bottom on iPhone 10 onwards) will reveal the shortcut keys.
To start filming operations from the application environment, select an icon with a dot in the middle of a circle.
Select the timer in the upper left corner to end the recording, then touch Stop. Of course, remember that notifications displayed on the screen during recording are also shown in the recorded video.
FAQ
What are common ways to capture video on Windows?
Use the built-in Game Bar or third-party screen recording software to record your screen.
How do you start a video capture session?
Open the recording tool, select the area or app to record, and press record.
Why would you capture video on Windows?
To create tutorials, record gameplay, or save on-screen presentations.