Step-by-step tutorial for creating reports in Access software (video in simple language)
In this lesson, you will learn how to create, edit and print reports. Note that you can learn access software with these training packages in the shortest possible time, without the need for different classes or online websites !
In this step-by-step and completely principled post, we will teach you how to create Reports reports in Microsoft Access software. If you want to share information from your database with someone but you do not want that person to work with your database, you should use “Create Report”.
Reports allow you to organize and present your data in a friendly and informed format. Access software makes it easy to create and organize reports using any questionnaire or table in your database.
To create a report:
Reports provide database components in easy-to-read and printable formats. Access allows you to create reports from both tables and questionnaires.
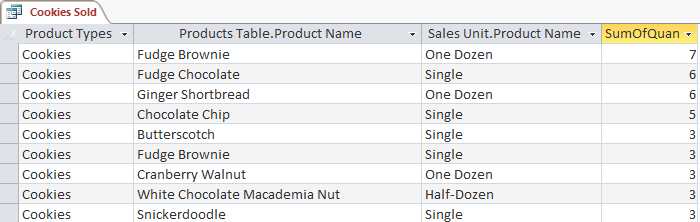
1. Open the questionnaire or table that you want to use in your report. We want to print a list of biscuits sold. So we open the baked biscuits questionnaire.
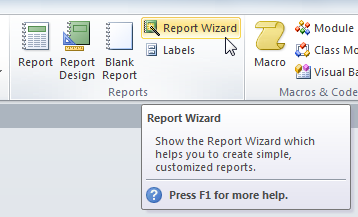
2. Select the create key on the bar. Place the report group and then click the report command.

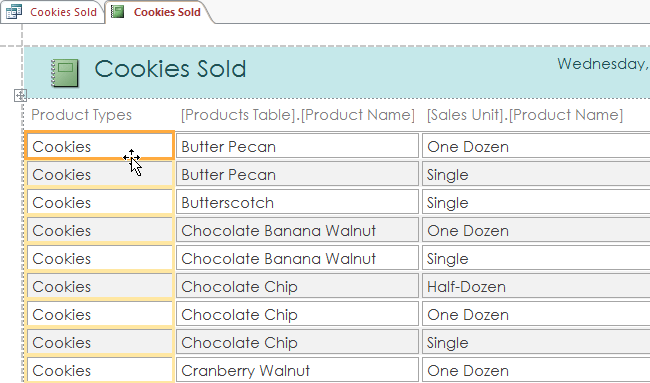
3. Access will create a new report based on your purpose.
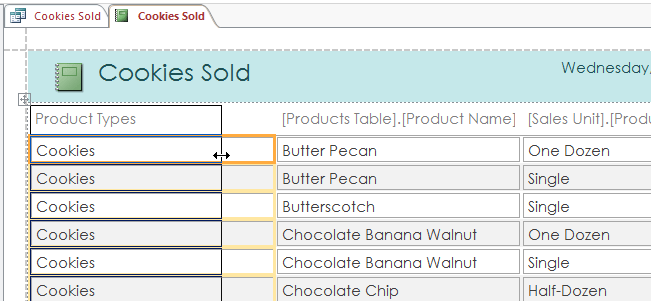
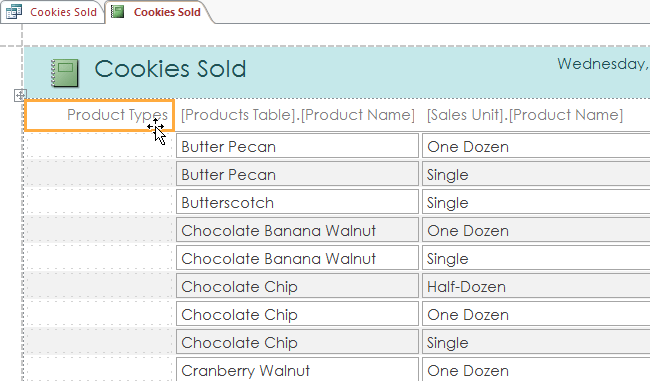
4- It is possible that some of your data will be on another part of the page break. To repair it, re-measure your part. Simply select a part. Then click and drag its edges until it reaches the desired size. Do the same for the next episodes to get fit.
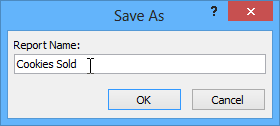
5. To save your report, click on the save command in the quick access toolbar. When prompted, type the name for your report, and then click OK.
6. Like all questionnaires and tables, reports can be sorted and filtered. Simply click on the section you want to sort or filter, and then select the desired options from the menu.
Do not miss: Introduction and basic training of Access 2016 program and how to create a database
Delete episodes
You may find that your report contains some areas that you do not really want to review. For example, the report contains a zip code that is not required in the order list. Fortunately, you can delete parts of the report without affecting the table or query where you saved your data. To delete a section in a report:
1. Click on any cell in the section you want to delete, then press the delete button on the keyboard.
2- This part will be deleted.
3. When you delete a part, make sure you delete the main part. Simply select the heater and press the delete button.
Print and save reports in the print review section
While you want to print reports using commands on the back page. You can use the print forecast page. The print background shows you how your report appears on the printed page. It also allows you to display your report, print it, and even print it as a separate file.
To print a report
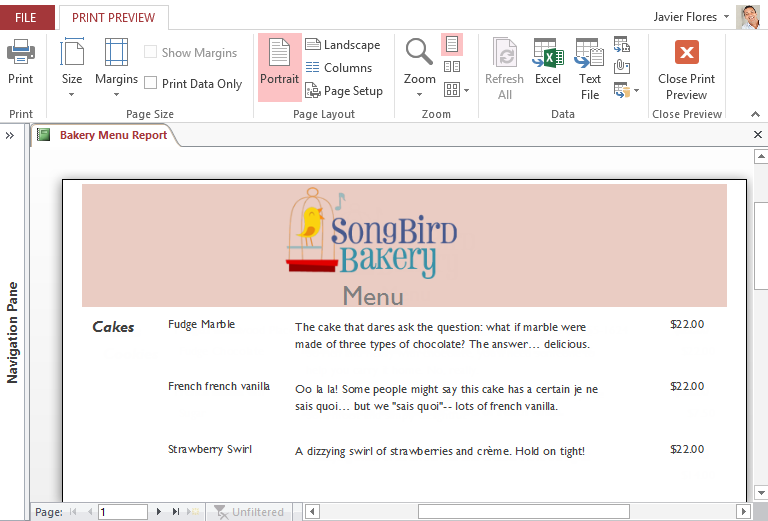
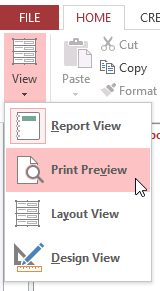
1. Form the Home key. Click on the view command and select the print background. Your report will be displayed as it appears on the printed page.
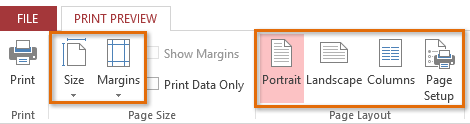
2- If necessary, change the page size, margin width, and margin length using the commands on the bar.
3- Click on the print command.
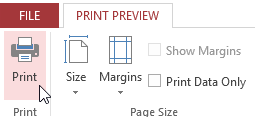
4- The print dialog box will appear. Set any desired printing options. And then click OK.
5- The report will be printed.
Important note! Video tutorial on managing databases and objects in Access software
Information storage
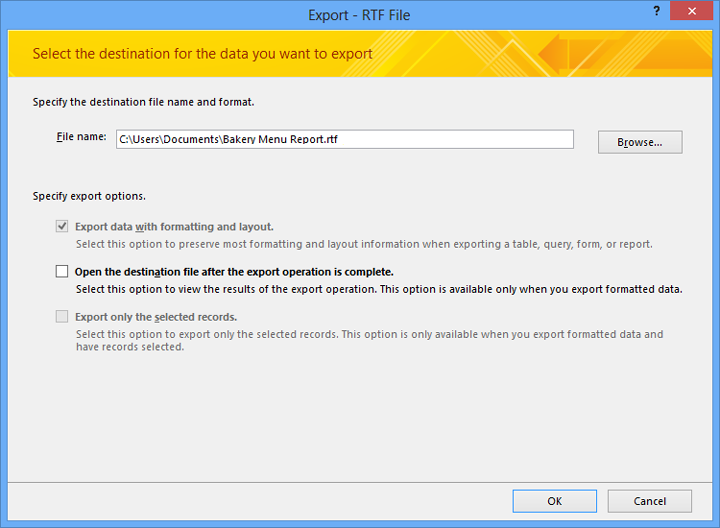
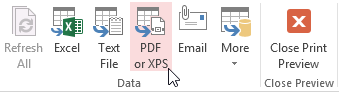
You can save reports in another format so they will be visible outside of Access. This is called file exporting, and allows you to review and even convert reports to other formats and applications. Access offers reports for you to save your report in Excel file, text file, PDF, and HTML documents. Try different output options to select the most appropriate one.
A report to Export
1. Click the View button on the View command and select the print background from the list.
2. Put the grouped data on the tape.
3- Select one of the file type options, or click on the word more to see the options to save your report in Word or HTML.
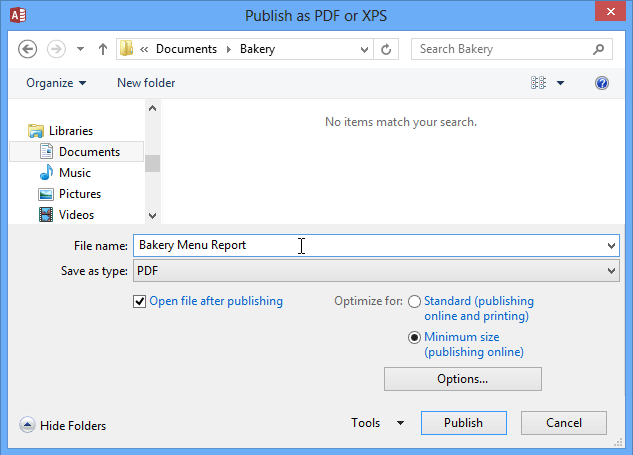
4- The dialog box will appear. Select the location where you want to save the report.
5. Select the file name for the report and then click Publish.
6. A dialog box will appear informing you that your file has been saved successfully. Click Close to return to your report.