


Learn how to move the desired object on the iOS screen (animation)
In this section, we will learn how to move the desired object on the iOS screen; Here’s an example of how to use moving iOS objects to create animations in Swift apps.
Move objects in the iOS app UI display (animations)
iOS screen, In iOS, move objects; Generally, elements are used in the controller to perform animated movements. Generally; In iOS, scrolling actually means moving objects from one point to another.
Now let’s give an example of how to implement animation apps on the iOS screen in Swift apps.
Create an app to move iOS objects in swift
To create a new project in Xcode on iOS, open Xcode from the application folder list. After opening Xcode, the welcome window will open as shown below. In the Welcome window, click on the second option, “Create a new Xcode Project”; Click (create a new Xcode Project) or select the File New Project path.
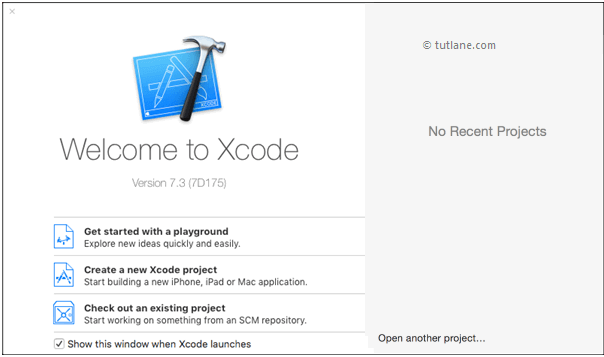
After selecting “Create a new Xcode project”, a new window will open in which we must select our template.
The new Xcode window includes several built-in application templates to implement the usual type of iOS apps, such as page-based apps, tab-based apps, games, spreadsheet apps, and more. These templates have a preset interface and source code files. .
For example, moving objects on iOS, we have the most basic pattern of the program, which is “show-only application”; We will use. To select this item, go to the iOS section on the left, select the application from the select section, and in the main part of the window that opens, select “single view application” and click on the next button, as shown below. .

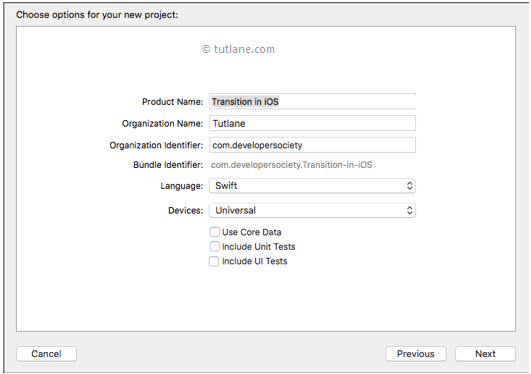
After clicking Next, we will see a window like the one below, in this case we have to mention the project name and other details for our program.
Product name: “Transition in iOS”
The name we enter in the Product Name section is used for the project and application.
Organization name: “Tutlane”
You can enter the name of the organization or your name in this field; Of course you can leave that section blank.
Organization Identifier): “com.developersocociety)”
If you do not have an enterprise ID, enter com.example.
Bundle Identifier: This section is automatically generated based on the terms we entered in the product name and organization ID.
Language: “Swift”
Select the language type “Swift” because we want to develop applications using swift.
Universal (devices): “Universal”
Select the Devices option as Universal This means that this app is for all Apple devices; If you need to run the app for iPad only, you can select the iPad option to restrict your app to running only on iPad devices.
Use core Data: Not selected
This option is used for database operations. Select this option if you are doing any database-related operations in your application, otherwise do not select this option.
Include Unit Test: Not selected
If you need unit tests for your application, select this option otherwise leave it unselected.
Includes UI tests: not selected
Select this option if you need UI tests for your application, otherwise do not select it.
After completing the options, click the Next button as shown below.
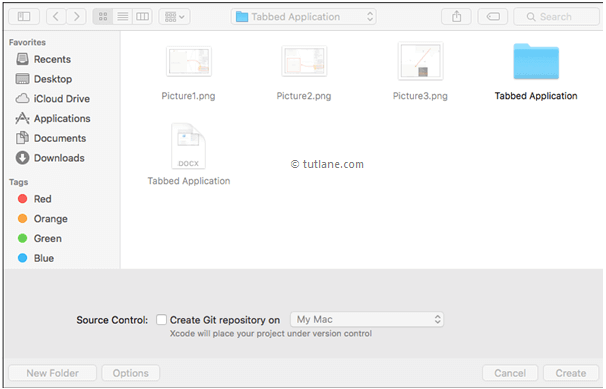
When we click the Next button; A new window will open in which you must use the location where you want the new project to be saved; Let’s choose. Once you have selected the storage location for the new project; As shown below; Click the Create button.
After clicking the Create button, Xcode opens and creates a new project. In our project, Main.storyboard and ViewController.swift are the main files used to design the user interface and maintain the source code.
Main.storyboard – which is the visual interface editor and this file is used to design the application interface.
ViewController.swift – which contains the source code of our application and we use this file to write any code related to our application.
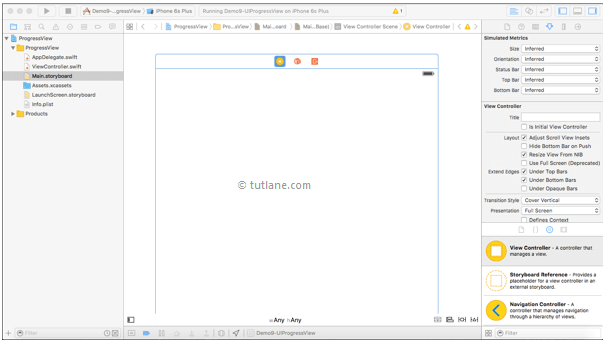
Now select the Main.storyboard file in the project, until Xcode opens the visual interface editor as shown below.
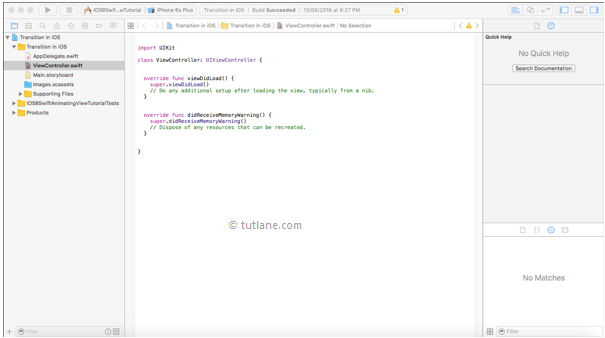
Now select the ViewContriller.swift file in your project as shown below.

And Now select the ViewController.swift file in your project that looks similar to the following:
Add UI controls in iOS app to display in swift
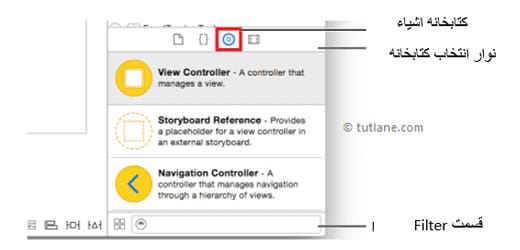
We are now adding controls to our application for that library of available objects. The object library appears at the bottom right of Xcode. If you did not find the object library, as shown below; Click the button that is the third button in the library selection bar on the left. (On the other hand, you can select the View Utilities Show Object Library path).
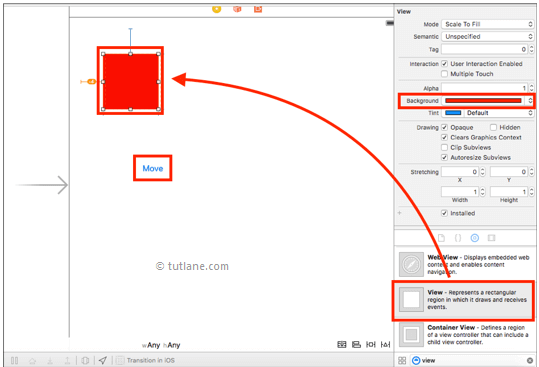
As we have suggested; Our interface is the Main.storyboard file, so open the Main.storyboard file. Now look for the View in the Object Library in the Filter box, then drag and drop the View into the ViewController in the Main.storyboard; Likewise similar to the following; We need to add the label control to our Main.storyboard file. Now click on view and set the background color to “red” similar to what you see below.
Linking iOS app UI controls to coding in Swift
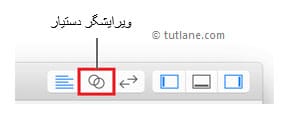
We now connect the controls to the ViewController.swift code; To do this, click on the “Assistant” button, which is located in the lower right corner of the Xcode toolbar.
To map the controls, hold down the Ctrl key on the keyboard, then select View and Button from the Display Controller, drag and drop it into the ViewCntroller.swift file.

When we have made all the settings; We have to write codes for moving the display from left to right so that the movement can be done after clicking the button. Our ViewController.swift file should contain the following code, similar to the one below.
import UIKit
class ViewController: UIViewController {
@IBOutlet weak var redView: UIView!
@IBOutlet weak var leadingConstraint: NSLayoutConstraint!
@IBAction func moveButtonPressed (sender: UIButton) {
let newConstraint = NSLayoutConstraint (item: redView, attribute: .Leading, relatedBy: .Equal, toItem: self.view, attribute: .Leading, multiplier: 1 ۰ 0, constant: self.view.frame.width)
UIView.animateWithDuration (1.0, delay: 0,0, options: .CurveEaseOut, animations:
self.view.removeConstraint (self.leadingConstraint)
self.view.addConstraint (newConstraint)
self.view.layoutIfNeeded ()
completion, completion: nil)
leadingConstraint = newConstraint
}
override func viewDidLoad () {
super.viewDidLoad ()
// Do any additional setup after loading the view, typically from a nib.
}
override func didReceiveMemoryWarning () {
super.didReceiveMemoryWarning ()
// Dispose of any resources that can be recreated.
}
}
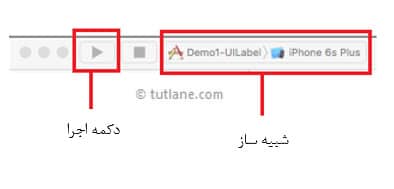
Now run the program and check its output. To implement the program; We need to select the required emulator (in this example we have selected iPhone Six S Plus) and then click the Play button. This button is similar to what you see below in the upper left corner of the Xcode toolbar.
The output of the app moves objects in Swift
In the following, you can see the result of implementing the execution of moving objects in swift. Now click on the Move button to apply the motion effect on the box and move it from left to right.
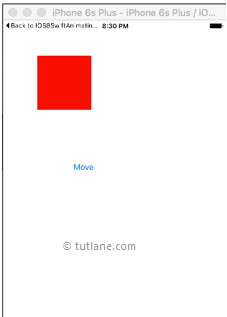
In this way we can use the movement of objects in swift programs to implement animated movements for the elements according to our needs.