How to Privatize Your WordPress Blog Completely with 4 Methods
Do You Want To Make Your WordPress Blog Completely Private? You Can Make Your Blog Completely Private So That No One But You And Your Chosen Visitors Can See The Content You Publish.
This article will show you how to privatize your WordPress blog using four methods completely.
Why should you privatize your WordPress blog?
Usually, when you add a new blog post to WordPress, you want to publish it worldwide. However, sometimes, you may want to create a private blog or make individual posts private and only available to specific users. There are several reasons to privatize your WordPress blog:
- For A blog that is under construction.
- A family blog for sharing family events, wedding photos, children’s photos, and more.
- A private blog for a personal diary or personal journal.
- A space for teams to work on projects and collaborate out of public view.
- A classroom website with lessons and notes available only to registered students.
Now, let’s show you how to make your WordPress blog completely private. Privatizing the blog is beneficial in cases where the user has a shared server and needs to test a series of factors for their blog. Use the following quick methods to go straight to the way you want to use it.
Method 1 – Privatize your WordPress blog with SeedProd
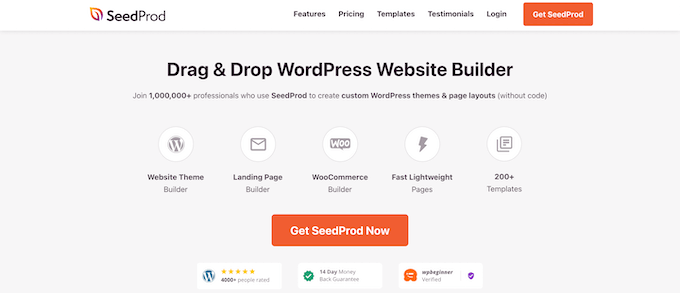
The easiest way to privatize your blog is to use the SeedProd plugin. This plugin is the best WordPress template builder and drag-and-drop page builder for WordPress; over 1 million websites have used it.
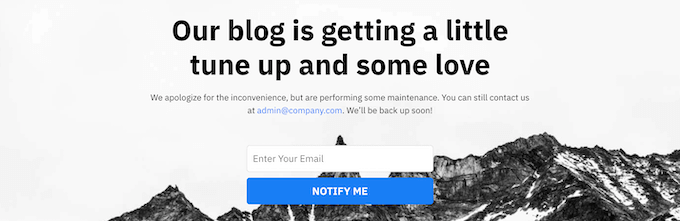
This plugin lets you quickly create pages and maintenance mode pages to customize your WordPress blog. It also makes it easy to create email lists even when building your blog.
It is also equipped with more than 150 different templates that you can use to create custom pages, such as 404, webinars, and even entire WordPress custom templates without writing any code. In addition to keeping your blog private, the courier will soon help you measure user interest, create ads, and attract leads.
You can keep your blog private for as long as you like. Soon, you can customize your page to act as a homepage while keeping your blog confidential.

Once your blog is up and running, you are free to make changes or even start a new one from scratch. Maintenance mode also prevents your site from being indexed and ranked by search engines. Your visitors will only see the maintenance mode page.
Method 2 – Create a private website for members only with MemberPress
Another way to make your blog private is to create a membership blog entirely private to members. The best way to do this is to use the MemberPress plugin. This plugin is one of the best WordPress membership plugins, and it helped developers earn more than $ 600 million last year alone.
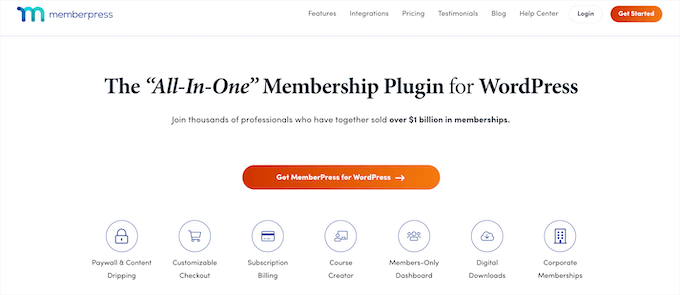
This plugin makes it easy to create online courses, manage access controls, and add lessons in the WordPress block editor.
In addition, it integrates with the top WordPress page builder plugins, lets you add a drop of WordPress content to your top posts, and provides lock-free content for specific users.
Method 3 – Make your WordPress blog completely private using My Private Site
Another way you can make your WordPress blog private is to use the My Private Site plugin. This plugin makes it easy to hide your blog and is suitable for family blogs and companies that do not want to make their content public.
It can also be used while your website is being built, but the SeedProd method above will help you create a page or maintain it soon. The first thing you need to do is install and activate the plugin.
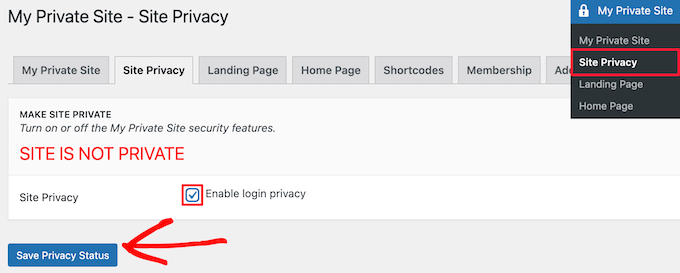
Once activated, you must go to My Private Site » and “Site Privacy» to configure the plugin settings. Next, check the “Enable login privacy” box to make your site plugin private. Then, click the “Save Privacy Status” button.
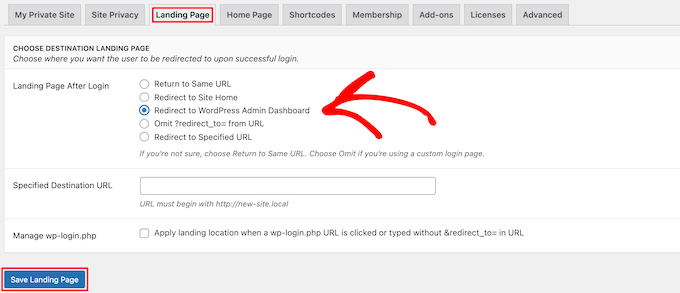
Next, click on the “Landing Page” menu option. Here, you can choose where users will be redirected after a successful login. With this option enabled, visitors will see your login page when visiting your website.
In the “Landing page after login” section, select the radio button or enter a specific URL in the “Specified destination URL” box. Then, click the “Save Landing Page” button.
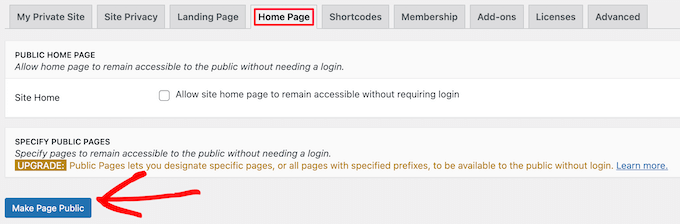
Then, click on the “Home” menu option. In the “Site Home” section, check the box to make your homepage accessible to visitors.
We leave the box unchecked, but it can be helpful if you want to display a message to your visitors while keeping the rest of your website hidden. If you have made any changes, click the “Generalize Page” button.
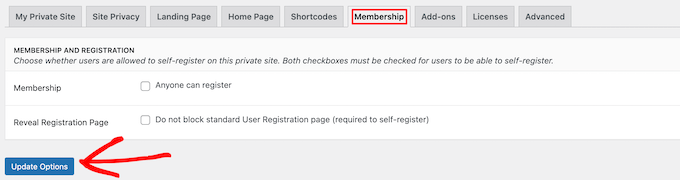
Next, click on the “Subscribe” menu option. Here, you can choose whether you want users to be able to sign up for your blog.
You must check both boxes for visitors to register and view your blog. Leave both boxes unchecked if you do not want to allow the user to register. Then, click the “Update Options” button.
After that, your WordPress blog will be completely private. Only logged-in users can access it and view its content.
Method 4. Complete individual blog posts with WordPress settings
If you want to customize your blog posts completely, use the built-in WordPress settings. Open the blog post you wish to privatize or create a new post. Then, on the post editor page, you will see the “Visibility” option in the “Status & Visibility” meta box. Then click the “General” link.
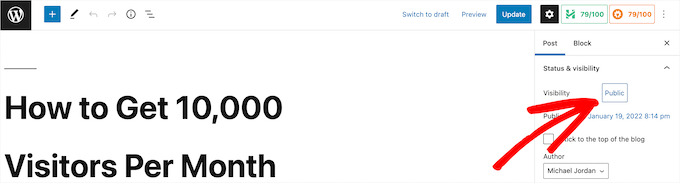
These settings appear as a drop-down list from which you can select “Private” or even password-protect your post. Click on the radio button to choose the best option for your needs.
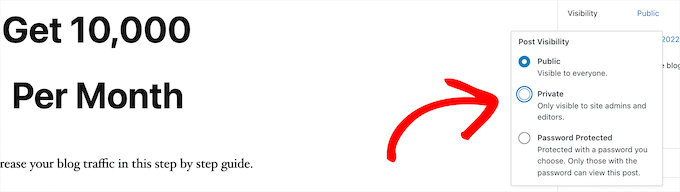
If you choose to enable your post’s password, you will need to enter a password. Your users must also enter the password you entered to view the post. After making the changes, click the “Update” or “Publish” button to make your correspondence private.
Only administrators and editors can view the post after logging in to the WordPress dashboard.
We hope this article has helped you learn how to make your WordPress blog private. If you’re the only blog user, you do not need to worry about this. However, if you have other users, you must ensure they have the proper user role to view the post.
FAQ
How can I make my WordPress blog private?
Use password protection for the site or individual posts, restrict user roles so only specific users can view content, install privacy plugins that hide content from public access, or configure .htaccess/server rules to block unwanted visitors.
Will visitors see my content after privatizing?
Only those with correct credentials or permissions will see the site — public users will not have access.
Can I revert the blog to public later?
Yes — by disabling password protection or privacy plugins and resetting user access or server rules.