
How to Install WHM/cPanel on AlmaLinux 8 – Complete Server Setup Guide
You might ask why AlmaLinux is used instead of CentOS 7 or CentOS 8. Previously, CentOS 6 was the most popular operating system for installing cPanel, but it ended its life cycle on November 30, 2020. Then, users switched to CentOS 7, which ended its life cycle on June 30, 2024. As you know, CentOS 8 was also released.
We all like to use the latest stable version of operating systems, so it seems that CentOS 8 should be the best alternative to CentOS 7 for cPanel installation. The issue is that Red Hat has announced that it will no longer support CentOS 8 after December 31, 2021, and will upgrade to CentOS 8 stream.
Also, cPanel has announced that it does not support CentOS Stream. Many users were not satisfied with these decisions. In the meantime, AlmaLinux OS 8 was released, which was developed based on RHEL 8. AlmaLinux 8 is developed by CloudLinux, and this community will develop it in the future. The good news is that AlmaLinux is completely free and will be supported until 2029, so there is no need to worry, and you can install the control panel on this operating system right now. Stay with us to explain the tutorial.
Minimum resources required to install cPanel on AlmaLinux
- Cheap Linux VPS with AlmaLinux 8 OS
- 1 GB of RAM
- CPU 1 core 1.1 GHz
- 20 GB of storage space
- Static IPv4
Connect to Putty
For more details, you can refer to How to use Putty to connect to a Linux VPS.
Prerequisites for installing cPanel on AlmaLinux
Note: Before installation, I must mention that you can paste commands by right-clicking inside the SSH (Putty) connection.
Note: Use a root username or a username that has root access to install cPanel on AlmaLinux. Otherwise, you may need to prepend sudo to every command you run. For example, “sudo yum update”. To get more details about sudo, check out the article Difference between su and sudo command in Linux: What exactly is sudo?
1- Update AlmaLinux 8
Use this command to update the server before installing cPanel. The update process will take a few minutes, depending on your network speed and resource value.
yum update -y
You will be prompted to type yes or no and press Enter to continue the update.
2- Disable the operating system firewall
cPanel recommends disabling the AlmaLinux operating system firewall after installation and using firewalls like CSF. You can disable the AlmaLinux operating system firewall using the following commands.
iptables-save > ~/firewall.rules
systemctl stop firewalld.service
systemctl disable firewalld.service
3- Disable SELinux
For your system to be compatible with cPanel installation, you need to disable SELinux. To do this, you need to edit the SELinux configuration file and change the SELINUX parameter from enforcing to disabled. To edit the file, you can use the VI editor and open this file using the following command:
# vi /etc/selinux/configTo be able to enter the code inside the file, press the I key and C=change SELINUX=enforcing to SELINUX=disabled to save the changes, press the Esc key and type: wq
The output should look like this
# This file controls the state of SELinux on the system.
# SELINUX= can take one of these three values:
# enforcing - SELinux security policy is enforced.
# permissive - SELinux prints warnings instead of enforcing.
# disabled - No SELinux policy is loaded. SELINUX=disabled
# SELINUXTYPE= can take one of these three values: # targeted - Targeted processes are protected,
# minimum - Modification of targeted policy. Only selected processes are protected.
# mls - Multi Level Security protection.
SELINUXTYPE=targeted
You need to restart the server for the changes to take effect.
4- Install Perl
Perl is the language in which cPanel is written, and if this language is not present on your server, cPanel will not run. To ensure that Perl is installed on the server, run the following command.
yum install perl5- Installing Curl
Curl is required to download the cPanel installation script. The following command can install Curl
yum install curl6- Add the host name
cPanel requires you to add the hostname in domain name (FQDN) format. For example, here we have used myeserver.mydomain.com, but you should enter your own hostname.
hostnamectl set-hostname myeserver.mydomain.comDisable the Network Manager service
The network manager service connects computers. During installation, cPanel asks to remove or disable this service. On systems running AlmaLinux 8, installing cPanel automatically disables the Network Manager service and enables the network service.
Activate WHM / cPanel 15-day free trial license
Previously, you didn’t need to do anything to activate your free 15-day cPanel license. But now, you need to log in to your cPanel Store account. If you have an account, click login, and if you don’t have one, register. We will explain how to do this below.
This section includes registration and continuing steps to create a free 15-day cPanel license.
After installation, you must log in to your cPanel web interface to generate a free license. You will then be prompted to log in to your account or register if you do not have one.
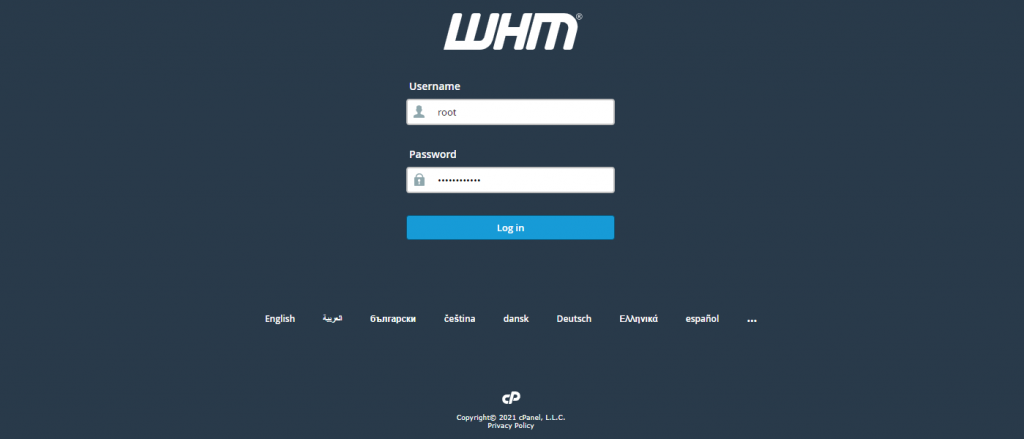
Use your server username and password to log in to your WHM account.
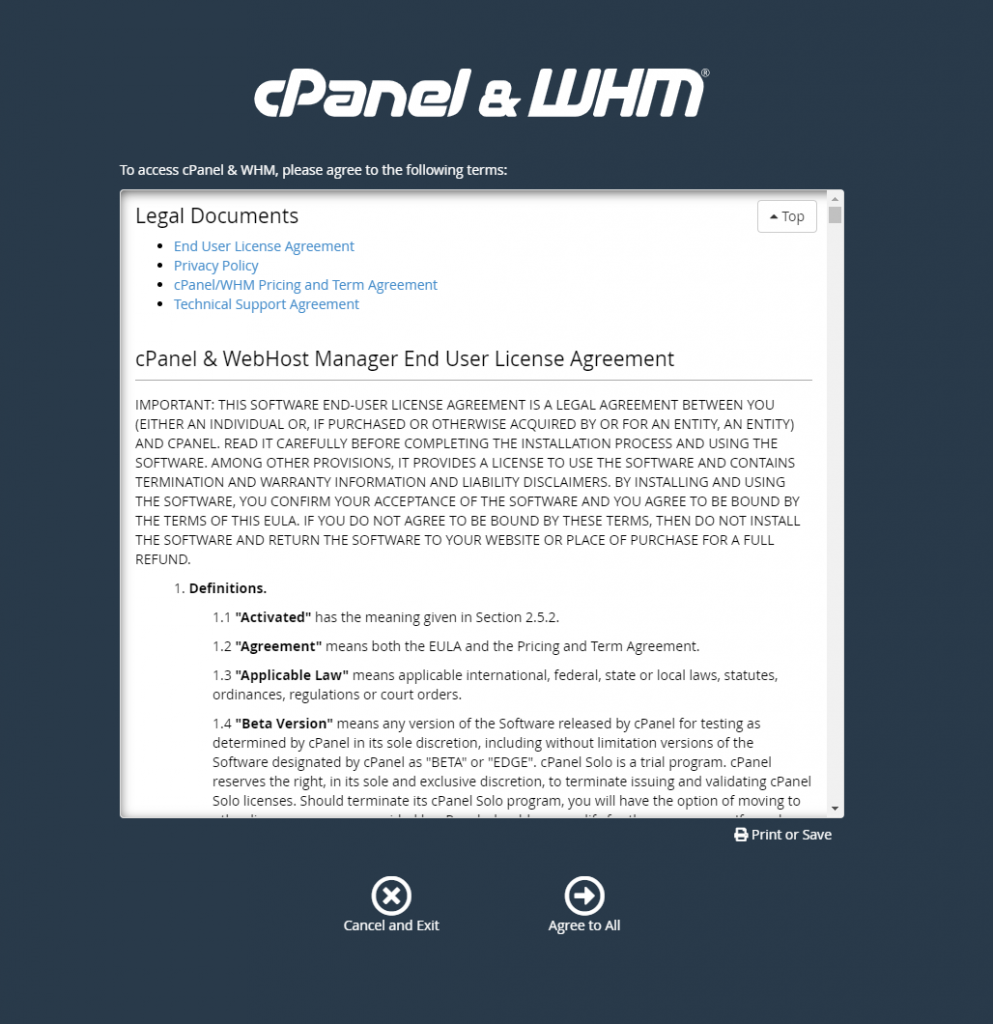
Read the terms of cPanel and agree to all if you want!
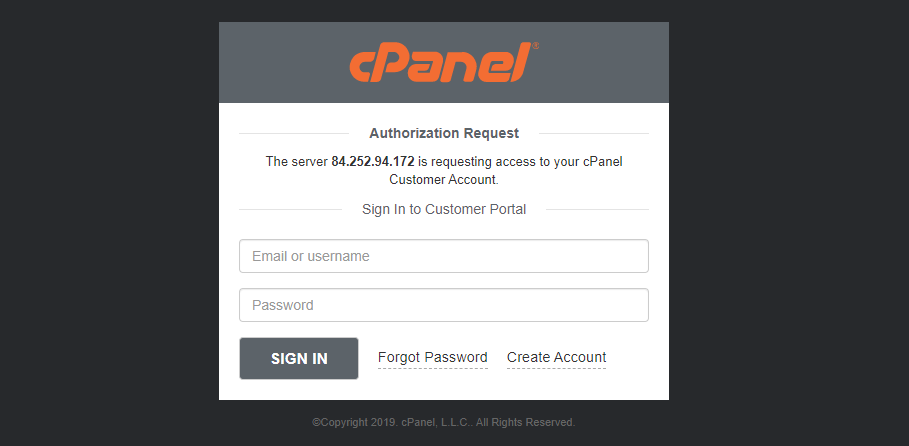
In this step, we have two options: log in or sign up for your cPanel Store account if you have one.
If you don’t have an account, click Create Account.
Enter your email address, agree to the cPanel Terms of Use, and click Create Account.

You will now receive an email to set a password for your cPanel client account.
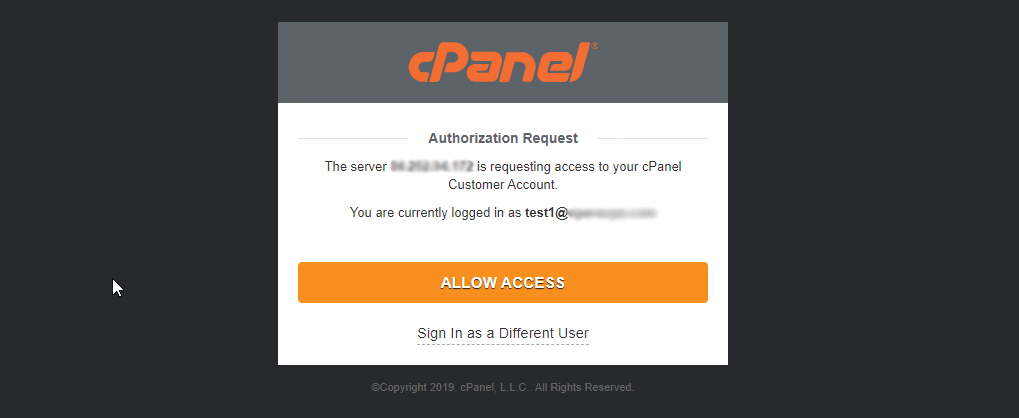
Note that if you are logged into your email in the same browser as you configure WHM and create the account, you will be asked to allow access to your server IP to the email address you entered.
To do this, select Allow access.
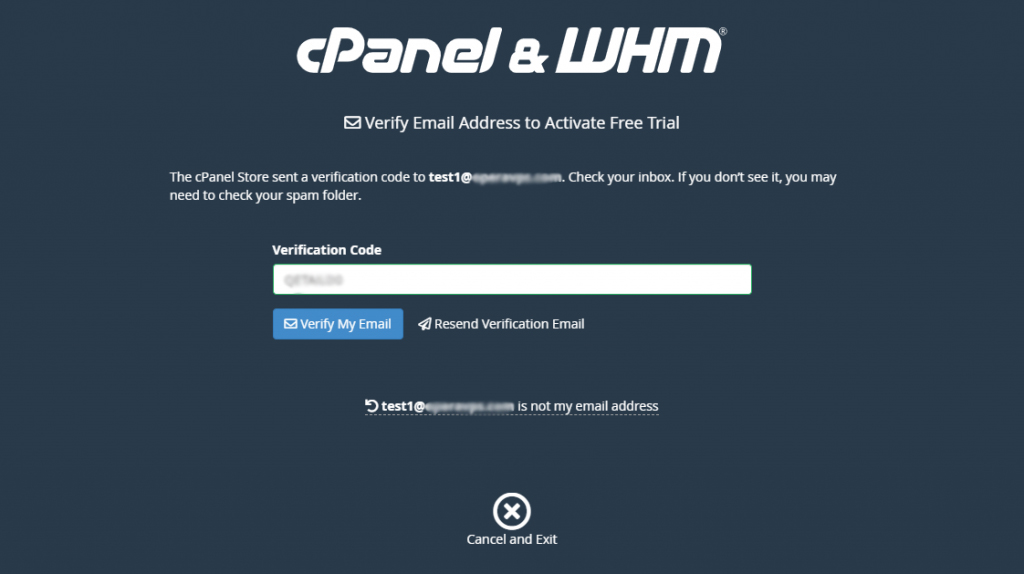
At this point, you will receive a code that you must enter.
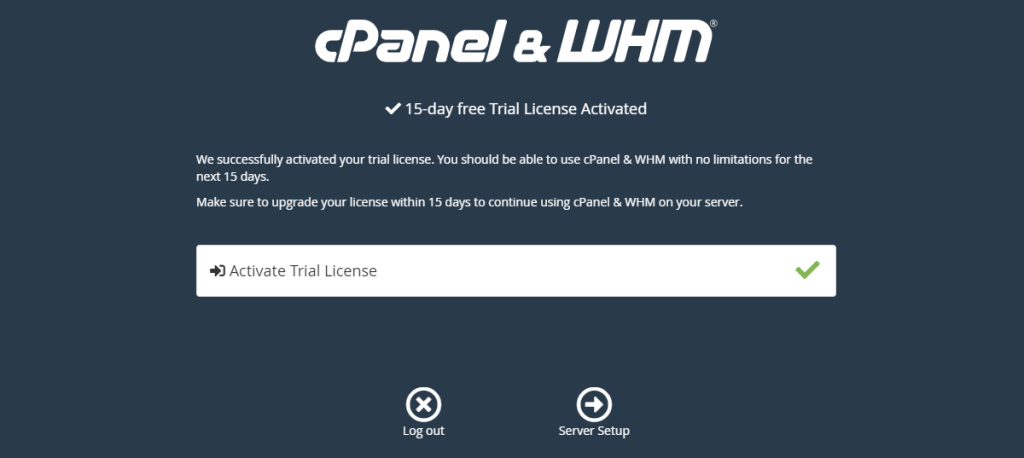
This page indicates that your trial license activation was successful. You can now proceed to the server settings section.
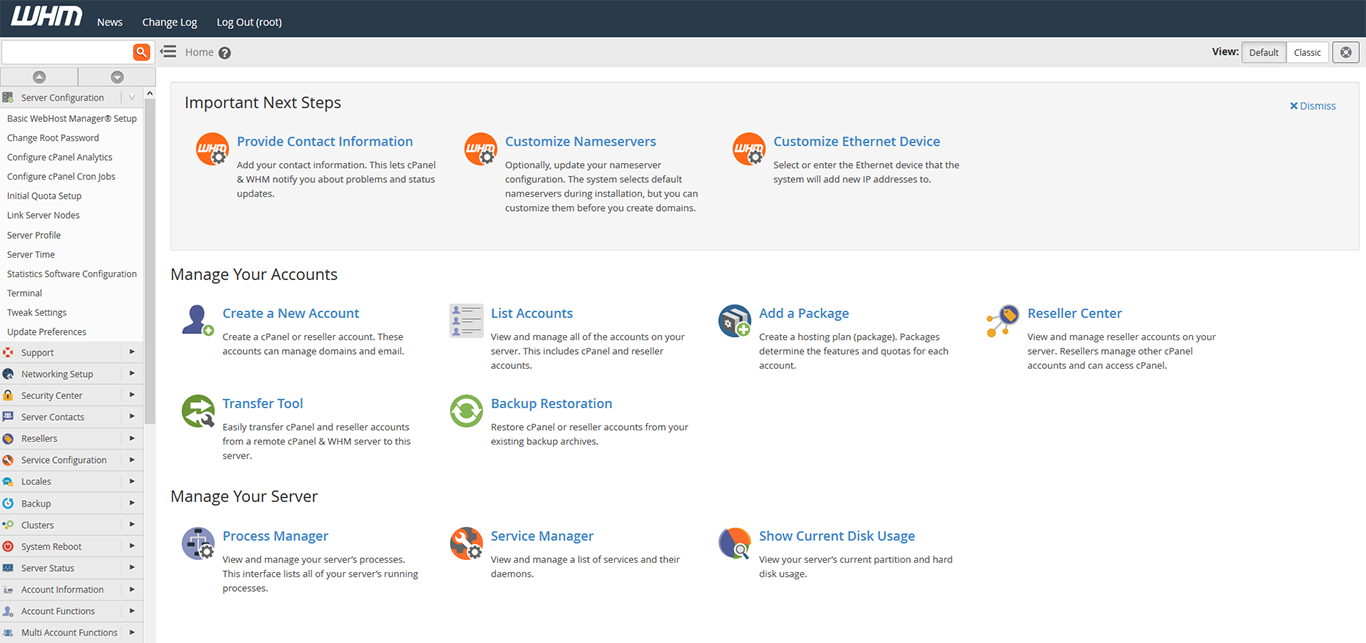
In the next section, you must enter an email address to receive possible error notifications from WHM.
Then, you must enter 2 name servers. Half servers connect your domain or subdomain to the WHM server.

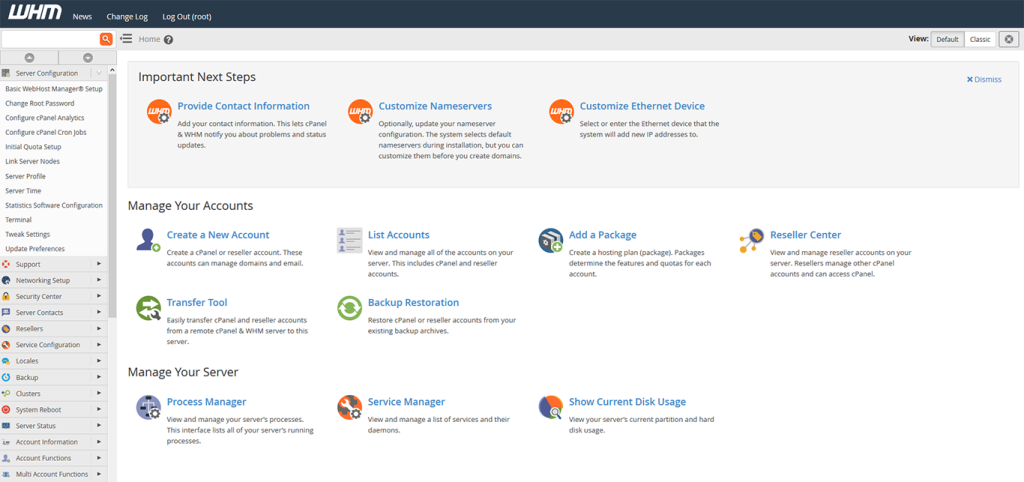
And congratulations, you have finished installing cPanel WHM and creating a free trial license.
And congratulations, you have finished installing cPanel WHM and creating a free trial license.
Note: After installing WHM and its initial configuration, reboot the server to apply kernel and software updates.
Purchase, Verify, and Update a cPanel License: You can order a cPanel license from our website’s Licenses page.
cPanel License Verification: If you want to make sure that your license has been activated successfully, you can use the cPanel verification system.
cPanel license update: After ordering the license, you must run this command on your server, and the license will be updated.
Conclusion
Installing the cPanel control panel on Alma Linux is a simple but important process that allows you to better manage your server. By following the steps reviewed here, you can easily install this control panel on your server and take advantage of its features. We hope this guide has been useful to you and will help you succeed in installing and using cPanel on Alma Linux.
FAQ
What are the minimum requirements to install cPanel on AlmaLinux 8?
At least 1 GB RAM, 20 GB storage, a static IPv4 address, and root access are required.
Why is AlmaLinux 8 recommended for cPanel installation?
It’s RHEL-based, stable, free, and supported long-term after CentOS lifecycle changes.
Do I need to disable SELinux before installing cPanel?
Yes — SELinux must be disabled to ensure compatibility during installation.