Bring the Windows 11 Look to Windows 10: A Complete Guide
Contrary to Microsoft’s Claim That Windows 10 is not Windows, Microsoft Windows 11 Has Recently Been Introduced. Your computer may not have the minimum system requirements for Windows 11, or you may want to try a similar design before the final release.
In this regard, we want to teach you how to convert Windows 10 to Windows 11.
Before Microsoft unveiled its new operating system, a build leaked online, allowing many users to try it. However, since we were not dealing with the official version, it did not perform stably and was prone to bugs.
In addition, the final version will be available to Windows 10 users for free from next year, even if their systems do not meet the required hardware requirements.
If you are already a Windows 10 user, you can experience a look similar to Windows 11 with the same operating system changes. To learn how to convert the design of Windows 10 to Windows 11.
The new and attractive design of Windows 11
Microsoft has changed the user interface and design of Windows 11 to make it look more straightforward and attractive than Windows 10.
In addition, Redmondians have created new wallpapers that you can download from the Internet. So, the first step to experiencing Windows 11 is to use its wallpapers, but that is not enough.
We want to go further and have a more profound experience than Windows 11 on Windows 10. Although it is not possible to fully convey the feel of Microsoft’s new operating system, Windows 10, changes to desktop elements can make it more similar to Windows 11.
The elements we want to change are:
There are good tools to change all of the above. It should be noted that the operating system used in this article is Windows 10 21H1-1903. If other builds are installed on your system, the tools in this article may not be compatible with them, leading to system instability.
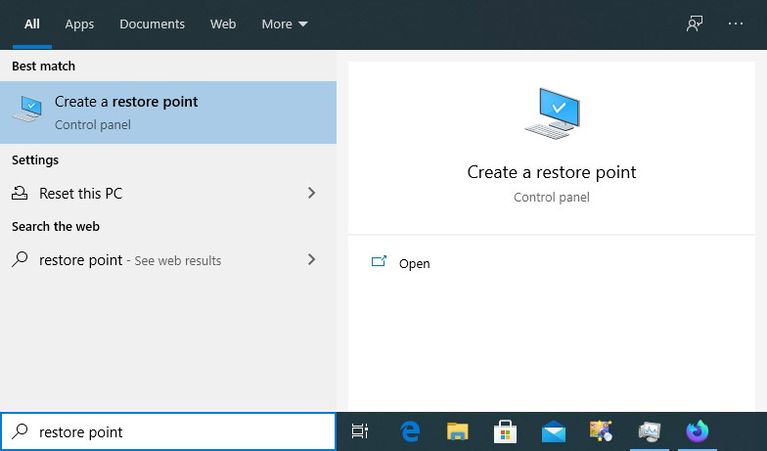
Even if your build matches the one used in this article, make a backup before making any changes. Or create at least one Restore Point to return to the previous settings in case of any problems.
Change Windows themes and icons.
Windows 10 has a few themes by default, including light and dark modes. You can download more themes from the Microsoft Store, where the Redmondians recently introduced a new version. However, independent artists publish their work on sites like DeviantArt.
Despite the design of such themes, Windows 10’s security features prevent them from being installed. Of course, you can use tools to solve this problem. These tools include UltraUXThemePatcher and SecureUXTheme. In this article, we use the newer and more secure SecureUxTheme tool.
To use this tool, go to the SecureUxTheme Gateway page. Go to the download section and get the latest version (The latest release).
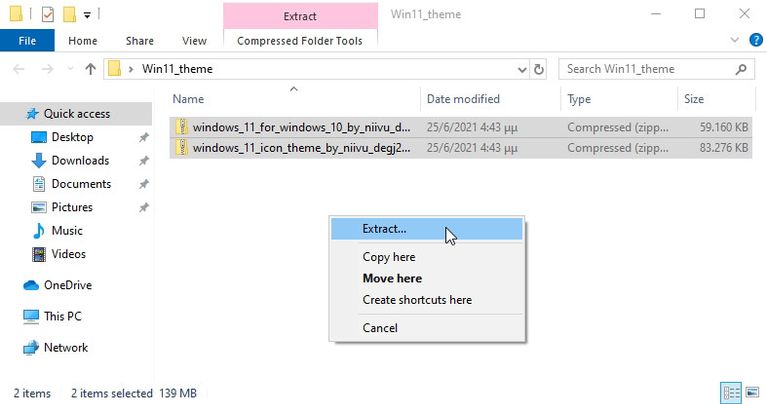
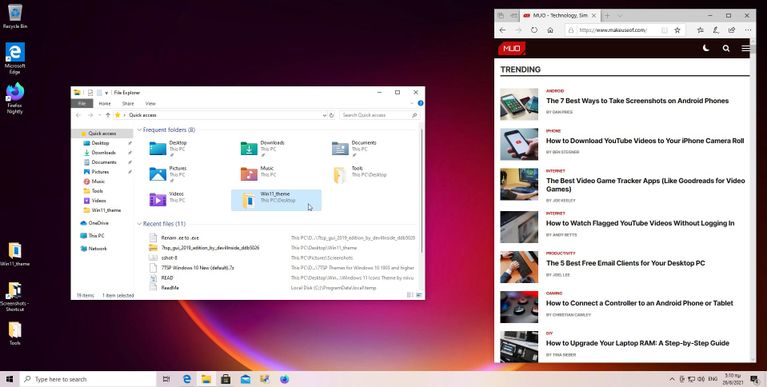
Then create an account on DeviantArt, as you can only see the themes without one, and cannot download them. After creating an account, download the Windows 11 theme for Windows 10 from Naive. For convenience, create a folder named Win11_theme and save all the files for later use.
Download the nivivo Windows 11 icon theme on the same DeviantArt site and save it in the same folder as before.
![]()
Extract both files to the folder you created.
Unfortunately, the SecureUxTheme tool only supports Windows themes, not icons. So, you have to use different tools for this. One of the most popular is 7TSP, or Seven Theme Source Patcher. You can also download this tool from DeviantArt.
Open the folder in which you saved all the files.
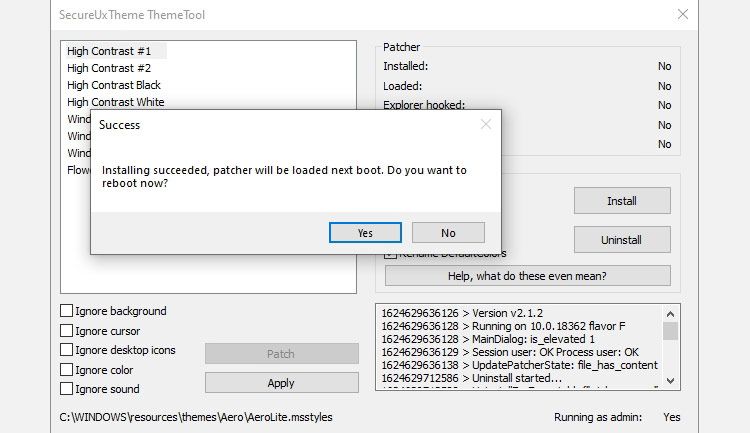
Then right-click on the Secure UxTheme file and run it as Administrator. Wait a while and then click Install on the right.
If the installation is successful, you will be notified via a pop-up message. You will be asked to restart the system to operate this tool in the same message. Click Yes and wait for the system to boot again.
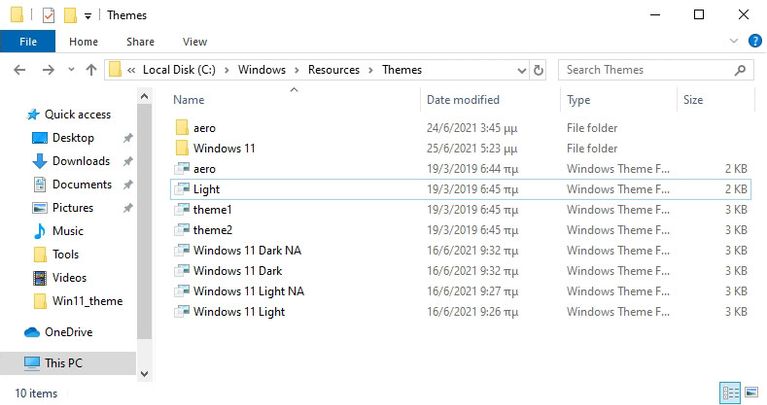
After restarting, return to the folder where the theme and icon files are located. The Windows 10 Themes subfolder in the Themes folder contains two versions of the theme, each in its own subfolder.
One gives you a routine task, and the other gives you a more challenging task. Please select the one you prefer and then copy everything to the folder.
Open another file explorer for convenience. Go to C: \ Windows \ Resources \ Themes and paste the theme files into it.
Rerun the SecureUxTheme tool as Administrator. Now, you will see the new theme you added to the Windows 10 Themes folder in the left column. Choose the example you want, a light or dark theme with or without an address bar.
Click Patch and apply to use the selected theme.
Your computer will lock for a few seconds, and Windows will tell you to wait a while for the theme to work. When you return to the desktop, the new theme is applied to all sections. You can now close SecureUxTheme.
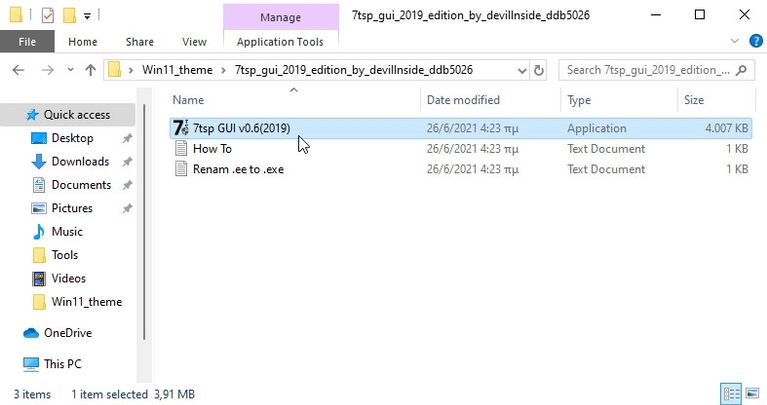
Exit the 7TSP tool, then look for a file with the .ee extension. This tool’s executable file is not an EXE file. Would you please select the file and press F2 to rename it? Then, add an x between the two letters ee to convert it to an EXE file so Windows can execute it.
For convenience, run this program and shrink the related window so you can return to it.
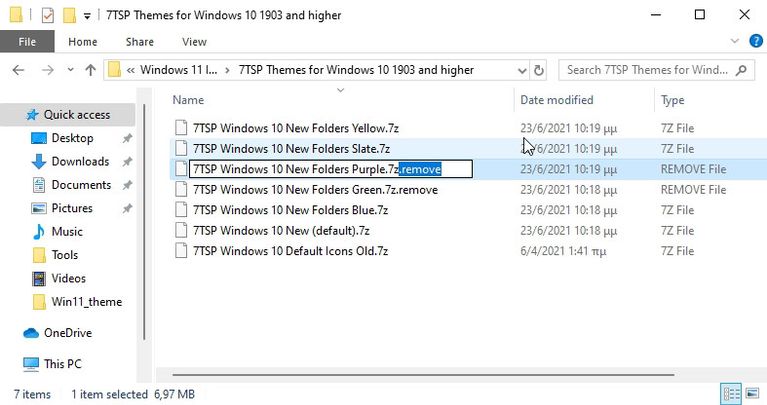
Next, you need to rename several other files. Navigate to the Themes Icons folder, then open the 7TSP Themes for Windows 10 1903 and higher folder.
There are several icon themes in this folder that you can use, each with a remove extension. They are unusable. As before, you have to rename them. It differs from the previous time, and you must obliterate the extension. Delete the dot and keep the phrase.
Return to 7TSP and click Add a Custom Pack. Select the theme icon you want to install, then click Start Patching at the bottom-right of the window.
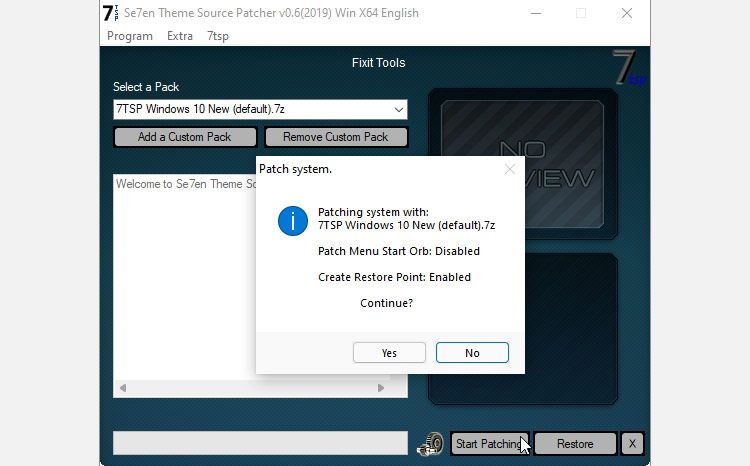
After a while, 7TSP shows the time required to apply the changes and a message restarting the device.
Your desktop should feature a design that combines elements of Windows 10 and Windows 11. However, one more step is needed to increase the similarities.
Place taskbar icons in the center
In the last step, to make Windows 10 look like Windows 11, we need to go to the taskbar icon location. One of Microsoft’s new operating system changes is to place these icons in the middle of the screen, not on the left.
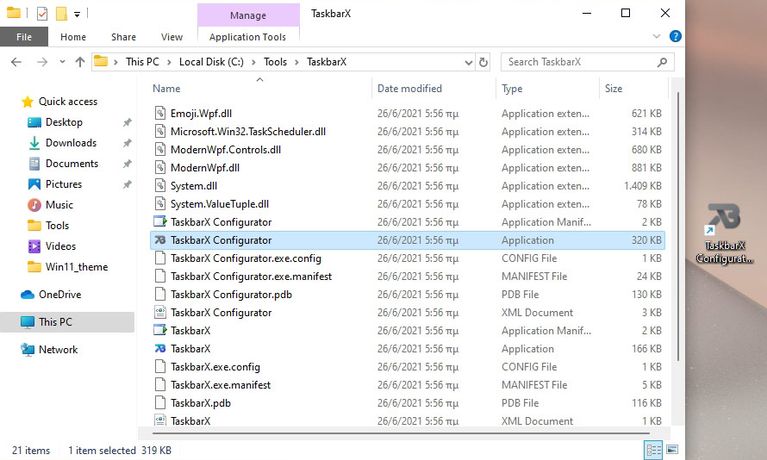
To do this, go to a program you may have used to date: TaskbarX. Download one of the portable versions of this program from its official website. Since you do not need to install this program, place it in the folder where you want to run it. Next, create a desktop shortcut for the TaskbarX Configurator.
Launch the Taskbar Configurator and click Apply to use its default values.
Taskbar icons are now centered on the page. Of course, there is a difference between Windows 10 and Windows 11: Windows 11 doesn’t move the Start button to the middle of the screen. The Start button will remain on the left side of the screen.
This program offers more personalization options; you can customize taskbar icons to your liking. For example, you can control the color, switch between visual modes, and place icons on the left and right.
It should be noted that the latest version of Taskbar X, 1.7.0.0, did not perform well for this article, and the taskbar icons remained in place. However, its previous version, 1.6.9.0, has no performance issues.
Windows 11 design in Windows 10
With the above changes, Windows 10 will be very similar to Windows 11. However, their designs differ, and their performance will not be identical. Windows 11 adds its unique capabilities to computers and improves their performance.
Finally, if your system does not support the latest Redmond operating system, you can give your computer a fresh look by designing Windows 11 in Windows 10.
FAQ
Can I make Windows 10 look like Windows 11 without upgrading the OS?
Yes — by using built-in settings and third-party customization tools, you can apply Windows 11–style themes, icons, and taskbar adjustments while staying on Windows 10.
Is it safe to use third-party customization tools?
Most are safe if downloaded from reputable sources, but always back up important data before making system modifications.
Will customizing Windows 10 make it slower or unstable?
If done carefully, it should not — but avoid installing too many heavy themes or tools at once, and monitor system performance after changes.