8 tricks and practical instructions for Photoshop software for beginners (new)
In this post, we are going to explain 8 new tricks (commands, secrets) of Photoshop software that are very useful for you who have just started working with Photoshop and also for middle-class people.
Tricks , Did you know that 2017 marks about 27 years since the miracle of Photoshop came into our lives?
tricks, Even if you have not used Photoshop before, you can not deny its significant effects on our lives (it has progressed to the point where Photoshop has become a verb that we use in everyday conversation.
Resize, rotate, invert and bend the image for tricks

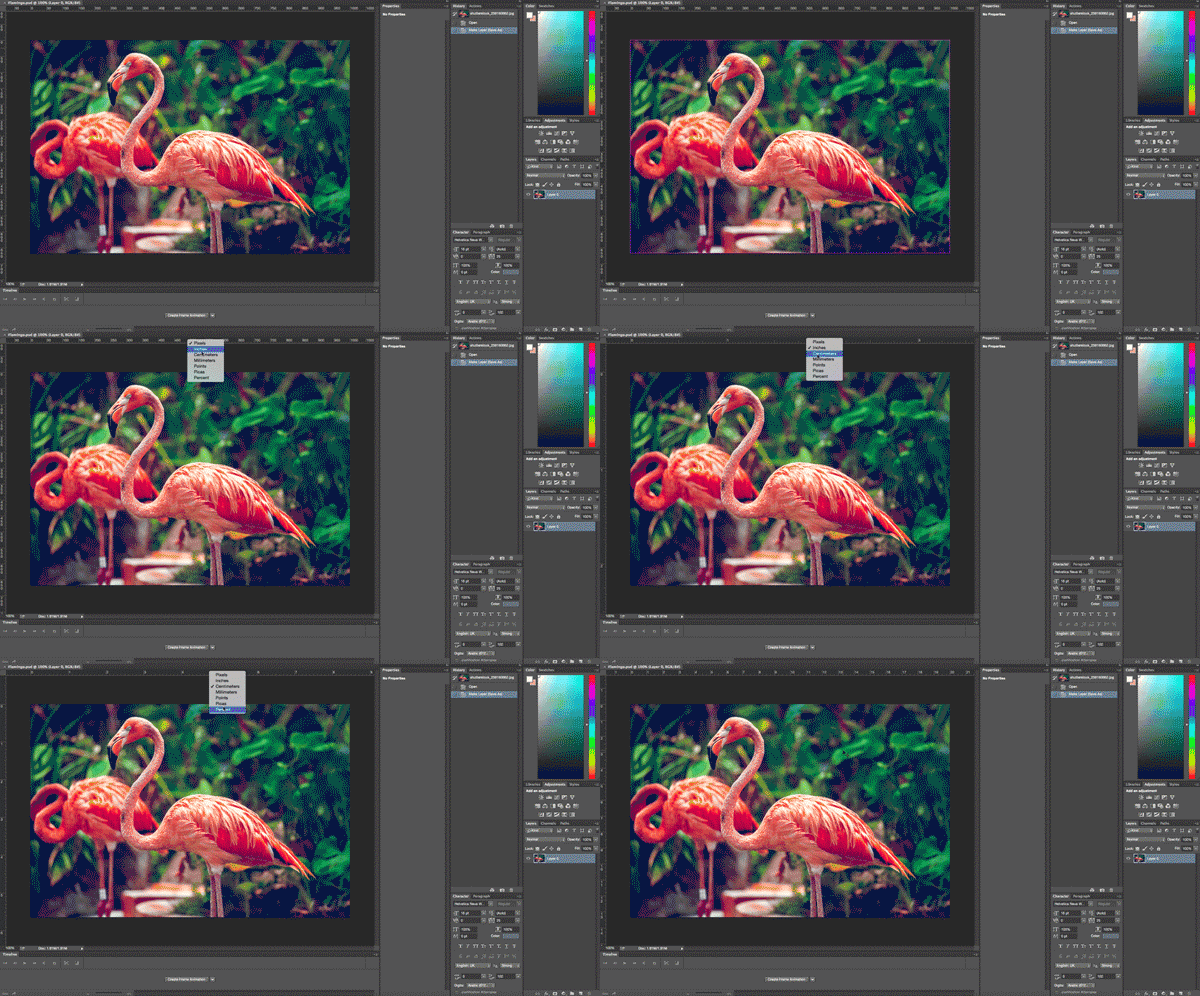
Open the Photoshop software. Next on the menu Edit click > Transform> and from here any changes that you like on the photo of your choice. But you can also use a much easier way. Press the control and T keys ( Ctrl + T ) at the same time. A box appears around the photo. Resize the photo.
Now hold Shift + Alt and change. Now hold Shift and change. To rotate the photo, move the mouse pointer to the corner of the photo and rotate the photo when it changes shape. If you want to mirror the image upside down, right-click on the image and select flip after hitting the + T control .
When you are done, press the Enter key Tap. If you want to distort or bend the image in your image, hold down the control button after hitting the T control, and at the same time hold down the mouse click and move the mouse. Just as easily!
Crop photos with Magnetic Lasso Tool (magnet) tricks
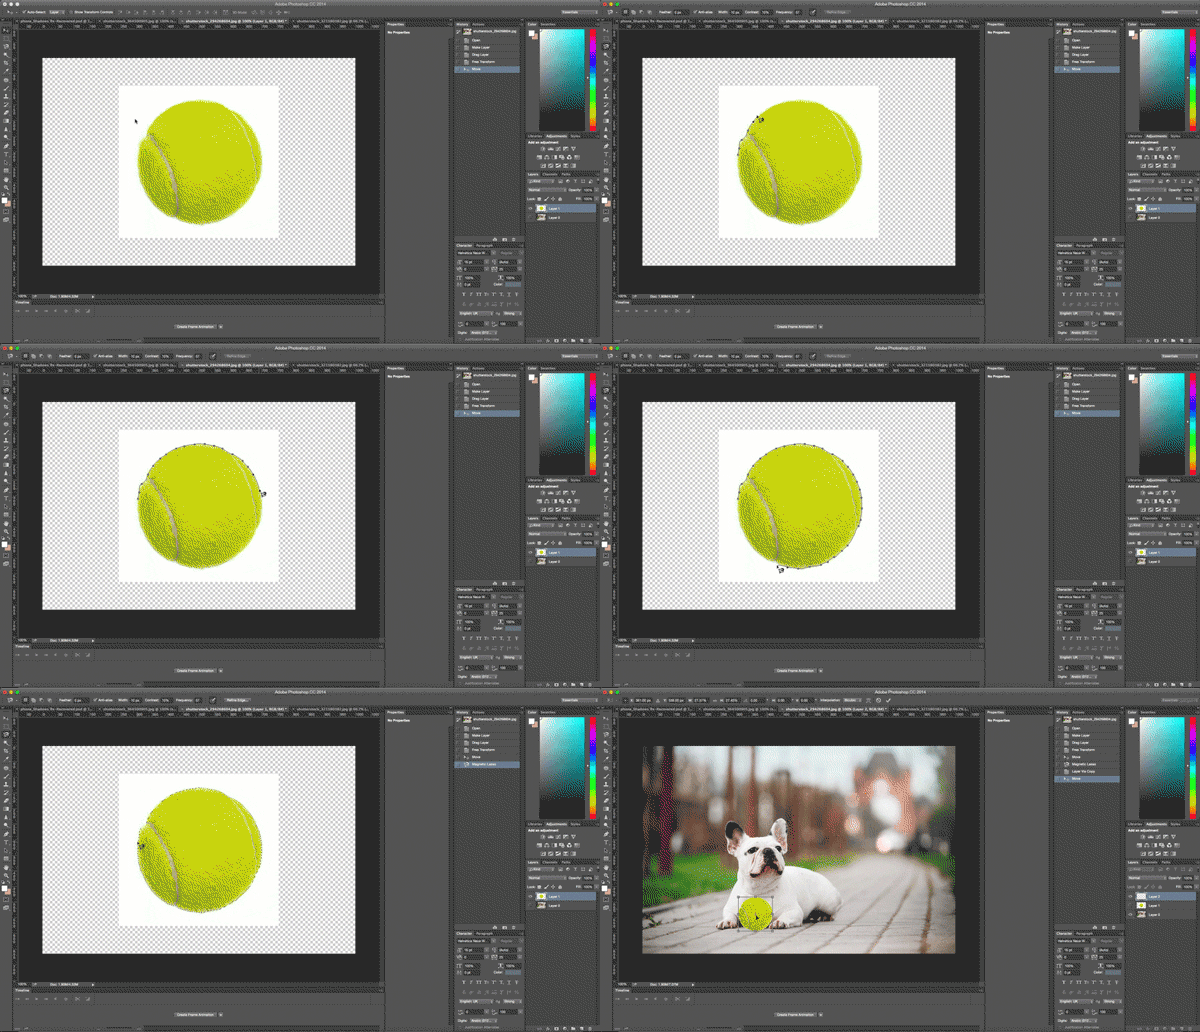
A great Photoshop tricks tool for selecting the outer border of a photo (for example, when you want to crop an image of a person in the desert and take it to a forest image).
This simple tool for selecting objects in a photo helps you to carefully select a part of the photo (for example, a person’s face) and separate it from the rest of the photo and do whatever you like with it (for example, face Move with another person’s face).
This important Photoshop tool, which is often used to separate a background image or background, is accessible from the left menu of Photoshop (as shown). Simply hover and hold the mouse pointer over the third option. In the tiny menu that appears, the last option is the same magnet.
When you have selected the magnet, go to the image, hold the left mouse button and place it on the edge of anything you want to cut and move the mouse (like scissors). When the selection is done, right click and do whatever you like with that piece (for example, cut it by pressing ctrl + X , and then create a new layer and move it by pressing ctrl + V )
Select an image component with the Magic Wand tool
MagicVand is another tool of choice and is different from the Lasso tool . If a part of the image has a solid color and is easy to select, you can click on that part by pressing the W button on the keyboard and easily select that element in the image with just one click.
(For example, selecting the blue sky in a photo and cropping it). Just be aware that when you press the w button, the icon showing the two squares in the top bar is in the selection mode ( Add to selection ) so that with each click, new parts of the image that you need, Add your selection.
Tool for adding new elements to a custom shape photo
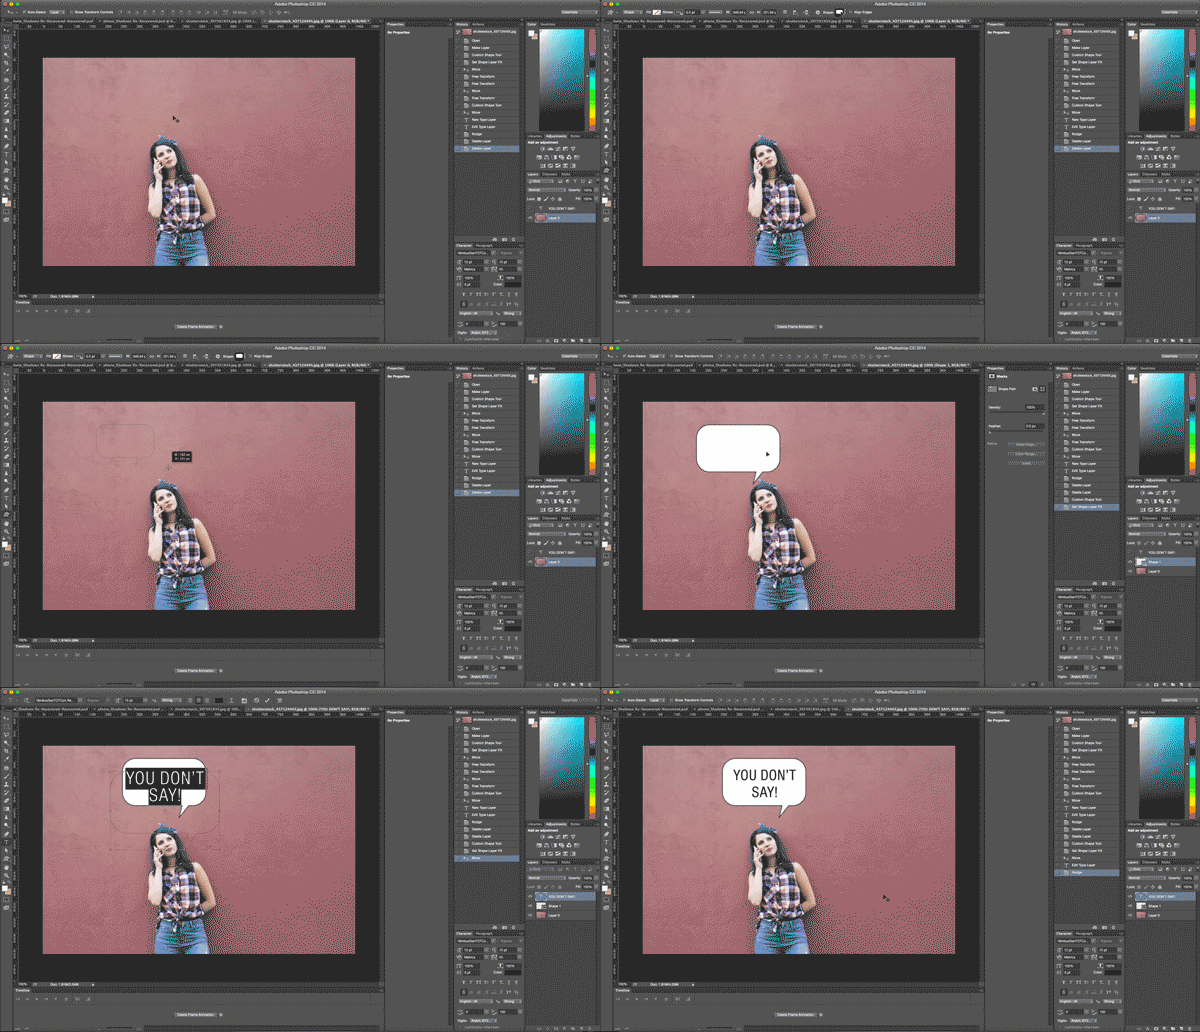
Did you know that in addition to photo editing, you can easily add shapes and design elements in Photoshop to your images? This tool contains the basic shapes that everyone needs in the design, such as square, line, circle, oval, arrow, and… To access the custom shape tool option , hold down the mouse button and place it on the square mark Move the menu to the left to make the menu appear smaller.
Adjustment layers light, color and image mode tool
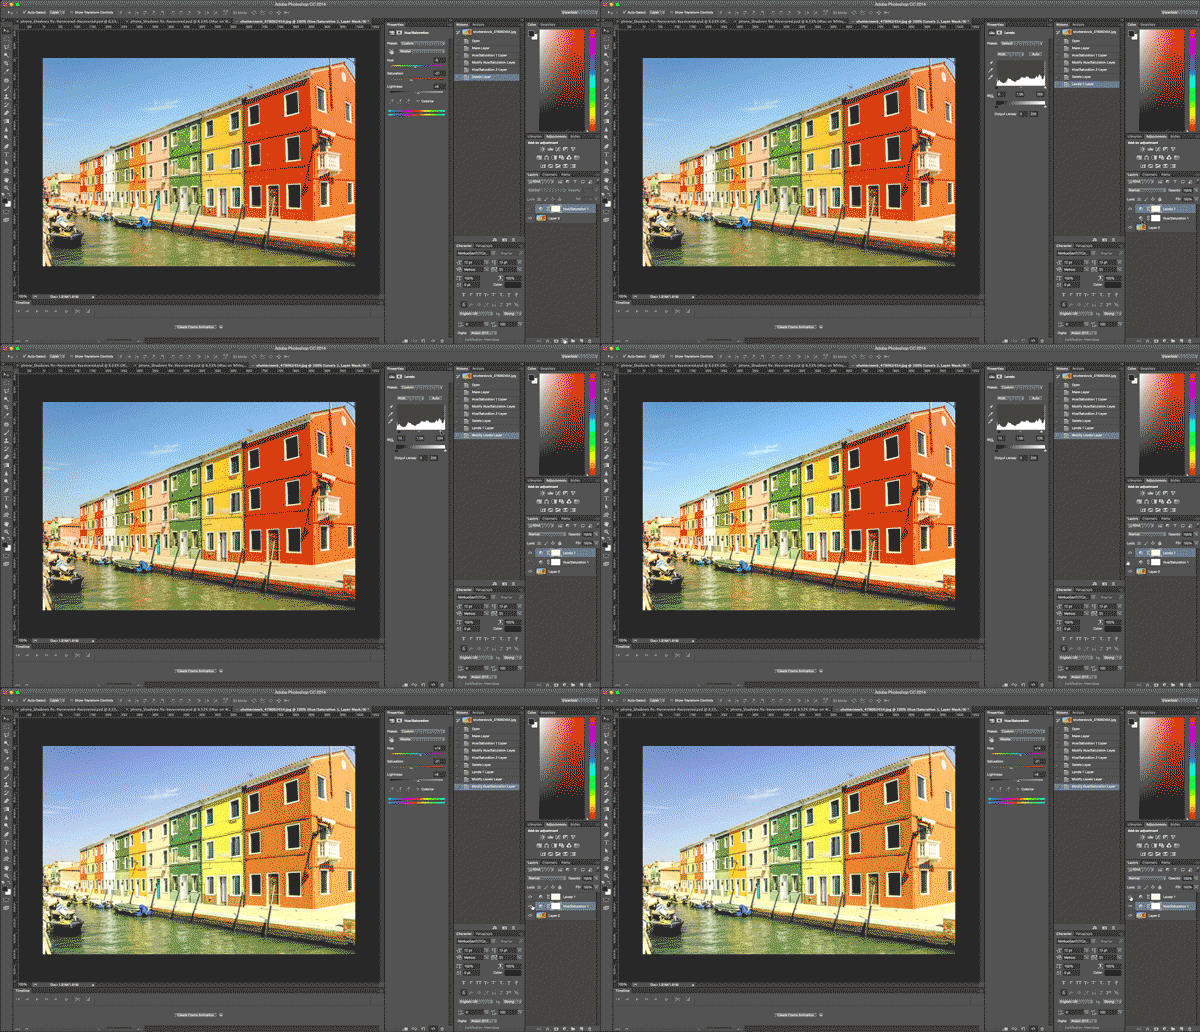
When you install Photoshop, there are a number of tools on the right called adjustment (or from the image tab and then the adjustments section ) that can make the images in Photoshop really more beautiful.
This tool allows you to easily adjust the color, tonality, contrast or brightness of the image and.. The good thing about this tool is that it does not damage the original image and all changes are made in a new layer. (See image) To learn this tool, be sure to do it yourself and edit the images with this tool to understand how each tool works.
Quickly effect an image with Layer Styles tricks
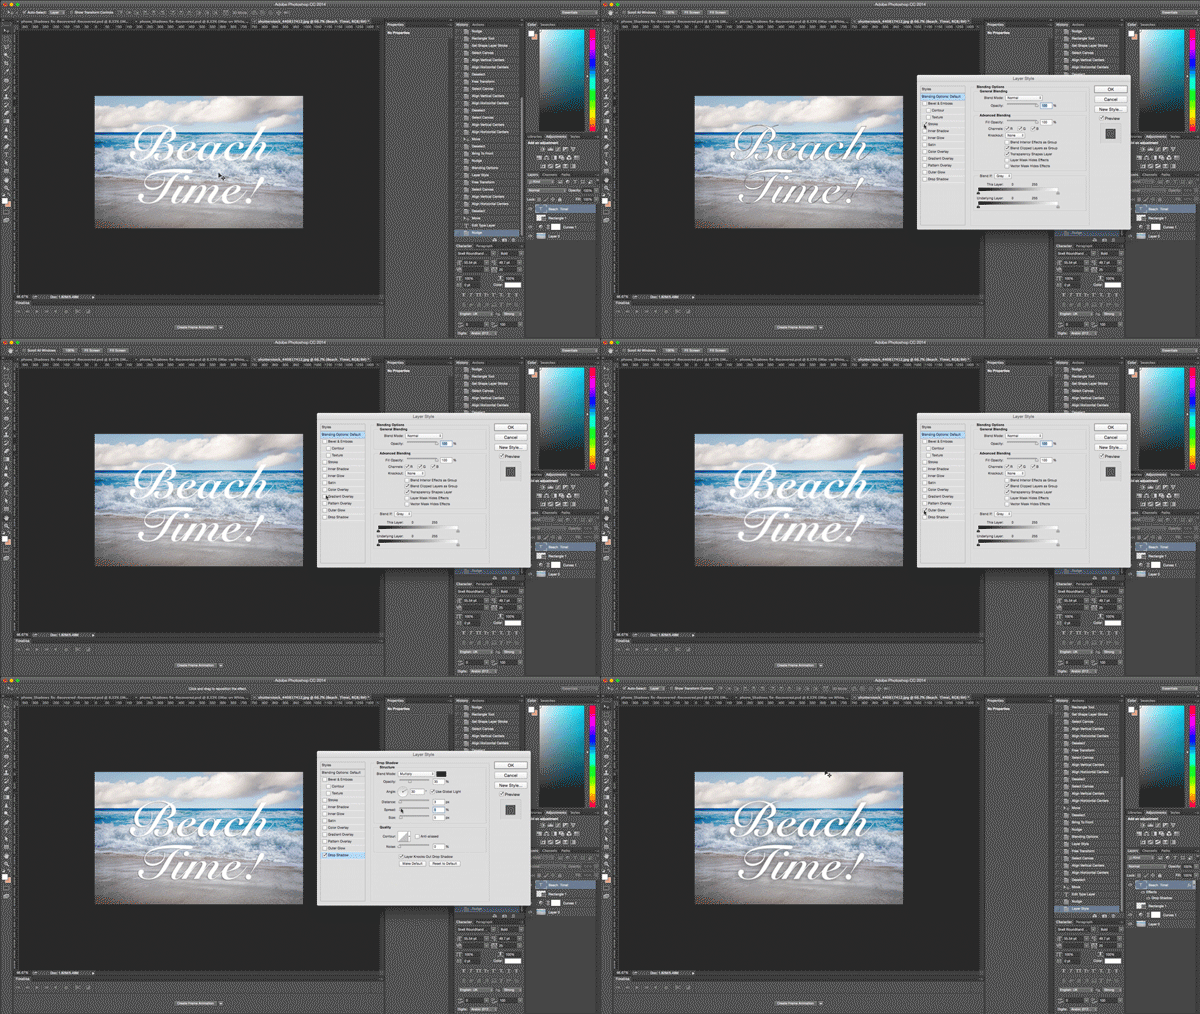
You should try this tool yourself. It’s very easy, double click on any layer of the photo you have ( Layers section on the right) and then select any effect you like. This section includes effects of image glow, shading, border drawing, and more. But try not to use these effects too much because it so-called chips and artificial your image!
Eliminate facial, body and نق defects with Spot healing brush
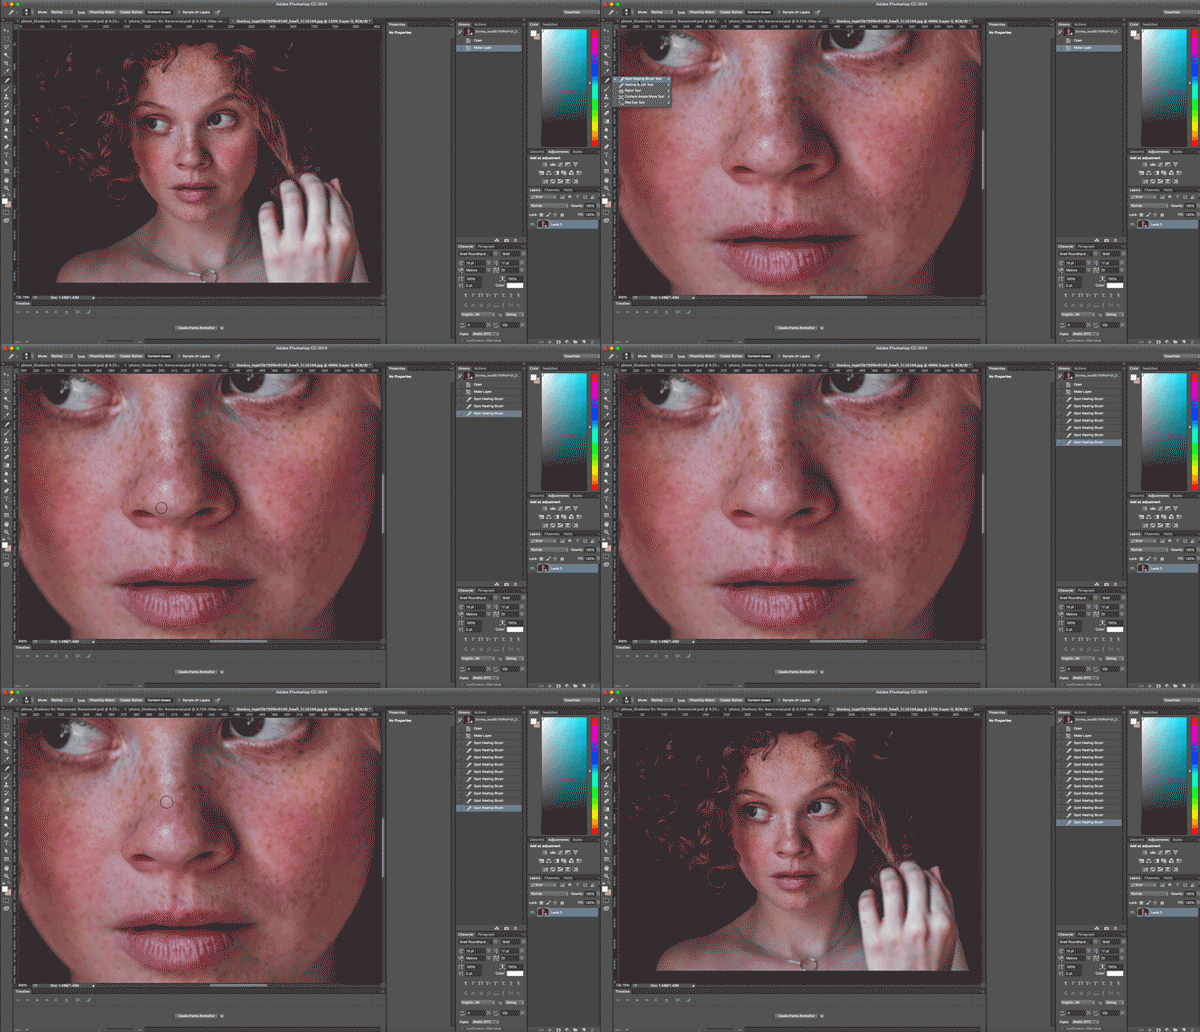
One of the key tools of Photoshop and a tool for fixing flaws. One of the tools that many of us like really existed during our adolescence and to remove blemishes and pimples or other defects for us.
Just place the tool on the part of the image you want to edit and click. Photoshop automatically samples the area around it and corrects the area you want. From the left menu of Photoshop, the seventh option from the top.
Brightness and freshness in a Dodge tool image section
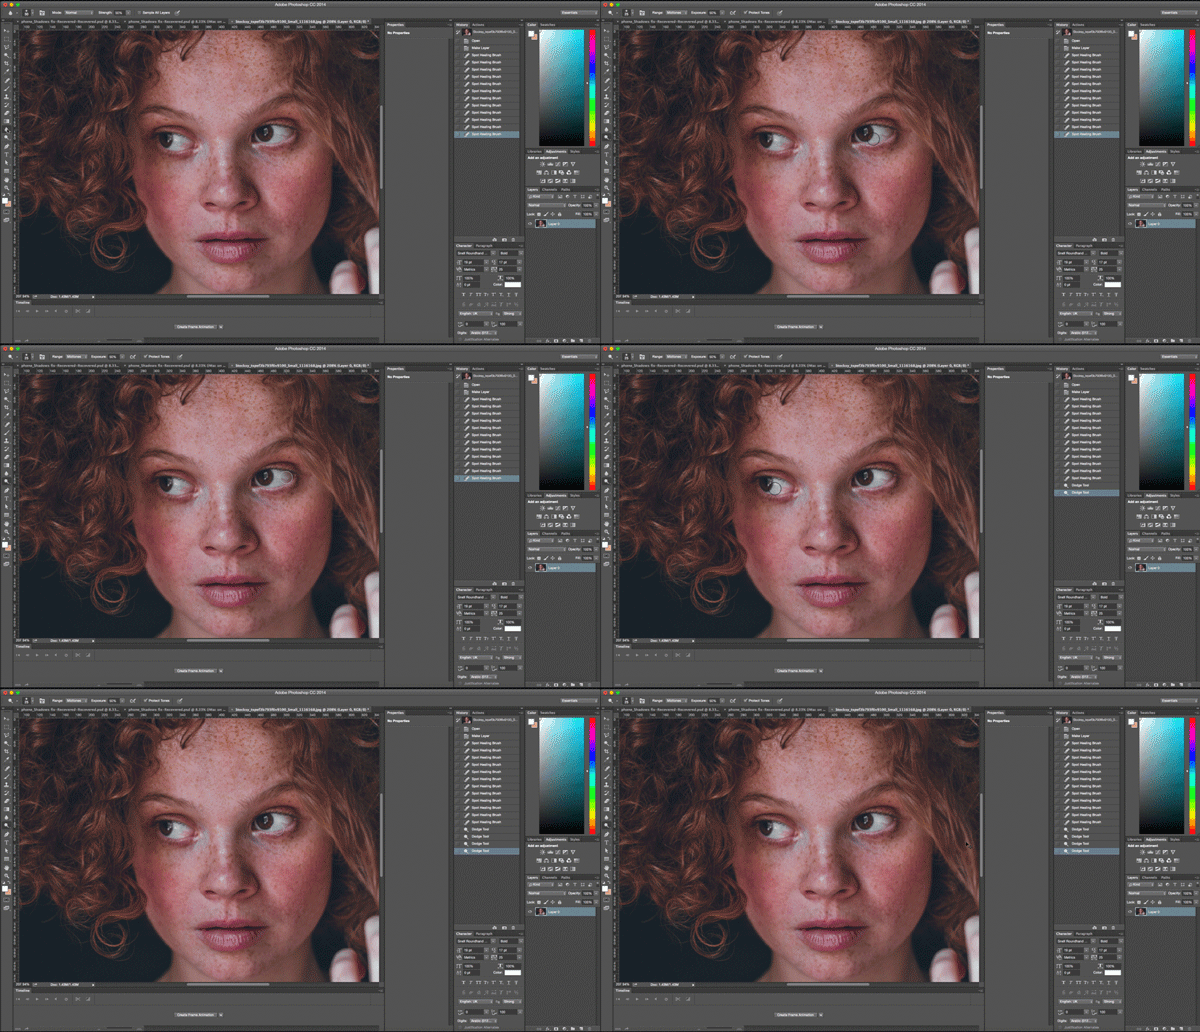
This tool brightens the pixels of a part of the image. For example, you can use this option to make your eyes look fresher and more vivid in a photo, not tired and sleepy! Just try not to use it too much because the photo will look like a spaceman.
To activate and use this tool, in the left menu, click on the shape similar to a magnifying glass. Try to increase or decrease the Range or Exposure options to achieve the desired result.
Blur part of the image in Photoshop Blur tool
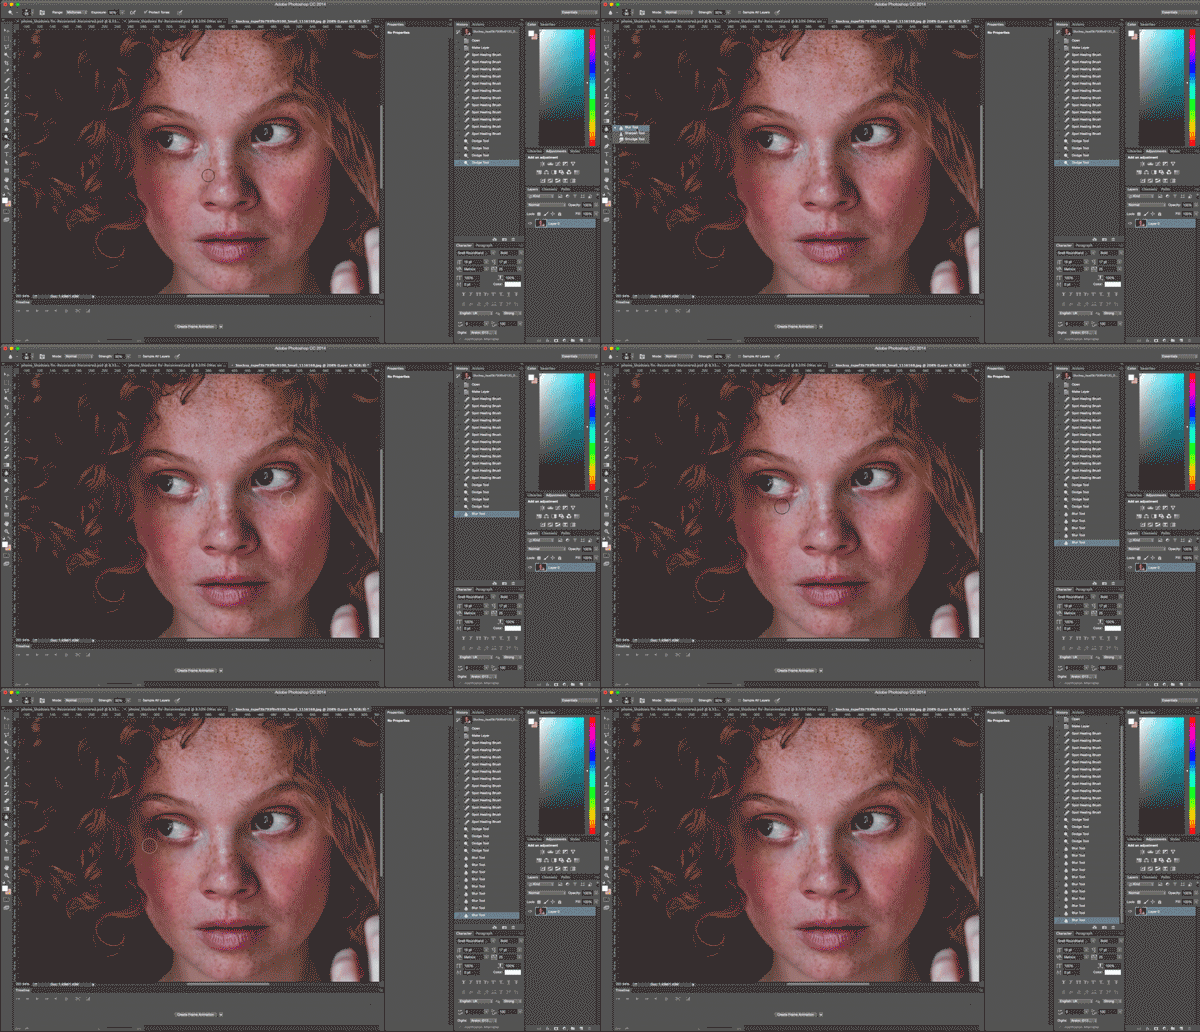
For example, crystallizing or blurring or blurring the image is used for various purposes and is very practical. For example, fixing the defects of a part of the image or censoring a part of the image, you just have to remember not to use it too much like other tricks. To activate and use this tool, click on the icon that looks like a drop of water from the menu on the left.
Other tricks
 Show a layer alone
If you want to see one layer alone and the other layers are not currently visible, you can hold down the Alt key and click on the eye icon next to the layer to make it visible only.
 Move a section between several different tabs
If you want to move a piece of a photo to another image and to another tab in Photoshop, just select it with the selection tool and then drag it to another project or existing tab.
 Paste a layer on itself
If you copy and paste a layer or any object, it will be in the middle of the page by default. But if you want to paste the copied layer exactly on itself, you can use the shortcut key Shift + Ctrl + V (on Mac Shift + Cmd + V).
 More than 10 times increase in file storage
Press Ctrl + K to go to Preferences. From the left side of the opened window, enter the File Handling tab and then check the Disable Compression of PSD and PSB Files option. Your files will be compressed after a few seconds, so you can save them much faster.
 Customer presentation mode in Photoshop
It’s time to show your final design to the client, but you do not want the client to know that you have worked with Photoshop. The reason for this is that the customer immediately says: (Do you work with Photoshop? My neighbor also has this program) and this means that my neighbor can do this project for me at no cost.
To be able to use the image presentation mode in Photoshop, you can press the F key on the keyboard twice and press the Tab key once. You can see that the area around the design is covered in black and the menus are removed.
 Navigate between documents in Photoshop
If you are working with more than one document, you can move between documents by pressing Ctrl + Tab.
 Find the active layer and hide the rest of the layers
If you have a multi-layered document, you can only see the layer you are working on. You can do this by pressing the Alt key and clicking on the eye icon in the Layers palette of the desired layer. Repeat this to see all the layers again.
 Create circular selections
When you draw a circle, Photoshop draws the circle by default from the point you click. You can draw the circle from the center by holding down the Alt key while drawing a circle. If you want your circle to be completely round, you can use the Shift key.
 Remove rulers
If you have dozens of ruler guides in your design and now you want to delete them, you do not need to drag them out of the document one by one, but you can select Clear Guides from the View menu.
 Change Quick Mask settings
If you want the red color in the Quick Mask environment to be your choice, or if you want to use another color for the Quick Mask environment, just double-click on the icon by which you enter this environment.


