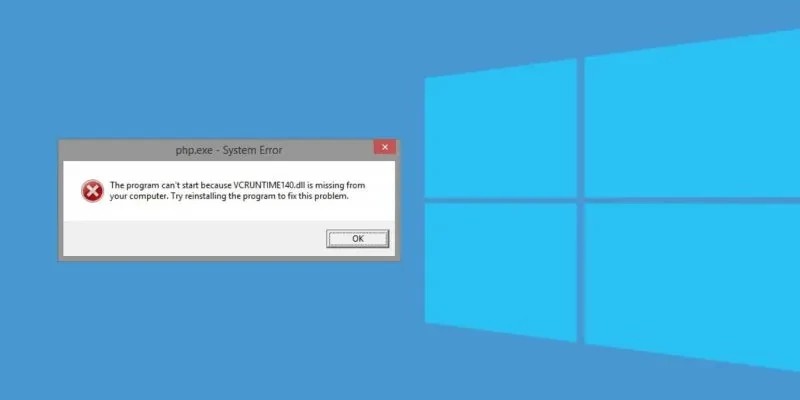
6 Solutions to Fix VCRUNTIME140.dll Error in Windows 10
Usually, errors related to missing a DLL File are software errors. VCRUNTIME140.dll error is one of these errors that occurs due to the improper installation of specific software or after updating Windows.
You will often encounter this error when a Dynamic Link Library (DLL) File for a specific application is missing or corrupted. In this case, you can no longer use the software.
In the following, we will tell you how to fix the VCRUNTIME140.dll error in Windows 10.
What is the VCRUNTIME140.Dll Error?
It is always best to find out the problem before looking for solutions. VCRUNTIME140.dll is an application plugin for the Microsoft C Runtime Library, which can be found in the System32 folder.
In addition, this file is used by the C++ Redistributable for Visual Studio 2015/2017/2019 and is also part of the C++ file package. Some software adds the VCRUNTIME140.dll file along with the package installer. Therefore, incorrect installation or a Windows update can delete or corrupt this file.
There are various reasons why this error occurs. If your computer is infected with malware, you will probably see this error as well. Antivirus programs often delete DLL files like this, so you will see this error.
Now that we know about the VCRUNTIME140.dll error in Windows 10, it’s time to fix it.
1. Re-register the VCRUNTIME140.dll File
One way to fix the VCRUNTIME140.dll error in Windows 10 is to re-register the missing File using the Regsvr32 command in your computer’s Command Prompt (Admin). In this regard, you must take the following steps:
- Go to the Start menu and then search for “Command Prompt”.
- Right-click on the Command Prompt app and then select “Run as Administrator” in the menu that appears.
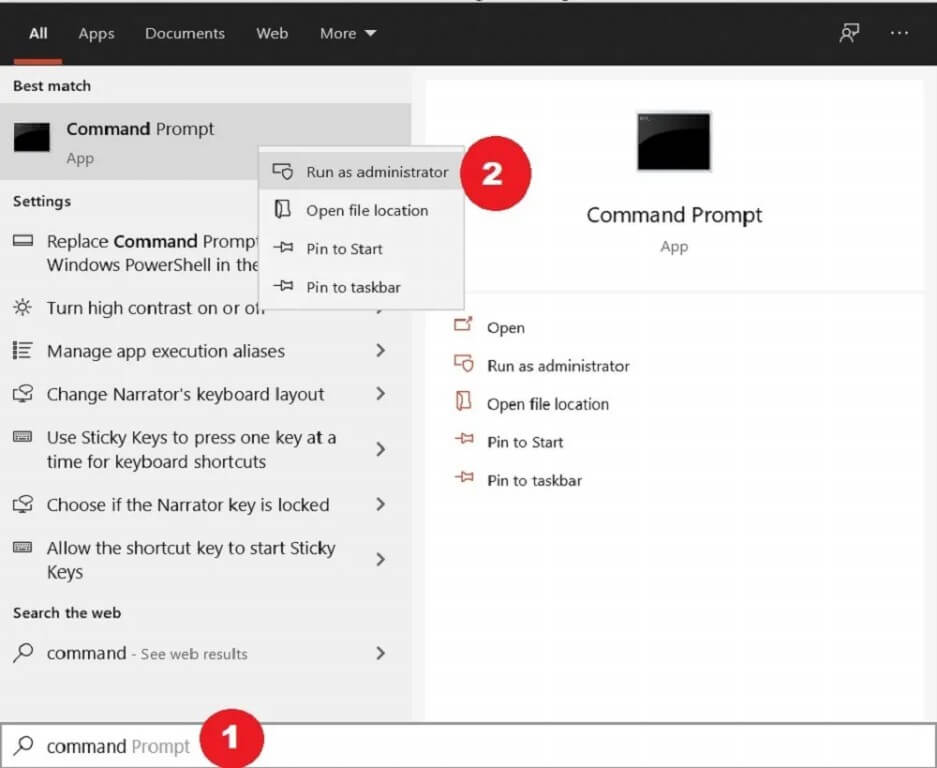
- By typing the following command and then pressing the “Enter” key, you must remove the File from the registry mode:
4. Then, register the DLL File again by typing the following command and pressing the “Enter” key:
5. After executing both commands, you must close the Command Prompt and run the problematic program.
2. Reinstall Visual C++ Redistributable
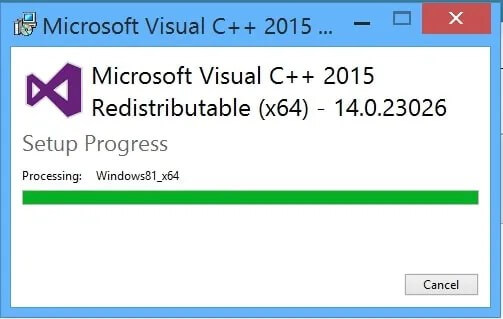
As mentioned earlier, the source of the VCRUNTIME140.dll error in Visual C++ Redistributable is Visual Studio 2015/2017/2019. Another solution could be reinstalling the Visual C++ Redistributable for Visual Studio 2015/2017/2019.
- Go to the official Microsoft website and then download the Visual C++ Redistributable.
- The following two files are displayed: “vc_redist.x64.exe” and “vc_redist.x86.exe”. The former is suitable for 64-bit systems and the latter for 32-bit systems. Select one of the files depending on your computer’s operating System.
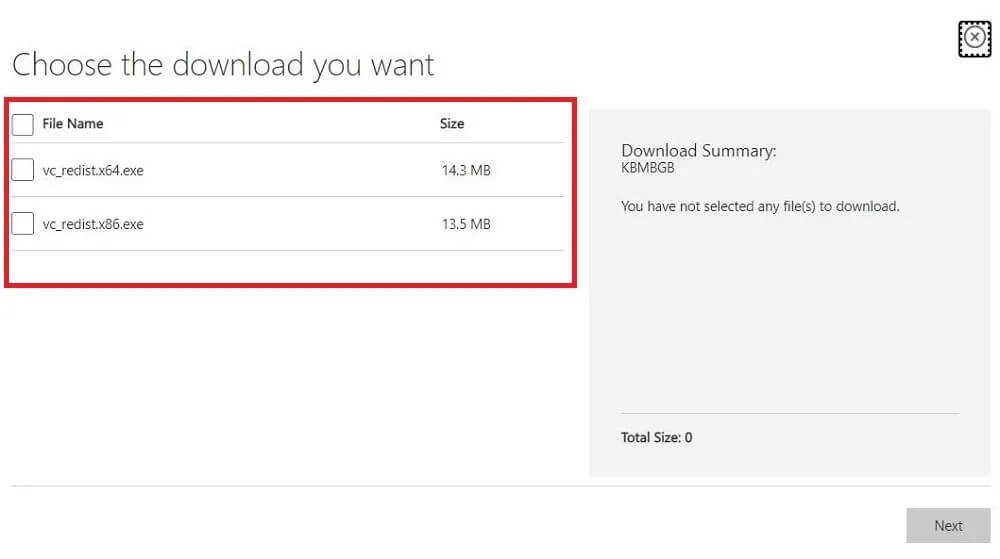
- Select the File you want and press the “Next” Button in the lower right corner.
- Once the download is complete, open the File, agree to the Microsoft Software License Terms, and click the “Install” Button.
3. Run System File Checker
In Windows 10, there is a tool called System File Checker (SFC). This tool is one of the best solutions for troubleshooting corrupted files and other system files.
- Run the Command Prompt with admin access.
- Type the following command and then press the “Enter” key.
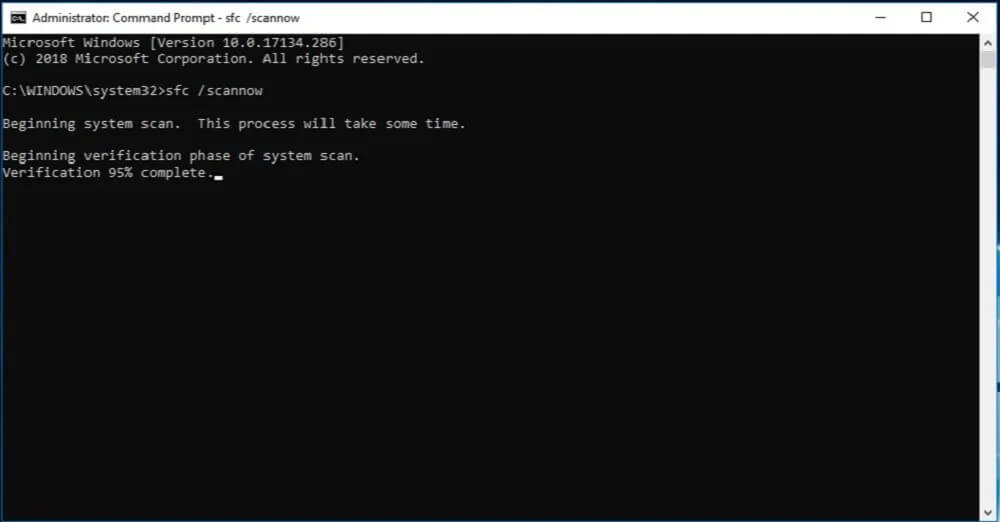
3. Then System File Checker starts checking for errors. If this process has a problem, it will be fixed automatically.
4. Manually replace the VCRUNTIME140.dll File
If specific programs are causing the problem with your VCRUNTIME140.dll file, you can download and manually replace it in the application path.
- Visit the DLL-Files website and download the VCRUNTIME140.dll File. Here, too, one must be aware of the operating System type.
- Then, a zip File will be downloaded. Extract its content using WinRAR or 7-Zip.
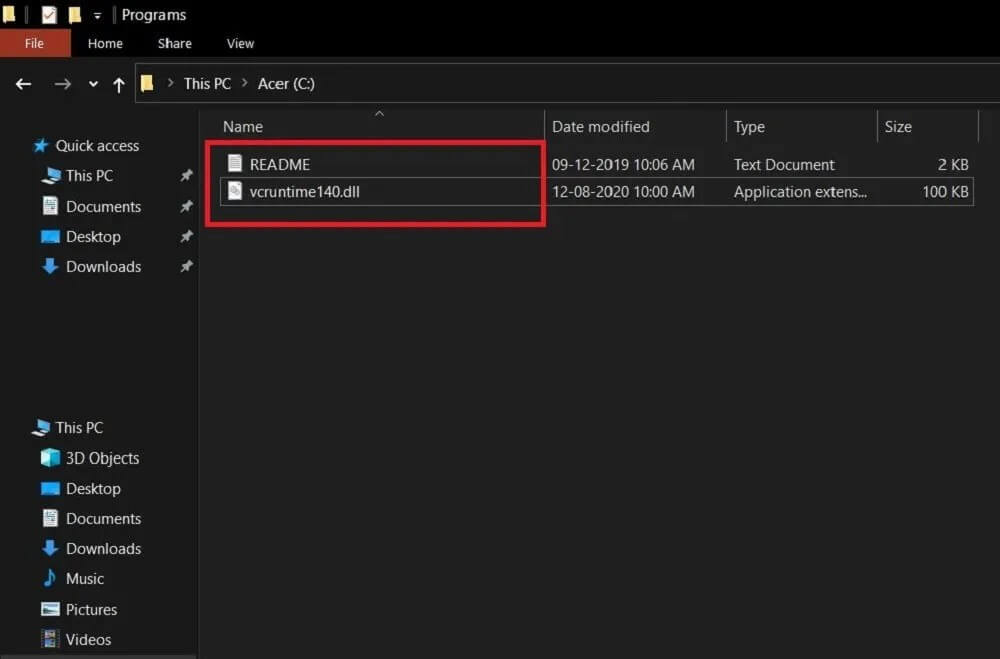
- Now, it is enough to paste the downloaded File “VCRUNTIME140.dll” in the path of the problematic program.
- If you are prompted, you will need to replace the new File with the old one.
5. Update your Windows 10
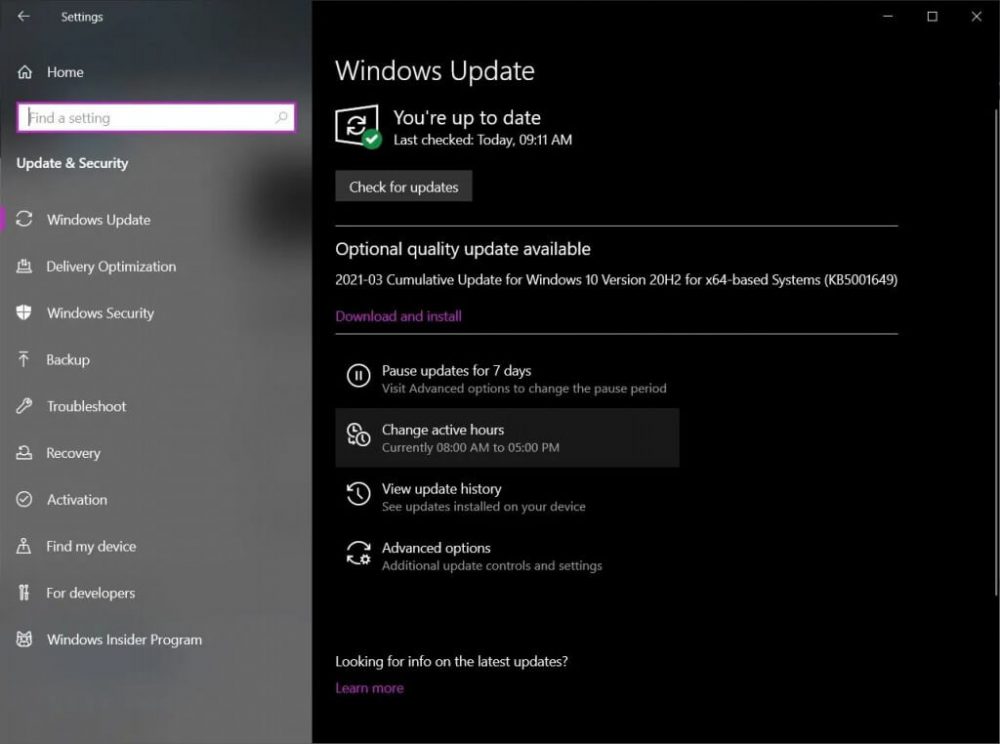
Another way to fix the VCRUNTIME140.dll error is to update Windows 10 to the latest version. Microsoft is always trying to fix problems by providing updates for Windows 10, so it is possible that the new Windows update can solve your problem. You can check for updates by going to “Settings -> Update & Security -> Windows Update.”
6. Reinstall the problematic program
If none of the above solutions work for you, you should reinstall the problematic app as a last resort.
FAQ
What causes the VCRUNTIME140.dll error?
The error typically occurs when the Microsoft Visual C++ Redistributable is missing or corrupted.
How can you fix the VCRUNTIME140.dll error?
Solutions include reinstalling the Visual C++ Redistributable, running system file checks, or updating Windows.
When should you try these fixes?
Apply them when apps fail to open due to the VCRUNTIME140.dll missing or not found message.
