Bandwidth Control with MikroTik router
While bandwidth is limited and expensive, throttling internet bandwidth for users can be cost-effective. On the other hand, this limit can also make the bandwidth fair.
The Queue feature handles bandwidth control in Mikrotik. In this tutorial, we will examine the Simple Queue feature.
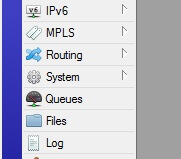
To create a Queue command from the left menu of the inbox, select the Queue option to open a window like the image below. Then go to the Simple Queue tab and add a new command using the Add option.
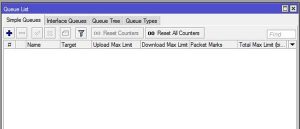
Enter the desired name in the General tab for the Queue.
In the Target field, we must enter the source IP address (the IP of the device on which we want to set the bandwidth limit). Note that this field does not accept IP range, and you must enter one or more IPs.
Bandwidth control in Mikrotik
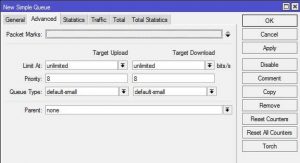
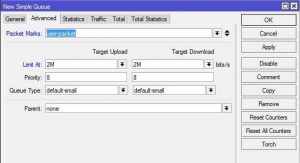
Go to the Advanced tab in the simple queue to control the bandwidth. Select the packet marks section from your name and apply download and upload limits.
Enter the destination IP address in the DST field. For example, you want the bandwidth limit only when the user is connected to a specific IP. By removing this section, the bandwidth limit will apply to all targets.
You can also send and receive the maximum bandwidth for the destination address in the MAX limit section.
The Burst feature increases the speed but slows down when the user downloads a lot.
In the Time field, you can specify the validity time of the Queue command.
You can give MikroTik the packages you’ve checked in the Advanced tab. Plus, you can prioritize the rolls. Priority can be selected from 1 to 8. 1 is the highest priority, and 8 is the lowest priority. The first bandwidth is allocated to the high-priority queue.
An example of bandwidth control in Mikrotik:
Go to the Advanced tab in the simple queue to control the bandwidth. Select the packet marks section from your name and apply download and upload limits.
Conclusion
In this article, we learned how to control the amount of bandwidth in Mikrotik routers.
