Tips to Speed Up Shutdown Time in Windows
If you experience it in Windows 10 and it shuts down slowly, and has the problem of slow shutdown in Windows 10, it is interesting to know that Windows can increase the shutdown speed by making settings. Improve Windows. Well, let’s do it together.
When you try to turn off your computer, Windows 10 waits for a response from the running programs and services. This depends on whether these programs and services respond to the shutdown or exit command, which may receive a long answer. By applying settings in the Windows registry, you can define a period in seconds during which Windows will wait for a response from the software during the system shutdown. You can reduce this time so that Windows 10 shuts down and restarts much faster.
Let’s start with the following:
Press the combination keys Windows key + R from the keyboard simultaneously to display the run window.
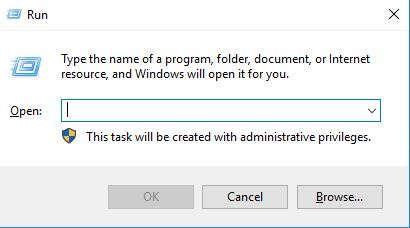
Then type Regedit and press Enter.
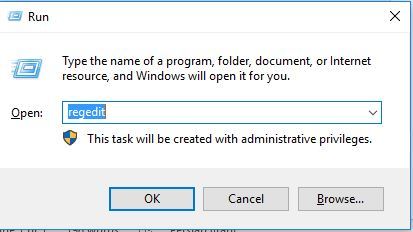
In this way, you enter the sensitive and important place of Windows, the registry.

Follow the path below and enter it.
HKEY_LOCAL_MACHINE\SYSTEM\CurrentControlSet\Control
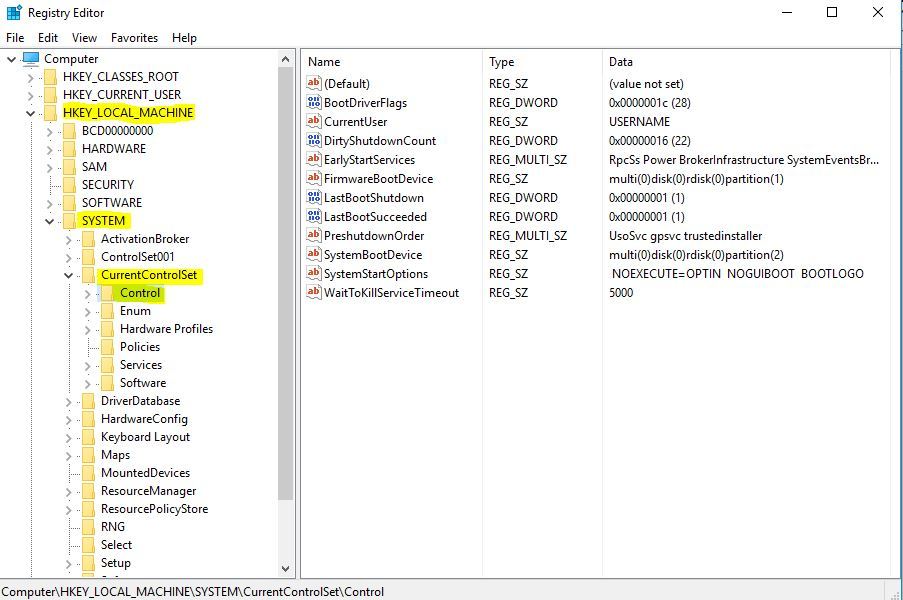
Here and from the opposite panel, double-click the WaitToKillServiceTimeout item.
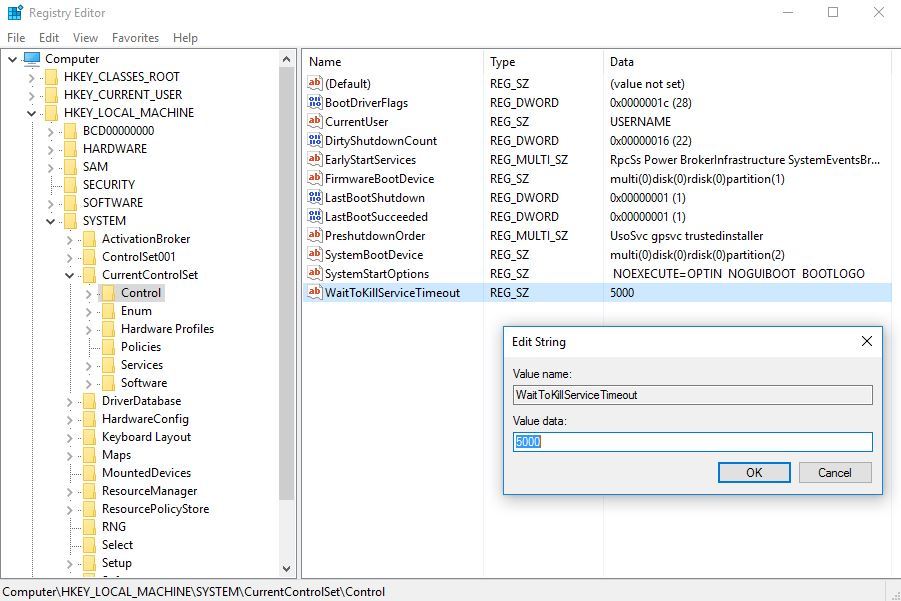
This number, 5000 by default, is in milliseconds, and Windows waits for each service before stopping it. Its definition range should be between 1000 and 20000, from 1 second to 20 seconds. The lower you consider this value, the faster Windows will stop that service. This path was to speed up stopping running services in Windows 10. Still, for programs in the registry, you need to enter another path after you have made the settings related to this section and entered the desired time. OK, this window. Do not exit the registry because you must enter the following path in the GAMS and applications.
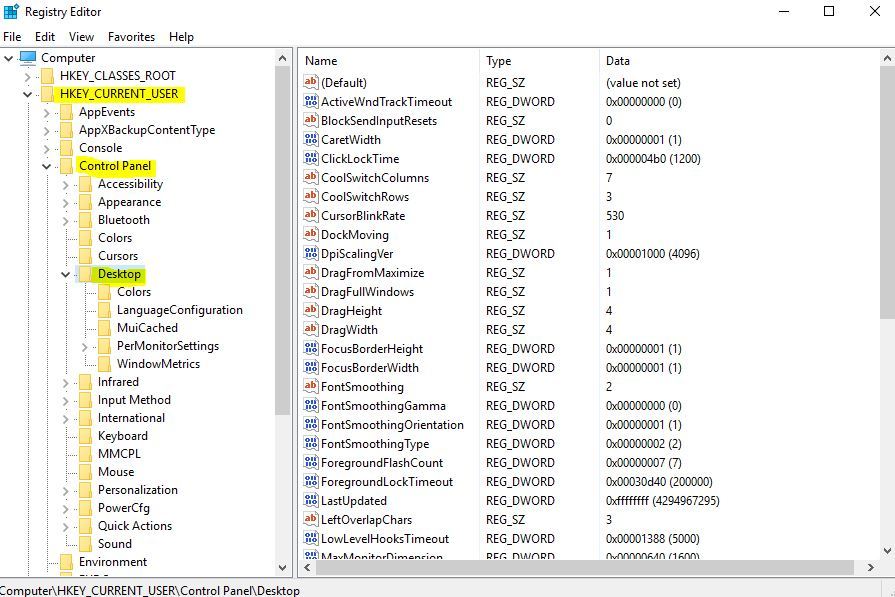
HKEY_CURRENT_USER\Control Panel\Desktop
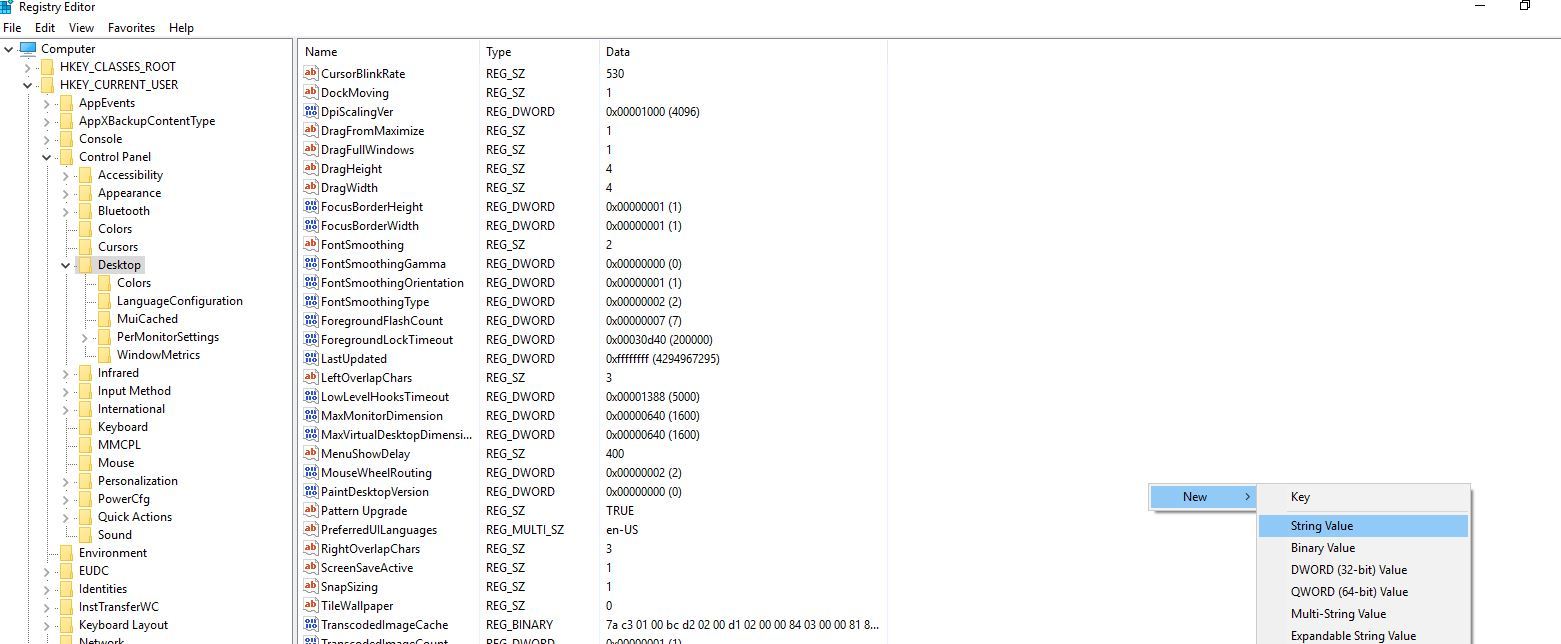
As in the image below, right-click on an empty part of the path you have entered, enter the corresponding sub-menu from the New option, and select the String value item.
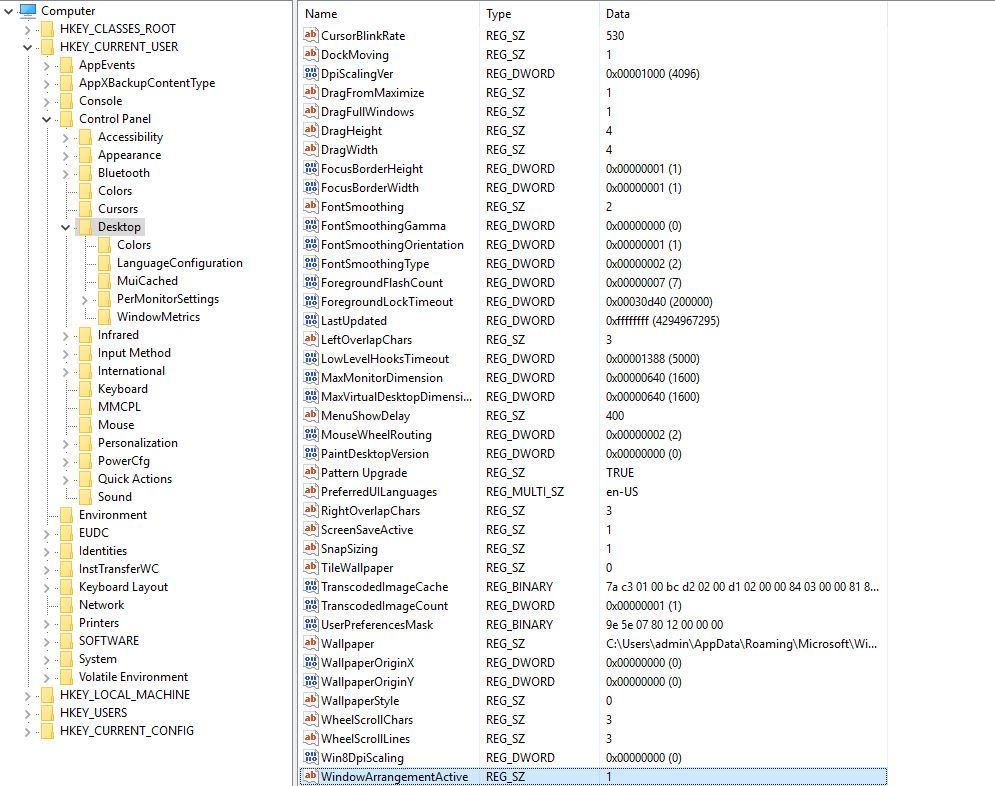
And name this value WaitToKillAppTimeout.
This item and the value you set indicate how long Windows waits to receive a response from a running program.
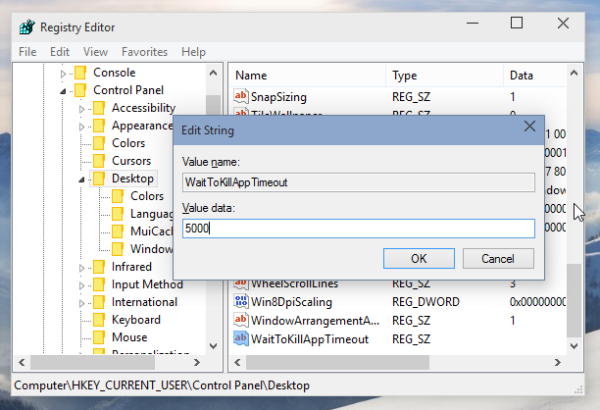
You can adjust each program’s response time by double-clicking and entering the desired value of this item. Make sure that these values are in milliseconds and that the range of numbers is from 1000 to 20000.
To apply these changes, please restart Windows once.
And finally, friends, we have some recommendations regarding these settings; please pay attention to them.
We recommend that you don’t set the WaitToKillAppTimeout too low, for example, 1000, because if you set it too low, some programs won’t be able to save changes properly. After all, Windows will kill them before they can even do anything.
Do not set WaitToKillServiceTimeout to low values because some services need more time to save their data and settings.
FAQ
What registry keys control shutdown speed?
You can adjust WaitToKillAppTimeout, HungAppTimeout, and AutoEndTasks under HKEY_CURRENT_USERControl PanelDesktop to reduce how long Windows waits for apps to close.
How do I stop Windows from clearing the pagefile on shutdown?
Open Local Security Policy → Local Policies → Security Options → find Shutdown: Clear virtual memory pagefile and disable it.
Should I disable Fast Startup to fix slow shutdowns?
Yes — disabling Fast Startup can help, as it may actually prolong shutdown by saving system state instead of fully turning off.
