How to Connect to an SSH Server on an Alternate Port
SSH (Secure Shell) is the most widely used protocol for remotely accessing Linux servers. By default, it listens on port 22, which is well-known and frequently targeted by automated bots attempting brute-force attacks. One standard method for adding a layer of obscurity and reducing these attacks is to change or add an alternative SSH port.
This tutorial explains in detail how to:
Choose and verify an alternate port
Configure your firewall and SELinux (if applicable)
Modify the SSH daemon configuration
Connect to your server using the new port safely
Avoid mistakes that can lock you out of your server
Whether you’re a system administrator or just running your own VPS, following this guide will help you improve your server’s SSH access configuration.
Why Change the Default SSH Port?
Changing the default SSH port will not prevent attacks, but can significantly reduce the noise. Most brute-force bots only scan and attack port 22. Using a different port (e.g., 2222 or 2200) hides your SSH entry point from generic scanners.
However, this is not a replacement for good security practices, such as:
Turning off root login
Using SSH keys instead of passwords
Implementing fail2ban or similar tools
Think of changing the SSH port as one of many layers in your server’s security.
Step 1: Confirm SSH Access on the Default Port
Before making any changes, verify that you can currently SSH into the server using the default port (22):
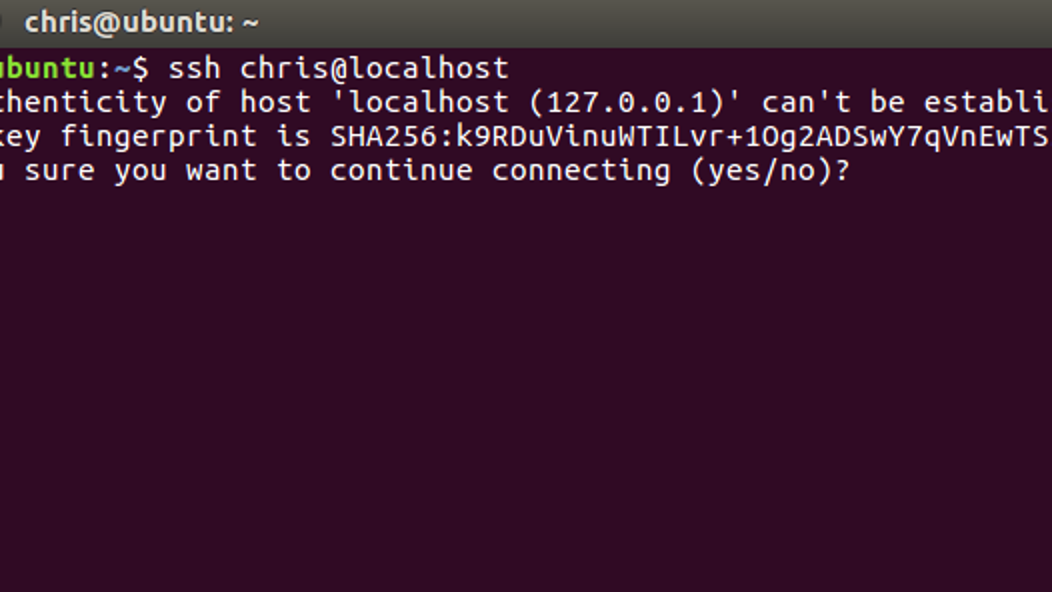
ssh username@server_ip
Replace username and server_ip With your actual SSH user and the server’s IP address.
Step 2: Choose and Test an Alternate Port
You should pick a port number that is not in use and, preferably, above 1024, since ports below that are considered privileged and may require root access to bind.
Let’s say you want to use port 2222. To check whether it’s available:
sudo ss -tulpn | grep ':2222'
This port is free and safe if you don’t get any output. Avoid using ports commonly used by other services (e.g., 3306 for MySQL, 8080 for HTTP).
Step 3: Allow the New Port Through the Firewall
Important: Before editing the SSH configuration, ensure the new port is open in your firewall. If something goes wrong, failing to do this may lock you out of your server.
If You’re Using UFW (Ubuntu/Debian)
sudo ufw allow 2222/tcp
You can check the status with:
sudo ufw status
If You’re Using Firewalld (CentOS/RHEL/Fedora)
sudo firewall-cmd --permanent --add-port=2222/tcp
sudo firewall-cmd --reload
If You’re Using iptables (Legacy Systems)
sudo iptables -A INPUT -p tcp --dport 2222 -j ACCEPT
To make iptables rules persistent, you’ll need to save them using:
sudo iptables-save > /etc/iptables/rules.v4
Step 4: Configure SELinux (If Enabled)
If your server uses SELinux (common in CentOS, RHEL, and Fedora), you’ll need to allow SSH on the new port explicitly.
First, install the necessary tools if not already installed:
sudo yum install -y policycoreutils-python-utils
Then add the new port:
sudo semanage port -a -t ssh_port_t -p tcp 2222
To verify:
sudo semanage port -l | grep ssh
This step is crucial: failing to update SELinux will cause SSH to refuse connections to the new port, even if the firewall allows it.
Step 5: Edit the SSH Configuration File
It’s time to update the SSH daemon to listen on the new port.
Open the configuration file:
sudo nano /etc/ssh/sshd_config
Find the following line (it may be commented out):
#Port 22
Uncomment it and add your new port on the following line:
Port 22
Port 2222
Note: Keeping port 22 active for now is a safety measure. Once you’re confident the new port works, you can optionally remove port 22.
Save and exit the file (Ctrl + X, then press Y and Enter in nano).
Step 6: Test the SSH Configuration
Before restarting the SSH service, validate the syntax of your SSH configuration file:
sudo sshd -t
If no error is returned, it means your configuration is correct.
Step 7: Restart the SSH Service
Apply the changes by restarting the SSH daemon:
sudo systemctl restart sshd
On some systems (like older Debian versions), the service may be called ssh instead of sshd:
sudo systemctl restart ssh
Step 8: Connect Using the Alternate Port
Now, try connecting via the new port from your local machine:
ssh -p 2222 username@server_ip
You should get the same SSH login prompt as before. Keep your terminal open on the old connection (port 22) in case anything goes wrong.
Optional: Disable Default SSH Port (22)
Once you’ve confirmed that the new port works flawlessly, you can optionally remove port 22 from your SSH config file:
sudo nano /etc/ssh/sshd_config
Change:
Port 22
To:
Port 2222
Then restart SSH and test again.
Caution: Only turn off port 22 after you’re 100% sure the alternate port works and is accessible.
Troubleshooting Tips
If something goes wrong and you can’t connect via the new port:
Check the firewall rules: ensure the new port is open.
Check SELinux (if used): Ensure the port was added with
semanage.Check SSH logs: View logs via:
sudo journalctl -xe
Ensure SSH is running:
sudo systemctl status sshd
You can reconnect and resolve any issues if port 22 is still enabled.
Final Thoughts
Switching to a non-standard SSH port can slightly improve your server’s security by reducing the number of brute-force login attempts. Although not a silver bullet, it adds another layer to your defense strategy.
This guide showed you how to:
Choose an alternate SSH port
Update firewall and SELinux rules
Modify and test your SSH configuration
Connect using the new port safely
Combined with strong passwords, SSH keys, and tools like fail2banThis approach makes your server significantly harder to target.
FAQ
How do I connect to an SSH server on a different port?
Use the SSH command with the port option: ssh -p username@server_address.
Why does the SSH server use a non-standard port?
Administrators often change from default port 22 to reduce automated brute-force scans and improve security through obscurity.
What should I check if the connection fails?
Ensure the server’s firewall permits the alternate port and verify network reachability before retrying the SSH connection.