How To Take A Screenshot On iPhone 13
Sometimes you need to take a screenshot of content or images on iPhone 13. This tutorial will explain how to take a screenshot on the iPhone 13.
How to take a screenshot on iPhone 13
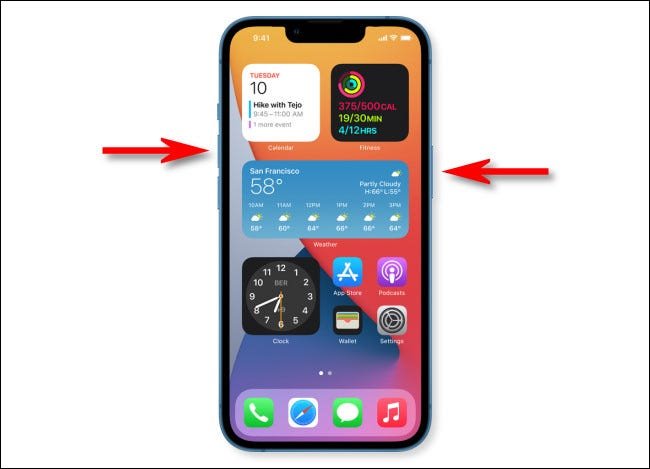
The easiest way to take a screenshot on the iPhone 13 is to use the two buttons on both sides of the phone.
First, press the volume up button (on the left) and the right button simultaneously.
 How to take a screenshot on iPhone 13
Finally, after pressing these two buttons simultaneously, you will hear the shutter sound unless your iPhone is muted.
Finally, a thumbnail of the Screenshot you took will appear in the bottom left corner of the screen.
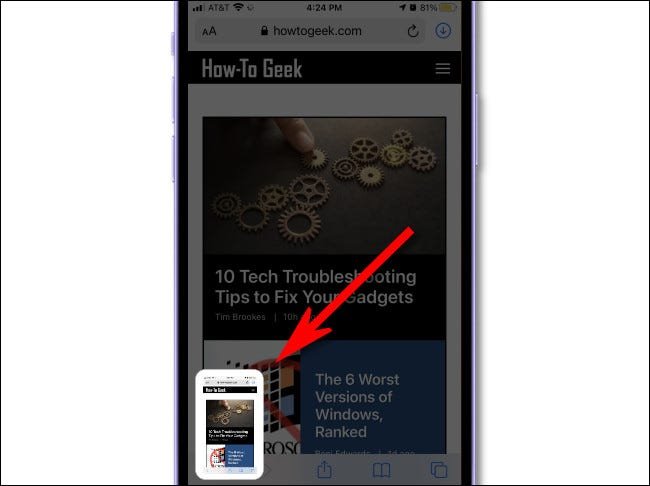 How to take a screenshot on iPhone 13
This thumbnail will disappear after a few seconds, or you can drag it to the left to make it disappear.
When the thumbnail disappears, iPhone 13 automatically saves the Screenshot in the Photos app.
How to take a screenshot without using the button
If you have trouble pressing two buttons simultaneously to take a screenshot, there are other ways.
In the first method, you can take a screenshot on your iPhone 13 using Back Tap.
First, open Settings and Accessibility > Touch > Back Tap to set this feature.
Then put the Screenshot in the double or triple-tap option.
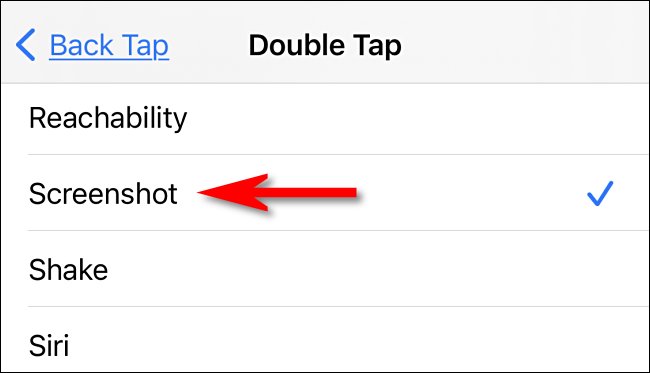 How to take a screenshot on iPhone 13 without using the button
Finally, you can tap (double or triple) on the back of your iPhone to take a screenshot.
Also, the AssistiveTouch feature allows you to take screenshots on the iPhone 13.
To set this feature, open the Settings app and Accessibility > Touch > AssistiveTouch.
Then assign the Screenshot option to a custom action.
How to edit a screenshot on iPhone 13
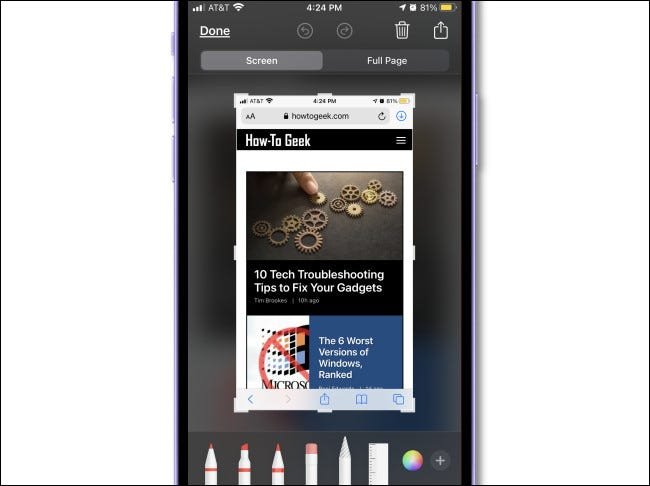
In general, if you tap on the thumbnail that appears in the corner of the screen after taking a screenshot, you will see the editing mode.
With the Edit window appearing, you can crop, rotate or annotate the image before saving the Screenshot.
 How to take a screenshot on iPhone 13
 How to edit a screenshot on iPhone 13