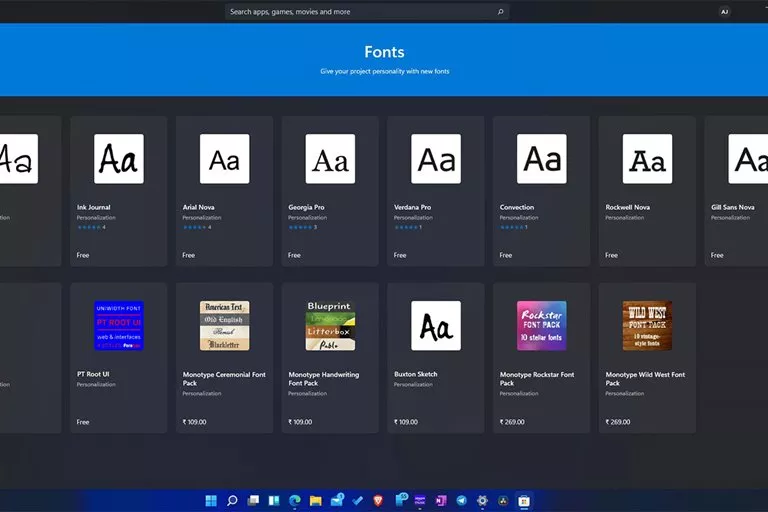
Tutorial on Installation of Fonts in Windows 11
Although Windows 11 Comes with a Variety of Fonts, The New Operating System, Like Previous Versions, Allows Users to Install New Fonts.
Windows 11 comes with a wide variety of fonts, but if the standard options like Arial, Georgia, or Times New Roman don’t suit your needs, you can easily install custom fonts.
This is especially handy for developers who spend hours working with text, graphic designers seeking a unique flair beyond Verdana, or writers who believe experimenting with fonts enhances productivity (we’ve all been there).
You can add fonts to Windows 11 or 10 using the Microsoft Store, Settings, or File Explorer. Each method has its own pros and cons. The Microsoft Store simplifies installation with just a few clicks but offers a limited selection compared to what’s available online.
On the other hand, Settings and File Explorer require a bit more effort but allow you to install any TrueType, OpenType, or PostScript font file you download. While the screenshots provided here are from Windows 11, the same steps apply to Windows 10 as well.
The Ability To Install New Fonts, In Addition To Making The Windows Environment More Personalized, Will Be Of Great Use To People Whose Job Is To Deal With Writing; Therefore, Programmers, Graphic Designers, And Writers Are Probably Most Interested In Installing New Fonts In Windows.
There is no single way to install fonts in Windows 11. Depending on your choice, you can install the fonts from the Microsoft Store, Settings menu, or File Explorer. Each method has its advantages and disadvantages. This article will explain how to install fonts in Windows 11 using each technique.
Install fonts in Windows 11 using the Microsoft Store
Installing fonts through the Microsoft Store is almost the most painless and secure way to install a new font in Windows 11. Because you download fonts from a trusted, official source, malware and malicious files are less likely to enter the system.
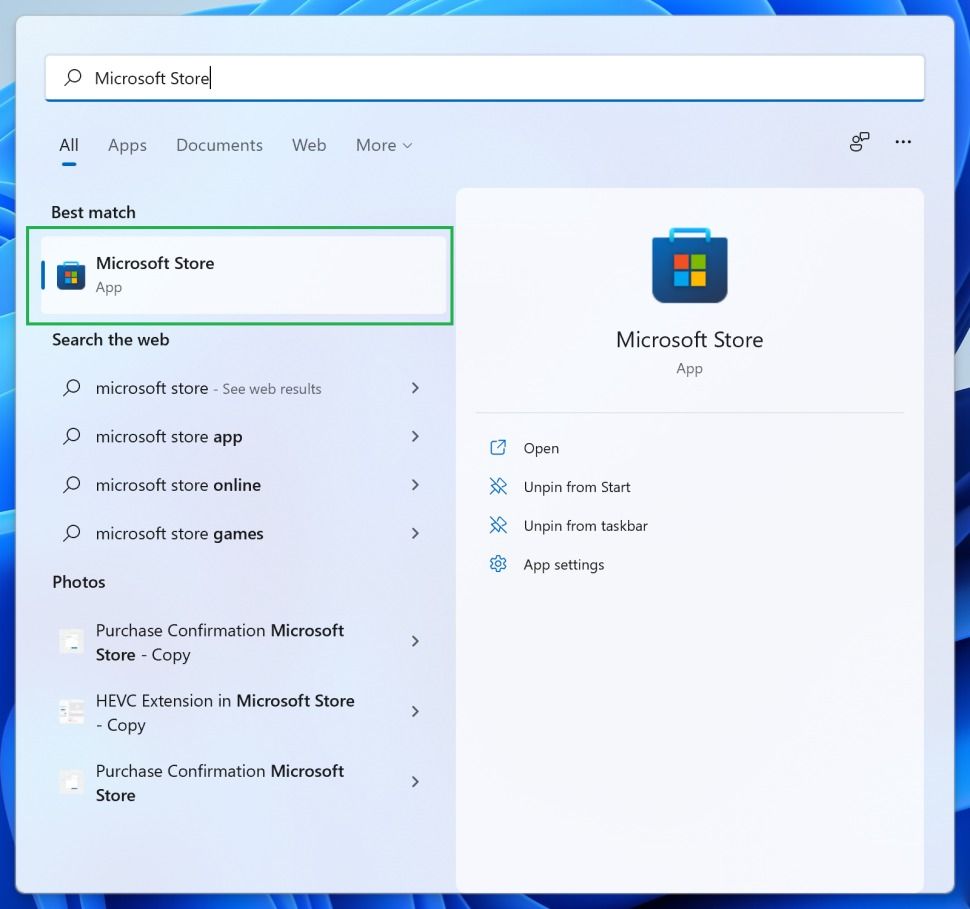
- Launch the Microsoft Store app.
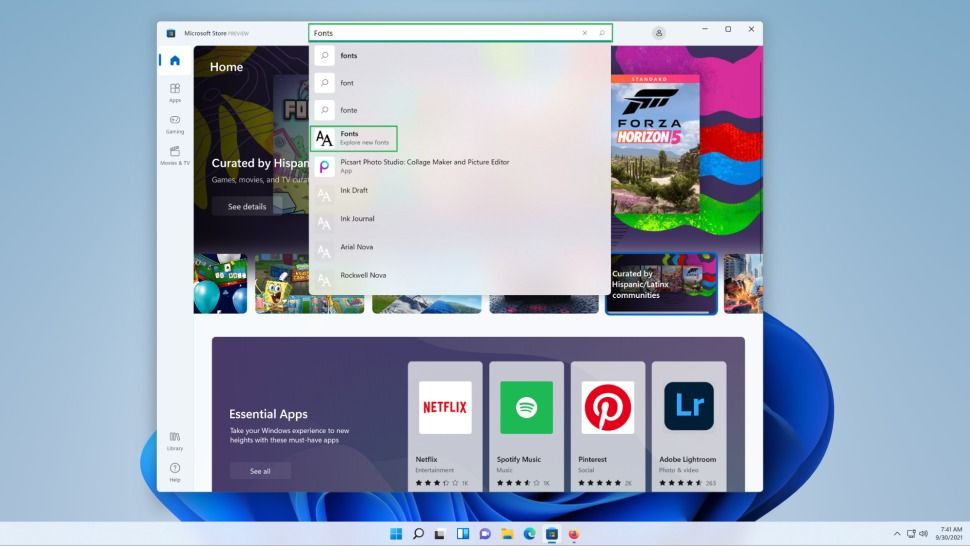
- In the search bar at the top of the store, search for Fonts. When you search for the phrase” Fonts,” the results menu will appear. You must select the option with the font image and the descriptive word” Explore new fonts.”
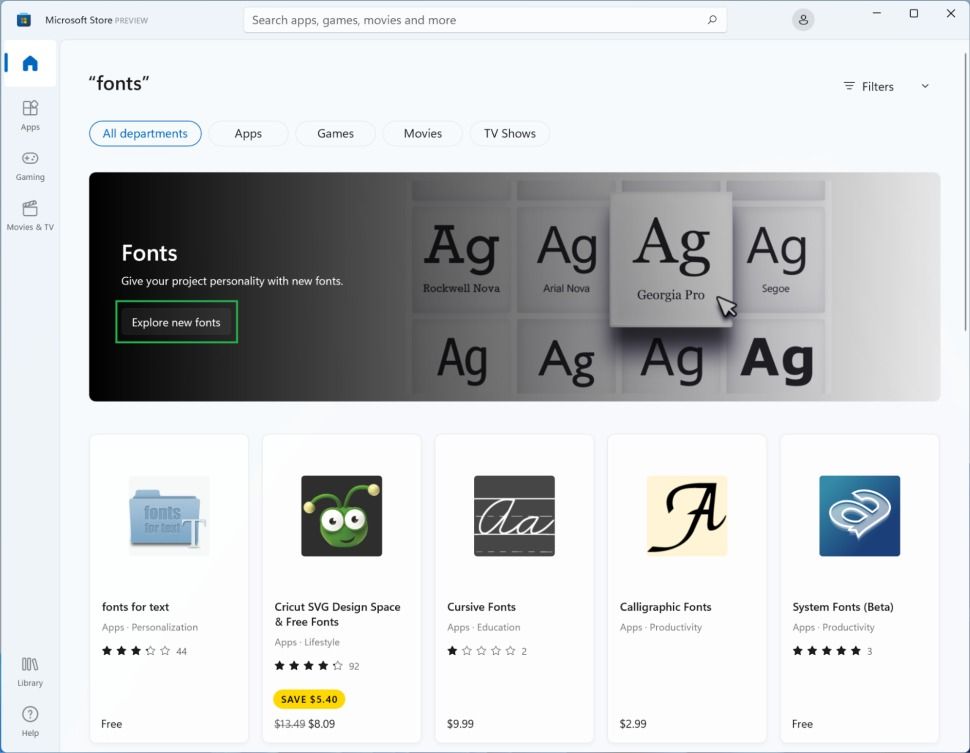
- Click the Explore new fonts button.
- Select the font you want.
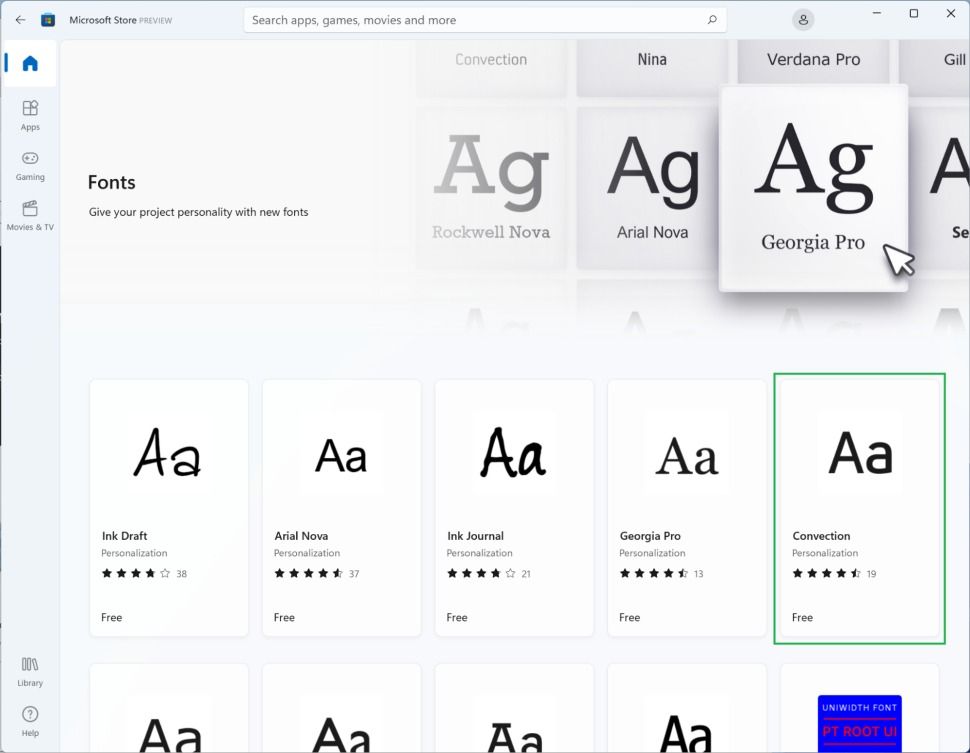
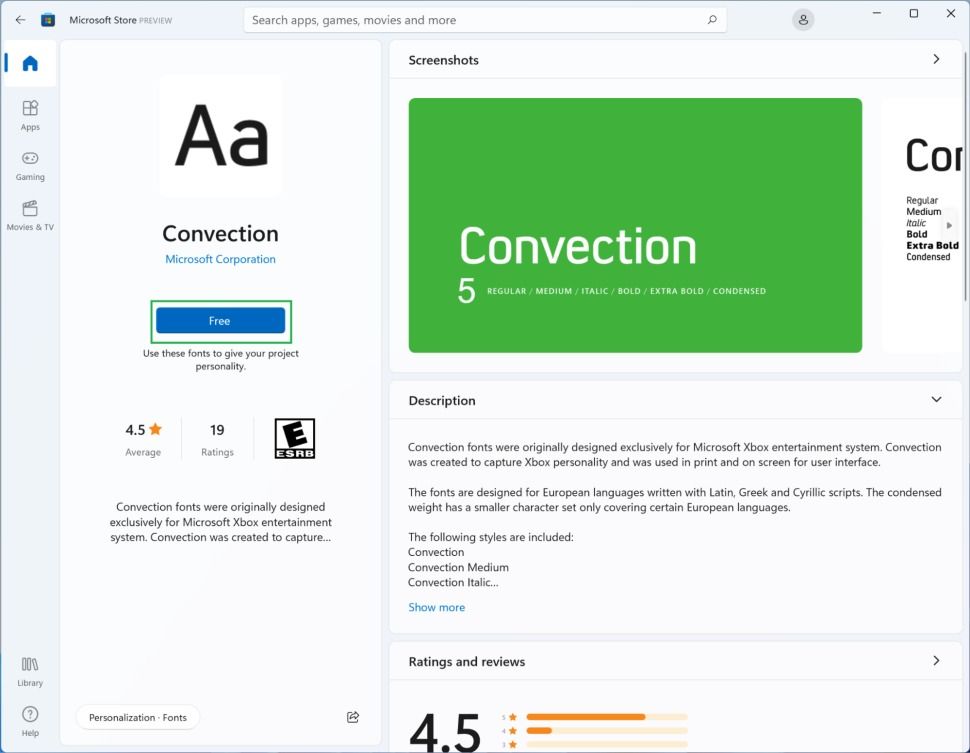
- If your font is free, click the Free button to begin the font download and installation process without logging in to your Microsoft account.
Install fonts in Windows 11 using the settings menu
Download the font in TrueType, OpenType, or PostScript formats to install the font through the settings menu. We emphasize that you must get the fonts from a reliable source to ensure your system will not be filled with malware.
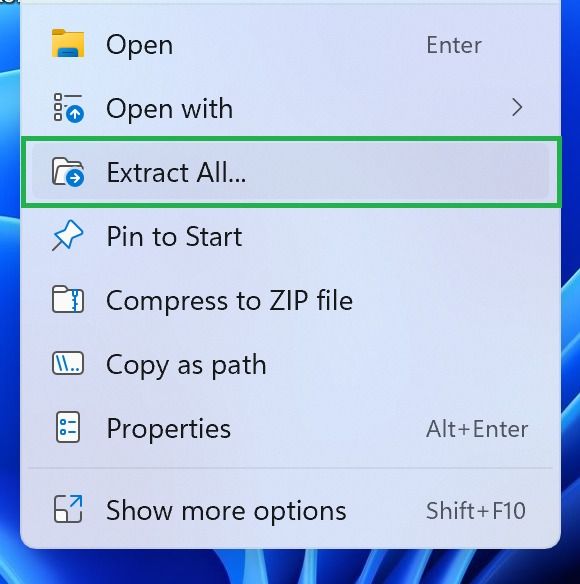
- If you have downloaded the font as a zip file, extract it.
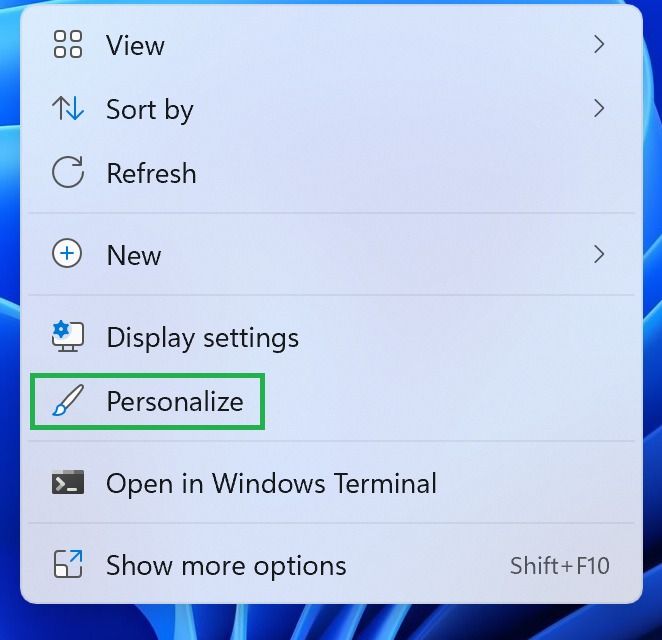
- Right-click on the desktop and select Personalize. Alternatively, you can proceed to the Settings program and select the Personalization option.
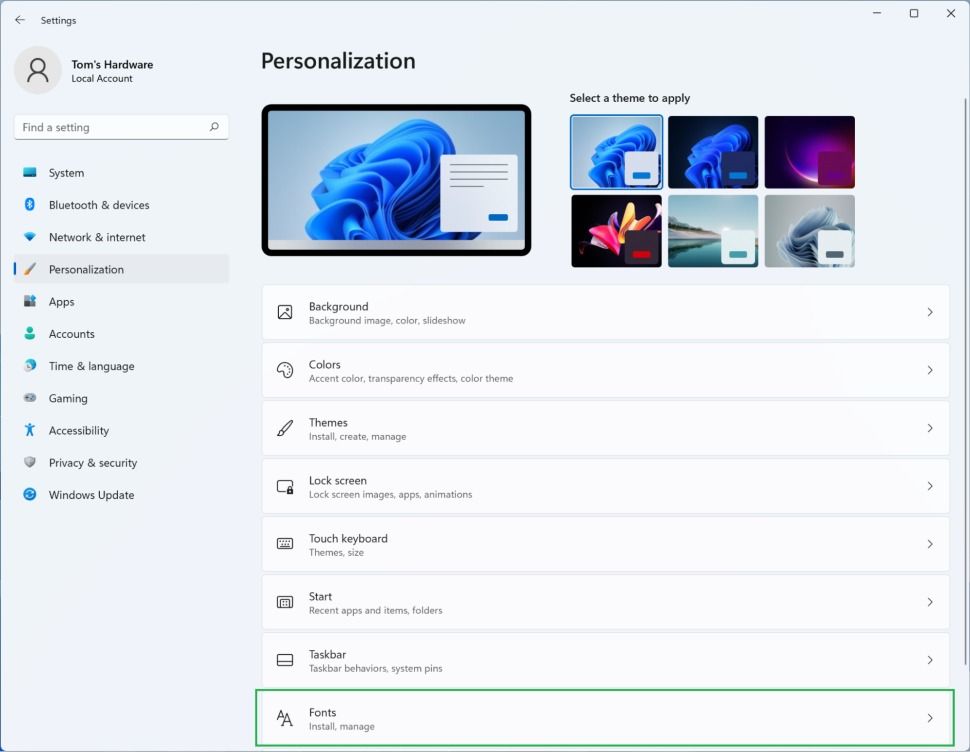
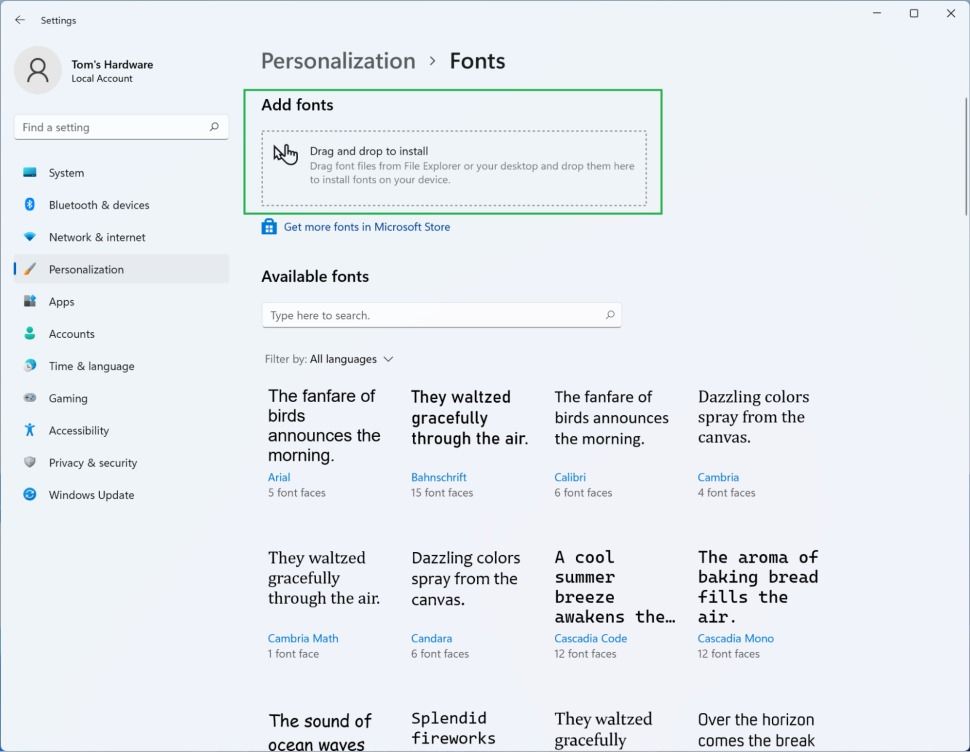
- Click on the Fonts option.
- Insert the font file into the box at the top of the page marked with the phrase “Add fonts” (drag and drop). This is a font installation.
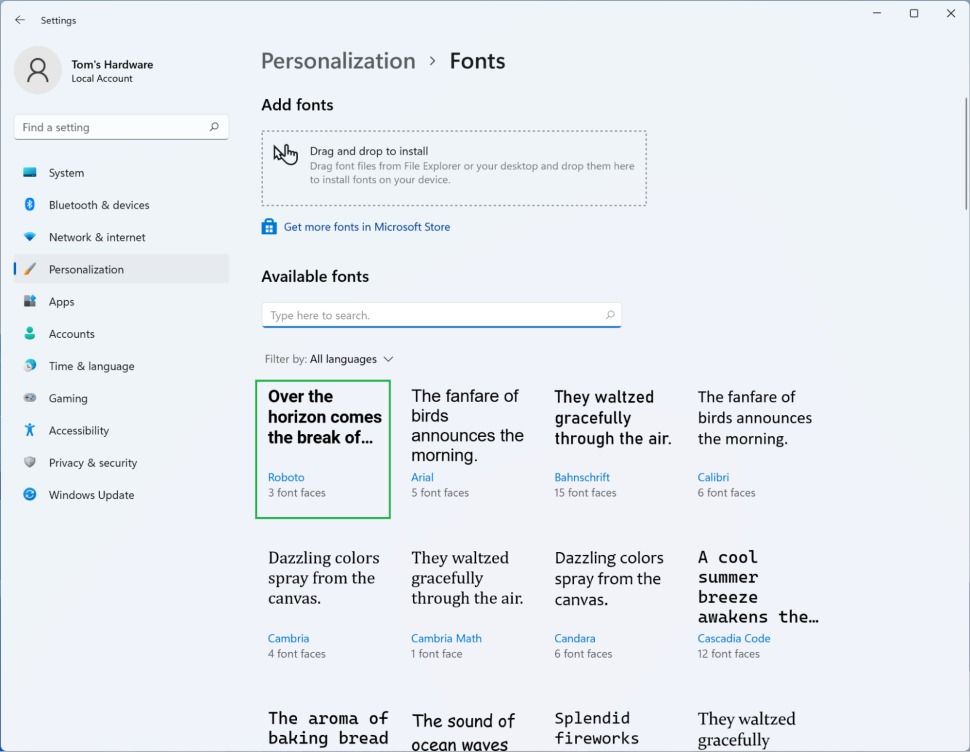
- If the font is successfully installed, it will appear as the first item in the font list.
Install fonts in Windows 11 using File Explorer.
Installing a new font using File Explorer is similar to installing it through the settings menu.
The first method
- You can extract the font if downloaded as a zip file.
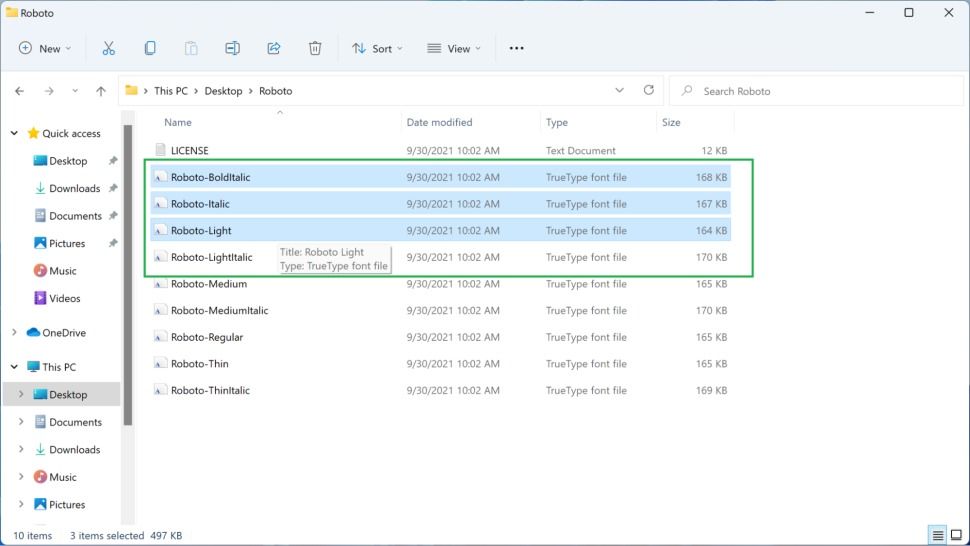
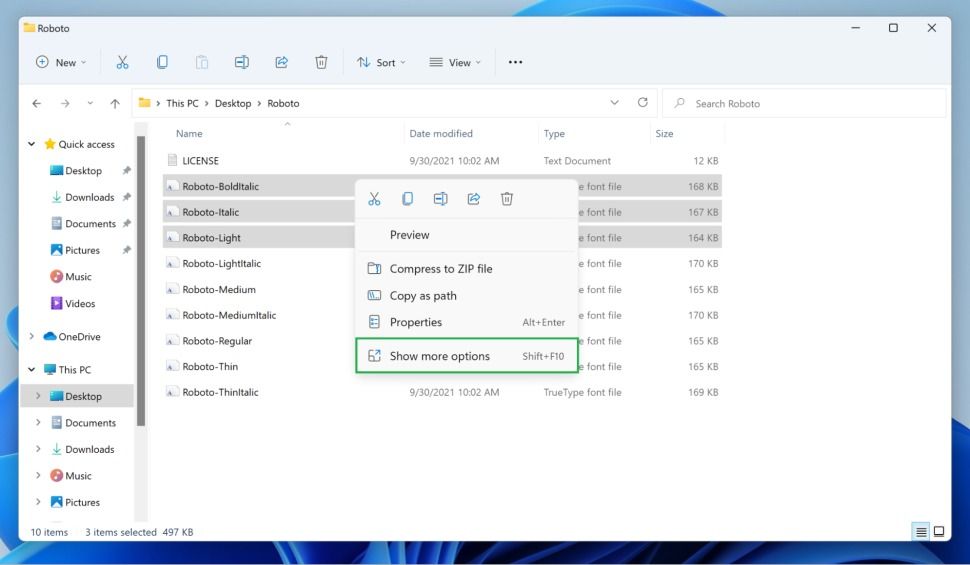
- Many fonts are available in different styles (bold, italic, etc.). In the downloaded collection, select the files you want.
- Right-click on the selected options, and in the window that appears, click Show More Opportunities to display the full menu.
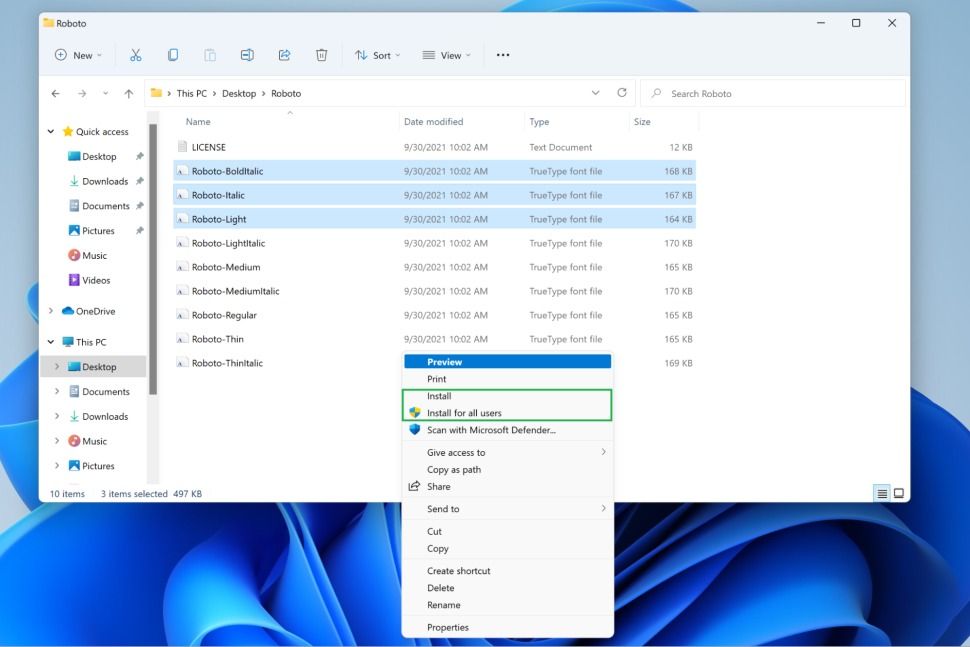
- Select Install or Install for all users. In this case, the Install Progress window will be displayed. After the progress bar is installed, the fonts will be installed.
The second method
- Double-click on the font file or font you want to preview in a new window.

- In the toolbar at the top of the window, select the Install option to install the font you want.
FAQ
How do I install a font in Windows 11?
Download the font file (e.g. .ttf or .otf), then double-click it and choose “Install,” or right-click the file and select “Install for all users.”
Can I install multiple fonts at once?
Yes — select multiple font files, right-click and choose “Install” or “Install for all users” to add them in bulk.
Will installed fonts work in all applications?
Generally yes — once installed via Windows font directory, they become available system-wide across most applications.
