Automatic Deletion of the Contents of the Downloads Folder — Windows Cleanup Guide
When downloading a file from the Internet, using web browsers or the IDM program, the downloaded file is saved in the Download folder by default. Although you can change the default download location, the Downloads folder is the default download location for files in Windows 7,8,10. By default, this folder is located on the C drive, and as you know, your system’s current Windows is installed and running on the C drive. Therefore, it is necessary to prevent this drive from filling up for no reason and to empty the unwanted space that is occupied due to downloading many files from the Internet.
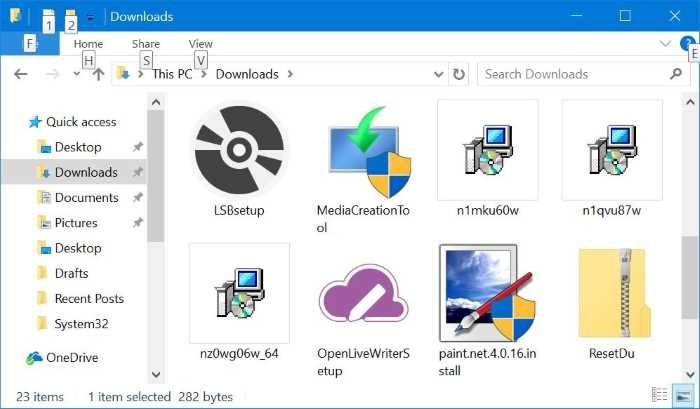
Depending on the size, volume, and number of files, your Windows system’s Downloads folder can have up to several gigabytes of free space. How nice it would be to empty these files automatically without changing the storage location of the downloads. The good news is that it can be done, and you can do it by making a few small adjustments in the Windows 10 settings.
In Windows 10 version 16199, Microsoft introduced a new option in Storage Sense to delete downloaded files in the Downloads folder automatically. When this item is enabled (this option is turned off by default), it will automatically delete unchanged files from the Downloads folder after 30 days. This feature only deletes files that have not seen changes in the last 30 days. This option is very useful, especially for people who are constantly downloading from the Internet. For example, you download a program from the Internet, and after you install that program, you will no longer need its installation file. This file will fit in the Downloads folder and take up space.
So, how should we configure the settings for deleting files downloaded in the last 30 days? Next, you will get to know these simple settings:
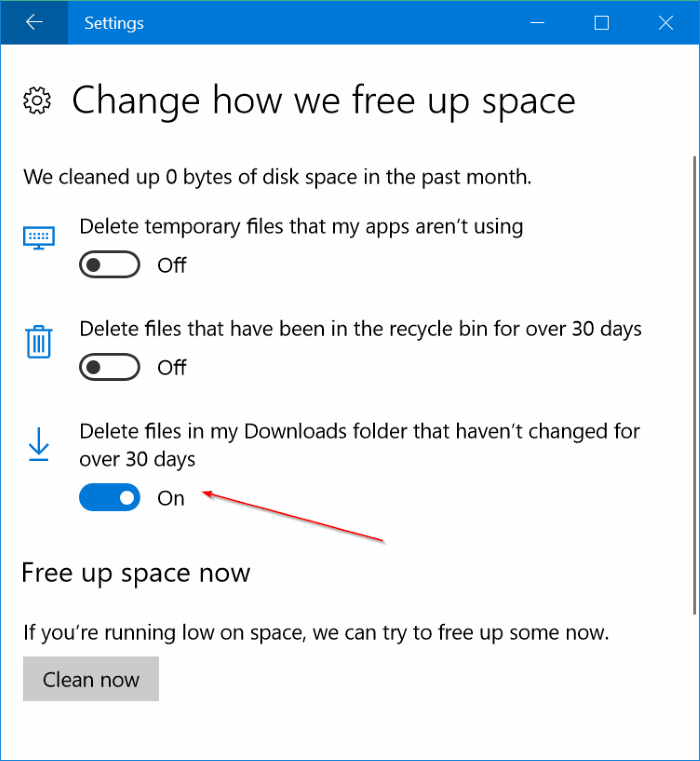
Note: Again, we point out this important issue: any file that remains unchanged in the downloads folder for 30 days will be deleted. If an important file is in this folder, copy it somewhere else before this feature permanently deletes it. However, we recommend saving important files in a different location before they start downloading.
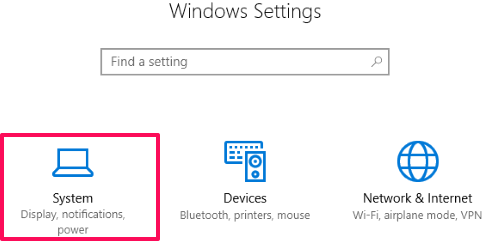
Press the combination keys Windows Key+I from the keyboard simultaneously to display the Settings window, or click on Start on your Windows 10 and click Settings from among the items in the menu to enter the Settings window. Then click on the icon related to the System tool here.
From the left panel, select the Storage option. In the Storage Sense section, turn this feature ON by clicking the slider.
Under this option, click the Change how we free up space link. Before clicking, ensure the Storage Sense option is enabled.

Now activate the third option above: Delete files in my Downloads folder that haven’t changed for over 30 days.
Thus, by performing these simple settings, which take less than one minute, you automatically delete the downloaded files from your Windows 10 system’s Downloads folder.
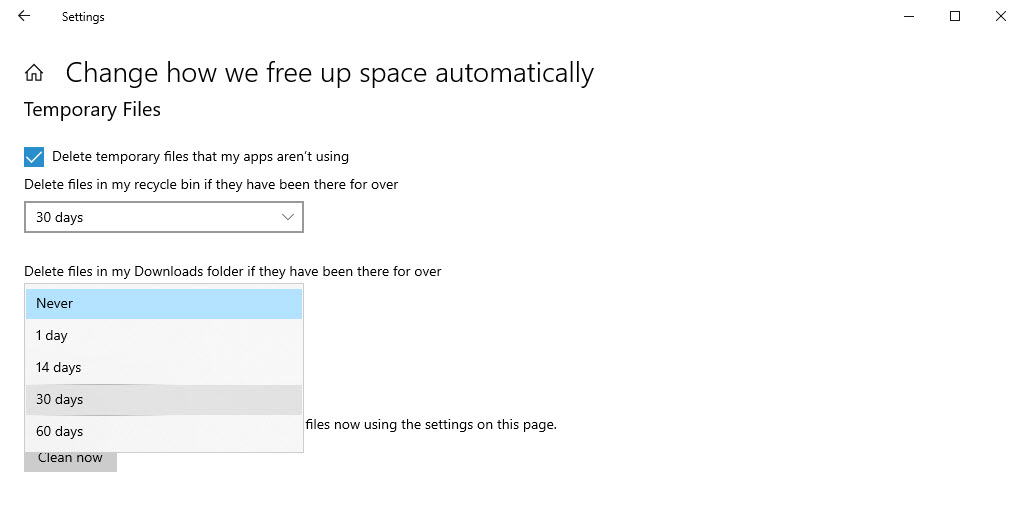
In the new versions of Windows 10, this setting has undergone minor changes. Instead of an on/off option with a 30-day duration, it has been configured as a combo box with multiple duration options.
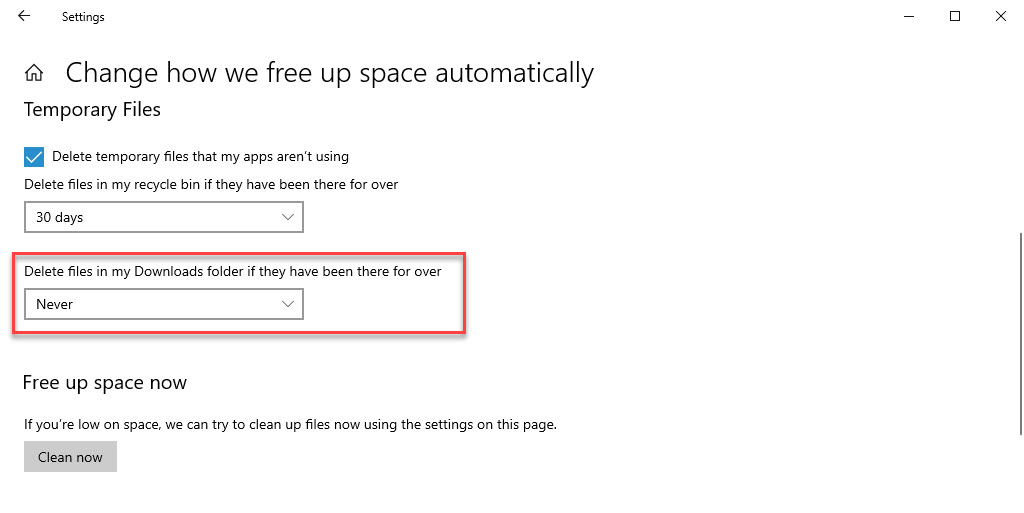
Just click the drop-down list of Delete files in my downloads folder if they have been there for over, and as you can see, this option is set to Never by default, so that nothing will be deleted from the Downloads folder and this list. You can choose the duration you want.
I hope you enjoyed this tutorial.
FAQ
What does automatic deletion of Downloads folder contents mean?
It refers to a feature in Windows that can remove files in the Downloads folder that haven’t been opened or changed for a specified number of days to free up disk space.
How do I enable automatic deletion of Downloads files in Windows?
In Windows 10/11 go to Settings > System > Storage > Storage Sense, turn it on, then configure it to delete files in the Downloads folder after 1/14/30/60 days.
Will automatic deletion remove all files immediately?
No; Windows Storage Sense only removes files that meet the age criteria you set (e.g., unchanged for 30 days), and it does not affect files newer than that.