


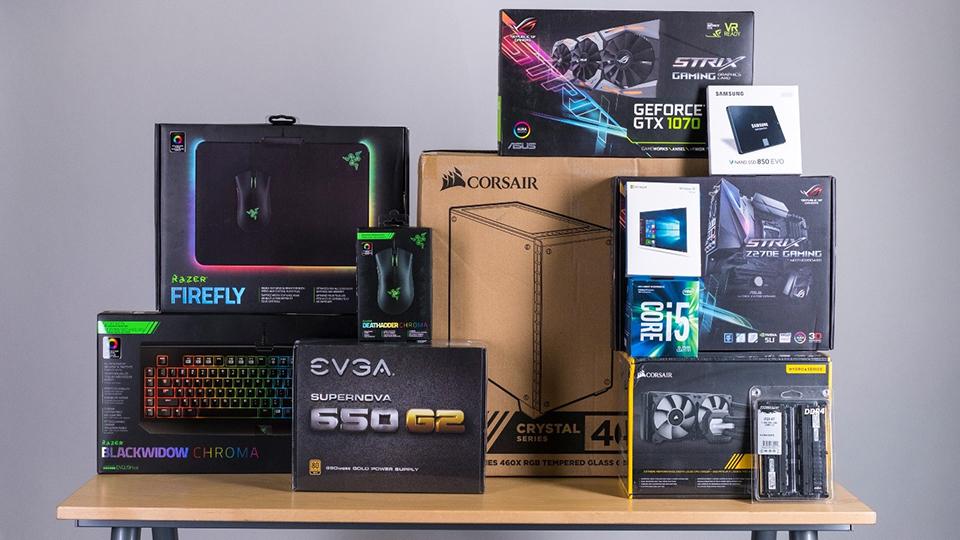
Assembling The Gaming System
Required parts and an installation guide to assembling a gaming system
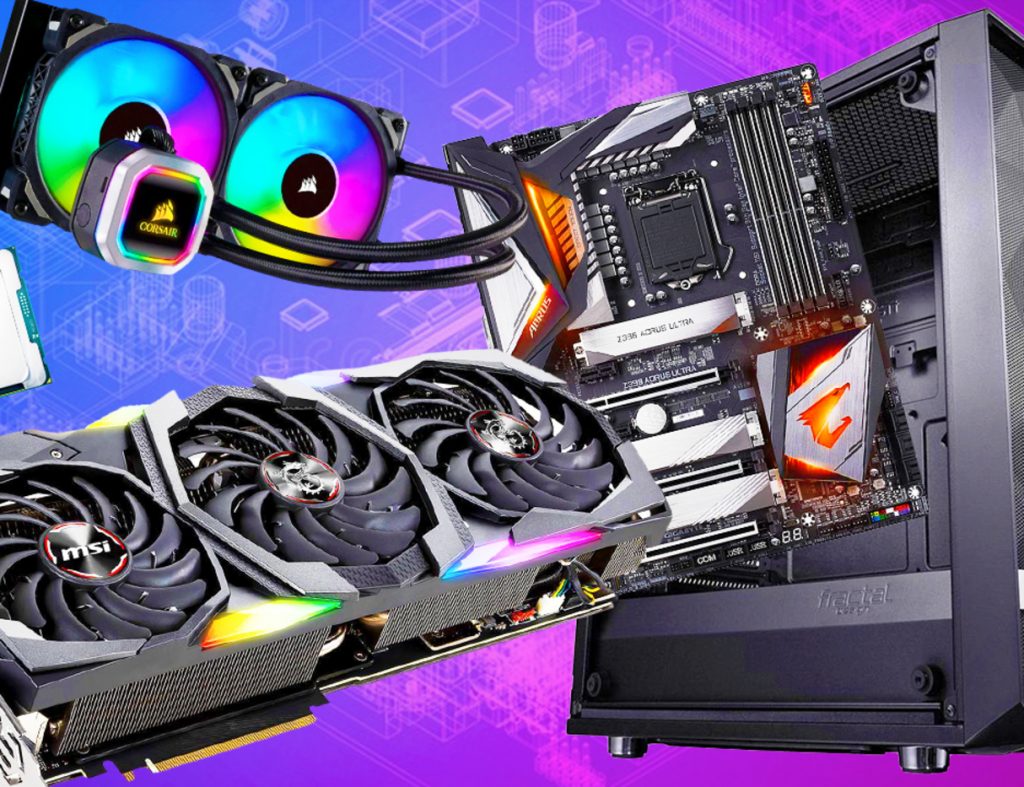
Step 1: MOTHERBOARD
The motherboard is the basic hardware for any system, primarily gaming. The motherboard dictates the physical dimensions and build size of your computer and determines what other hardware components the laptop can use—a critical point because your motherboard must support the amount of performance you want to squeeze out of the rig. It further indicates what type of storage (drives) can be installed. Both drive size (2.5 inches, mSATA or m.2) and interface type (SATA or PCle).

Step 2: Installing the CPU
Remove the CPU from the package and do not touch the gold pins on the bottom; install your processor or CPU on the motherboard by pressing firmly and following the company’s recommendations. If installing a heatsink, apply a pea-sized amount of thermal paste. Secure the heat sink to the CPU with four screws.
Step 3: Installing RAM
RAM is the most accessible hardware to install when building a personal system. Locate the memory slots on the motherboard. Keep your memory modules aside to avoid touching the gold pins. If your memory does not have a heat spreader, avoid touching the chips on the module. Align the notches on the module with the protrusion in the slot, then press the module firmly until it clicks. As you apply pressure, note that installing a module entirely takes about 30 pounds of force.
Memory, or RAM, gives your processor and GPU the resources they need to do what they need. More gigabytes of memory equals more assets, translating into faster system speeds, seamless responsiveness, and higher frame rates. Adding memory is one of the fastest, easiest, and most affordable ways to boost the performance of any gaming device. Regardless of the size of your budget, maximizing RAM is an essential part of building a gaming PC. If you’re already out of memory, see how much RAM you need to meet your performance goals.
Step 4: Installing the MOTHERBOARD in the case
Install the I/O shield in the rectangular opening of the case. Next, slide the motherboard into the case so the ports are through the I/O shield. After installation, secure the motherboard with the screws in the case. Do not over-tighten; this can lead to cracking of the motherboard.

Final installation of MOTHERBOARD
Install the I/O shield in the rectangular opening of the case. Next, slide the motherboard into the case so the ports are through the I/O shield. After installation, secure the motherboard with the screws in the case. Do not over-tighten; this can lead to cracking of the motherboard.
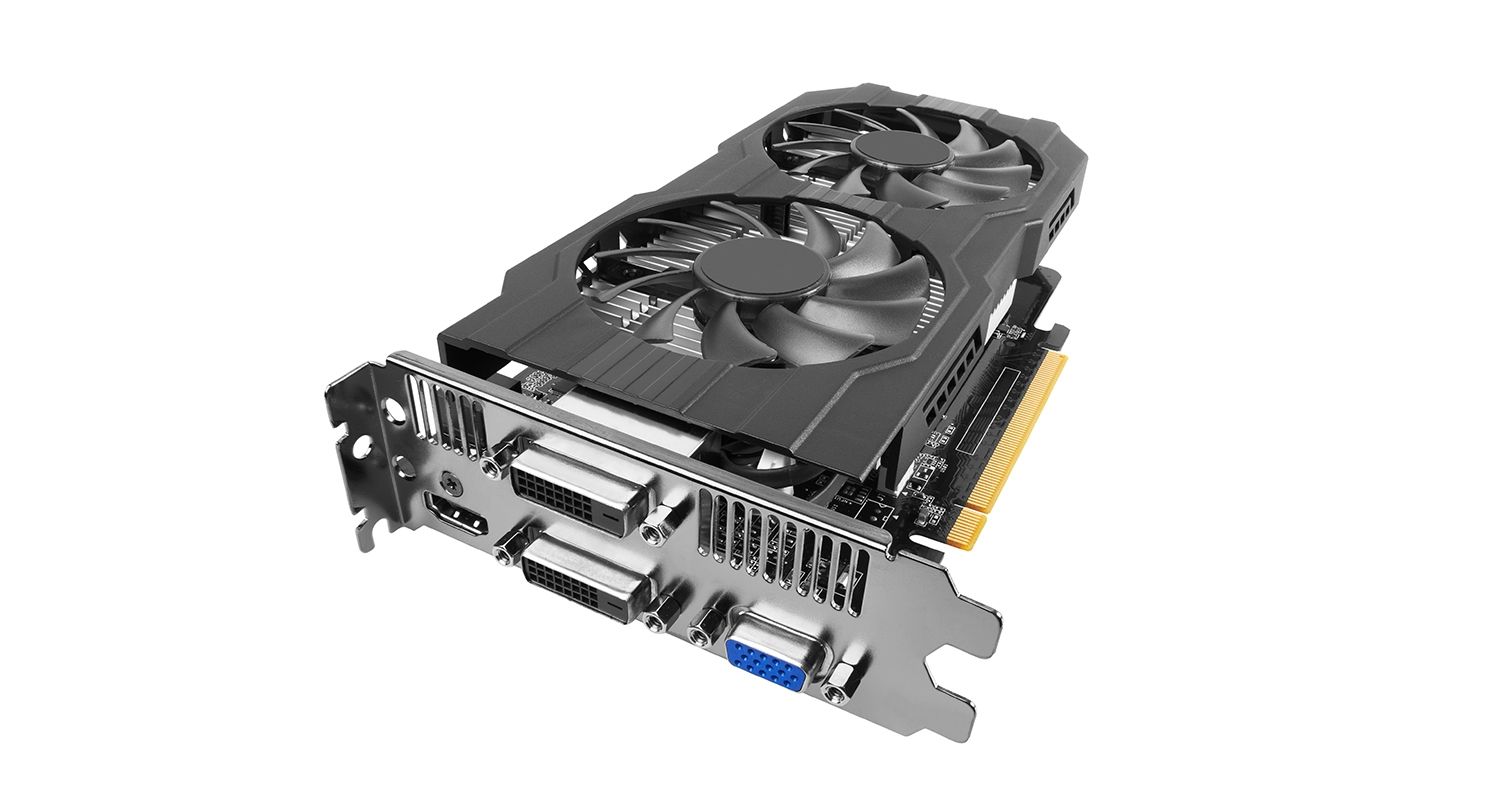
Step 5: Install the GPU
Slide your GPU into the slot and press until it clicks, securing it with any screws.
Graphics card/graphics card/graphics processing unit (GPU)
When you expect more output from your computer, you need to beef up your system with the resources it needs to meet those expectations. Creating super sharp graphics requires more memory to process all the fine details that pop off the screen – more gigabytes of RAM equals more graphics horsepower. GPUs have an extensive price range. If you’re craving the sharp visuals that a high-priced GPU can deliver, give it the assets it needs to do its job: a powerful processor and plenty of RAM.
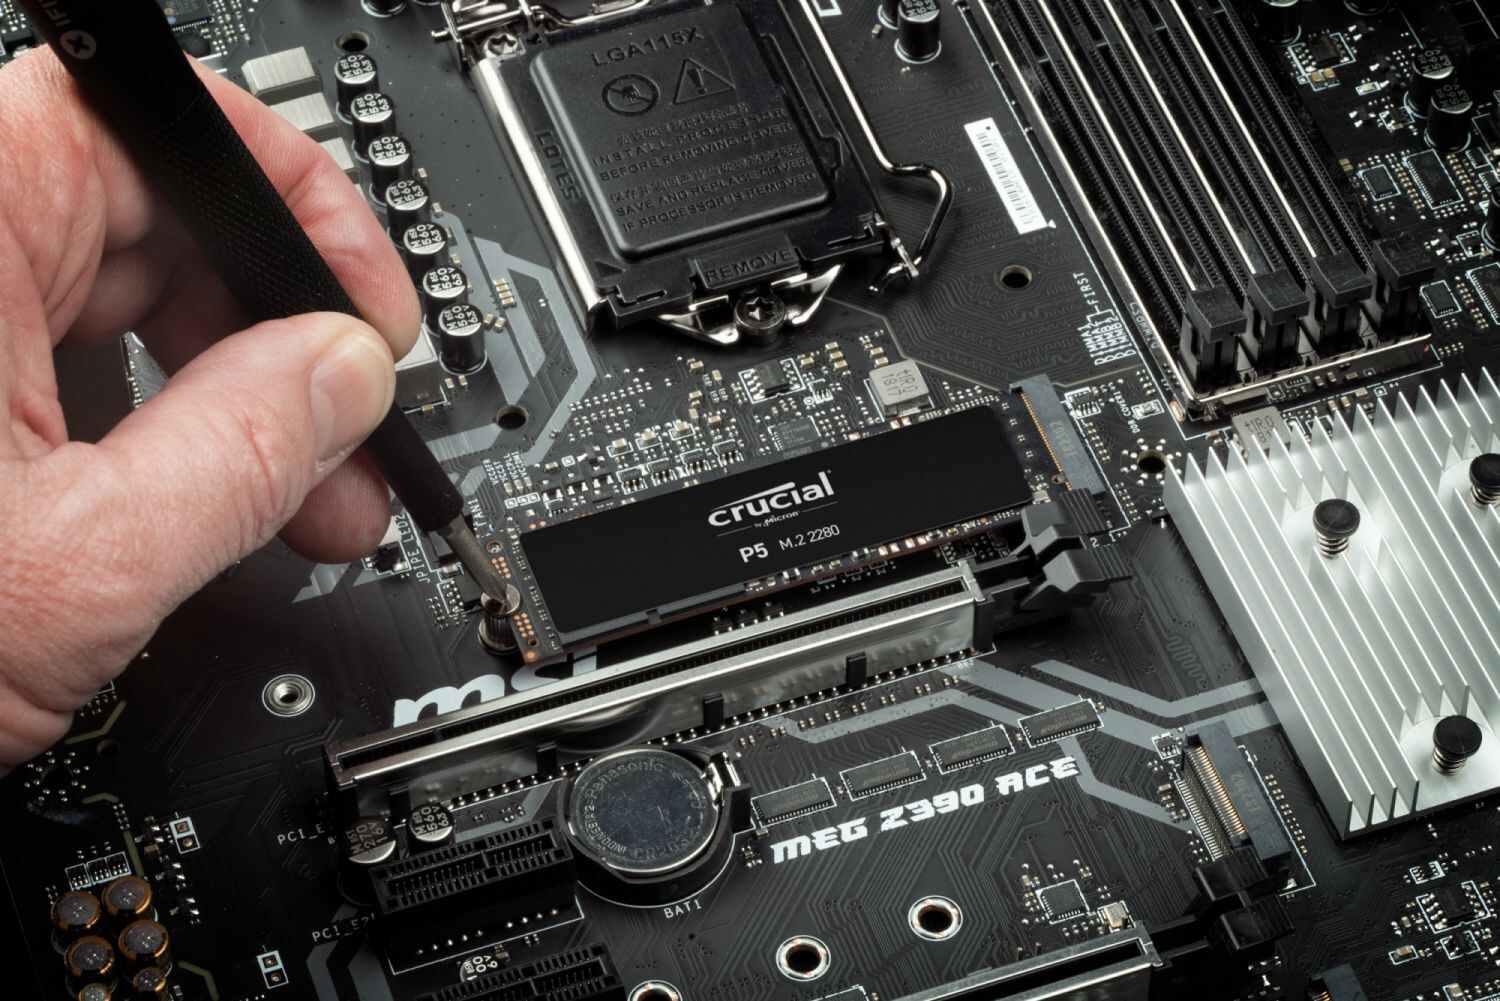
Step 6: Installing the SSD
Depending on the form factor of the SSD you purchased (2.5-inch, mSATA, or M.2), installation requires connecting the drive to the storage interface and mounting it to the industry (if it’s a 2.5-inch SSD).
Storage Drives Explained There are two gaming PC storage choices: a hard disk drive (HDD) or a solid-state drive (SSD). HDDs use rotating platters and small mechanical parts to read and write data. Hard drives generally give you more storage space (in gigabytes), but SSD capacity grows as NAND flash technology advances.
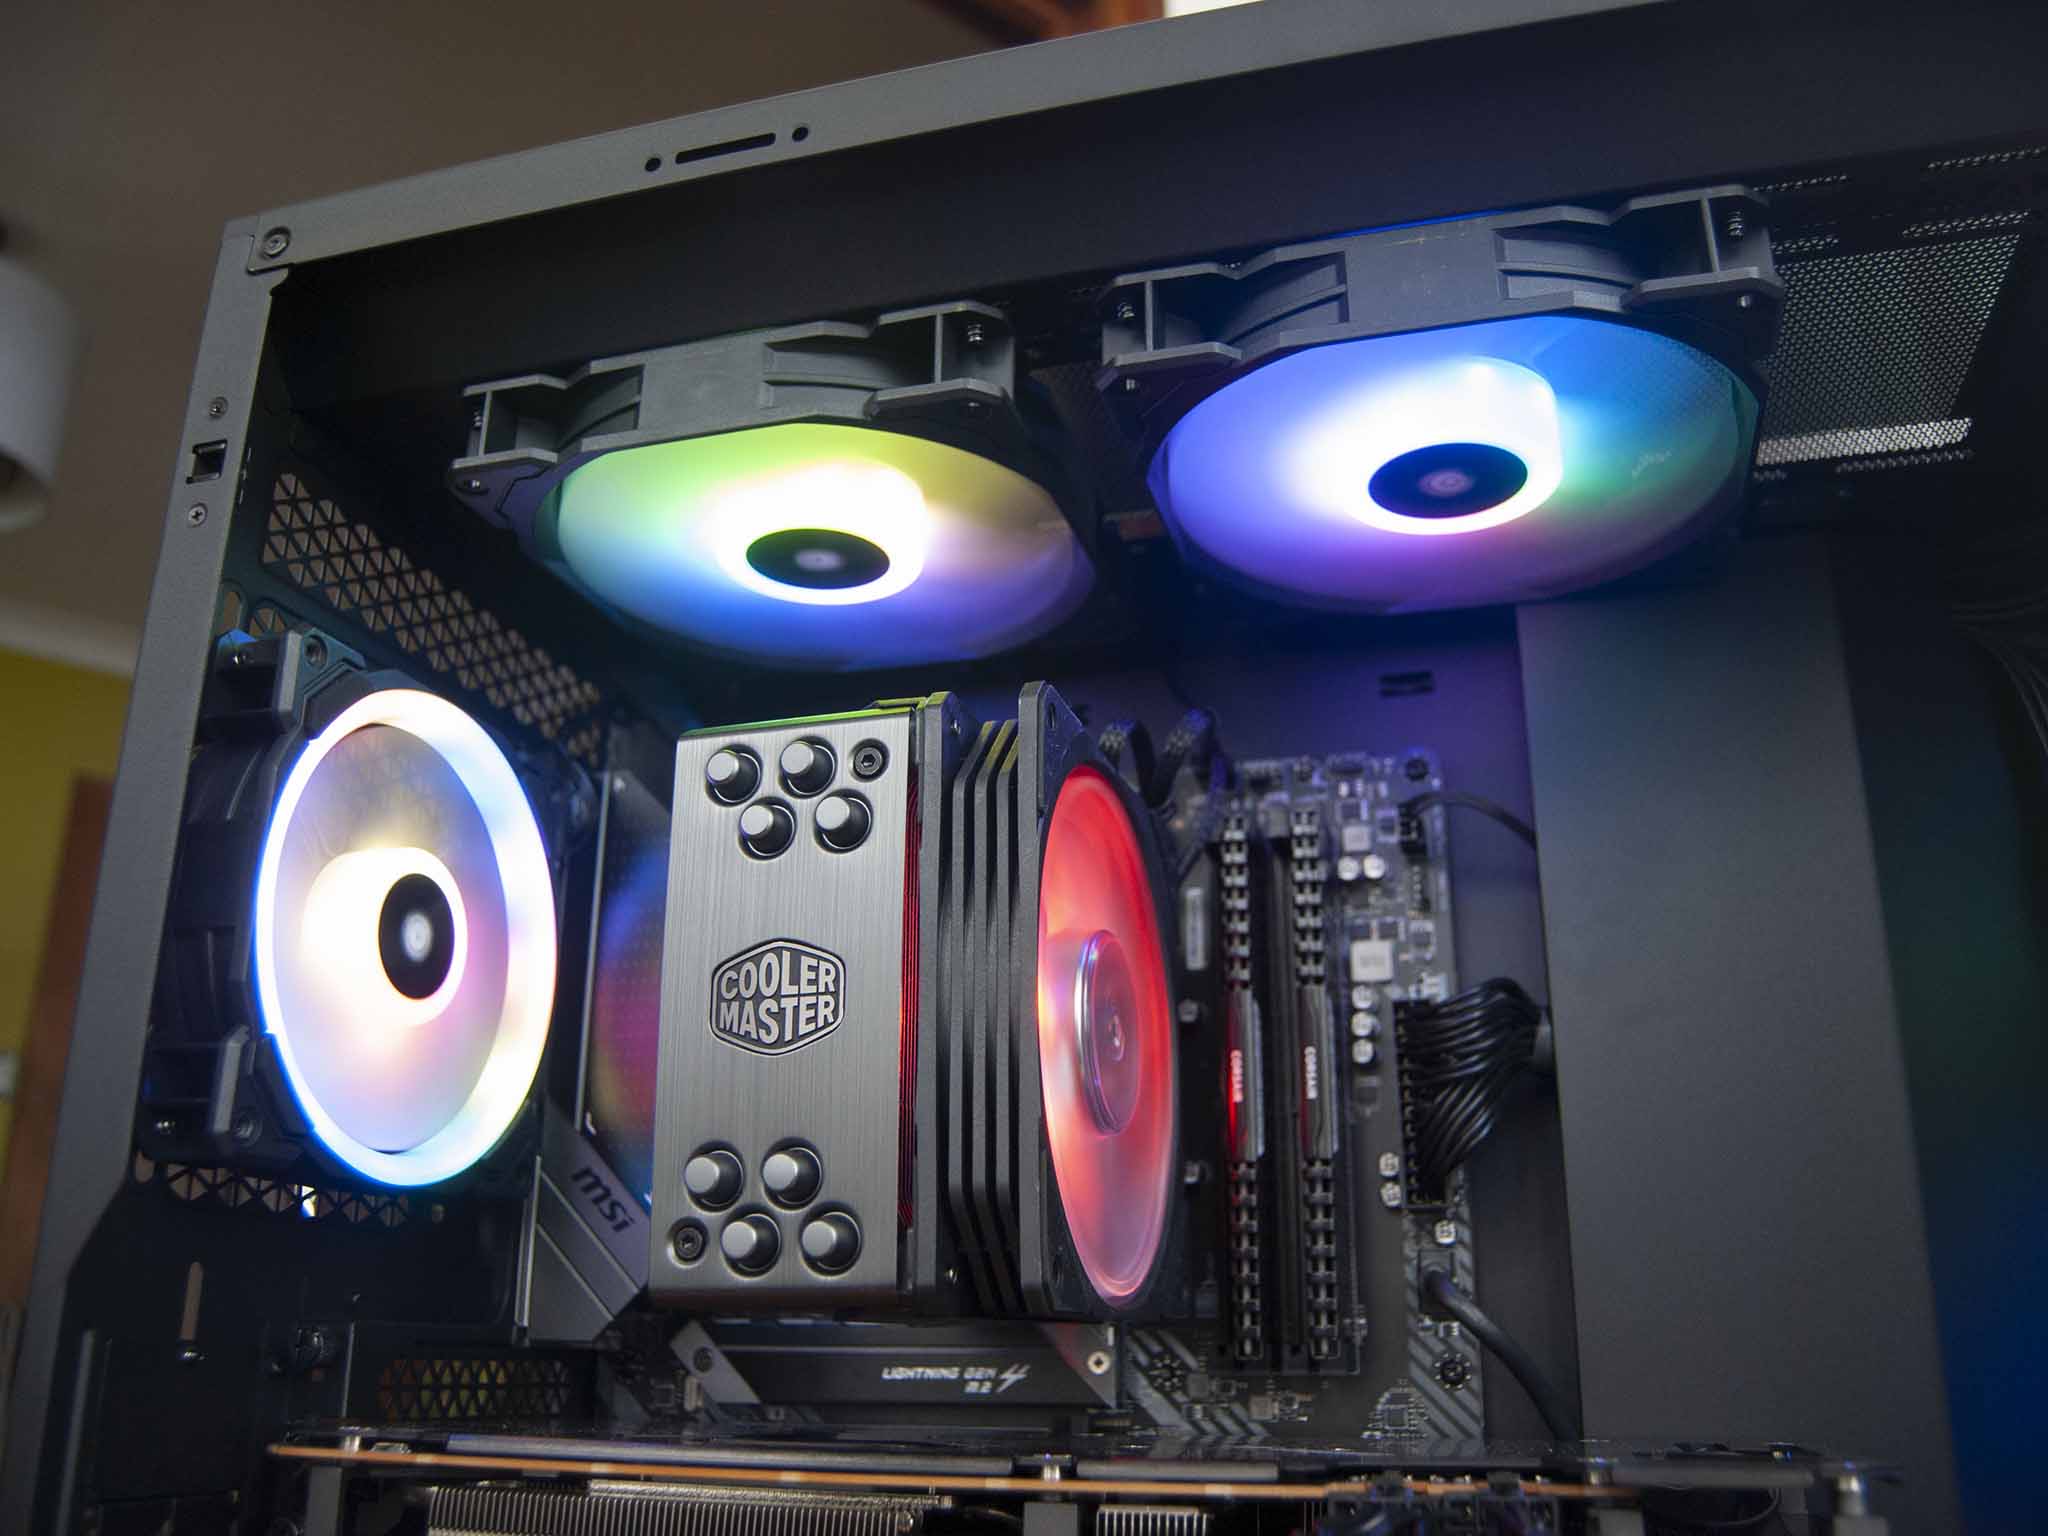
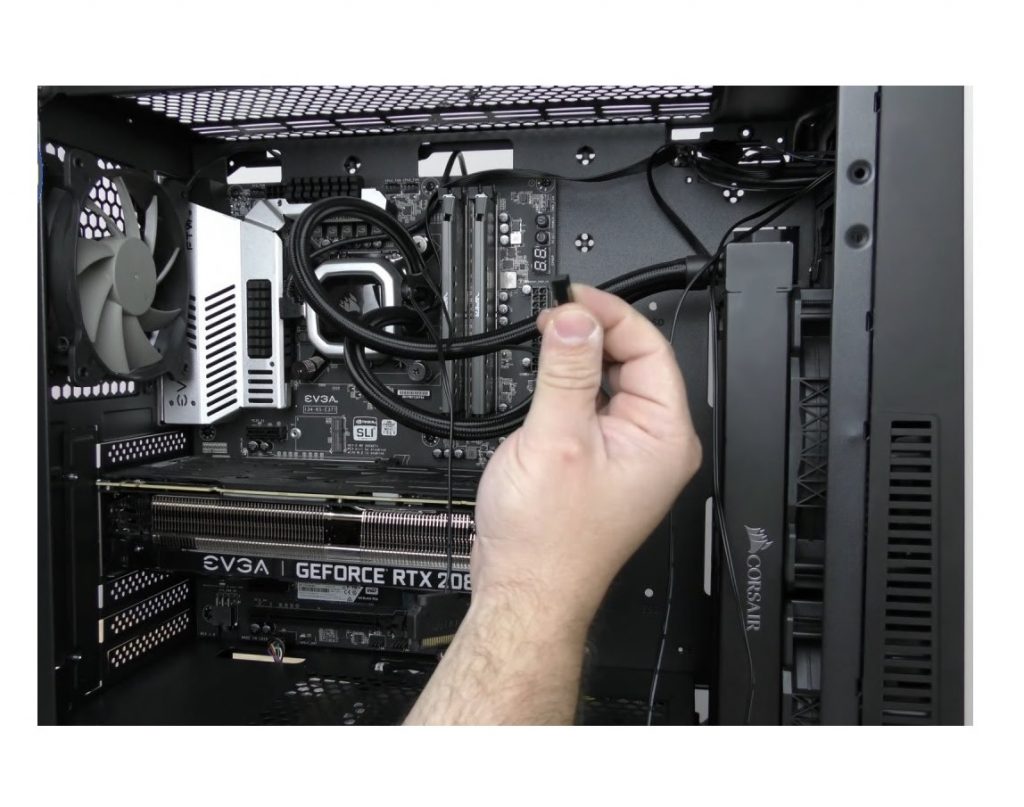
Step 7: Install FANS
Install your cooling fan with the included mounting brackets. For CPU fans, ensure steady downward pressure with the CPU as the cam lever engages the mounting bracket. Connect the fans to the motherboard.
Airflow is a critical consideration when building a gaming system. Many gamers add two case fans: one to add cool air to the PC, the other to blow hot air out. This is not the only way to cool your system – add a CPU fan, a memory cooling fan, or even install a water cooling kit.
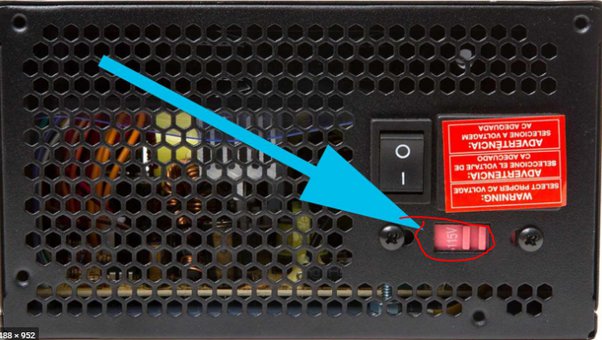
Step 8: Installing POWER SUPPLY
Remove the bracket holding the power supply. Attach the frame to the power supply, and slide the power supply into the case until it is flush with the matter.
The most important part of choosing a power supply is confirming that it will provide the power your rig needs. This is especially important if you’re building a high-performance workhorse, which means you need a robust power supply to run it all. But don’t forget; higher voltages generate more heat. You may need to adjust your system cooling or internal airflow.
Step 9: Connect the appropriate cables
Connect all USB ports, audio, GPU, CPU, drives, power supply, heatsink, and cooling cables according to the manufacturer’s instructions.
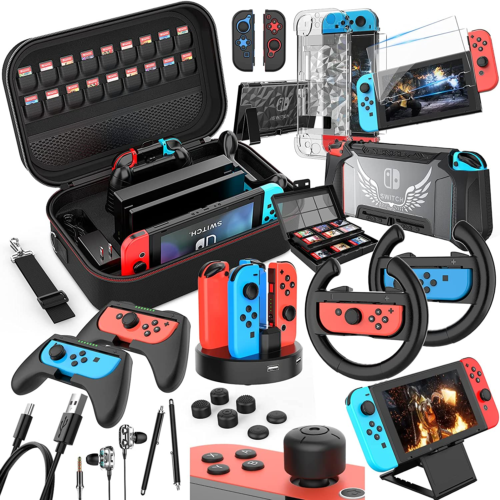
Step 10: Plug in your accessories
Connect your mouse, keyboard, monitor, and headset if you have one.
If you’ve bought a high-end graphics card with the hardware to power it, get a monitor to produce the images you want. The mouse, keyboard, and gaming headset add to your game by increasing the accuracy of your gaming skills with ergonomic designs. Game accessories are one of the many reasons why gamers prefer to play on a gaming system.
Step 11: Flip the switch!
Once your system is assembled, it’s time to press the power button! I hope everything clears up.
Step 12: Launch Time!
If everything works correctly, a screen will appear where you can enter the system BIOS. If you have a disk or flash drive with the operating system, insert it into the appropriate drive, boot, and install the operating system.
Microsoft ® Windows ® is the favorite operating system among gamers, but you don’t have to be limited to one choice. Windows 10 is great for gaming, but you can choose another if you don’t need your game on the Windows platform. It’s important to remember that you’ll likely be using this computer, including the operating system, for other everyday tasks, so consider that when choosing an operating system.
Congratulations, you’ve learned how to build your gaming system!
What may seem daunting at first – building a gaming PC – is so easy even kids can do it. Log into your game, try your new rig, and climb those leaderboards.
HAVE FUN WITH YOUR ASSEMBLED GAMING PC;)))