


Teaching photo retouching with Picsart
Photo retouching with Picsart is one of the most important photography and graphic design skills that allow you to improve images. Also, add different effects to them. To achieve this skill, you need training and practice. In this article, we will provide a complete tutorial from beginner to pro for photo retouching with Picsart. In this tutorial, you will learn different photo retouching techniques, required tools, and the complete photo retouching process. Among the topics that will be discussed in this training, the following can be mentioned:
- Color and light correction
- Removal of spots and wrinkles
- Add special effects like bokeh, blur, black and white mode
Retouch photos with Picsart
So, join us to learn the art of photo retouching in this educational path from beginner to professional. After this tutorial, you will be able to create stunning images. Do not miss our most visited tutorial in the article on retouching facial skin in Photoshop. This article mentions how to retouch in Photoshop and other practical things. Have a study on the best photo retouching software and the difference between Lightroom and Photoshop. Studying education is the centrality of learning. After studying and training, you can get your desired results from learning with continuous practice and follow-up.
Photo retouching tutorial with the Picsart program
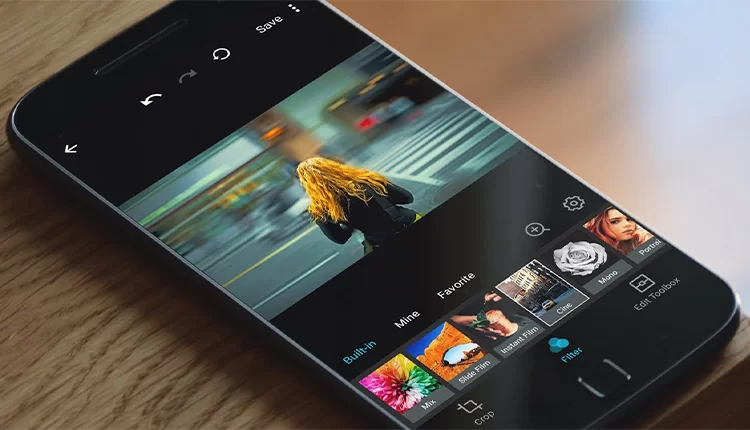
Picsart is one of the most famous and useful photo editing programs. This program is available for Android and iOS devices. In the following, we will teach you some techniques for retouching photos using the Picsart program.
Color and light correction
In photo retouching with Picsart, color, and light correction is one of the most important steps. For this purpose, you can use the Color and Brightness tools in the Picsart program. With these tools, you can add more color and brightness to your photo.
Removing spots and wrinkles and photo retouching with Picsart
In Picsart, you can use the Brush and Clear tools to remove spots and wrinkles. Using these tools, you can remove unwanted parts from the photo and make your photo look cleaner.
Adding special effects in photo retouching with Picsart
In photo retouching with Picsart, you can use filter and sticker tools to add special effects. Filters can add Bokeh, blur, black and white mode, and more to images. By using these tools, you can add attractive effects to your photo.
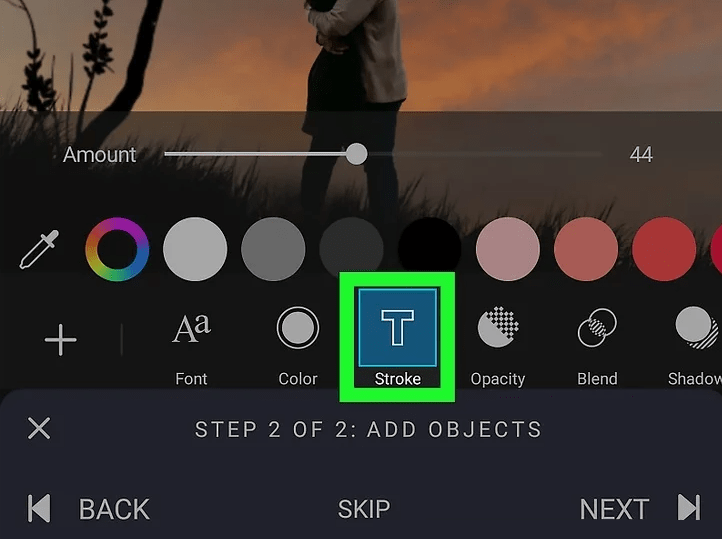
Add text and retouch photos with Picsart.
You can use the Text tool in Picsart. Adding text to your photo is one of the good ways to increase the attractiveness of the photo. Using this tool, you can add different texts with different fonts to your photo.
Change eye color with picsart
In the Picsart program, you can use the Change Color tool to change the eye color. To do this, follow the steps below:
- Open the photo in the Picsart program and select Change Color from the Tools menu.
- Select the Eye Color section from the available options.
- Using the Fill and Clean tools, erase the old eye color and select the new color with the Color tool.
- To retouch the photo with Picsart, remove the redness of the eye using the red-eye tool.
- Using the darkness tool, adjust the light and shadow settings for the eyes to match the rest of the image elements.
- After retouching the photo with Picsart, save the photo and share it or keep it on your device.
In photo retouching with Picsart, note that you must use the tools carefully to create a final quality result. Work with various program tools and achieve creative and beautiful results by combining them.
Checking the nose in picsart
You can use the ReShape tool in retouching photos with Picsart to make the nose smaller. To do this, follow the steps below:
- Open the photo in the Picsart program and select ReShape from the Tools menu.
- Select the Nose section from the available options.
- Use the Size tool to reduce the size of the nose.
- For photo retouching with Picsart, you can change the shape of the nose to your liking by using the Around tool.
- Using the Remove Redness tool, remove the redness of the nose to get a better result.
- Adjust the light and shadow settings for the shrunken nose using the Darkness and Brightness tools. In this way, the nose will be coordinated with the rest of the elements of the image after the changes.
- After performing all the changes, save the photo. Share the photo, or keep it on your device.
Note that in photo retouching with Picsart, you must use creative tools to create a final quality result. Use the program’s various tools and combine them to achieve a creative, beautiful, and desired result. “Browsing the related pages of a tutorial will connect you to related tutorials on the same topic. By following related content, you can increase the detail of your learning and become a professional.”
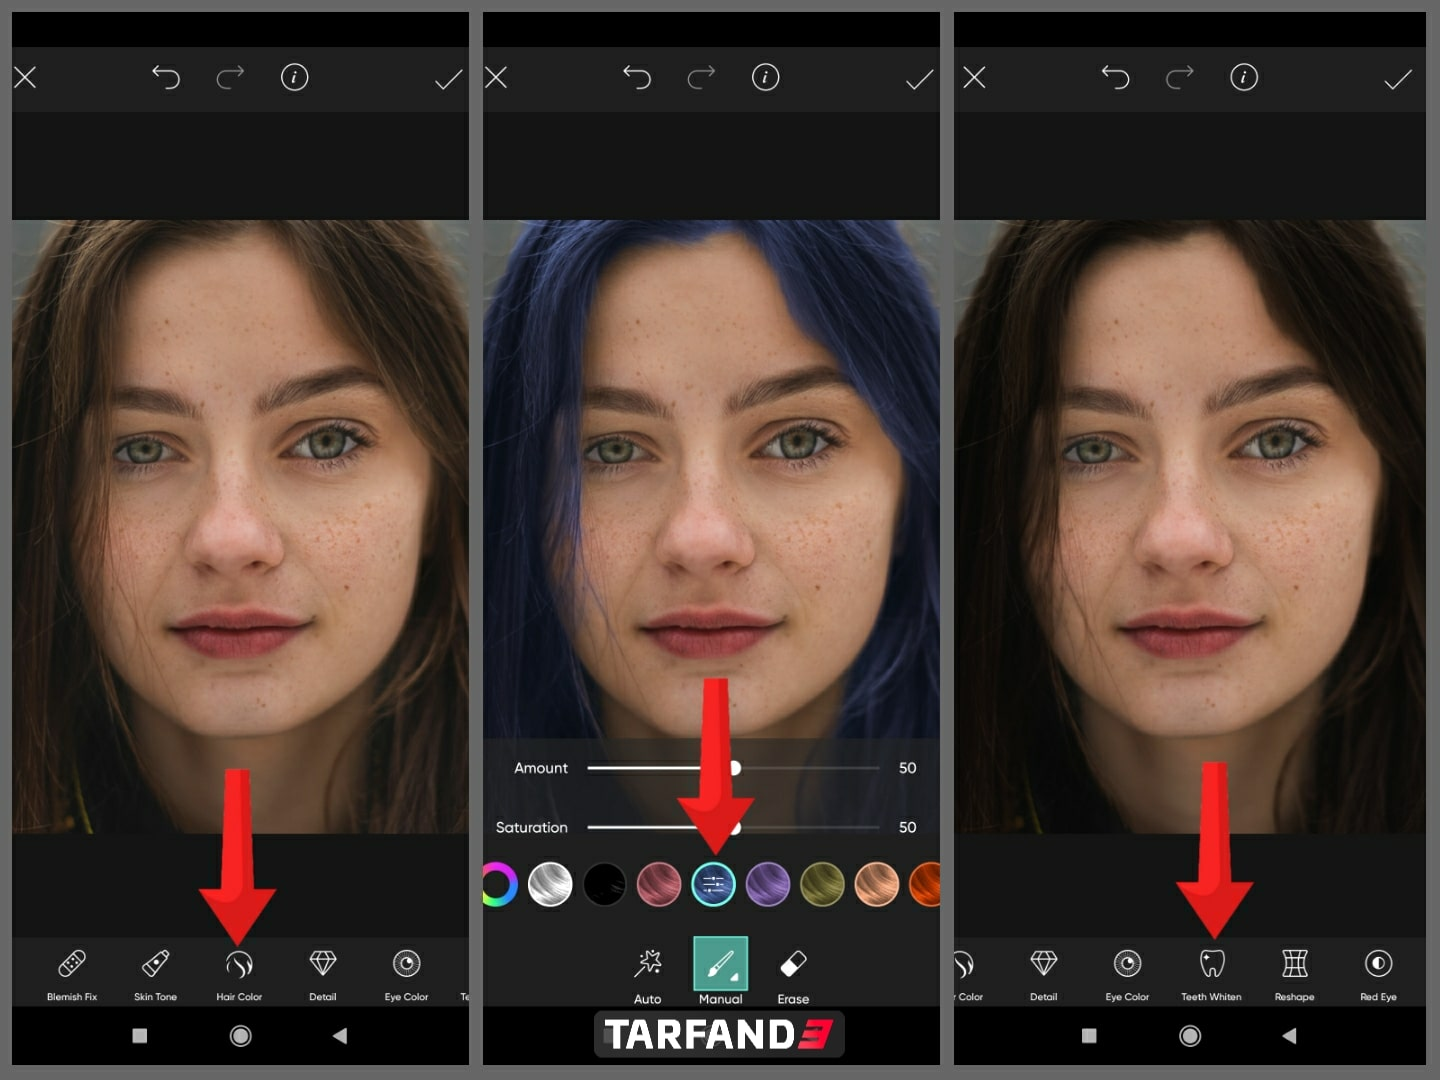
Learning how to change hair color in Picsart
You can use the Hair Color tool to change the hair color in Picsart photo retouching. To do this, follow the steps below:
- Open the photo in the PicsArt program.
- Select the Hair Color section from the Tools menu.
- Select the hairs that you want to change their color using the high tool.
- You can change the hair color to your desired color by choosing a new color.
- You can use the Zoom tool to retouch photos with Picsart. Then select the hair you want to change color more precisely.
- Using Cool Color or High Color tools, you can use different types of color settings to change hair color.
After retouching the photo with Picsart and changing the hair color, you can adjust your new hair’s light and shadow settings using other tools such as Darkness and Brightness. Now, you will see that the changes are coordinated with the rest of the image elements.
After doing the above steps and changes, save the photo and share it or keep it on your phone. In photo retouching with Picsart, you must combine tools to create a final quality result. By combining them, you will achieve your desired result with great creativity and beauty. “Acquiring more information in various graphic fields will increase your technical knowledge. In this way, by continuing to practice and gain information, you will see extraordinary results in your work.”
Teaching teeth whitening in photos with the Picsart program
In photo retouching with Picsart, you can use the Edit tool and then Color to whiten the teeth in the photo. To do this, follow the steps below:
- In the PicsArt program, open the desired photo and select the Edit section from the tools menu.
- Select the Color tool. Then open the Teeth part of the photo and use the Flagship tool.
- To retouch the photo with Picsart, select the parts of the teeth that you want to whiten using the high tool.
- For photo retouching with Picsart, you can whiten the selected teeth by selecting the white color and adjusting the transparency level.
- For more accuracy, you can use the Zoom tool and select more precise parts of the tooth.
- Using the Cool Color or High Color tools, you can use different color settings for the teeth.
- After retouching the photo with Picsart, save the photo and share it in other programs or with your friends.
Creating a final quality result in photo retouching with Picsart requires using this program’s various tools. Their combination will achieve an attractive, desired, and special result. You can also use other tools, such as Darkness and Brightness, to make the whitened teeth look better.
A final word on photo retouching with Picsart
In general, for photo retouching with Picsart, you can easily change your photos. PicsArt can be introduced as the best professional photo retouching app for Android. You can convert the images to your desired result. It is better to do these things carefully and use the right settings for each task.
In photo retouching with Picsart, more effort inspired by suitable patterns will lead you to a better and more beautiful result. Also, remember that the more you get to know the program, the better and faster you can use it and get better results.