


Photo retouching training in Photoshop in a comprehensive and practical way
Photo retouching training in Photoshop will help you, dear designer, to turn from a beginner to a professional. Photoshop is one of the most widely used photography and graphic design activities. Various tools and techniques are used to improve the images and make them more attractive. Photoshop is a widely used software for photo retouching. In this article, we will teach you about its different parts.
Photo retouching training in Photoshop
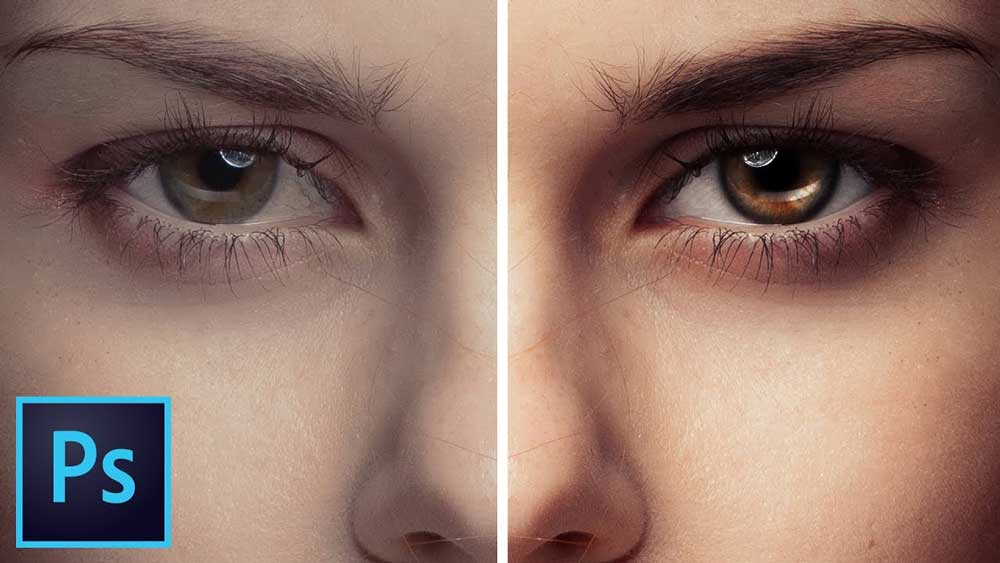
Photo retouching tutorial in Photoshop will help you to use different tools and filters to optimize the images. Correcting color, removing skin spots and wrinkles, creating lighting effects and shadows, and changing size and dimensions are tasks.
To start the photo retouching tutorial in Photoshop, you must first open the desired image in Photoshop. Then apply the required retouches using layer, mask, and filter tools. For example, you can remove spots and wrinkles from the skin by using a neutralizing tool.
You can also change the colors of the image using color tools. By using filters, you can add different effects to the image.” How does seeing educational images and reading and following tutorials help a photo editor? By increasing knowledge and skills, improving the quality of work, and creating new ideas. It will bring for you.” You can create attractive and better images by teaching photo retouching in Adobe Photoshop, the correct combination of Photoshop tools, and enough experience in photo retouching.
Photo retouching training steps in Photoshop
In photo retouching training in Photoshop, photo editing steps in Photoshop generally include the following:
Open the image
First, you need to open the desired image in Photoshop. Do this by clicking on the File option and then Open.
Layer Construction
In the photo retouching tutorial in Photoshop, to apply changes to the image, it is better to create a new layer. Click the new layer button in the layer panel to create a new layer.
Use of tools
Various tools, such as pens, carpets, neutralizers, and color replacement, are used in photo editing. By clicking on any of the Photoshop tools, you can select it and apply the desired changes.
Apply filter
In Photoshop, you can use different filters such as sharpening, softening, and mosaic mode. To apply a filter, go to the filter section and select the desired filter.
Save the image
After making the desired changes, go to the file section to save the image and select the save or save option. Choose your preferred format when saving.
Photoshop’s photo retouching training steps are just a guide, and depending on the type of image and changes, more steps may be needed. Professional learning is a long process and is accompanied by difficulties and stress. Comment, it is easy to achieve your goal.
How to crop an image in Photoshop
In photo retouching training in Photoshop, you can use the Crop tool to crop the image. To do this, follow the steps below:
Open the image
First, you need to open the desired image in Photoshop.
Select the Crop tool.
In photo retouching training in Photoshop, you can use the following two methods to select the Crop tool:
- Press the C key
- Pressing this key activates the Crop tool.
- In the Tools panel, click the Crop icon
- By clicking on this icon, the Crop tool will be activated.
Adjust the size of the cut.
To adjust the size of the cut, you can use the mouse to determine the desired size and position of the cut. In this step, you can use various options, such as adjusting the size and position of the cut, adjusting the aspect ratio, and changing the angle of the cut.
Cut confirmation
After setting the crop size, you can confirm the crop by pressing the Enter key.
Save the image
After confirming the cropping, you can save the new image with the new dimensions. To do this, go to the file section, select the save option, and choose the format you want. Note that after cropping, it is no longer possible to return to the previous state of the image.
How to create automatic contrast in Photoshop
In the photo retouching tutorial in Photoshop, you can use the Auto Contrast filter to create automatic contrast in Photoshop. To do this, follow the steps below:
Open the image
In the photo retouching tutorial in Photoshop, you must first open the desired image in Photoshop.
Apply Auto Contrast filter.
To apply the Auto Contrast filter, go to the filter section and select the Auto Contrast option. In newer versions of Photoshop, you can find this filter by searching for Auto Contrast in the Filters panel.
Filter settings
By selecting the Auto Contrast option, Photoshop will automatically adjust the image’s contrast. You can use the Enhance Per Channel Contrast option if you need to change the filter settings.
Save the image
In the photo retouch tutorial in Photoshop, after applying the filter, you can save the new image with automatic contrast. To do this, go to the file section, select the save option, and choose the format you want.
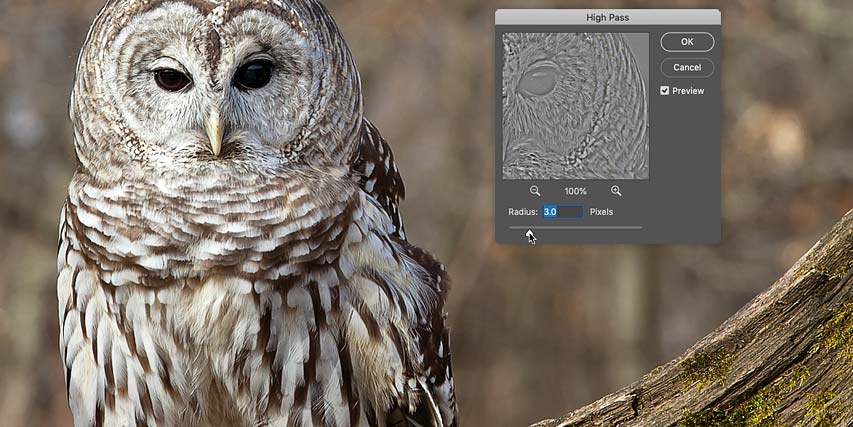
How to sharpen images in Photoshop
In the photo retouching tutorial in Photoshop, use the Sharpen filter to sharpen images. To do this, follow the steps below:
Open the image
First, you need to open the desired image in Photoshop.
Apply the Sharpen filter.
In the photo retouching tutorial in Photoshop, to apply the Sharpen filter, go to the filter section and select the Sharpen option. In newer versions of Photoshop, you can find this filter by searching for Sharpen in the Filters panel.
Filter settings
By selecting the Sharpen option, Photoshop will automatically adjust the sharpening of the image. If you need to change the filter settings, you can use the Amount option to adjust the amount of image sharpening. Also, use the Radius option to adjust the radius of image sharpening.
Save the image
After applying the filter, you can save the new image with sharpening settings. To do this, go to the file section and select the save option.”Filling out the freelance recruitment form may seem complicated and challenging to some people, but it is not. Carefully reading the form and collecting information can help you. slow.”
Change color with special tools in Photoshop.
In the photo retouching tutorial in Photoshop, you can use the Color Replacement Tool to change the color of a part of the image. To do this, follow the steps below:
Open the image
First, you need to open the desired image in Photoshop.
Select the Color Replacement Tool
To select this tool, go to the color editor and select the Color Replacement Tool option. This tool is marked with a pen icon.
Tool settings
After selecting the Color Replacement Tool, you need to make its settings. You can choose the new color you want in the Foreground Color section. Then, use the Mode and Limits options to set the color change mode and range.
color change
Now, you can change the color of the desired part by using the Color Replacement Tool. Hold the Alt (Windows) or Option (Mac) key and click on the desired area to do this. The color of that part is stored as the base color for change in the Foreground Color field. Then, by dragging the Color Replacement Tool on the desired part, the color of that part will change to a new color.
Save the image
In the photo retouch tutorial in Photoshop, after changing the color, you can save the new image with new colors. To do this, go to the file section and select the save option. Do not forget the format type.
Erase the background with the background eraser tool in Photoshop
Part of the photo retouching tutorial in Photoshop is Background Eraser Tool. This tool in Photoshop allows you to remove the background of an image accurately and with high quality. To use this tool, follow the steps below:
Open the image
In the photo retouching tutorial in Photoshop, you must first open the desired image in Photoshop.
Select the Background Eraser Tool
To select this tool, go to the Pixel Editor and select the Background Eraser Tool option. This tool is marked with a cutter icon.
Tool settings
After selecting the Background Eraser Tool, you need to configure it. You can set the color change range with the Sampling and Limits settings. Also, set the sensitivity of the tool by setting Tolerance.
Remove the background
Using the Background Eraser Tool, you can remove the background. To do this, by clicking and holding the tool on the background, the color of that part is selected as the base color. As you move the tool over the background, similar colors will change to a new color. If the colors in the background don’t match that color, you can change the range of the color change using the Sampling and Limits settings.
Save the image
After removing the background, you can save the new image with a transparent or custom background.
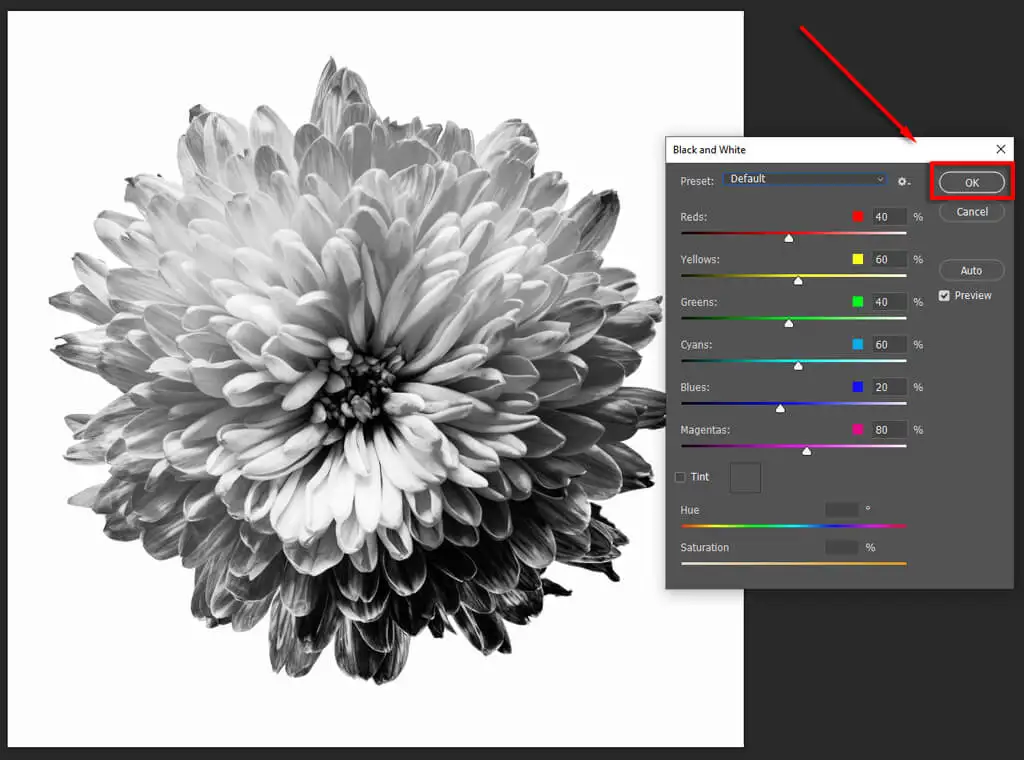
Convert color images to black and white in Photoshop
To convert a color image to a black-and-white image in Photoshop, you can use one of the following methods:
The first way:
Open the image
First, you need to open the desired image in Photoshop.
Select the Black & White filter.
In the photo retouch tutorial in Photoshop, select the Black & White filter in the corrector section.
Adjust filter effect
In the filter settings window, you can apply various settings to change the filter’s effect to your liking.
Save the image
After setting the filter effect, you can save your black-and-white image.
The second way:
Open the image
First, you need to open the desired image in Photoshop.
Select the Desaturate filter
In the Corrector section, select the Desaturate filter.
Save the image
You can save your image after converting it to a black-and-white image.
The third way:
Open the image
First, you need to open the desired image in Photoshop.
Grayscale color space selection
From the Image menu, select Color Mode and then Grayscale.
Save the image
After converting to a black-and-white image, you can save your image.
In the above methods, you may need more settings.
The final word about the photo retouching tutorial in Photoshop
In the photo retouching tutorial in Photoshop, we discussed some important and widely used topics in Photoshop. These topics can be useful for those who intend to enter the world of photo editing and digital design. Using the mentioned techniques, you can edit your images highly and professionally. If you need more information, you can take advantage of the various available educational resources.