


How to Work with a Canon Camera (Photographic Methods and Practical Tricks)
Since its founding in 1935, Canon has been a famous camera brand for professional and amateur photographers. Modern cameras of this brand have distanced themselves from their ancestors, and although some photographers enjoy the nostalgia of analog cameras, many people prefer DSLRs. Of course, working with a DSLR camera is not an easy task; that’s why we will teach you how to use a Canon camera along with some simple tips and tricks so that you can start photography faster and professionally.
Canon camera user guide
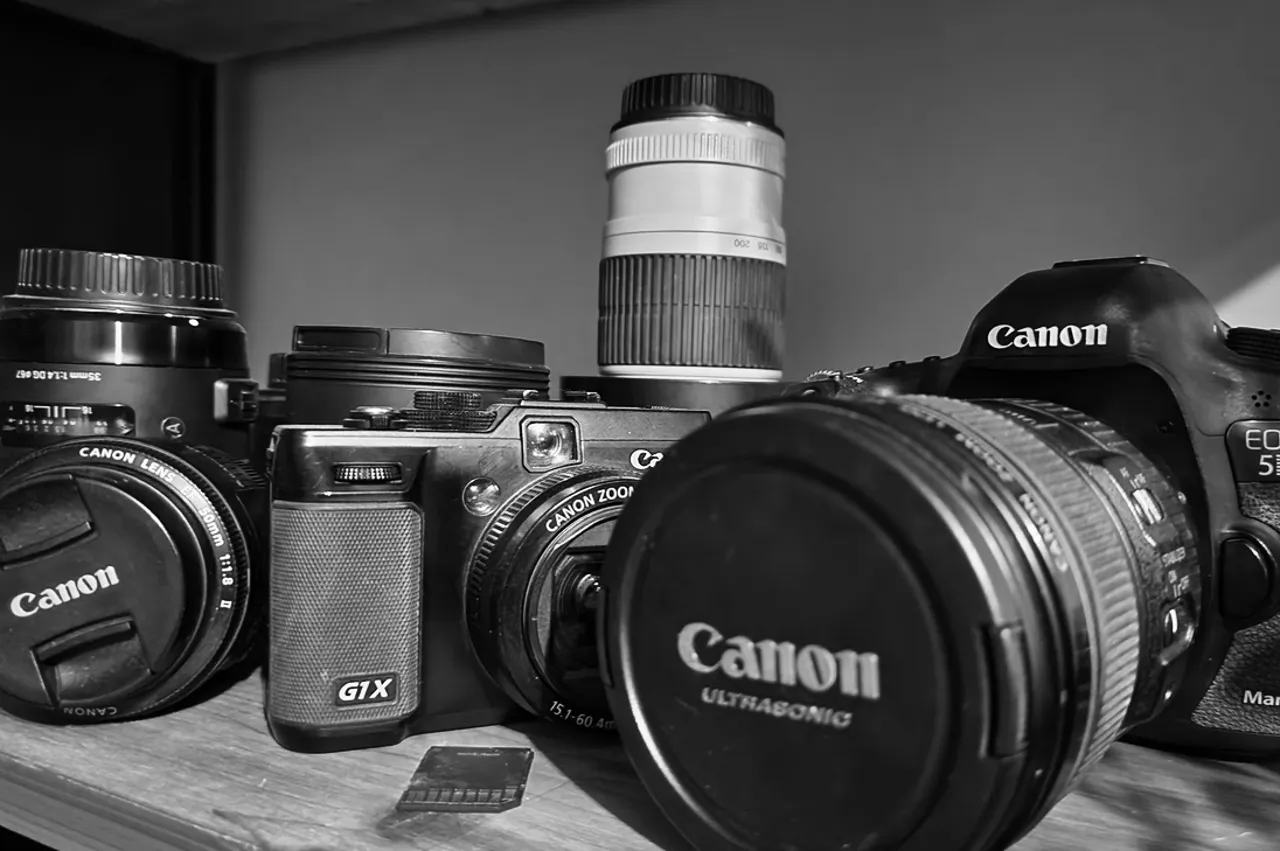
Canon produces a variety of cameras. You will surely choose one depending on your needs and preferences. Before we know more about how to use a Canon camera, let us introduce some types of Canon cameras.
Different types of cameras
- DSLR (digital single-lens reflex camera): This popular type of camera works with a digital sensor and uses a lens to perform various tasks on a photo, such as framing and focusing. This camera captures the exact image you see in your viewfinder and differs from SLR cameras that use film only in that it is digital.
- Compact cameras are also called “see and capture” cameras. Unlike SLR cameras, compact cameras have no mirror system that reflects light onto the viewfinder. A compact camera uses an LCD to view the scene. Modern compact cameras have touch screens.
- Mirrorless: A mirrorless camera, as the name suggests, does not use a mirror to reflect the image into the viewfinder, unlike SLR cameras. And since these cameras have different lenses, they are mirrorless DSLRs. They are a higher version of the mutated type of compact cameras.
Bridge: The bridge camera has the features of a DSLR and a compact camera together. They also have manual controls and viewfinders but no interchangeable lenses.
Now that you know the different types of cameras, you can decide which one to choose.
How to use a Canon DSLR camera
Using manual mode in a DSLR camera is part of learning how to work with this Canon camera. Don’t worry because you can work with this mode by following a few simple steps
Step 1: Select Manual mode on your camera. This mode, marked with the letter M, is located in the upper left part of the Dial screen.
Step 2: Choose an inanimate subject like food or a book in natural light and make sure you have enough light to take the picture.
Step 3: Place your camera on a stable surface or a tripod for composition. In this way, you can compare different photos.
Step 4: Find the DISP (Display) button on your cameryou will be shown ayou will be shown and preyou will be shown ss it. By pressing this button, the appropriaterent modes will be shown to you.
Step 5: Adjust the setting to its maximum aperture value. The aperture is usually displayed with the letters F and F5.6.
You can set the maximum aperture by selecting the fast mode or “Q” and turning the dial.
Step 6: Set the ISO setting to a minimum by selecting Q and turning the dial to the lowest possible value of 50 or 200.
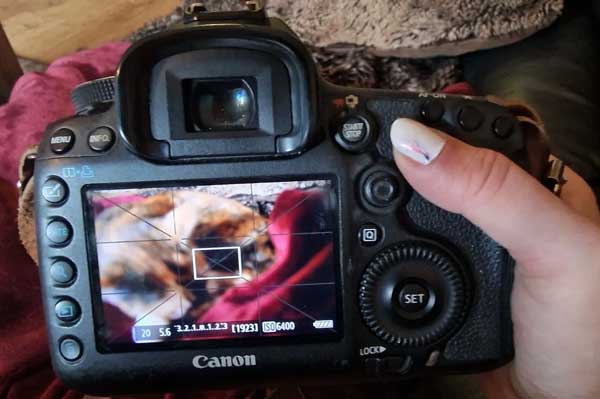
Step 7: Look at the measurement indicator that shows -3 and +3 with a dotted line in the middle. Any value below -3 means less light, and above +3 means more light. A 0 indicator means there is enough light, and the exposure is neither under nor overexposed.
Step 8: Take a picture and press the shutter. In this one step, you can check the results of your settings and see if it is overexposed or underexposed?
Step 9: Check the display settings by going to DISP and setting the dial to zero.
Step 10: Adjust the shutter speed using the dial.
Step 11: Take your first photo using manual mode and tweak the settings if necessary.
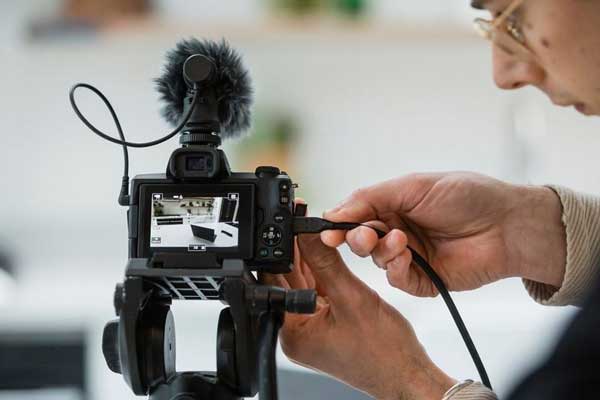
How to Use a Canon Compact Camera
Now that you know how to use a Canon DSLR camera manually, let’s go over some interesting tips for using compact cameras.
Tip 1: Try to learn how to use a compact camera by reading the manual and using the camera frequently.
Tip 2: Check the strengths and weaknesses of the camera. For example, ipphophoto quality decreases, forcingforcing forcing you to apply certain settings. If you know the weak points of your camera, you can choose conditions so that your photos have a better composition.
Tip 3: Find unique and creative perspectives for photography. The more lines or colors, the more fun you will have when shooting with your camera.
Tip 4: Keep your compact camera handy so you don’t lose time whenever you want to take a picture of a subject immediately. Since these types of cameras are not very bulky, you can put it in a small box to be at your fingertips whenever you need them.
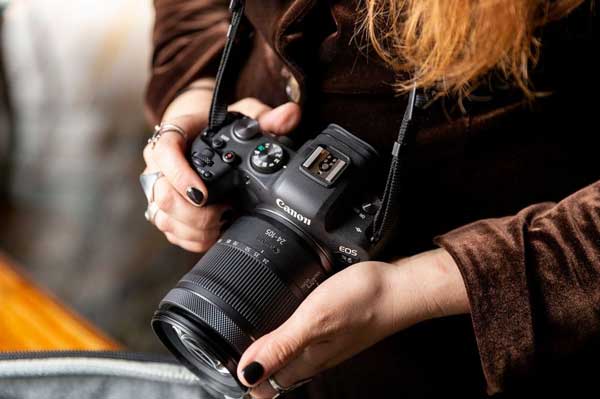
Mirrorless and bridge cameras have the same functionality as DSLR cameras. If you know the manual settings of a DSLR, you can do the same settings on a mirrorless and bridge camera.
Specialized photography terms
When you start photography, you should be familiar with these terms:
- Aperture: The camera’s aperture allows light to enter, and its size is recorded by f-stop or f-number.
- Shutter speed: Shutter speed determines how long the camera havingaving a higher shutter spe is be is betterttered is betterfor moving/actiohow the camera is better sensitiveed to change how sensitive the camera is to light. The higher the ISO you choose, the higher the sensitivity, and the lower the ISO, the higher the sensitivity.
- Exposure: Exposure is the amount of light that reaches the camera sensor. If the visual data is collected the way you want it, that means the exposure is right.
Bokeh: Bokeh is a blurred background effect often seen in professional photos. This effect can be created with the help of lenses or during the editing process of the image.
Depth of field: The depth of field is the distance between the closest and farthest objects that are still clear and sharp. You can change this by changing the aperture setting or changing the lens. - Burst: This mode is used to take consecutive images simultaneously. For example, you can photograph a bride walking down the aisle in this mode. Of course, you may have to endure successive delays during the shooting process.
- RAW: RAW format is a file format like JPG or PNG that photographers often prefer. Images are not compressed, and therefore, these images store a lot of information. For editing, the more information, the better.
- Noise: The term noise describes distortions in images that can appear as spots or grains.
Exposure
As mentioned, if the visual data collected when taking the photo is what you want, then the exposure is correct. To get the right result in direction, there are three settings that you should pay special attention to and try.
- Shutter Speed: Your shutter speed determines when the photo is taken, how long the shutter stays open, and how much light is allowed to reach the sensor. The shutter speed is set in a fraction of a second. For example, 1/2 means the shutter opens for half a second (and that’s the speed), while 1/5000 is one five-thousandGenerallys a general rule, the higher the second number, the faster the shutter speed. Slower shutter speeds are better for low-light environments and night photography, while higher shutter speeds should be used for daytime, live,TThehe
- Aperture numbThe part of your lens lets light in or stops it. We express this parameter as a fraction (F-number or F-stop). You can change the aperimage’s ture to change timage’s hth of fields the claritypictureblur) of the image.
- ISO: ISO is related to the sensitivity of your camera sensor to light. Simply put, the higher the ISO, the brighter the image, and the lower the ISO, the darker the image. Premium Canon cameras may have an ISO range of 100 to 102,400, although standard cameras typically range from 100 to 1,600.
Tips and Tricks for working with Canon cameras
Now that you are familiar with the basics, there are a few points that you should keep in mind for better use of the Canon camera:
- If you can, always shoot in RAW format. RAW gives you an image with much more information than JPEG. You can always make a copy of your images and compress them later to reduce their size, but you can’t convert a JPG photo to a RAW file.
- In many modern Canon DSLR cameras, if you have a vinstantly iewfinder and choose instantly Q tinstantly o change otgs, you instantly canlts of your photogrntly.
- When you start working, activate the framing option or Grid of your camera. This can help you learn how to balance your images until you cachangingchangingant, it is better to change the lens a is betterccording to the subject is be is bettertterand conditions during photography. It is recommended to spend most of your budget on buying lenses. Lenses can be fixed (suitable for street photos and portraits), zoom (for focusing on subjects), telephoto (focusing at farther distances), fisheye (open-angle), macro (close focus) and be etc.
- Once you’ve learned how to use your camera effectively, it’s best to learn how to edit photos to make them the best they can be. I recommend Adobe Lightroom for this.
Conclusion
Canon cameras are worth learning to use. This company always uses the best and highest quality materials in making its cameras. All you have to do is use the tool. Photography is a work of art and now that you know how to use a Canon camera, try to take beautiful and memorable photos.