


How to Share iCloud Photos With Others
Sharing iCloud photos with people who don’t use Apple devices may seem daunting, but you can do it in no time using the steps we’re going to introduce you to.
Share iCloud photos as quickly as possible.
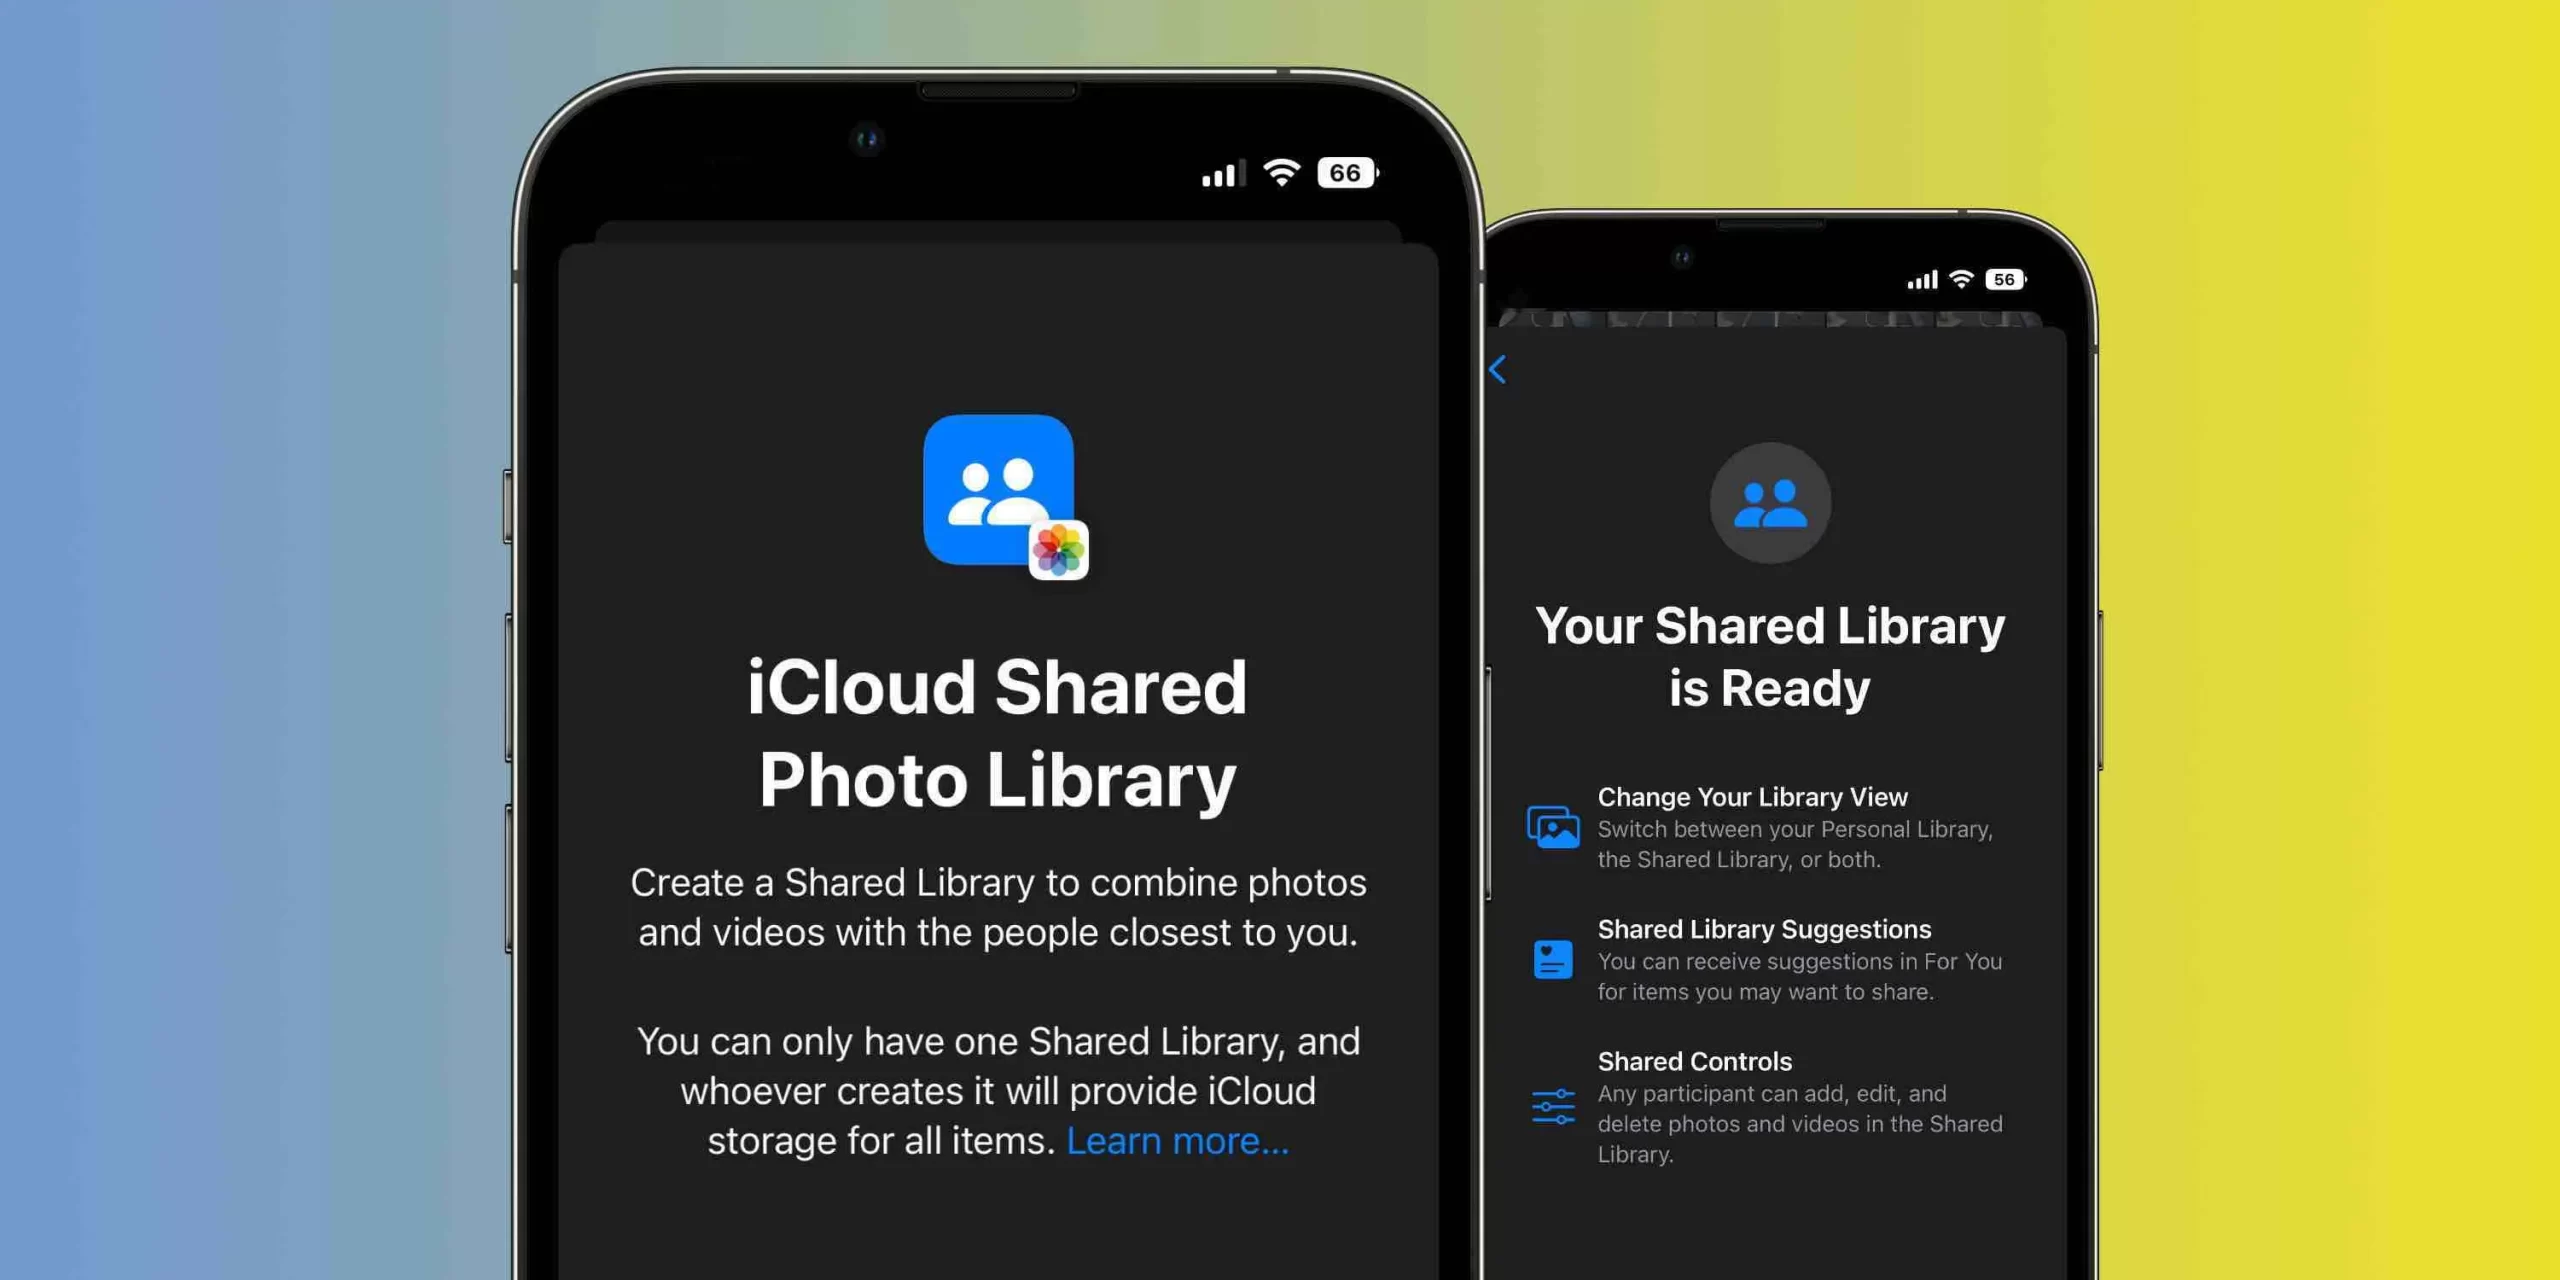
The so-called Shared Album feature is one of the best advantages available in all devices manufactured by Apple. With the help of this feature, you can easily share photos and videos on your device with other users who use Apple devices.
All you have to do is add the person you want to your iCloud account. Although this is easy for users of Apple devices, what should we do if we want to share our photos and images with other people?
You don’t have to worry about this because nothing is impossible in the world of technology! Apple’s solution for this issue is called a Public site. With the help of this solution, you can transfer your favorite images and videos to a specific web page so they can be shared with others. In the following, we discuss the steps to perform this particular solution.
Share iCloud photos on iPhone and iPad.
You must create a unique album to share your iCloud photos to use the Public site feature. To prepare this iPhone and iPad album, go to the Photos app and follow the steps below:
- Go to the Albums option and click on the plus sign. Now select New Shared Album from the displayed options.
- Now name this album according to your taste and click Next.
- Now that the album is created, go to the Create option.
- Click on the desired album to open it.
- Select the + option within the album.
- You will be asked to select your favorite photos and videos.
- Now select the add option.
- Then click on the post option.
Mac
If you have enabled iCloud sync on your phone, the albums created in the previous section will also be transferred to your Mac. Creating the corresponding album on Mac is also possible, but naturally, the steps will be slightly different from the previous part. To do this, follow the following steps in order:
- Open the Photos app.
- On the left side of the program, select the shared albums option and click on the + sign.
- Now, choose a name for the created album.
- Double-click on the album name to open the album.
- Select the add photos and videos option page to add your favorite pictures and images to the album.
- Convert shared albums to a websAtshared album. You have created a shared album related to your iCloud photos according to the; in the previous sections, it is time to turn this album into a ver seen. Others e, we refer to the steps related to this issue.
on iPhone and iPad
Open the Peopleotos app and click the Albwebsite, your favorite shared album.
Now, touch the people option.
Activate the public website option in the edit shared album section.
Wait for a public link to be created for you. By sharing this link, you can give your friends access to all iCloud photos and videos in your different albums.
on Mac
Go to the photos app and select the shared albums option.
Click on the people icon and wait for a dedicated link for your alb.Sh.are the link with your fav. ite .people
Determine the amount of access.
Sharing iCloud photos with people who don’t use Apple devices is easy, but how do you control that access, you might ask? To block other people’s access to shared albums, you can turn off the public link option in the photos program.
Deleting one of the photos in the shared album will prevent other people from accessing the same photo. Furthermore, by deleting the entire album, others will no longer have special access. Note that deleting the album in shared albums does not lead to the complete deletion of the images of that album in the photos program. By sharing iCloud photos, you can share the pleasure of viewing your desired images and videos with your loved ones.