


How to install WordPress on CPanel subfolder
Hosting has allowed its users to have and manage several separate WordPress sites on their hosting. People often prefer to install WordPress on a cPanel subdomain, but another suitable solution that can be used is to install WordPress on a subfolder in cPanel. By doing this, you can bring the SEO value of installed WordPress to your domain, which will help improve your website’s ranking and performance. In this article from Fa Host’s knowledge base, we decided on how to install WordPress on the cpanel subfolder.
- The benefits of installing WordPress on a cPanel subfolder
- How to install WordPress in the cPanel subfolder
The advantage of installing WordPress on the cPanel subfolder
Fortunately, you have the possibility to install WordPress on a separate folder on your host.

 This allows you to have multiple WordPress sites on the same domain or subdomain. In addition to creating a suitable possibility to manage multiple WordPress on the same domain, this work also eliminates the need to buy a separate domain name and saves you money. Of course, this is only a short-term advantage. 😊
Another major benefit you’ll see in the long run is helping to improve your main website’s SEO. If you have a separate subdomain and install WordPress on it, Google will identify the new subdomain as a completely separate domain. But if you install WordPress on a subfolder, you can use it to boost your website’s SEO ranking. Many people prefer to install WordPress on the cPanel subfolder or direct admin. But the problem they face in this way is that they don’t know how to do it. In the following, we will teach you to step by step how to install WordPress on the cPanel subfolder.
How to install WordPress in the cPanel subfolder
In order to install WordPress on the cPanel subfolder, you must go through the following steps in order and correctly:
- Creating a subdirectory in cPanel
- Upload WordPress files
- Creating a database in WordPress
- Installing WordPress on the host
1. Create a subdirectory in cPanel
In the first step, you should create a subfolder in the path of your main domain. The subfolder you create is actually the path on which you are going to install the new WordPress. To do this, you must proceed in the following order:
- For this, you must first log in to your cPanel account.
Teaching how to enter the control panel of the CPanel host - Then you must FILES ” menu File Manager.
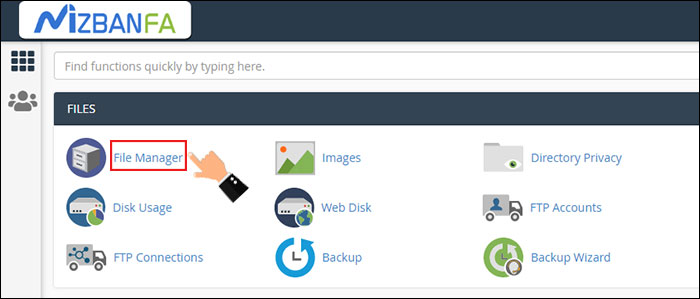
- In the next step, you must pubic_html . If you have already installed WordPress on your main domain, you can see its files and folders in this section.
- ” option as shown in the image below Folder .
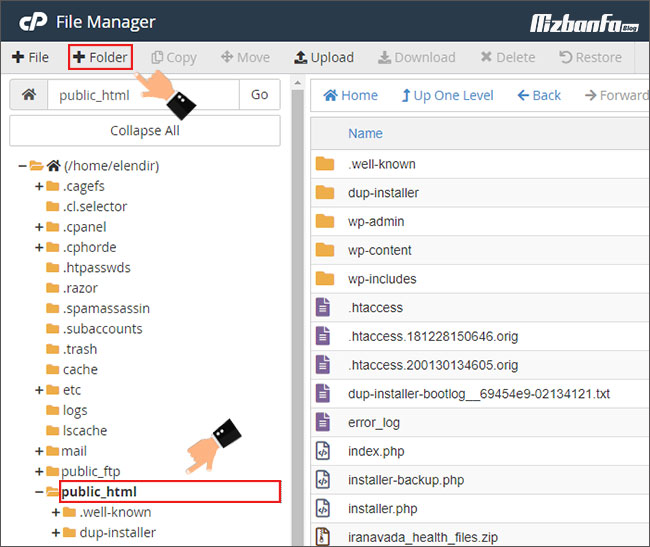
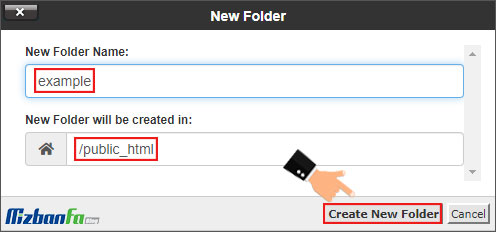
- In the displayed window, enter the name of the desired folder in the first field. Then make sure the path to the new build directory is “public_html”. After doing the mentioned things, click on the ” Create New Folder ” button.
2. Upload WordPress files
The folder you created to install WordPress in your cPanel is currently empty. In the second step of installing WordPress on the cPanel subfolder, you must upload the files related to WordPress on it. For this purpose, you should proceed as follows:
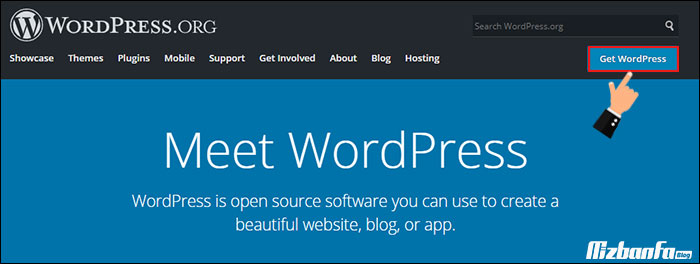
- First, visit the WordPress.org website or wp-persian.com to install Persian WordPress and download the latest version of WordPress.
- Then proceed to upload the relevant file in the created subfolder. If you want, you can get help from the tutorial on how to upload a file in cPanel .
How to extract files from compressed mode in cPanel
3. Creating a database in WordPress
In the third step of installing WordPress on the cPanel subfolder, it is time to create a new database in your cPanel.
- For this purpose, you must DATABASES ” menu MySQL Databases .
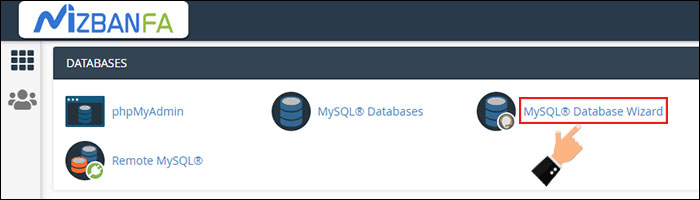
- Then you can create a new database in the simplest possible way with the help of the following tutorial.
How to quickly create a database in cPanel using the MySQL Database Wizard tool
4. Installing WordPress on subfolders
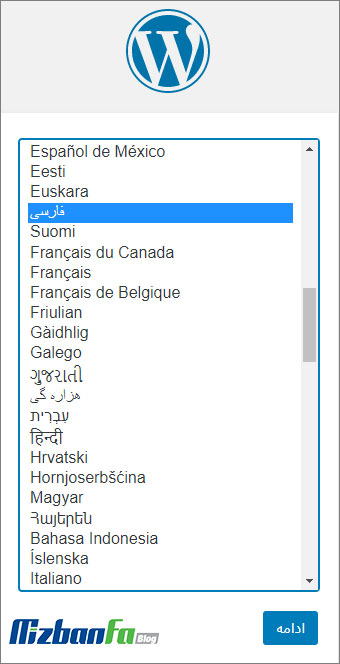
After going through all the above steps, which are actually prerequisites, in the last step of the tutorial on how to install WordPress on the cPanel subfolder, you should install WordPress on your host. For this, you must enter the address of your subfolder in the form of yourdomain.com/example in the browser. Be careful, instead of the word example , you must write the name of the folder you created in the first step. Then a page like the one below will be displayed asking you to choose your WordPress language. In this tutorial, we choose the Persian language by default.
Then follow the following steps in order:
- First, you must enter the information related to the created database accurately in the designated fields and click on ” Send ” as shown in the image below.

- In the next step, your WordPress will connect to the created database and you can see the message displayed in the image below. On this page, you must click on ” Start installation “.

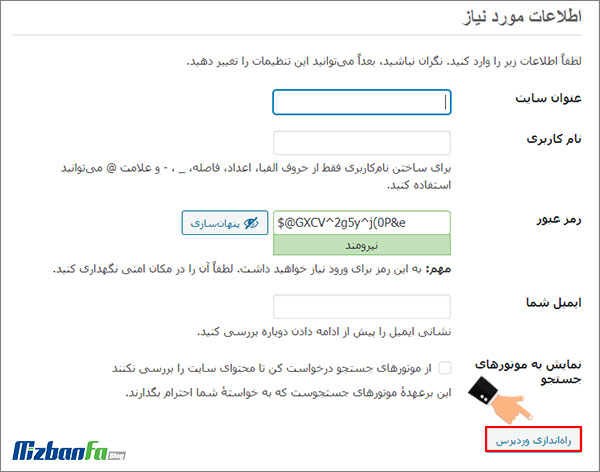
- On the new page that will be displayed, you must enter the information about your website and click on the ” Start WordPress ” button.
Important note: Be careful that the username and password written on this page are the same as your username and password to enter the WordPress counter, so save this information in a file such as Notepad so that you can enter your WordPress counter in the next steps. become
- In this way, the process of installing WordPress on the cPanel subfolder has been successfully completed, and you can enter the WordPress counter installed on the desired subfolder by entering the username and password that you wrote down in the previous step.

In this article from the Fa host knowledge base, we have tried to teach you how to install WordPress on the cPanel subfolder. In this way, you can easily have multiple WordPress on the same host. The difference between this type of WordPress installation and other existing methods is that you can keep the SEO value of the new WordPress for the main domain and thus improve your website’s ranking. If you have any questions about this, contact us through the comments