


How to connect CPanel email account to Gmail
Attracting an audience in any field is considered very important in online businesses; it is the first step after purchases, and the scope is to communicate with your audience through email and other methods. For example, imagine purchasing a stable host such as cloud hosting or a cheaper hosting such as Iran hosting. Now, after launching the site, you must interact with your users. connect CPanel email provides many features for easier management of emails. In this educational video from Fa Host’s knowledge base, we have decided to how to connect your connect CPanel email account to Gmail so that after that, you will be able to add the email accounts in your website host to the Gmail user panel and all the accounts Manage your website emails using Gmail.
What is the use of connecting email hosts to Gmail?
Imagine that you are the manager of a large website and you have created several email accounts inside your website host, and you decide to check all your received emails on a daily and regular basis. Go to the panel of your website, the second way is to connect that email account to mail clients such as windows live mail, outlook, or Windows 10 mail, which we taught you about all these tasks in the previous videos, now there is a way There is another better way to manage your website’s email accounts, and that is to connect all the emails on your website to the Gmail control panel, in this way you can manage all your website’s email accounts centrally in Gmail and more. You don’t need to log into your webmail host every day to check your received emails, in fact, by connecting your website host’s emails to gmail, from now on you only have to log into your Gmail account and receive all your host’s emails from within Gmail. Manage centrally; only after doing this will you be able to use the same account The Gmail that you have with the address of the dedicated email accounts of your site, for example, the info email, without the need to log in to the webmail host, send your emails to other addresses using Gmail, to set up the email host in Gmail, in the rest of this Follow us for practical training video.
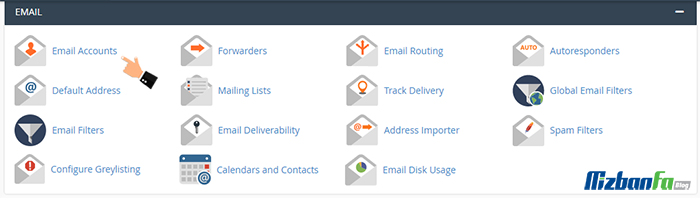
First of all, we will enter the connect CPanel email website through the tutorial on how to enter CPanel, then scroll down a bit to reach the email section and from here, we will click on the email accounts icon to enter this page.
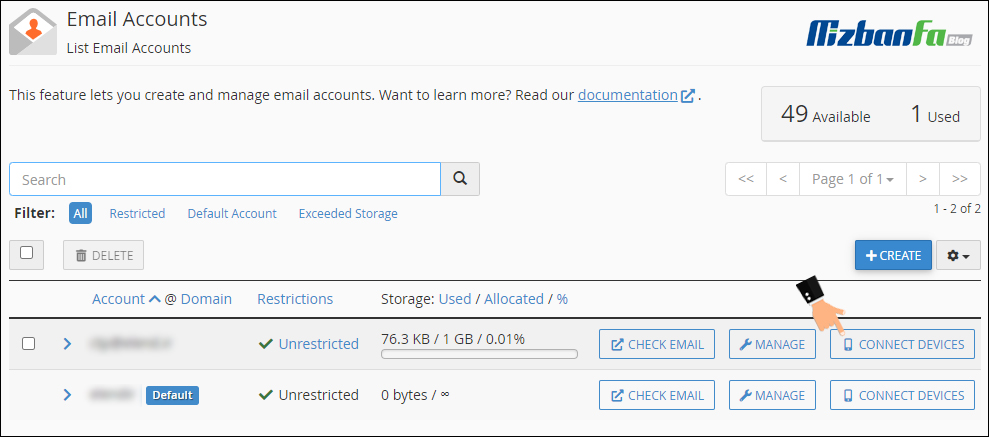
Indeed, if you have not created an email account yet, first create an email account in cPanel by following the tutorial on how to create an email in connect CPanel email host and then follow the rest of this tutorial. Now we will go down a bit to reach the email accounts section. email we already created on the host is available, do you see the email info@mizbanfatv.ir? We want to connect this email to Gmail, to do this, we click on the set up mail client option from this email account to enter the Set Up Mail Client for info@mizbanfatv.ir page .
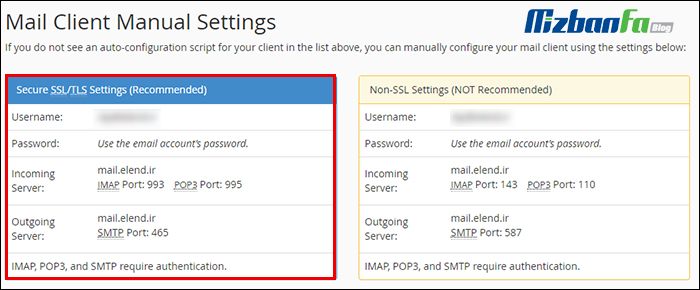
Inside here, the settings for connecting the email address info@mizbanfatv.ir to other email management clients, so we will go down a bit to reach the Mail Client Manual Settings section. Inside this section, the manual settings for connecting this email account to other email management software. There are two boxes inside here, both of which we will explain to you:
- first is Secure SSL/TLS Settings (Recommended) , which is marked with a blue box, and if we use the values in this section to connect this email host to the Gmail software, our email data will be encrypted by SSL encryption between the Gmail server and the email server. It is said that cPanel also recommends using this method.
- second one is Non-SSL Settings (NOT Recommended), which connect CPanel email does not recommend using these values, and if we use the information in this box to connect this email account to Gmail, our email data is not encrypted between the Gmail server and the email server. They alternate.
We also use the values in the box on the left side, that is, this box, according to cPanel’s recommendation, we need all these values when connecting this email account to Gmail, so we don’t close this page of the browser and go to the email account. Gmail
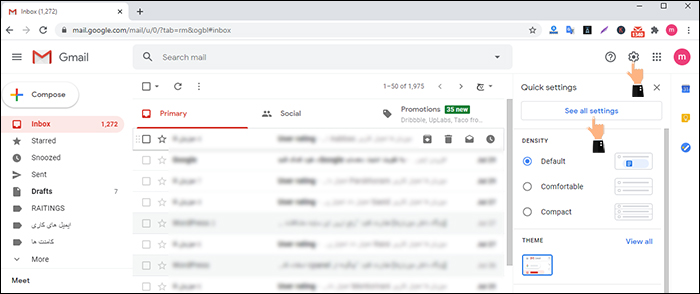
After entering Gmail, we click on the ⚙ setting icon from the top right side and click on the setting option from the opened sub-menu.
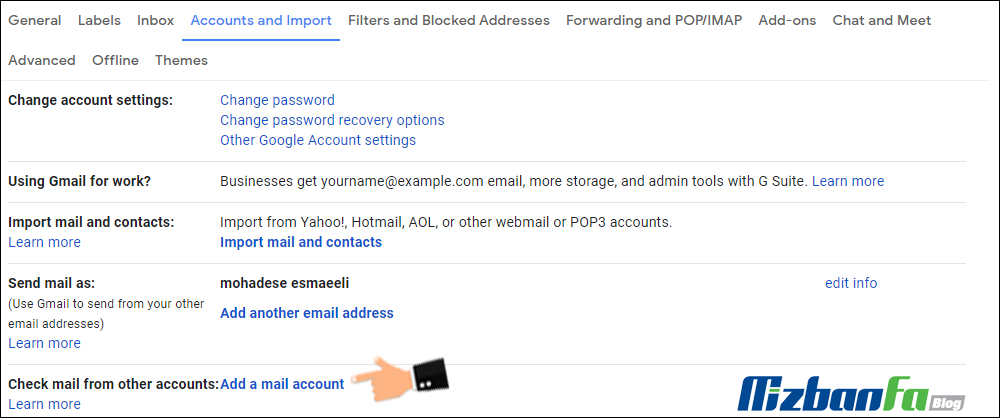
And on this page, we click on the accounts and import header to enter this page.
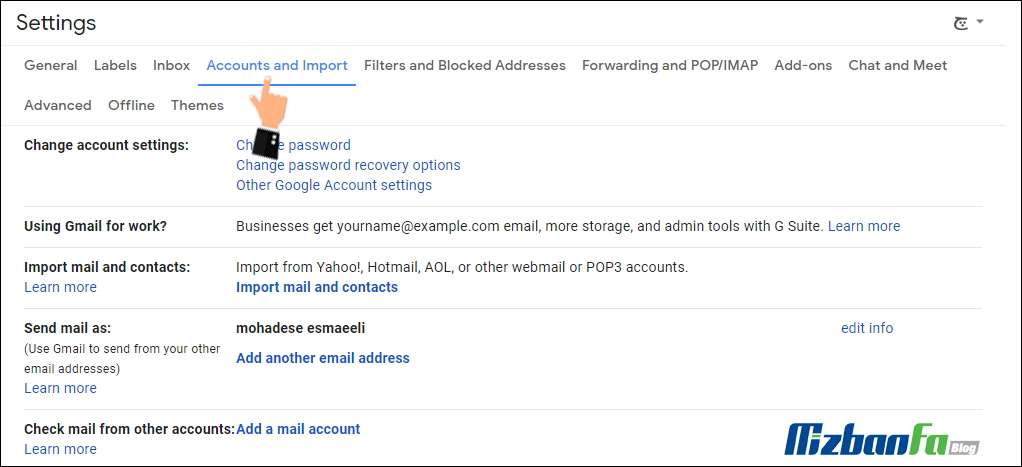
On this page, in front of the check mail from other accounts section, we click on the add a mail account option so that this window opens for us.
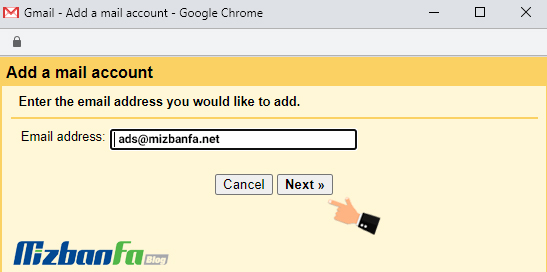
In this window, in the email address field, we have to enter the address of the email account that we want to connect to the host, considering that we want to connect our website’s emails to Gmail, so we type info@mizbanfatv.ir then on Click the next button below to enter the next step.
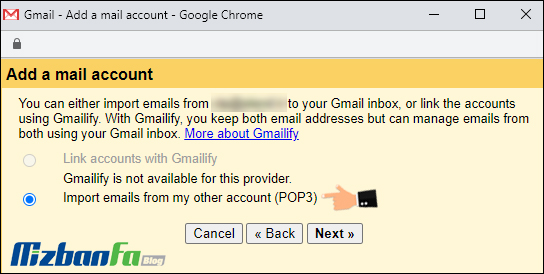
In this step, while the import emails from my other account pop3 option is selected, we click on the next button to move to the next step.
The third step, that is, enter the mail settings for info@mizbanfatv.ir , is one of the most important steps of this training, where we have to set all the following fields, which we will explain to you one by one:
- Username: In the username field, we have to enter the username of this email account, enter the information page of the cPanel email account that we said we our email address will not close, and copy We paste.
- Password: In this field, we have to enter the password of this email account that we are connecting to Gmail, the password of this email account is exactly the same password that we set when creating the email address info@mizbanfatv.ir host, so with Carefully start typing the password of this email account.
- Pop server: In this field, which is very important, we have to enter the mail address of our website’s pop server, we enter the e-mail settings page in cPanel again and copy this value completely from the incoming server section and go back inside. We paste this field. which is basically mail.domain.com or email.domain.com , but your domain address is inserted instead of domain.com.
- Port: In this section, we have to select the port number of our website’s pop3 host. To know this value, we enter the e-mail account information page in cPanel again, and from the incoming server section, in front of the pop3 port section, enter this value, which is 995 according to the image. from the drop-down menu 995 .
- leave a copy of retrieved message on the server: if we activate this option, a copy of the emails sent and received by this email account will always be stored on the main mail server, that is, the host of our website, which may be useful for some. OK, and if we don’t check it, the emails sent and received from this account will only be exchanged by Gmail and no copy of them will be saved on the server or host, we will enable the check of this option anyway.
- always use a secure connection ssl when retrieving mail: If we activate the check of this option, the emails sent and received by this email account will always be exchanged between Gmail and our mail servers on the secure ssl platform, considering that we are sure that the ssl is inside the host C Our panel is active and approved, we activate the tick of this option.
- label incoming messages: In fact, Gmail provides a possibility through this option to activate a separate directory other than inbox and smap or trash in the left part of the Gmail panel, so that all emails received from this email account are listed in that directory. And don’t get mixed up with the incoming emails of our main Gmail account, so we leave the tick of this option active.
- archive incoming messages skip the inbox: If we activate the tick of this option, the emails received by this account are our emails, in addition to being stored in the special directory that we set in the previous field, a copy of them will be sent to our Gmail inbox. It will also be transferred and this way we may be able to recognize the emails we receive faster, we have a taste for it, considering that if we activate the tick of this option, the emails of this account will be mixed with the emails of our main gmail email account. We do not activate the tick of this option.
Now, to finalize the settings and go to the next step, we click on the add account button from below.