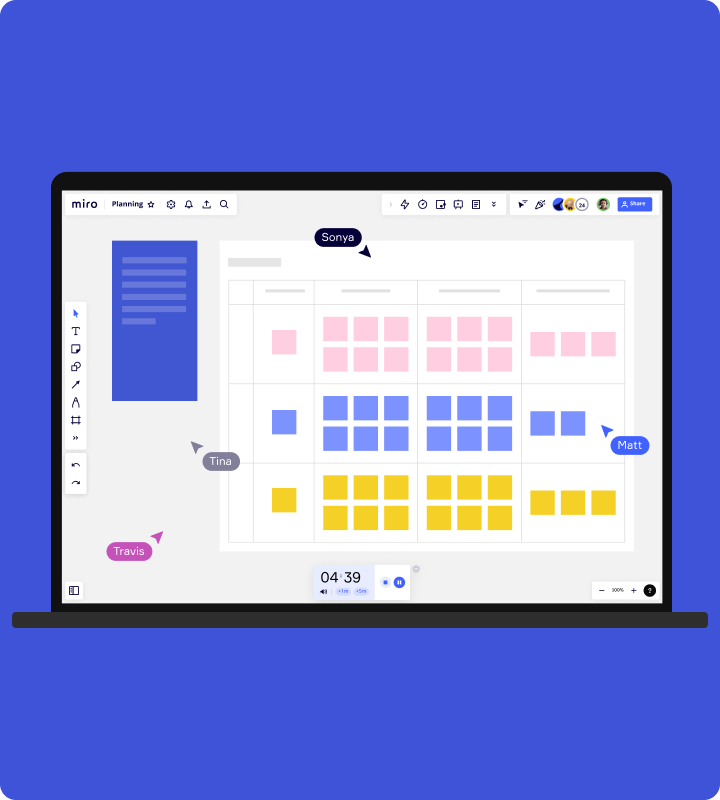
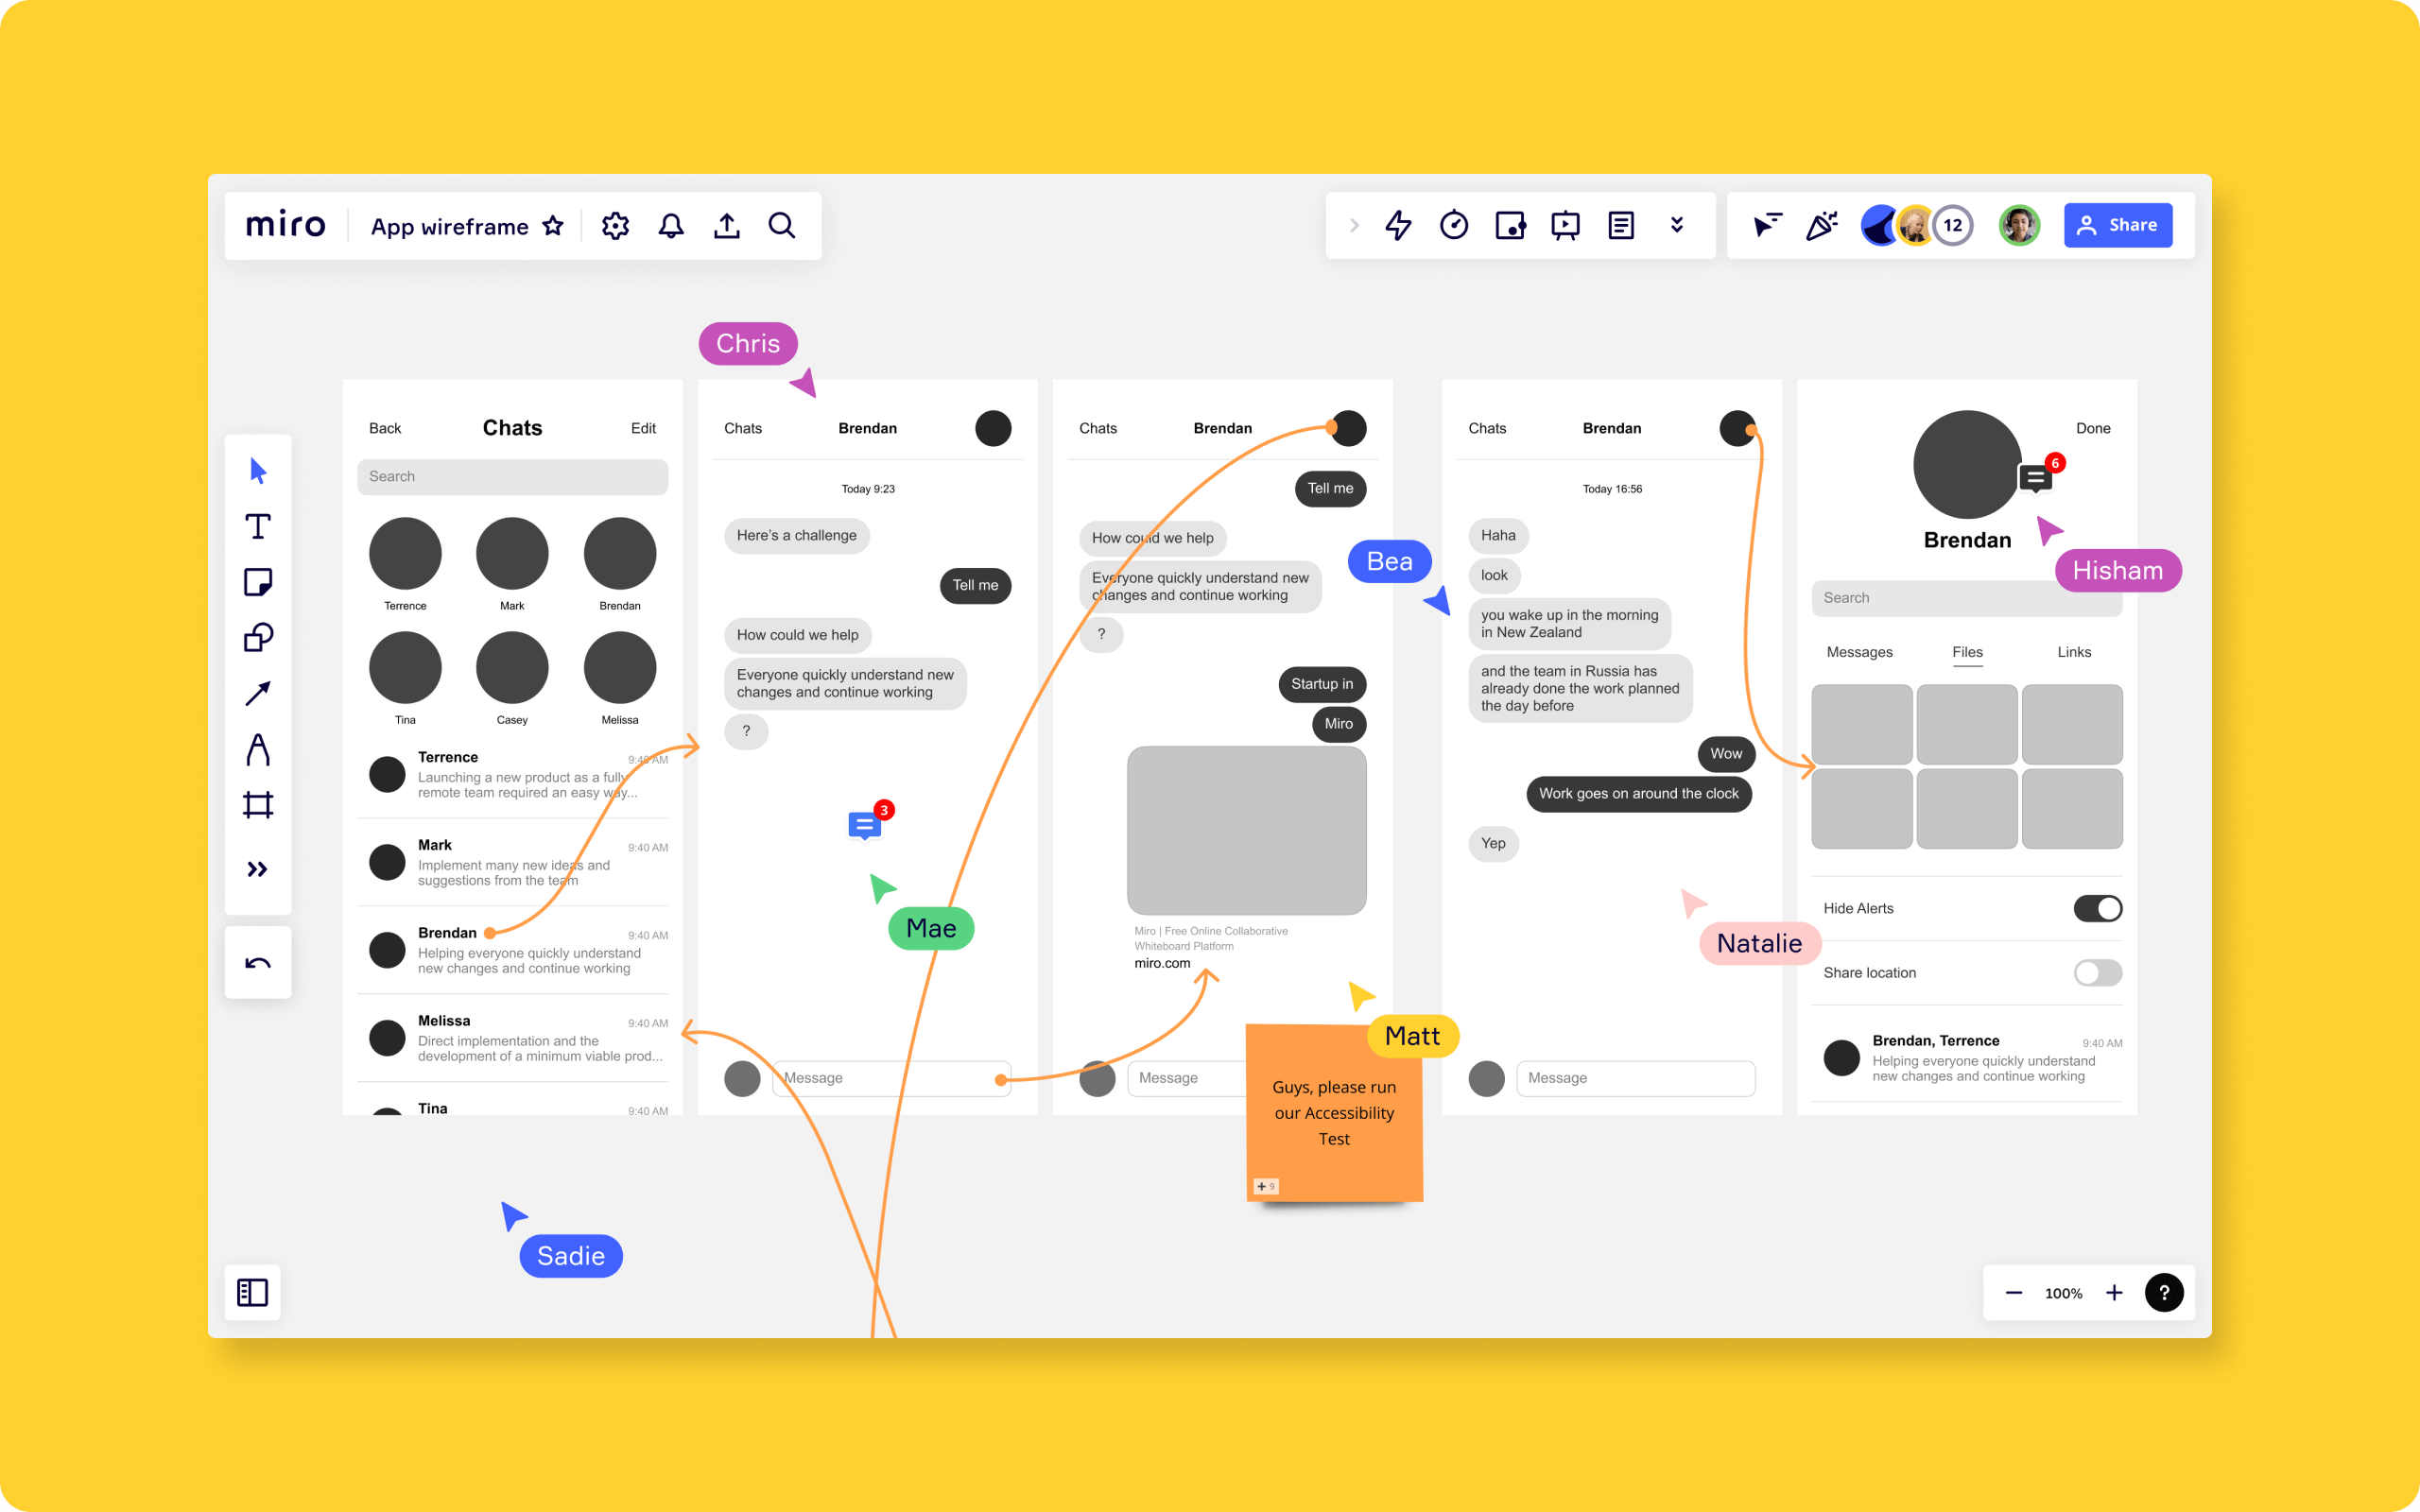
Miro is a collaborative online whiteboard platform that allows teams to work remotely on a shared canvas in real-time. It’s designed to facilitate brainstorming, ideation, and project management, and it’s used by teams across a wide range of industries, including tech, design, marketing, and education.
Features
Miro’s core features include the following:
– Collaborative whiteboarding: multiple team members can contribute to a shared canvas in real-time, using various tools like sticky notes, shapes, and freehand drawing.
– Templates and frameworks: Miro offers a wide range of pre-built templates and frameworks to help teams get started quickly, including templates for brainstorming, project planning, and user journey mapping.
– Integrations: It integrates with many other tools and platforms, including Slack, Jira, and Google Drive, allowing teams to incorporate Miro into their existing workflows seamlessly.
– Video conferencing: It includes built-in video conferencing functionality, allowing team members to collaborate and communicate in real-time.
– Access controls: It offers a range of access controls and permissions, allowing teams to manage who can view, edit, and share their boards.
Overall, Miro is a powerful tool for remote teams looking to collaborate and work together more effectively.
Who Developed It, and When?
Miro was developed by a company called, which was founded in 2011 by Andrey Khusid and Oleg Shardin. The company was rebranded to “Miro” in 2019.
Initially, the platform focused on providing designers with a digital whiteboard tool. Still, it evolved into a more comprehensive collaboration platform for various industries. Today, Miro is used by millions worldwide, and the company has raised over $170 million in funding to date.
Implications
Miro has several implications for how teams work and collaborate, particularly in remote work and distributed teams. Here are a few key implications:
1. Increased collaboration and productivity: Miro enables teams to collaborate in real-time on a shared canvas, leading to more efficient and productive brainstorming, ideation, and project management.
2. Improved communication: Its built-in video conferencing and commenting features allow team members to communicate and provide feedback on work in real time. Even if they are located in different parts of the world.
3. More streamlined workflows: It integrates with many other tools and platforms, allowing teams to incorporate it into their existing workflows and avoid switching between different tools.
4. Enhanced creativity: Miro’s digital whiteboard and range of creative tools (like sticky notes, shapes, and freehand drawing) can help teams think outside the box and develop more innovative ideas.
5. Increased flexibility: Its cloud-based platform can be accessed from anywhere with an internet connection, making it ideal for remote teams and distributed workforces.
Overall, Miro has the potential to transform the way teams work and collaborate, making it easier and more efficient to collaborate remotely and unlock new levels of creativity and productivity.
What We Need to Use It
To use Miro, you’ll need the following:
1. A computer or mobile device: Miro is a web-based platform accessed from any device with an internet connection. You can use it on a desktop or laptop computer and mobile devices like smartphones and tablets.
2. An internet connection: Since it is a cloud-based platform, you’ll need a reliable internet connection to access and use it.
3. A Miro account: You must create a Miro account to use the platform. Miro offers both free and paid plans, depending on your needs.
4. A web browser: It works with many web browsers, including Chrome, Firefox, Safari, and Edge.
5. Optional: It also offers desktop and mobile apps that you can download for a more seamless experience. However, these are not strictly necessary to use the platform.
Once you have these things, you can access Miro and collaborate with your team on a shared canvas.
How to Customize
Miro offers a range of customization options to help you tailor the platform to your team’s needs. Here are a few ways you can customize Miro:
1. Board settings: Miro boards have a range of settings you can customize to suit your needs. For example, you can change the background color or image, adjust the grid size and spacing, and choose whether to enable or disable commenting and voting.
2. Templates and frameworks: It offers a wide range of pre-built templates and frameworks that you can use to jump-start your work. These templates cover a range of use cases, from brainstorming and ideation to project management and user journey mapping.
3. Widgets and plugins: It has a range of widgets and plugins that you can add to your boards to extend their functionality. For example, you can add a timer widget to your board to help you stay on track during meetings or a mind-mapping plugin to help you visualize complex ideas.
4. Integrations: It integrates with many other tools and platforms, allowing you to customize your workflow and incorporate Miro into your existing processes. For example, you can connect Miro to Slack to receive notifications when changes are made to your boards or integrate Miro with Jira to create and manage tasks directly from your boards.
5. Custom branding: It offers custom branding options for enterprise customers, allowing you to customize the look and feel of your Miro instance to match your company’s branding.
Overall, Miro offers various customization options to help you tailor the platform to your team’s needs and work more efficiently.
Other Tools Integrating with Miro
Miro offers various integrations with other tools and platforms, allowing you to incorporate them into your existing workflows and streamline your work processes. Here are a few examples of the tools that can be integrated with Miro:
1. Project management tools: It integrates with various tools, including Trello, Asana, and Jira. These integrations allow you to create and manage tasks directly from your Miro board and view real-time progress and updates.
2. Communication tools: It integrates with various communication tools, including Slack, Microsoft Teams, and Zoom. These integrations allow you to receive notifications and updates from Miro directly in your communication tool and launch video calls from within Miro.
3. Design tools: It integrates with various design tools, including Sketch, Figma, and Adobe Creative Cloud. These integrations allow you to import designs directly into your Miro board and collaborate on real-time design projects.
4. Cloud storage tools: It integrates with various cloud storage tools, including Google Drive, Dropbox, and OneDrive. These integrations allow you to import and export files from your Miro board and save your Miro boards to your preferred cloud storage service.
5. Business tools: It integrates with various business tools, including Salesforce, HubSpot, and Zendesk. These integrations allow you to view and manage customer data and interactions directly from your board.
Overall, Miro’s extensive range of integrations makes it easy to incorporate the platform into your existing workflows and work more efficiently with your team.
Offline Miro
Miro is primarily a cloud-based platform and requires an internet connection to access and use. This means that you cannot use it offline in the traditional sense.
However, it does offer some limited offline capabilities through its desktop app. When you install the Miro desktop app, you can save a copy of your boards locally to your device, which allows you to access and work on them even when you are not connected to the internet. Any changes you make to the board while offline will be saved locally to your device and synced to the cloud once you reconnect to the internet.
It’s important to note that the offline functionality of Miro’s desktop app is limited, and some features (such as real-time collaboration and integrations with other tools) will not work when you are offline. Additionally, its mobile app does not currently offer any offline capabilities.
Overall, while Miro is primarily a cloud-based platform and requires an internet connection, the desktop app offers some limited offline capabilities that may be useful in certain situations.
Syncing Boards Automatically Once Reconnect to the Internet
Miro will automatically sync your boards to the cloud once you reconnect to the internet, as long as you have the latest version of the desktop app installed on your device.
When you save a copy of your board locally to your device using the desktop app, it will create a local cache of the board data. This cache is updated whenever you change the board, even offline. Once you reconnect to the internet, the desktop app will automatically sync the local cache with the cloud version of the board, ensuring that all of your changes are saved and up-to-date.
It’s worth noting that the syncing process can take some time, particularly if you have made many changes to the board while offline. You may also need to refresh your browser or restart the Miro app to ensure that the most up-to-date version of the board is displayed.
Miro allows you to work on your boards even when you don’t have an internet connection. It will automatically sync your changes to the cloud once you reconnect to the internet.
There are a few things you can do to speed up the syncing process:
1. Check your network connection: Make sure you have a stable and reliable connection when you reconnect to the internet. A slow or intermittent connection can cause the syncing process to take longer.
2. Refresh your browser or restart the app: If you are using the Miro web app, try refreshing your browser once you have reconnected. If you are using the desktop app, try restarting the app. This can help ensure that you view the board’s most up-to-date version.
3. Reduce the size of the board: If the board you are working on is particularly large or complex, it may take longer to sync changes to the cloud. Consider breaking up the board into smaller sections or using Miro’s frame feature to organize the content on the board.
4. Use a wired connection: If possible, use a wired network connection rather than a wireless connection. This can help ensure a faster and more stable connection, speeding up the syncing process.
Overall, while there is no guaranteed way to speed up the syncing process in Miro, these tips can help ensure the process is as efficient as possible.