


What Is Elastix And How Is It Installed?
Elastix Is One Of The Most Popular Asterisk Systems And Is Actually An Asterisk-based Telephone System; It Is Very Comprehensive As A Communication System And Call Center And Is Compatible With Telephone Communication Equipment As Well Hardware And Software, Which Allows It To Compete With Other Telephone Systems.
In another definition, Elastix is a set of programs and tools that combine to create a complete IP PBX. Elastix has a simple graphical web interface. It is not difficult to use and can be used without programming knowledge.
All its features can change with the help of defined keys and pages. This article talks about Elastix and how to install it.
The good features of Elastix make it a digital answering machine for companies and organizations. In fact, Elastix can be a networked telephone system or VOIP. It had many capabilities. Having an automated operator or answering machine is one of the best features of Elastix. It will also be possible to inform verbally.
On the other hand, this system has a voice box for users, and it is possible to record and listen to conversations well. If the number of calls is high, callers can be placed in the waiting queue. It is possible to schedule calls with this system to receive and direct calls.
Another useful feature is the definition of administrator and user with different access levels. Other features of this system include sending faxes to emails, making video calls, setting up a conference room, communicating with CRM software, and the possibility of connecting by mobile and computer.
Elastix installation steps
In the continuation of the Elastix article and its installation method, We will explain the installation steps step by step.
Make a copy of this program or start installing the program with a CD or via an ISO file. If you install this software on a server, you will need to build a virtual machine beforehand. Another important point is that because this program formats the entire hard drive space, check before installation that there is no important information on your hard drive.
1- By inserting the ISO file or CD, you will see a page like the one below.
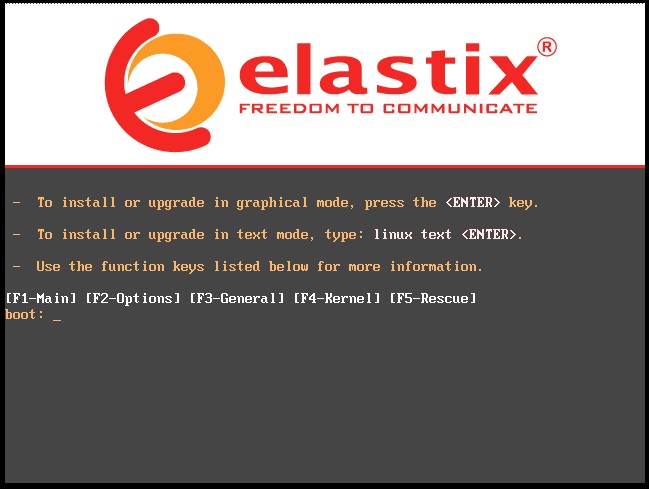 Elastix app home page
2- In the first step, you must select the desired language from the given list.
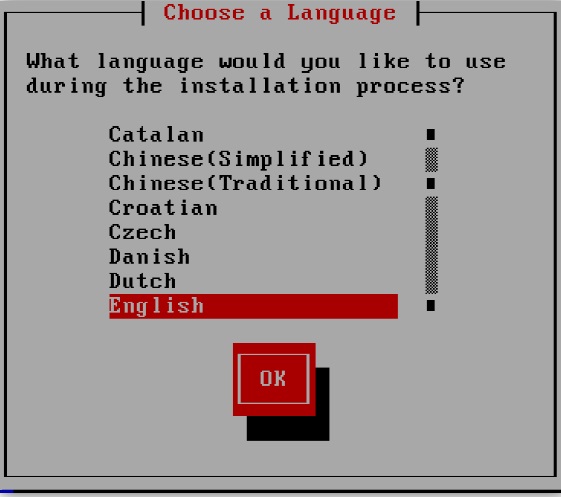 Selecting Language, language selection
Note that you can move between elements with the help of the TAB key and the ALT and TAB keys. You can use the space key to select the F12 key to the next page.
3- You have to select the keyboard you want from the list.
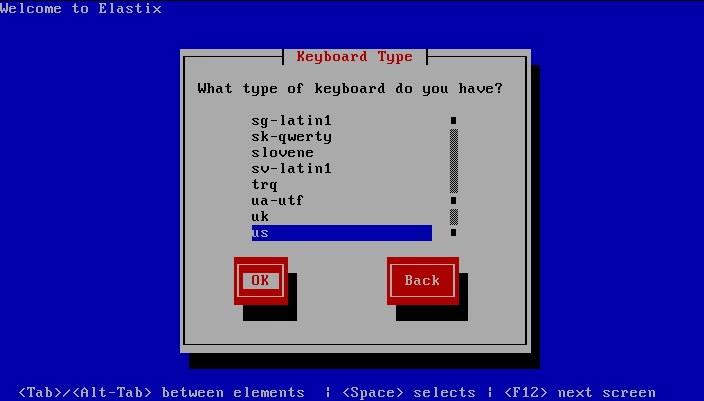 Choose who
4- In this step, a page will show you asking if you want the hard drive to be fully formatted; You must select the yes option.
 Hard disk format message
5- In this step, you will show the options related to hard disk partitioning, which include four options; The first option says to delete all partitions and set the entire hard drive to elastic; The second option is to use the part of the hard drive on which Linux is installed; The third option is to use the empty partition of the hard drive if there is information on it, and the last option is to customize the partition. Select the first option to go to the next step.
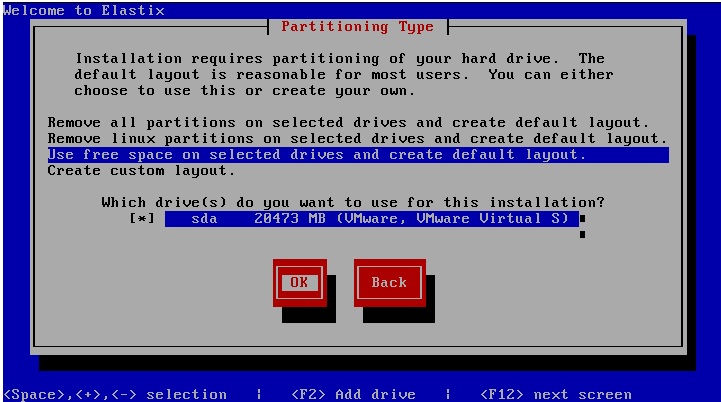 Partitioning settings
6- In this step, you will be asked to delete all the partitions, select the yes option and go to the next step.
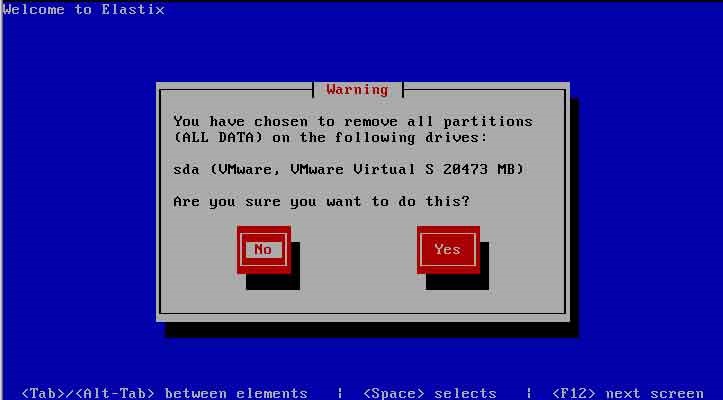 Confirm partition deletion
7. A question is asked at this stage as to whether redistribution is required; You must select the no option.
 Re-partitioning
8- Here, a question is asked about the network settings, which you can enter in the network settings by clicking yes.
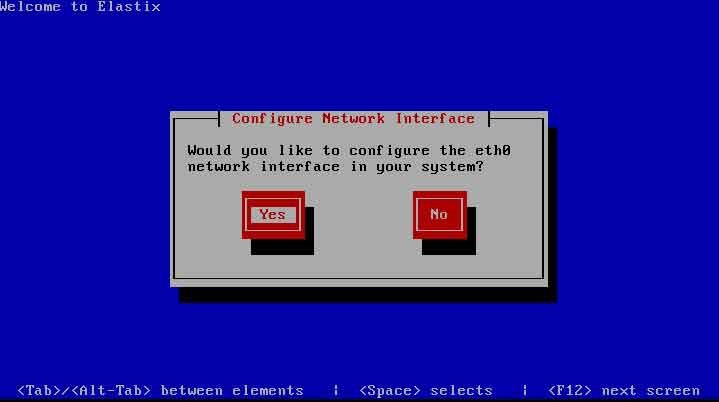 Network settings
9- In this step, you will see three options; the first option is related to whether or not the network card is active at boot time; The second and third options are for IP v4 and IP v6 settings, respectively.
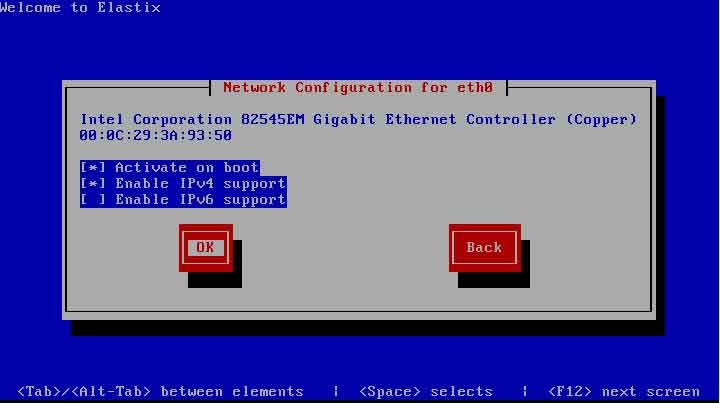 Perform network card settings
10. Now, you can specify that the IP is received dynamically automatically or set manually. Select the manual option to make the settings manually. The IP you enter in this section is for web access and internal application settings.
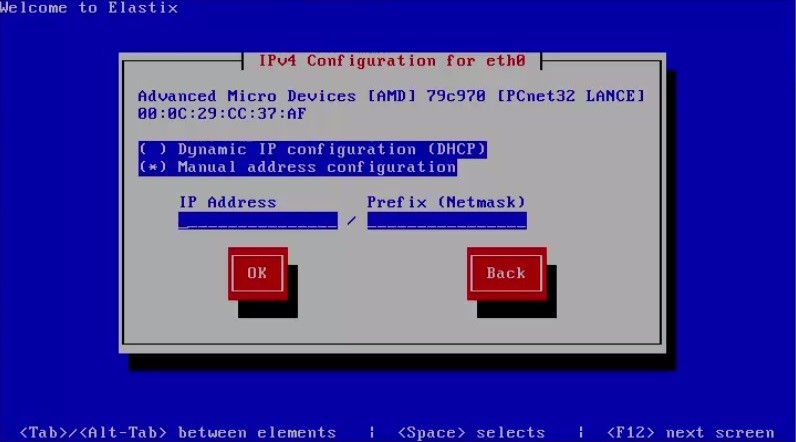 IP setting
11- In this step, you must set the Gateway.
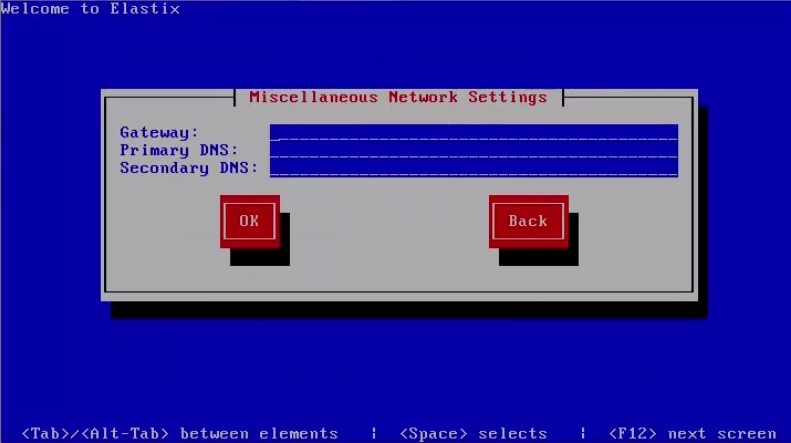 Set the gateway
12- In this step, select a name for your server by manually selecting the option.
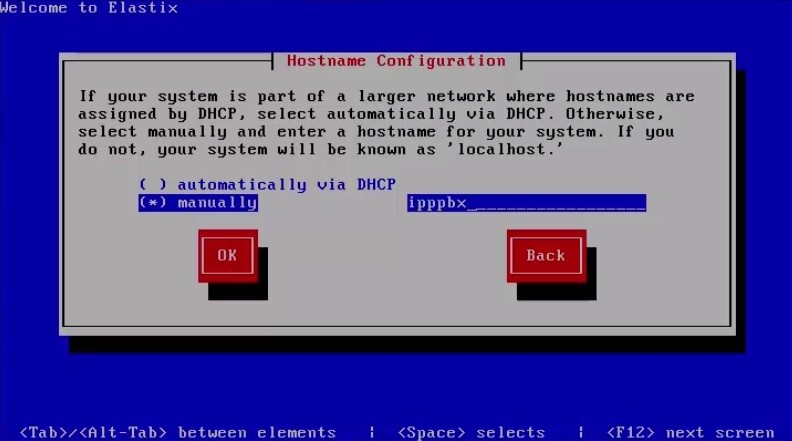 Specify a name for the server
13- In this step, you must enter the settings of the time zone of Alexey’s server, for which you must select the Asia / Tehran option.
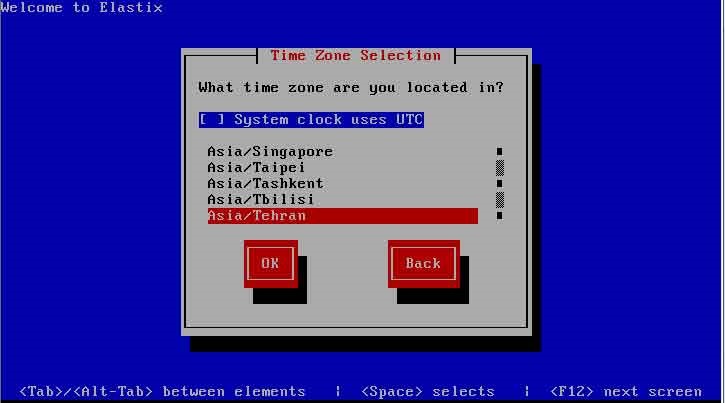 Set time zone
14- This step is to set the password for the main user or root server.
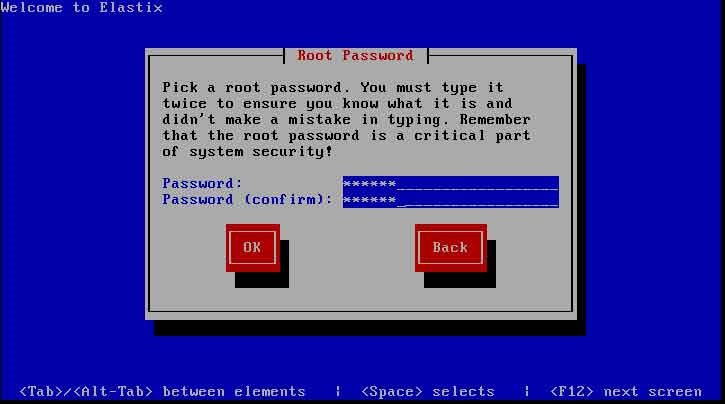 Set a password for the root
15- The system formats the hard drive and installs the required packages at this stage.
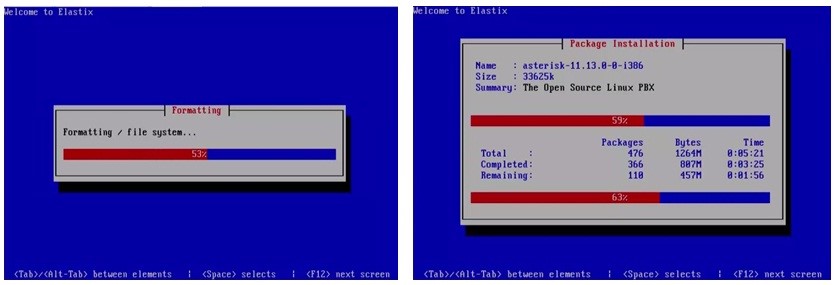 Hard disk format and package installation
16- After completing the above steps, you will be asked to set a password for MySQL.
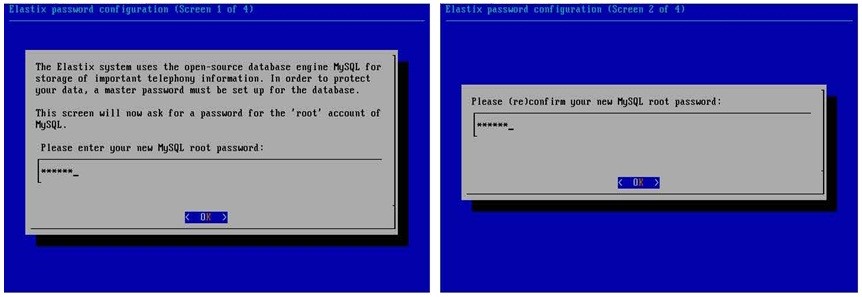 Password for MySQL
17- The password you will be asked for in this step is to access the web through the admin user. This password is for the web interface panel through which all settings are made.
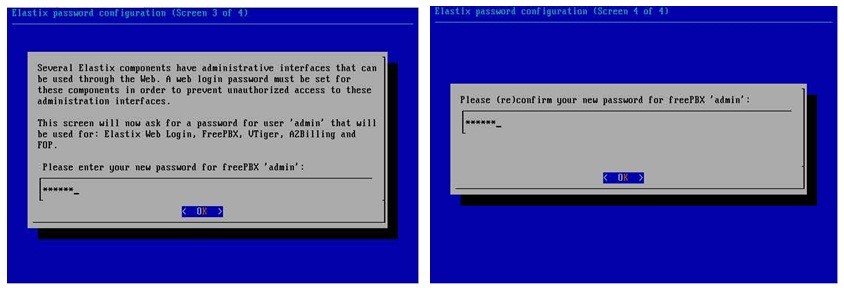 Password for admin
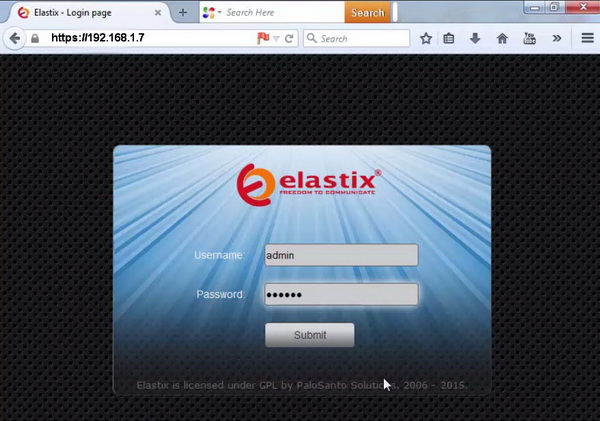
18- At this stage, your VIP system is ready, and you will be faced with a page where you must enter your username and password to enter the management section.
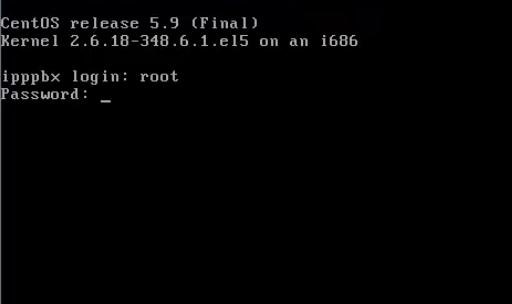 Enter the management section
To enter the management section, you need to enter the given IP in the browser and enter the management environment of the Vip server with the web-username and password.
 Management section
In this article, you will be fully acquainted with Elastix and how to install it.