


Plugin Installation Tutorial In Photoshop 2021
In This Article, We Will Teach You How To Install The Plugin In Photoshop 2021 And Other Versions Of It, Along With Introducing The Best Free Plugins.
Photoshop is one of the most useful image editing tools, but it has countless fans. Despite the extensive features that Adobe Photoshop provides to the user; The world of 2D and 3D image design is so vast that users need more tools.
In this regard, Adobe has added features to different versions of Photoshop so that users can install plug-ins or plug-ins in Photoshop 2020 or other versions. How to add plugins in different versions of Photoshop is almost the same, and installing different plugins takes very little time.
In fact, many Photoshop plugins come with the installation file so that the user can automatically add the plugin in Photoshop 2020 or older versions by running the installation file. However, some plugins do not have an automatic installation file and must be added manually to Photoshop. These plugins can include filters, templates, and even new fonts. In the following, we will review how to install the plugin in Photoshop 2020 or older versions.
Install the plugin in Photoshop 2021
After downloading the desired plugin, if the plugin did not have an automatic installation mode, use the following methods.
Install the plugin in Photoshop 2020 manually
The first method
1. Download the plugin and if it is compressed, decompress it.
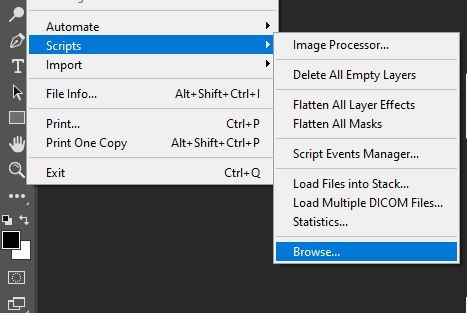
2. In Photoshop (as shown below), go to the File section of the toolbar at the top of the program and then click Browse from the Scripts option.
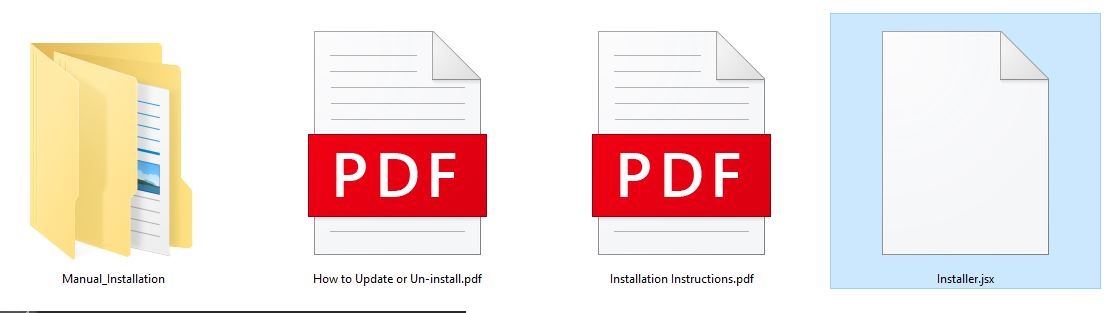
3. Navigate to the folder where the plugin is located. Select a file named Installer. jsx from the folder. If the folder did not have such a file, you should use the second method.
4. After successfully installing the plugin, a message will appear asking you to close the Photoshop application and run it again. Close the app and open it again.
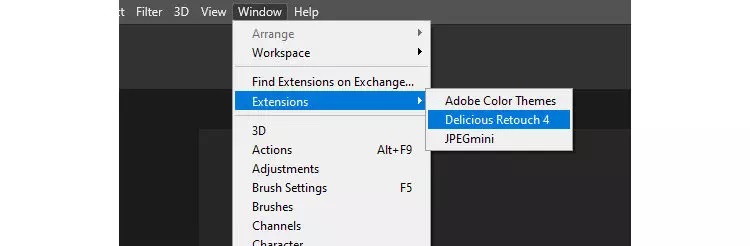
5. You can now find and run your plugin from the Windows section of the Extensions option. In the image below, you can see how to access the plugin after installing it in Photoshop 2020.
The second method
This method is used in cases where the Installer. jsx file is not available in the plugin folder for any reason. This method is a bit time-consuming, But we have tried to provide you with the steps in simple language so that the process of installing the plugin in Photoshop 2020 or other versions of it can be done as quickly and easily as possible. Follow the steps below to install the plugin in Photoshop 2020 manually:
1. Download the desired plugin file. If it was compressed, decompress it.
2. Navigate to the Plugin folder and copy the contents of the folder called Manual_ Installation.
3. If you are using the 2014 to 2018 version of Photoshop CC or newer versions:
- On a Mac, copy the folder to:
/ Library / ApplicationSupport / Adobe / CEP / extensions /
- On Windows 7, 8, or 10, copy the 64-bit version of the folder to:
/ C: / ProgramFiles (x86) / CommonFiles / Adobe / CEP / extensions
- In Windows 7, 8, or 10, 32-bit version, copy the folder to this address:
/ C: / ProgramFiles / CommonFiles / Adobe / CEP / extensions
4. If you are using Photoshop CC:
- On a Mac, copy the folder to:
/ Library / ApplicationSupport / Adobe / CEPServiceManager4 / extensions /
- On Windows 7, 8, or 10, copy the 64-bit version of the folder to:
/ C: / ProgramFiles (x86) / CommonFiles / Adobe / CEPServiceManager4 / extensions
- In Windows 7, 8, or 10, 32-bit version, copy the folder to this address:
/ C: / ProgramFiles / CommonFiles / Adobe / CEPServiceManager4 / extensions
5. Now, if Photoshop is open, close it and run it again. You can now find and run your plugin from the Windows section, Extensions option. In the image below, you can see how to access the plugin after installing it in Photoshop 2020.

How to update or remove a plugin in Photoshop 2020
There can be several reasons for removing plugins; For example, with the latest Photoshop update, some plugins have encountered problems and are not working as well as they used to, or you may have found a better plugin with more features.
In such cases the plugin can be removed; Of course, to update or update plugins, you need to delete the current version of the plugin and then install a new version.
Update or remove the plugin in Photoshop 2020 (if you have used Installer. jsx)
If you want to update the plugin, you must first remove the current version from Photoshop. To do this, follow these steps:
1. Open Photoshop and go to File from the toolbar at the top of the program and select Browse from Scripts.
۲. Now find the Installer. jsx file from the update file folder and run it. If you only want to remove the plugin, run the Installer. jsx file from the plugin installation folder you used before to remove the plugin from the program.
3. The program sends you a message that to install the update, the plugin must first be removed from the Photoshop software.
4. After completing the uninstall steps, close the Photoshop program and run it again.
5. Go to File again from the toolbar at the top of the program and select Browse from Scripts.
6. A new version of the plugin will be installed. After receiving the message that the plugin is fully installed, close the Photoshop software and run it again to access the plugin.
Update or remove the plugin in Photoshop 2020 (if you installed it manually)
How to manually update the plugin is a little different. You must delete old files and copy new ones from the folder where you previously placed the plugin-related files. Suppose you have installed the Delicious Retouch 4 plugin in the past. Follow the steps below to uninstall the plugin and install the new version.
1. You must first delete the folder associated with the plugin from the address where it was installed. Based on the example we gave, you have installed the Delicious Retouch 4 plugin. With this account, the DeliciousRetouch4 folder should be removed from the installation location.
2. If you are using the 2014 to 2018 version of Photoshop CC or newer versions:
- On a Mac, find and delete the folder at this address:
/ Library / ApplicationSupport / Adobe / CEP / extensions /
- On Windows 7, 8, or 10, find and delete the 64-bit version of the folder at this address:
/ C: / ProgramFiles (x86) / CommonFiles / Adobe / CEP / extensions
- In Windows 7, 8, or 10, 32-bit version, find and delete the folder at this address:
/ C: / ProgramFiles / CommonFiles / Adobe / CEP / extensions
3. If you are using Photoshop CC:
- On a Mac, find and delete the folder at this address:
/ Library / ApplicationSupport / Adobe / CEPServiceManager4 / extensions /
- On Windows 7, 8, or 10, find and delete the 64-bit version of the folder at this address:
/ C: / ProgramFiles (x86) / CommonFiles / Adobe / CEPServiceManager4 / extensions
- In Windows 7, 8, or 10, 32-bit version, find and delete the folder at this address:
/ C: / ProgramFiles / CommonFiles / Adobe / CEPServiceManager4 / extensions
4. Now that the old version file has been deleted, copy and paste the new version files into the folder you are in.
5. If Photoshop is open, close it and run it again. You can now find and run your plugin from the Windows section of the Extensions option.
The best free and paid plugins of Photoshop 2020
Using the tutorial provided, you will learn how to install the plugin in Photoshop 2020 or different versions of it. The next step will be to get acquainted with the best Photoshop 2020 plugins.
The best free Photoshop 2020 plugins
1. Camera Raw
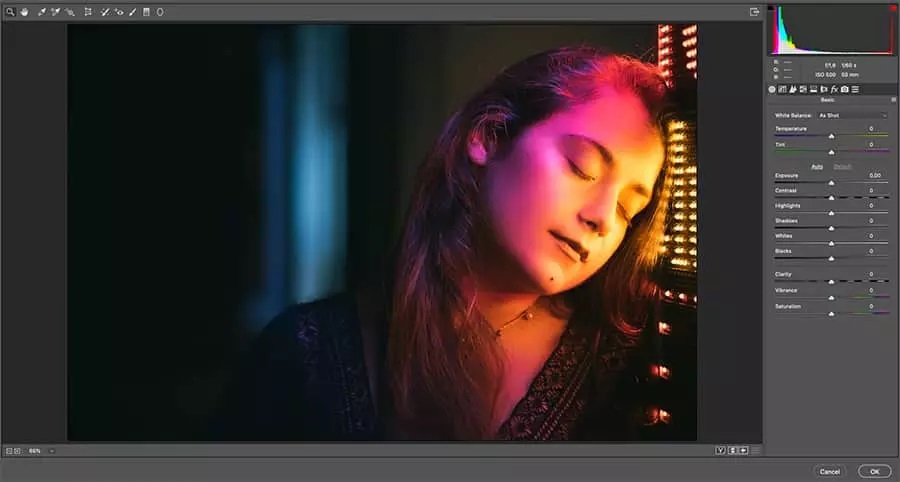
The Camera Raw plugin is used to edit raw images, But it is also possible to edit the image in JPEG or TIFF formats. This plugin allows you to do everything in Photoshop and does not need to use Lightroom; Things like adjusting the contrast rate, white light, shadows, highlights, and much more.
2. Pexels
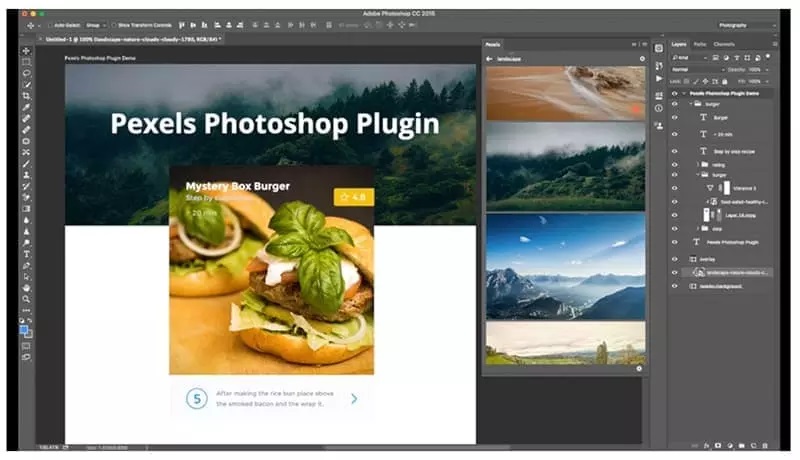
The Pexels plugin contains thousands of images so you can use them without leaving Photoshop. All images are free and their use does not violate copyright laws.
3. ON1 Effects
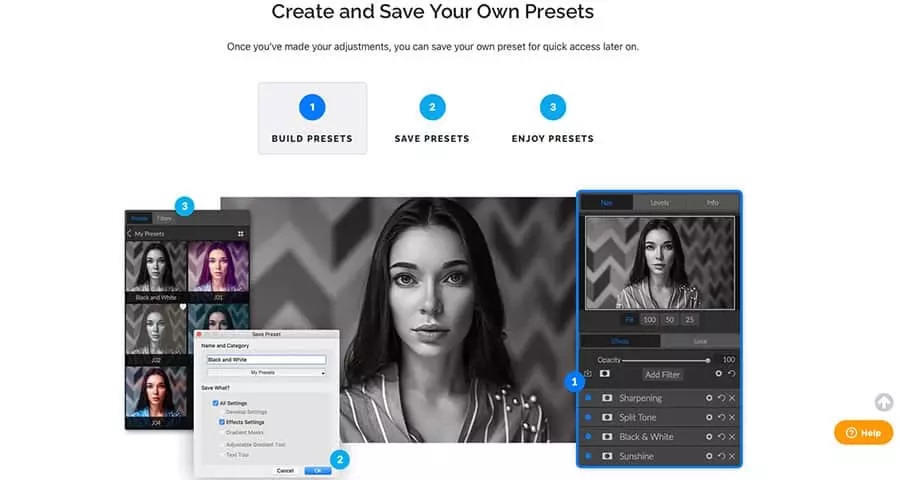
Think of a plugin that includes dozens of presets and with just one click you can apply a nice filter to the image. The ON1 Effects plugin helps you to turn the desired image into the state you want in a very short time. From black and white effects to cinematic, filters are included in the ON1 Effects plugin.
4. Layers Control 2
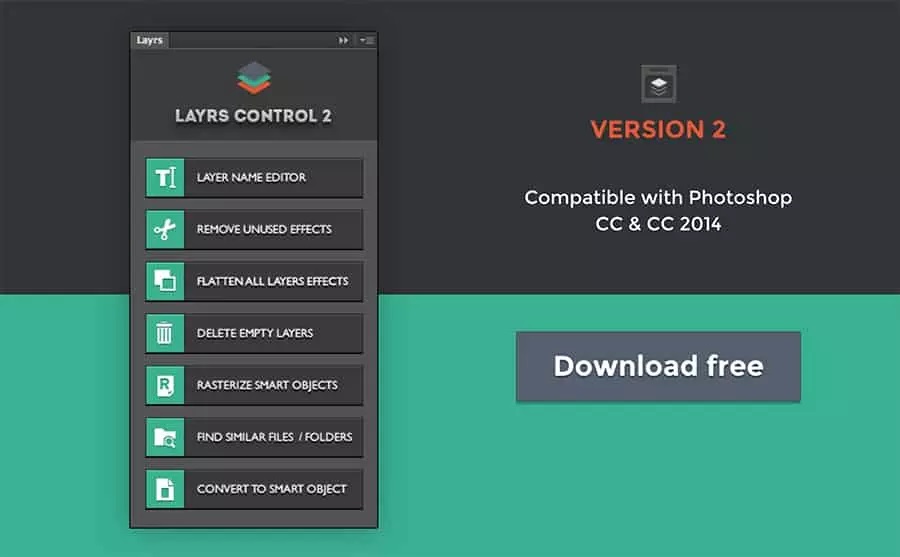
The Layer Control 2 plugin helps you save and arrange the various layers you created while editing the image. Such a plugin can shorten the time of many image editing processes.
The best-paid plugins of Photoshop 2020
1. Aurora HDR
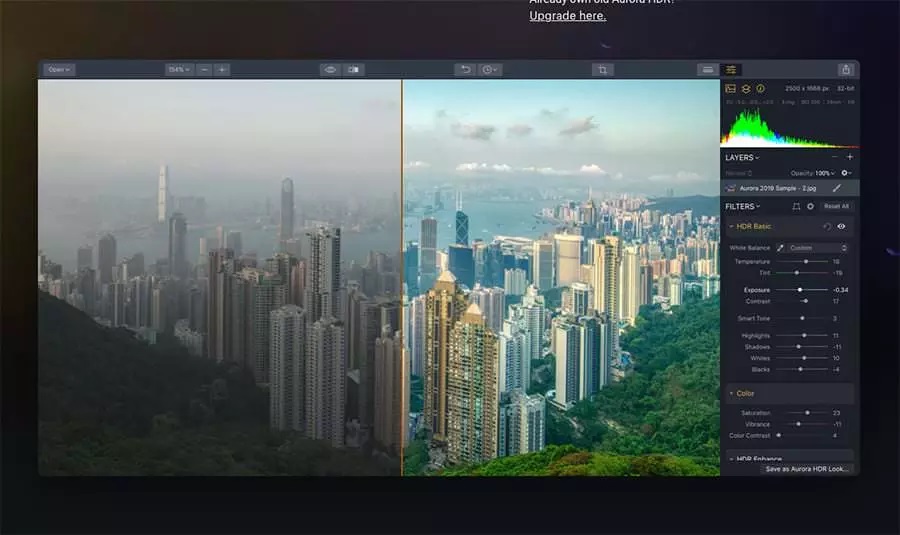
If you want to create images with an HDR effect, do not miss the Aurora HDR plugin. One of the features of this plugin is to help make the final image as natural as possible.
2. Focus

Using the Focus plugin, you can select the desired subjects of the image and blur the rest of the elements, including the background. All steps are done by artificial intelligence and you choose only the desired subject.
3. RH Hover Color Picker
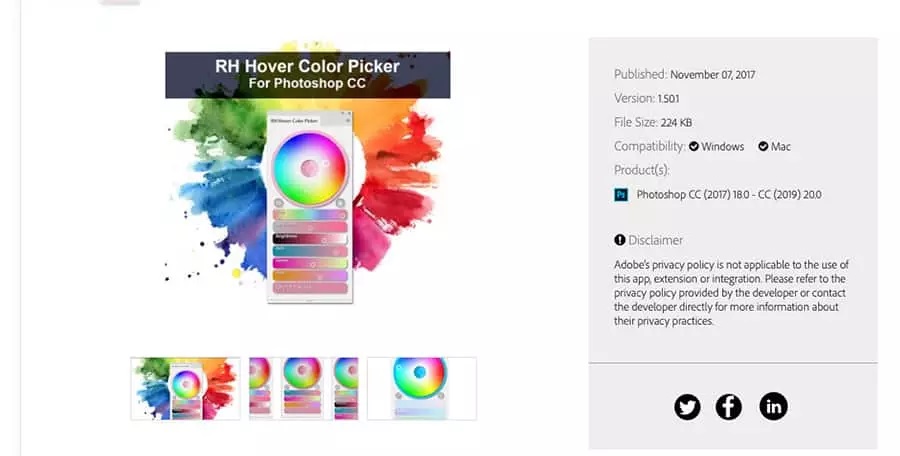
The RH Hover Color Picker plugin can help you choose the colors you want. You can choose the color you want from the wide color range.
4. Noiseless

The Noiseless plugin helps you reduce image noise. This plugin is one of the best tools available to enhance the quality of images recorded in low-light conditions.
***
If you think there is a free or paid plugin that is not mentioned in the article, mention it in the comments section and share its features with other Zomit members.