


How to Fix Microphone Settings in Windows 10 & 11?
There are several ways to set up and activate the Windows 10 and 11 Microphone. In Windows 11, you can do this through manual settings in the Privacy Settings section. Another way is to set the Sound input section. Also, if your Microphone is not working, you should make sure that the Microphone is enabled in Device Manager. This article will review all possible methods to set up and activate the Microphone in Windows 10 and 11.
First in Windows 11: Setting up and enabling the Microphone in Windows 11
It would help if you had a microphone to make an audio or video call on the computer, But sometimes your privacy concerns make Windows restrict access to the Microphone. As a result, your Microphone does not work. To solve this problem, you need to make a series of changes in Windows 11, which we will review together.
Why can’t I activate my Microphone?
Many factors prevent the Microphone from being activated in Windows 11. Some of the most common factors include:
- The microphone is disabled in Device Manager: If you cannot configure or enable your Microphone in Windows 11, it may be because it is not enabled in Device Manager. Sometimes this happens on new computers. By activating the Microphone in this section, your problem will be easily solved.
- Privacy settings are wrong: Sometimes, you don’t allow access to the Microphone by mistake, which causes it to be disabled. To solve this problem, allow access to the Microphone in the privacy setting section.
How to activate the Microphone in Windows 11?
Method 1: Change privacy settings
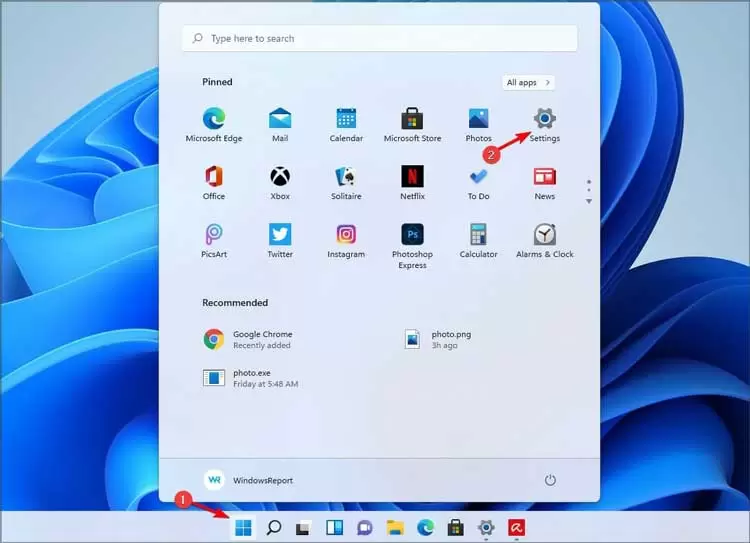
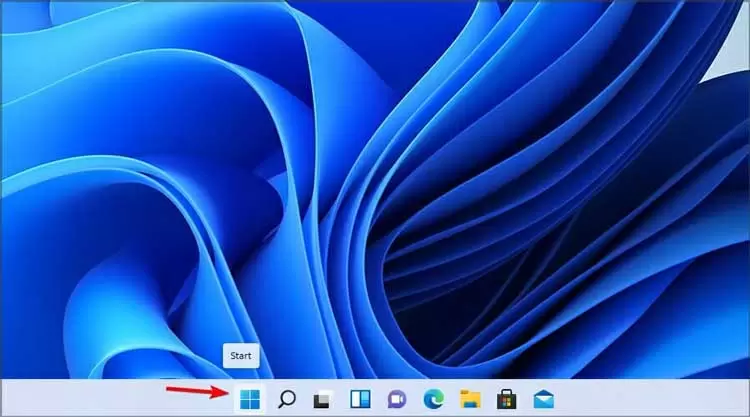
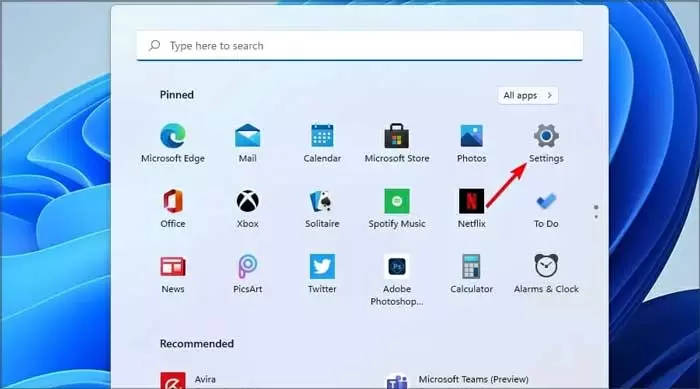
1- Click the Start button and select Settings from the available menu.
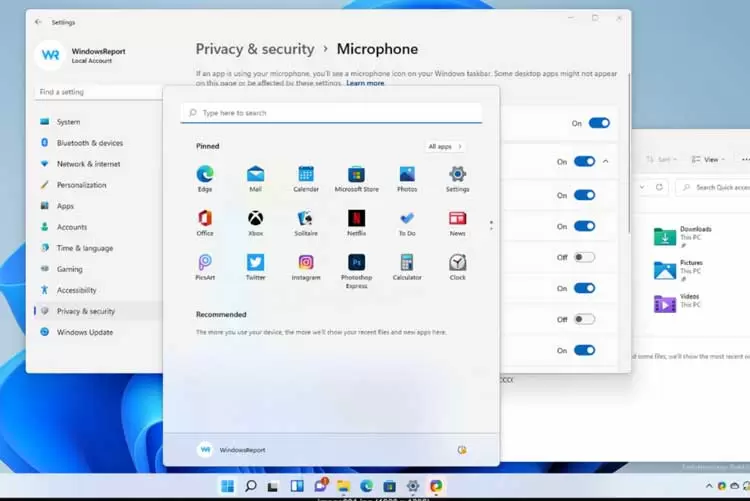
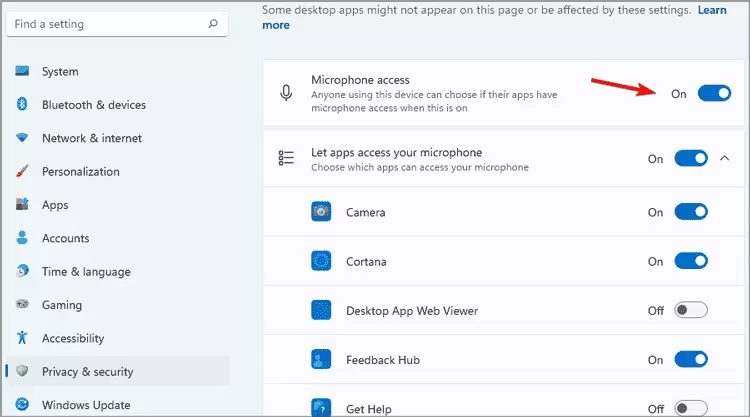
2- From the left side, select the Privacy & Security option. Then select Microphone from the right side.
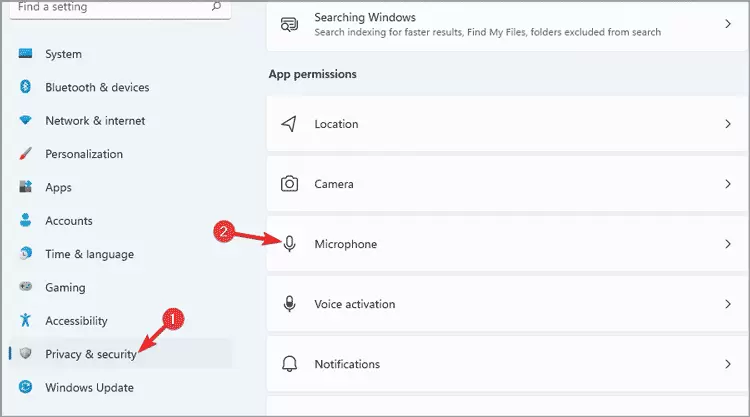
3- Check and make sure that the Microphone access option is enabled.
The second method: change the sound settings
1- Click on the Start button.
2- Select Settings from the list of programs.
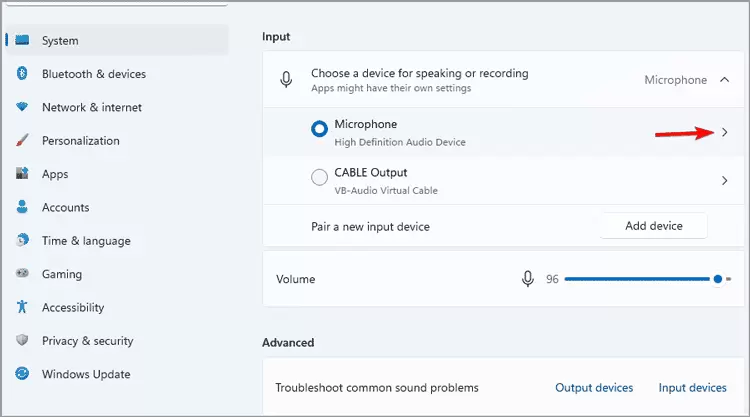
3- In the left part, select System and then Sound.
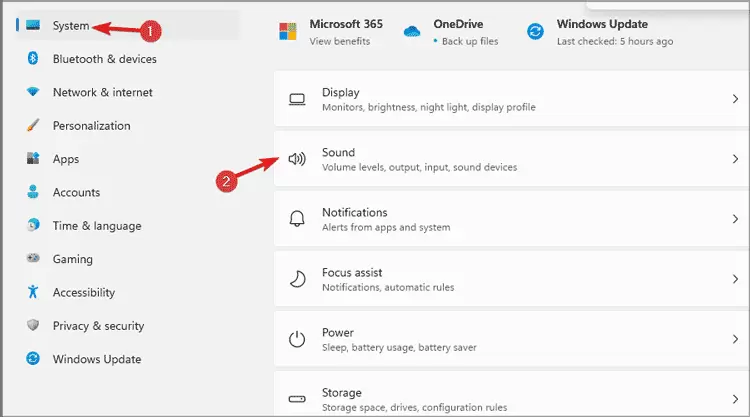
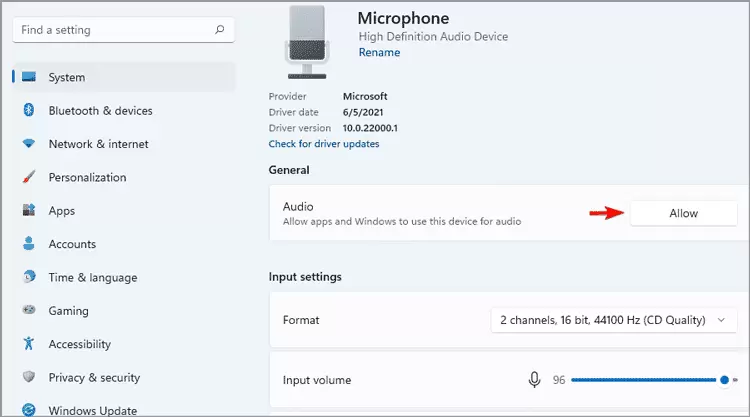
4- Choose your Microphone from the Input section. Now click the Allow button in the Audio section to enable your Microphone.
5- Now click on the Allow option in the Audio section to activate your Microphone.
Third method: Using Device Manager
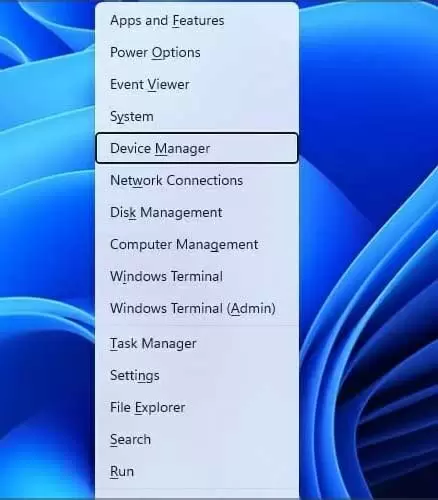
1- Press Windows Key + X on the keyboard and select Device Manager from the list.
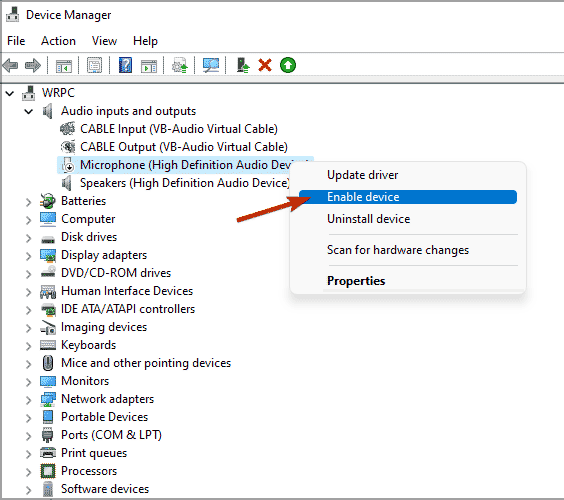
2- Select the Audio Inputs and Outputs section. Find your disabled Microphone, right-click on it, and select Enable device from the menu.
Device Manager is one of the easiest and most convenient ways to activate the Microphone in Windows 11, but depending on your settings, it doesn’t always work.
To disable the Microphone, you must go through the same steps, with the difference that this time, select Disable device instead of Enable.
How to set up and activate the Microphone in Windows 10
Description (step-by-step tutorial) of the above video:
Method 1: Check the Sound Settings menu
Before doing anything, we recommend restarting your computer once. Sometimes, due to temporary problems, the Microphone stops working, and with a simple restart, everything is fine again.
But if restarting your computer didn’t solve your problem, especially if your Microphone didn’t work, you should go to the sound settings menu in Windows 10 for troubleshooting.
- Go to Settings, then System, then Sound.
- In the Input section, click the drop-down box under Choose your input device.
- Select the Microphone you want to use. Note that other available inputs, such as the laptop’s internal Microphone or webcam, are also displayed in this section.
- If you do not see the Microphone you want, refer to the second method.
Once you have selected the right Microphone, try it and see if the microphone test bar goes up and down. If the Microphone is still not working, follow the steps below:
- Go to Settings > Update & Security > Troubleshoot > Additional troubleshooters and select Recording Audio. With this, Windows checks for common problems and fixes them.
- Return to the Sound page. Click on the Device Properties link under the Input section.
- This will open a new page where you can change the entry’s name. This makes it easier to identify the Microphone. In addition, you can check the Disable box to no longer display the Microphone on your computer or change the volume to adjust the microphone volume.
- At the bottom of the Sound screen, you’ll see a menu of sound preferences for apps and devices. This section allows you to select a different input and output device for each open program. Check this section, and don’t choose the wrong Microphone for your application.
In addition, we recommend that you close the programs you are not using. Having several applications open that have access to the Microphone can cause the Microphone to not work correctly in the application you are looking for.
Second method: Troubleshoot your Microphone
If the previous method doesn’t work, you should troubleshoot your Microphone for hardware issues. If your Microphone is not displayed at all and does not appear in the list of inputs, it may be due to hardware problems.
To solve this problem, follow the steps below:
- If you use a USB microphone, plug it into a different port.
- Do not use a USB hub and extender; connect the Microphone directly to the computer port.
- If you click the Microphone to another port and it works, it means the last port is broken or has a problem.
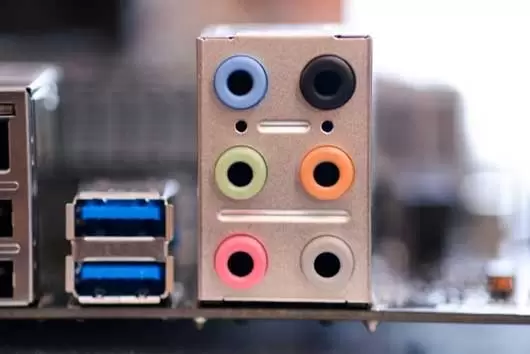
- If you use an analog microphone, connect it to the pink port on your computer.
- It doesn’t matter what type of Microphone you use, you should always connect all the microphone cables tightly, and nothing is loose. This means you should check the headset cable or any other additional cables.
- If you use an extra cable, unplug it and try the Microphone again.
- Worn and damaged microphone cables can also be why it is not working.
- It may seem obvious, but sometimes not having the Microphone close enough to your mouth can cause your voice not to come through well.
If your Microphone has a mute switch, check that you haven’t hit it wrong. Check the slider or button on the headset or Microphone.
If your Microphone still does not work after checking these things, it is better to connect it to another computer and see if it works. If your Microphone is still inactive, the reason is the hardware problems of the Microphone itself. In this case, you need to repair or replace it.
Finally, remember constantlyntly update your microphone drivers. Most headsets and microphones require special drivers that are not available in Windows to function correctly.
To download and install the drivers you need, search the name of your computer along with “drivers” in Google. When you visit your computer manufacturer’s website, find the desired driver in the Downloads section and update it. In addition, it is essential to update the sound card drivers.