
How to Clear Windows 11 DNS Cache for Faster and More Reliable Networking
If You’re Having Trouble Loading Websites Or Pinging Online Services With The Domain Name, You Probably Need To Flush The DNS Cache.
If you’ve recently noticed that a particular website won’t load in Windows 11, a program that requires the Internet doesn’t work, or using tools like ping or nslookup shows the wrong destination IP address, it’s probably due to the local DNS cache. In this article, we will learn how to solve this problem.
When browsing the web or using applications that rely on an Internet connection, the Windows 11 Networking Stack stores a copy of each domain name in the local cache, along with the corresponding IP address translations obtained from DNS, to speed up subsequent connections.
The problem with this process is that the DNS cache can sometimes fail, preventing websites and apps from loading correctly. In such cases, clearing the DNS cache can resolve the issue; it resets the cache and starts fresh.
How to clear DNS cache from CMD in Windows 11
In such a situation, you can use different methods to clear the DNS cache in Windows 11. If you’re dealing with DNS-related issues, Windows 11 offers at least two ways to clear the DNS cache: via Command Prompt or PowerShell. In addition, browsers such as Microsoft Edge, Google Chrome, and Mozilla Firefox include tools to clear these network records, which can help resolve the issue.
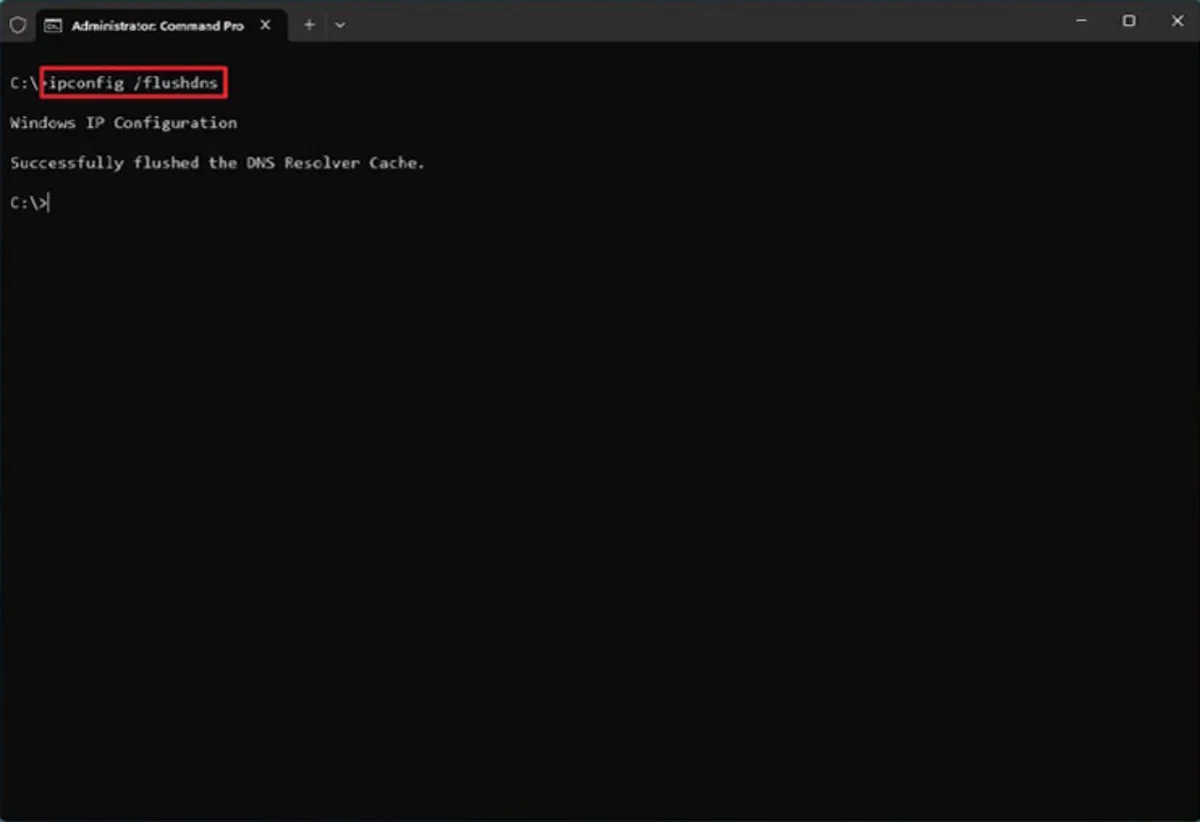
- Search for Command Prompt in the Start menu and right-click on it. Now select Run as administrator.
- Enter the following command to flush the DNS cache in Windows 11 and press Enter:
ipconfig /flushdns
- If you want, you can use the following command to view cached DNS records:
ipconfig /displaydns
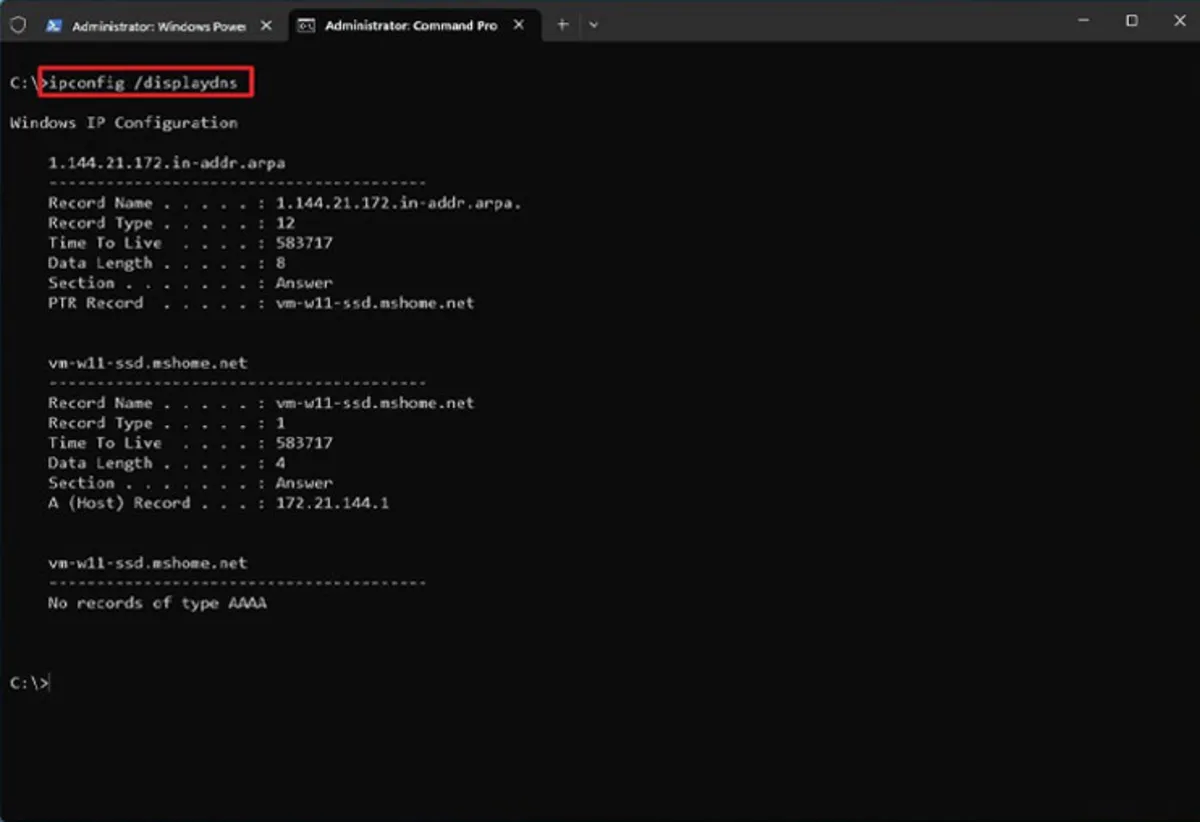
Once these steps are complete, a new DNS lookup will occur to restore the information when the system or an application attempts to access the network.
How to clear DNS cache from PowerShell in Windows 11
Follow these steps to flush DNS records with PowerShell commands:
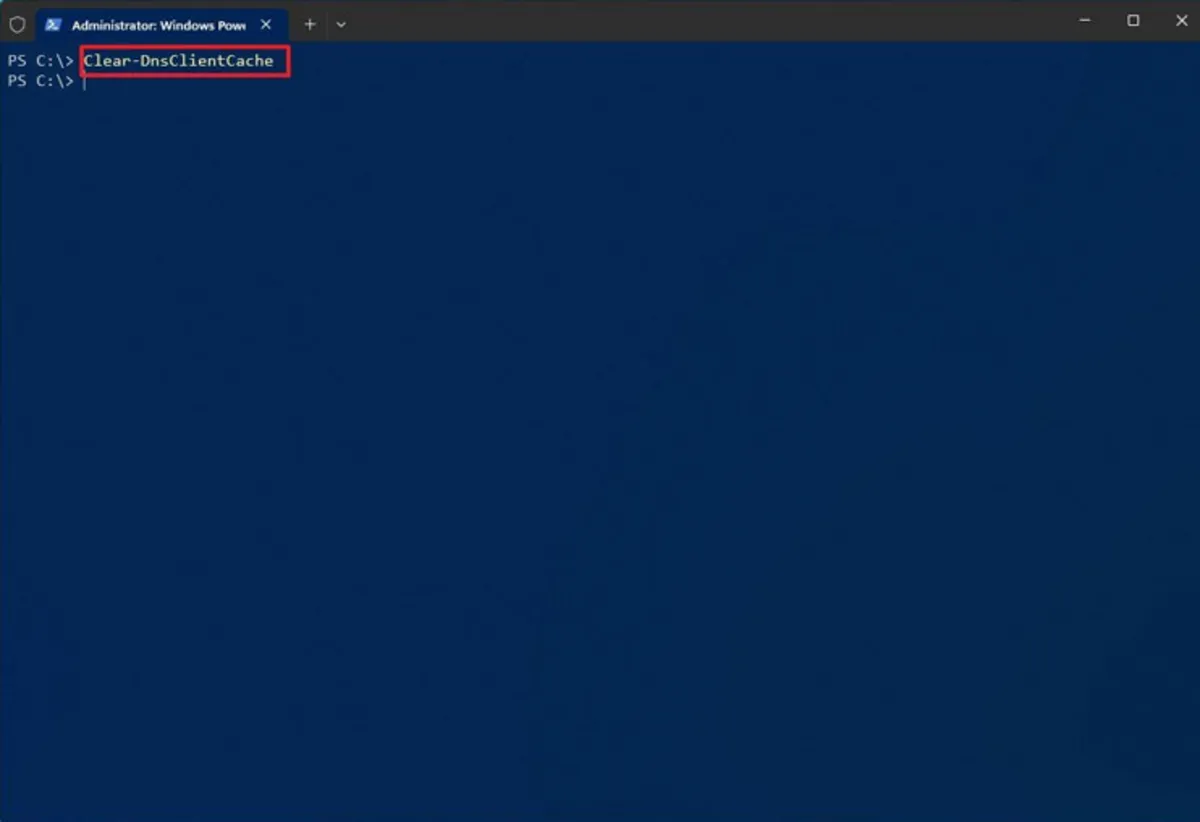
- Open the Start menu, search for PowerShell, then right-click it and select Run as administrator.
- Now type the following command to clear the DNS cache and hit Enter:
Clear-DnsClientCache
- You can also run the following command to view cached DNS records:
Get-DnsClientCache

After completing the above steps, the PowerShell command will clear and reset the DNS records in the device’s cache.
How to clear the DNS cache through the browser
As mentioned, Windows 11 and browsers such as Microsoft Edge, Google Chrome, and Mozilla Firefox also offer the option to clear the DNS cache.
Clear the DNS cache in the Edge or Chrome browser
To clear the DNS cache from Edge or Chrome, do the following:
- Open Edge or Chrome.
- Type the following path in the address bar and press Enter:
chrome://net-internals/#dns
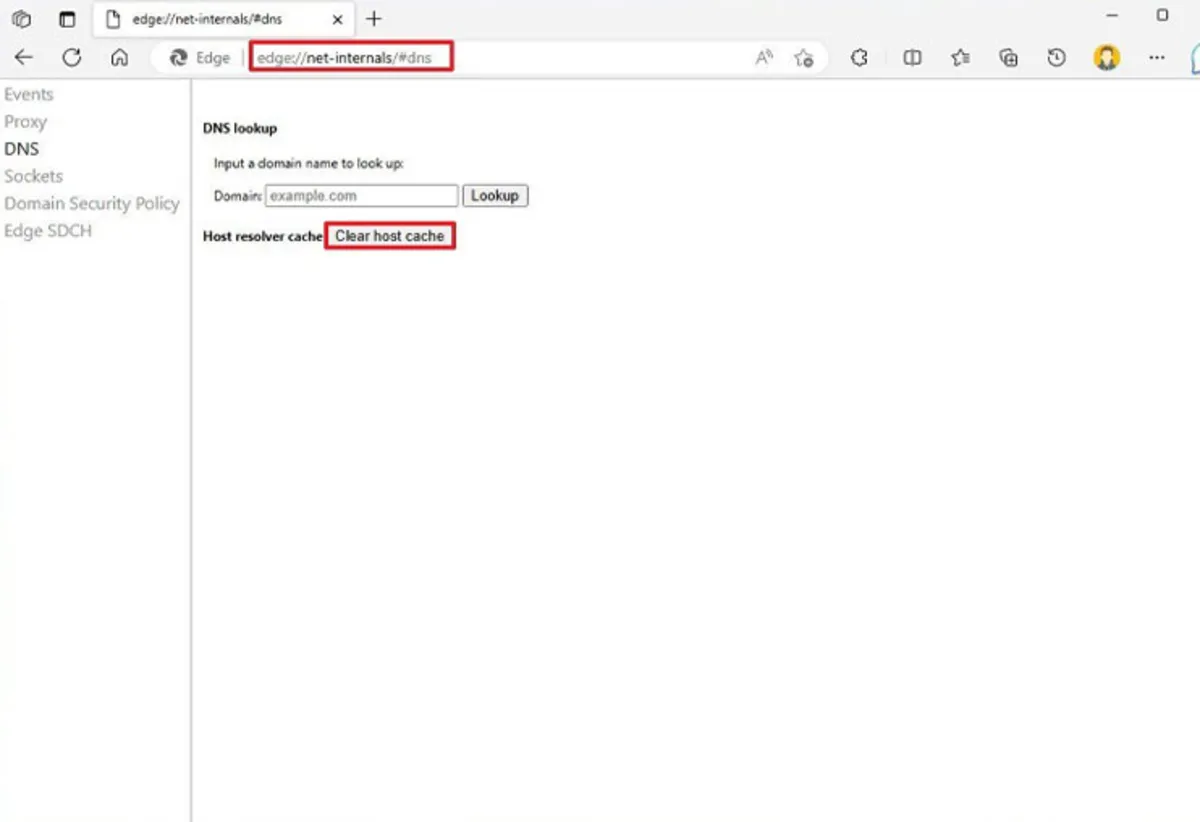
- On the “DNS” page, click the “Clear host cache” option to set the “Host resolver cache.”
Clear DNS cache in Mozilla Firefox
- After opening Firefox, type the following path in the address bar and hit Enter:
About: networking#dns
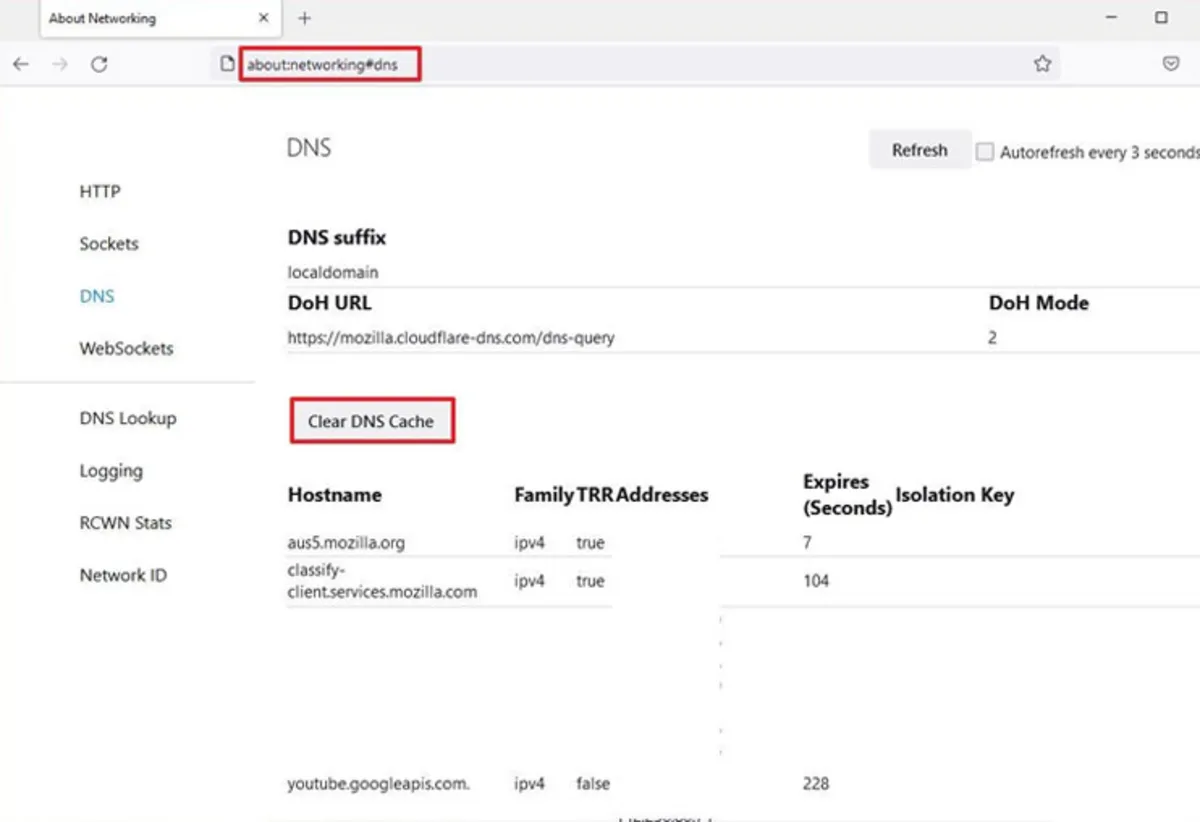
Now click “Clear DNS cache” on the “DNS” page.
When you complete the steps, as with Command Prompt and PowerShell, the web browser clears the DNS cache to allow websites and other services to function correctly again.
FAQ
Why clear the DNS cache in Windows 11?
Clearing the DNS cache removes outdated entries that can cause connection errors or slow browsing.
What is the command to flush DNS?
Use ipconfig /flushdns in Command Prompt to clear the DNS resolver cache.
Will clearing DNS affect my network settings?
No, it refreshes DNS entries without impacting other network configurations.