Enable Hyper-V in Windows 10 for lab environment
There are many ways you can test different things on virtual machines; one is Hyper-V. Hyper-V enables network administrators to run tests using multiple virtual machines. Windows 10 supports Hyper-V.
Managers and network officials often need to test a user’s problems or the updates published for the systems in a laboratory environment to identify possible problems and prevent them from being transmitted to the network. In the past, doing this required separate hardware and hardware systems. This issue caused an increase in start-up and maintenance costs.
Today, IT professionals can easily set up a lab environment using virtualization structures; one of these is the use of Hyper-V in Windows 10. In this article, we are going to start Hyper-V in Windows 10. Hyper-V is a free and powerful tool that IT professionals can use in the laboratory environment without investing and preparing very expensive hardware.
Using virtual machines, network administrators can install several operating systems separately on one computer and then conduct their own experiments and tests. For example, it is possible to test whether software can run on Windows 10 and 7 operating systems.
Virtual machines need resources, so you should pay attention to the resources required during installation. A virtual machine needs memory, processor, hard disk, ports, network connections and more. During startup, it should be noted that we have to allocate some of the system’s hardware resources to our virtual machines, so there should be enough resources.
How to install Hyper-V in Windows 10?
Hype-V is included in Windows 10 as an additional feature. Therefore, it cannot be downloaded. Hyper-V is only available in Enterprise and Pro editions of Windows 10. You should know that it is only supported by 64-bit processors and the server must have SLAT capability and support virtualization. Before installing Hyper-V, the network administrator must determine the amount of CPU, RAM, HDD and other resources the virtual machine will use and ensure that there are enough resources for performance.
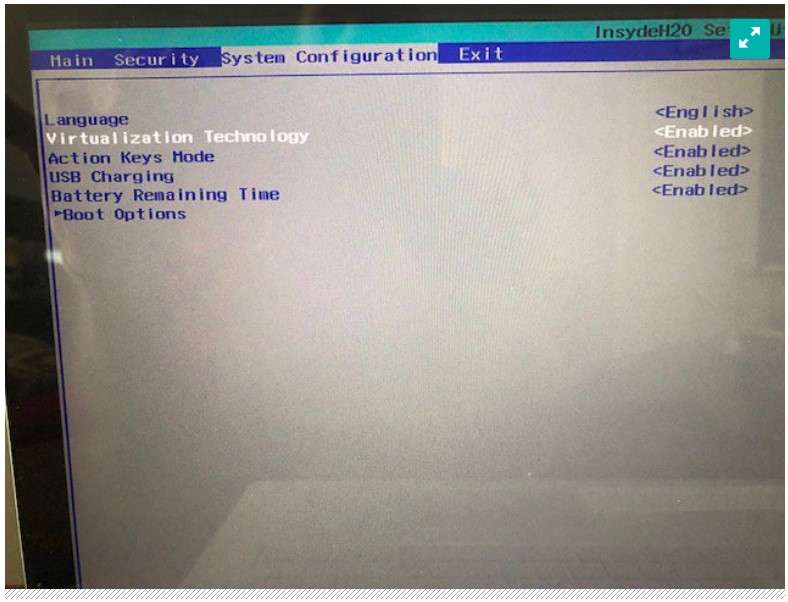
One of the important things is to make sure that the virtualization option is enabled in the BIOS. To do this, you need to enter the BIOS and enable Virtualization. In different BIOS, it may be seen with different names, but it is usually located in the part related to the CPU. in a separate article called enabling virtualization in BIOS explained
To install, just do the following:
- Right-click on the start menu and select Apps and Features.
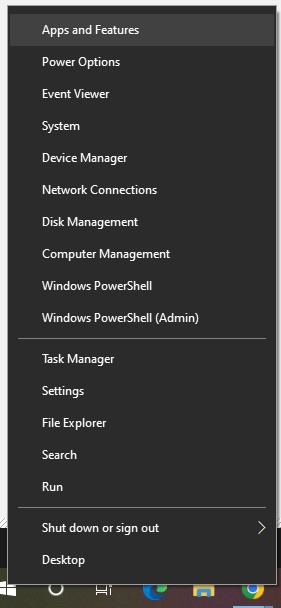
- Then click on Programs and Features in the opened box.
 Click on Turn Windows features on or off.
 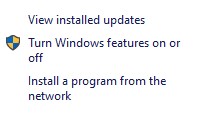 In the opened window, find Hyper-V in the list, tick it and click OK.
  After the installation is complete, your computer will be restarted once and the operation will be completed successfully.
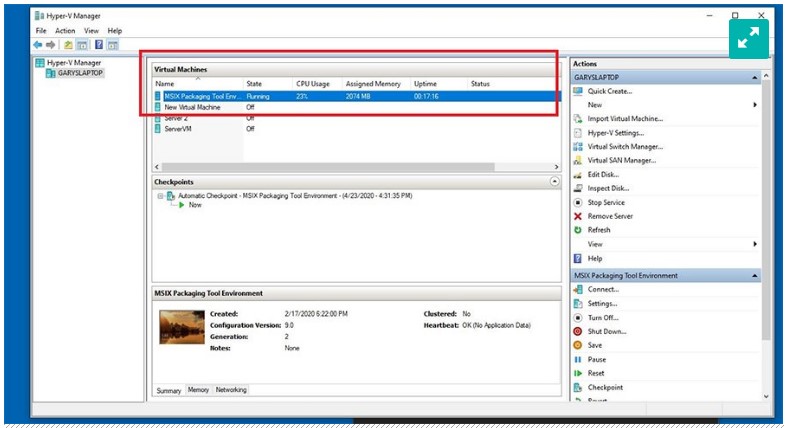
After your computer has booted and entered your Windows 10, search for Hyper-V in Start and run it, the Hyper-V Manager window will open for you. Using this window, you can manage your Hyper-V, create a virtual machine and install the operating systems you need. As you can see in the picture, in this example, several virtual machines are installed on Hyper-V.