


Install and activate the Centos operating system
Install and activate the Centos operating system.
To install and activate the CentOS operating system, you can use the following methods, but here we will explain the installation method via CD/DVD or USB flash drive:
Download the CentOS ISO file from the official CentOS website.
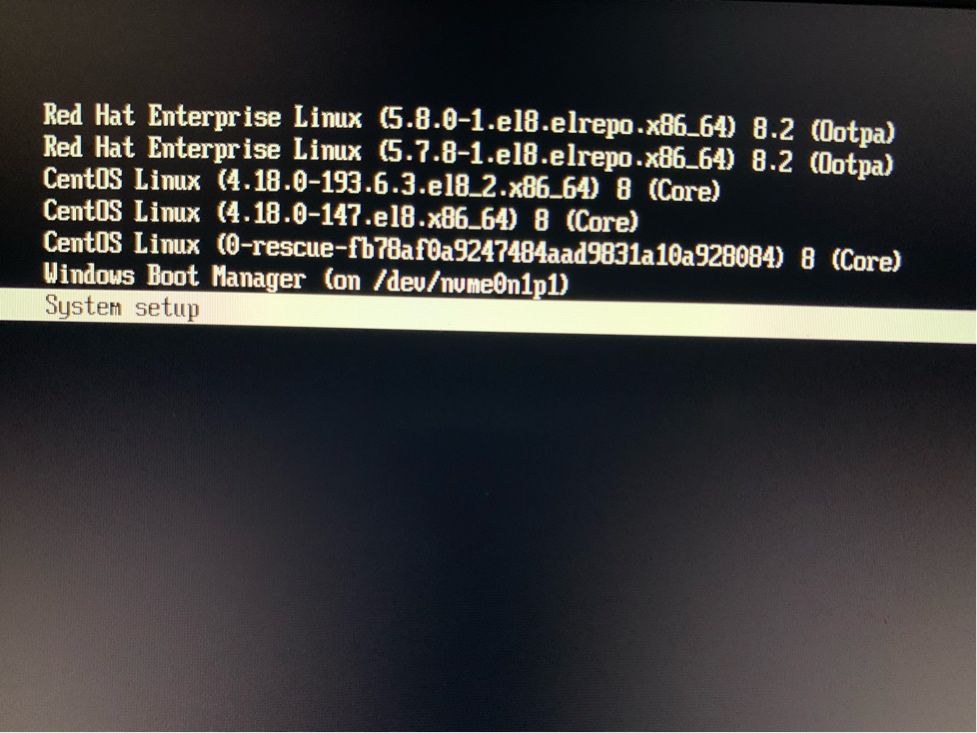
Prepare a CD/DVD or USB flash drive for installation. You can use software such as Rufus, Etcher, or UNetbootin for this. Insert CD/DVD or USB flash drive into computer drive and boot system. Select the option to install CentOS from the boot menu. Follow the installation guide and the required settings, including choosing the installation location and network. After installation, start the system.
To activate the CentOS system, you need to connect to the system through Terminal Control Center and enter the activation commands.
Note that after installing CentOS, you need to apply security and network through Terminal Control Center, and you also need to install the required packages.
I will introduce some packages needed to install CentOS:
1. `openssh-server`: to enable SSH and connect to the system remotely.
2. `net-tools’: to access network tools such as ifconfig and netstat.
3. `wget’: to download files from the Internet.
4. `vim’: for editing text files.
5. `epel-release`: to access additional software repositories.
6. `ntp`: to synchronize the system clock with the global clock.
7. “git”: to work with the Git version control system.
8. `httpd`: to install and run the Apache web server.
9. `php`: to support PHP programming language in Apache web server.
10. `MySQL-server’: to install and run the MySQL database management system.
11. `PostgreSQL-server’: to install and run the PostgreSQL database management system.
12. `python-pip’: to install packages related to the Python programming language.
In general, the packages required to install CentOS depend on your needs and the type of user of the system. The above list is only some of the required packages that are useful in many cases.
CentOS project
The community-based free software effort is focused on the goal of providing a rich base platform for open-source communities.
CentOS Linux 8 packages have been removed from mirrors.
If you haven’t already, convert CentOS Linux 8 installations to Stream 8 with these two commands:
dnf –disablerepo ‘*’ –enablerepo extra swap centos-linux-repos centos-stream-repos
dnf distro-sync
CentOS Stream is a “provided continuous distribution that tracks right before the development of Red Hat Enterprise Linux (RHEL) and is positioned as an intermediate stream between Fedora Linux and RHEL. It is intended for “anyone interested in contributing and Designed to work together in the RHEL ecosystem.
Since previous versions of CentOS were directly derived from RHEL (RHEL was basically upstream of CentOS), Stream represents a change from previous versions of CentOS that lies between upstream development in Fedora and downstream development in RHEL. That said, CentOS Stream 9 and RHEL 9 started from the same codebase, so CentOS Stream could reasonably be seen as “closer” to RHEL than Fedora.
The initial release, CentOS Stream 8, was released on September 24, 2019, at the same time as CentOS 8. Since CentOS 8 was not supported, the CentOS project provided a simple tool to convert from CentOS Linux 8 to CentOS Stream 8.
CentOS Stream 9 was released on December 3, 2021.
Install Docker CentOS
Step 1 – Install Docker
The Docker installation package available in the official CentOS 7 repository may not be the latest version. To get the latest and greatest version, install Docker from the official Docker repository. This section shows you how to do that.
Sudo Yam check-update
Now run this command. Adds the official Docker repository, downloads the latest version of Docker, and installs it:
curl -fsSL https://get.docker.com/ | Sh
After the installation is complete, start the Docker daemon:
Sudo systemctl start Docker
Check that it is running:
Docker status sudo systemctl
The output should be similar to the following, indicating that the service is up and running:
● docker.service – Docker Application Container Engine
Loaded: loaded (/lib/systemd/system/docker.service; enabled; vendor-default: enabled)
Active: Active (running) since Sun 05-01-2016 06:53:52 CDT; 1 week 3 days ago
Documentation: https://docs.docker.com
Original PID: 749 (Docker)
I will introduce some packages needed to install CentOS:
1. `openssh-server`: to enable SSH and connect to the system remotely.
2. `net-tools’: to access network tools such as ifconfig and netstat.
3. `wget’: to download files from the Internet.
4. `vim’: for editing text files.
5. `epel-release`: to access additional software repositories.
6. `ntp`: to synchronize the system clock with the global clock.
7. “git”: to work with the Git version control system.
8. `httpd`: to install and run the Apache web server.
9. `php`: to support PHP programming language in Apache web server.
10. `MySQL-server’: to install and run the MySQL database management system.
11. `PostgreSQL-server’: to install and run the PostgreSQL database management system.
12. `python-pip’: to install packages related to the Python programming language.
In general, the packages required to install CentOS depend on your needs and the type of user of the system. The above list is only some of the required packages that are useful in many cases.
Finally, make sure it starts on every server restart:
Sudo systemctl enables Docker
Now, by installing Docker, it provides you with the Docker service (daemon), the Docker command line tool, or the Docker client. In the rest of this tutorial, we will examine how to use the docker command.
Step 2 – Run the Docker command without sudo (optional)
By default, running the docker command requires root privileges – that is, you must prefix the command with sudo. It can also be run by a user in the docker group that is automatically created when Docker is installed.
If you try to run the docker command without prefixing it with sudo or without being in the docker group, you will get the following output:
Docker: Unable to connect to Docker daemon. Is the docker daemon running on this host?
See “Docker run — help.”
If you want to avoid typing sudo when running the docker command, add your username to the docker group:
Sudo usermod -aG docker $(whoami)
To enable this change, you must log out of the Droplet and log back in as the same user.
If you need to add a user to the docker group that you are not logged in with, declare that username explicitly using:
Username sudo usermod -aG docker
The rest of this article assumes that you are running the docker command as a user in the docker user group. If not, please add commands with sudo.
Consoles and logging in during installation
The CentOS installer uses the tmux terminal multiplexer to display and control multiple windows that you can use in addition to the main interface. Each of these windows serves a different purpose – they display several different reports that can be used to troubleshoot any problems during installation, and one window provides an interactive shell prompt with root privileges. Unless this request is specifically turned off using the boot: option or a Kickstart command.
There is no reason to exit the default graphical installation environment unless you need to diagnose an installation problem.
Terminal Multiplexer is running on Virtual Console 1. Press Ctrl+Alt+F1 to switch from the actual installation environment to tmux. Press Ctrl+Alt+F6 to return to the main installation interface running in Virtual Console 6.
If you choose a text mode installation, you start in virtual console 1 (tmux), and switching to console 6 opens a shell prompt instead of a GUI.
The console running Tmux has five windows available. Their contents, along with keyboard shortcuts to access them, are described in the table below. Note that the keyboard shortcuts are two-part: first press Ctrl+b, then release both keys and press the number key for the window you want to use.
You can also use Ctrl+b n and Ctrl+b p to go to the next or previous tmux window, respectively.

Save screenshots
During a graphical installation, you can press Shift+Print Screen at any time to take a screenshot of the current screen. These screenshots are stored in /tmp/anaconda-screenshots.
Does your system have an error in displaying signal 11?
Signal error 11, commonly known as a segmentation fault, means that a program has accessed a memory location that was not allocated to it. It may be due to a bug in one of the installed software programs. Or defective hardware occurs.
If you get a fatal signal error 11 during installation, first make sure you’re using the latest installation images and let Anaconda verify them to make sure they’re not corrupted. Improper installation media (such as an improperly burned or scratched optical disc) is a common cause of signal 11 errors. Before each installation, it is recommended to check the integrity of the installation media.
For information on obtaining the latest installation media, see Download CentOS. To perform a media check before starting the installation, add the rd. Live. Check the boot option to the boot menu. See Boot media verification for details.
If you’ve run a media check without any errors and you’re still having problems with segmentation errors, it usually means that your system has encountered a hardware error. In this case, the problem is most likely in the system memory (RAM). This can be problematic even if you have previously used a different operating system on the same computer without any errors. On BIOS-based systems, you can use the Memtest86+ memory test module included on the installation media to thoroughly test your system’s memory. See Loading Memory Test Mode for details.
Other possible causes are outside the scope of this document. Consult your hardware manufacturer’s documentation and also see Red Hat’s hardware compatibility list available online at https://hardware.redhat.com.