


ESXi 6.7 Hypervisor is one of the most popular VMware tools for virtualization. But how to install ESXi 6.7 on the server?
In the previous part of this tutorial, we learned about the concept of virtualization and VMware tools, answered the question of what ESXI is, and introduced other VMware components.
In this tutorial, we will guide you through the process of installing the ESXi operating System on a server.
How to Install Esxi on a server
To install the ESXi virtualization operating System on the server, you must first download the ISO File from ESXi 6.7 and boot it from the flash drive, allowing you to install it on the server. Then it is enough to go through the following steps:
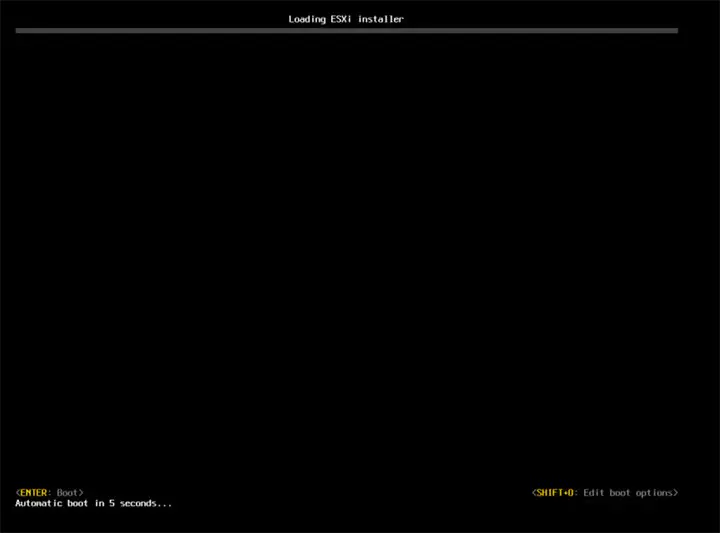
1. Connect the flash drive containing ESXi 6.7 to the server and restart it.
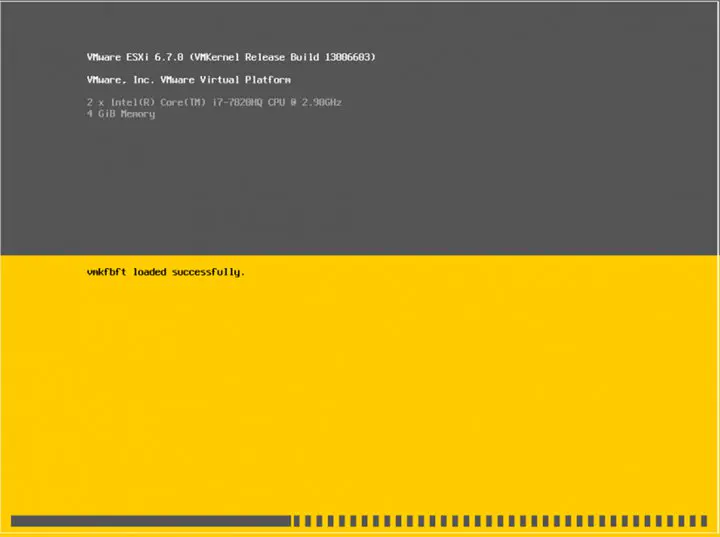
2. At this point, all ESXi 6.7 modules will start booting automatically.

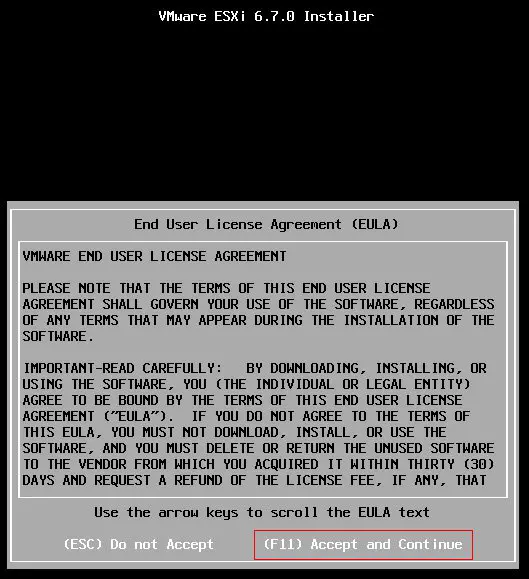
3. After completing the above step, a message will be displayed indicating the start of ESXi 6.7 installation. Then, select the Continue option by pressing the Enter key.

4. At this point, press the F11 key to accept VMware rules.

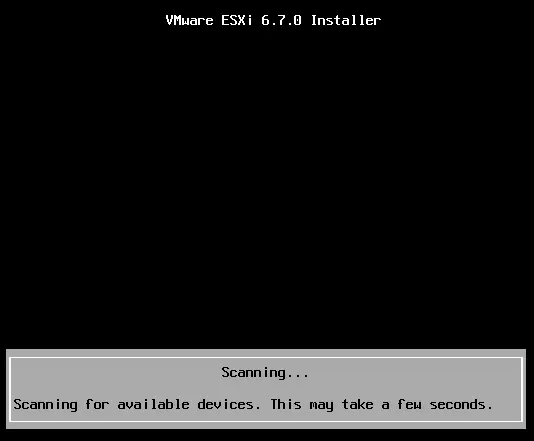
5. It takes a while for the operating System to scan the device.

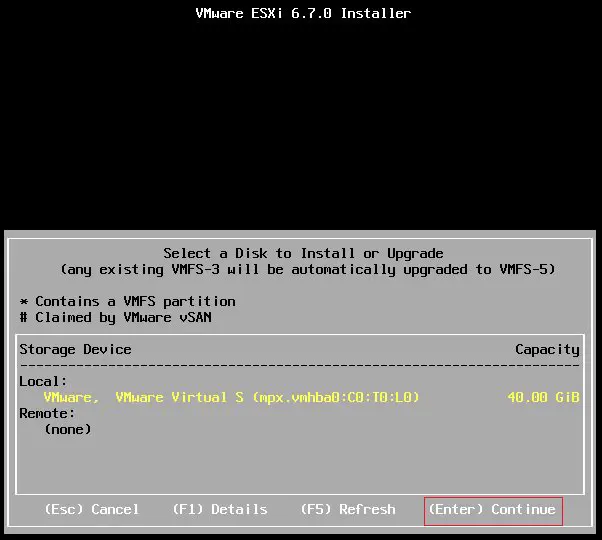
6. The available memories on the local or remote server will now be listed for you. In this step, you must select the same memory on which the ESXi 6.7 Hypervisor is to be installed. To select this memory, press the Enter key.

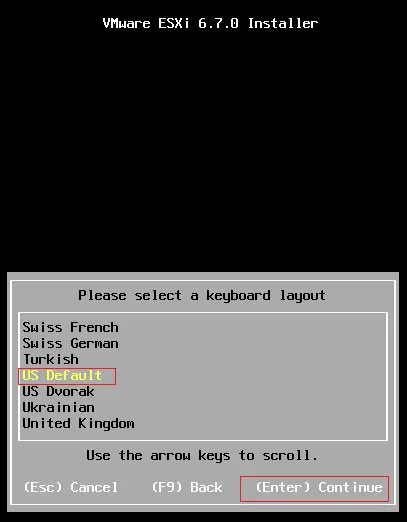
7- In the next step, you must select the language, which is selected by default on the US Default. Just press the Enter key at this stage.

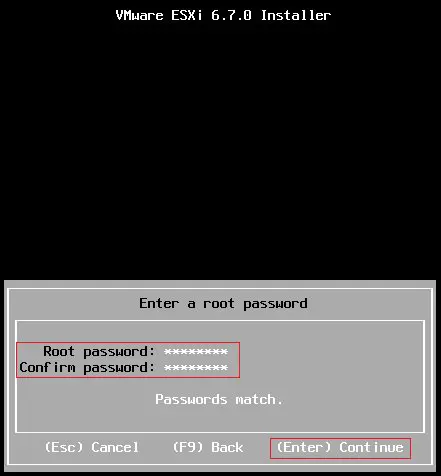
8. An AA page will then be displayed, on which you must select a password for the Root user. This password must be at least seven characters long and must not use consecutive letter patterns or numbers. After choosing the desired password, press the Enter key.

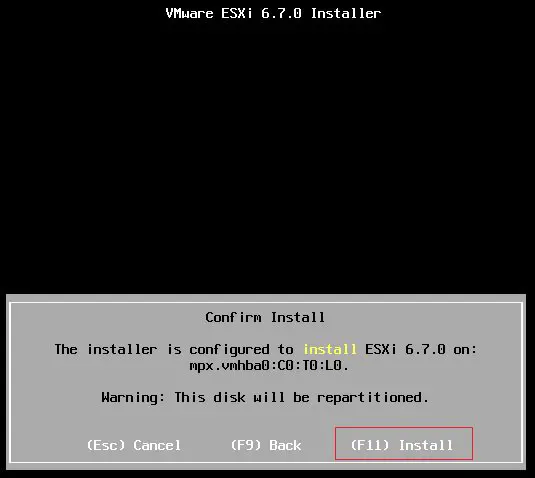
9- In the next step, press the F11 Button to confirm the installation steps.

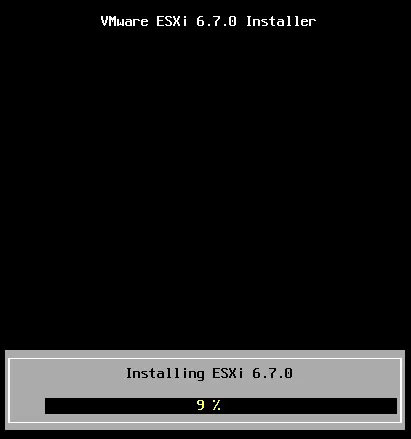
10. The ESXi 6.7 installation process takes a few minutes to complete.

11. After the ESXi 6.7 installation process is complete, disconnect the flash drive from the server and reboot the server.

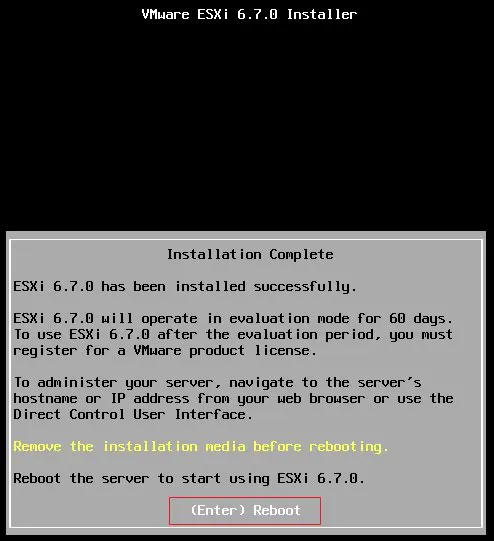
11. When the server reboots, you will see a page with the IP address of the ESXi 6.7 server. (The server is assumed to be on a Network where DHCP is enabled.)

