

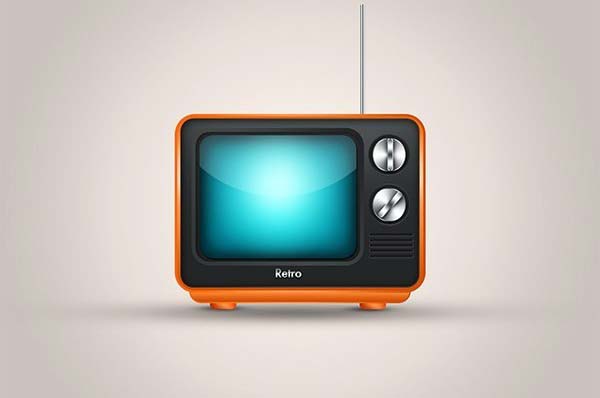
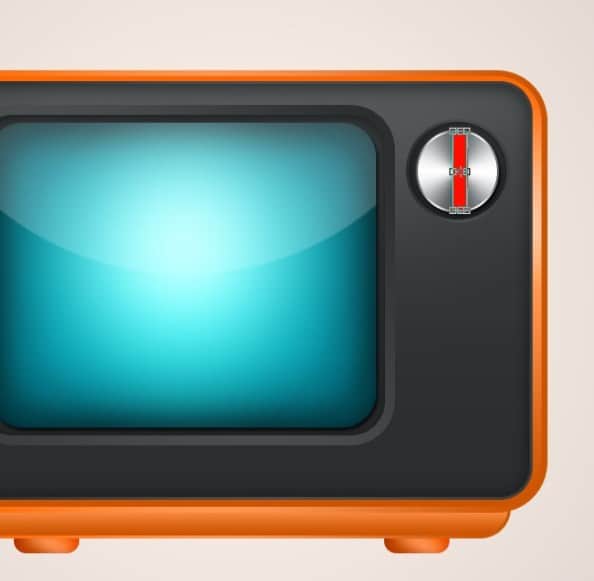
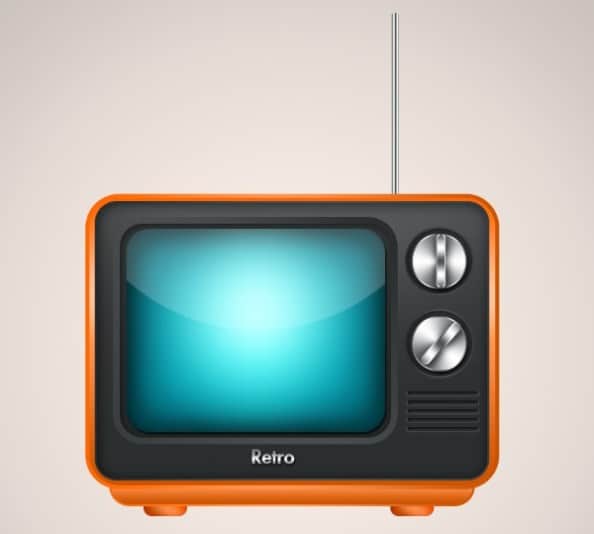
In this tutorial you will learn how to create a TV icon with the help of Photoshop.
Training details
-
Application: Photoshop 6CS
-
Approximate time: 45 minutes
-
Level: Beginner-Intermediate

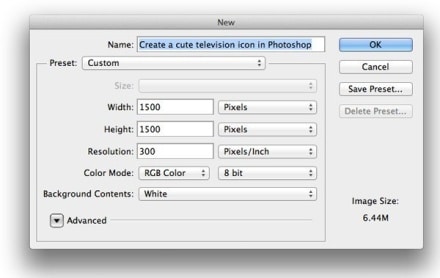
Step 1
In Photoshop, go to File> New and enter the following values and information in the page that opens.

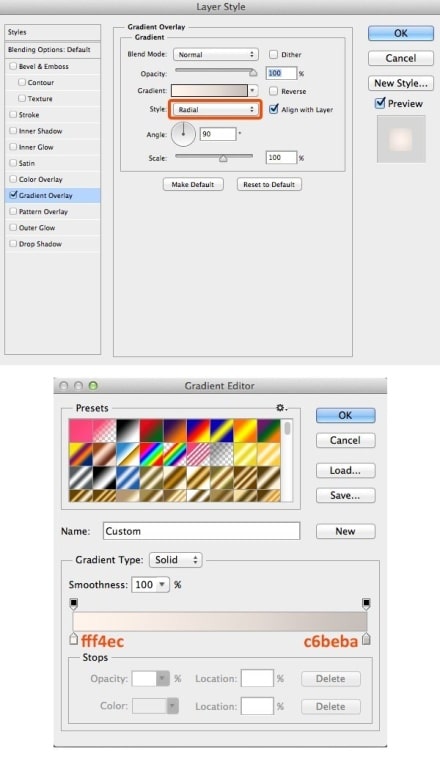
Step 2
Bleach the background color and then enter the following information in the Layer Style window.

Step 3
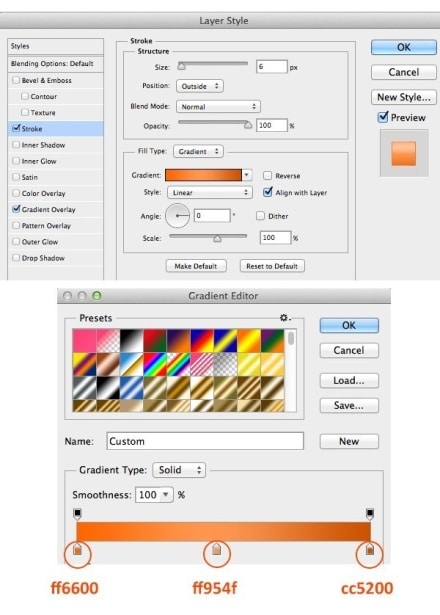
Use the Rounded rectangle tool (U shortcut key) to create a quadrilateral with a diameter of 35 pixels and your favorite color. Rename the layer to Body and open the Layer Style and enter the following information in the opened page.
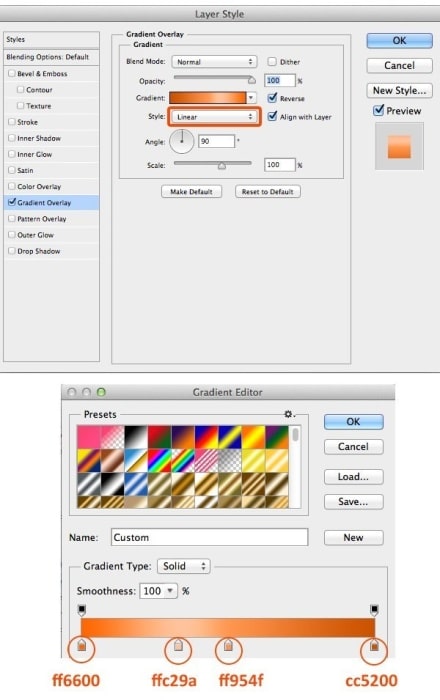

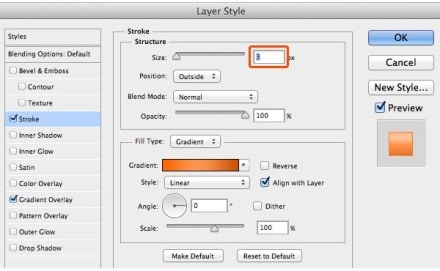
Apply the Stroke style on the Body layer.

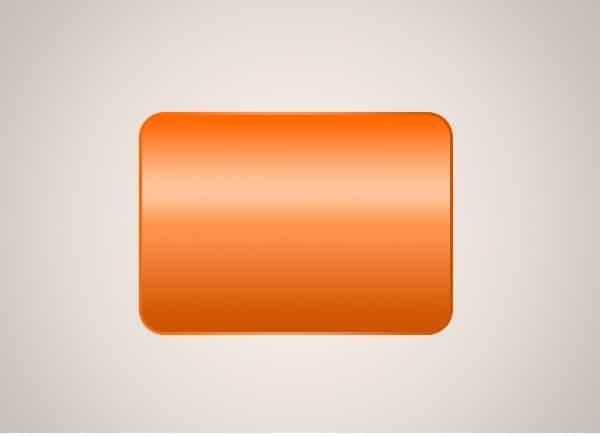
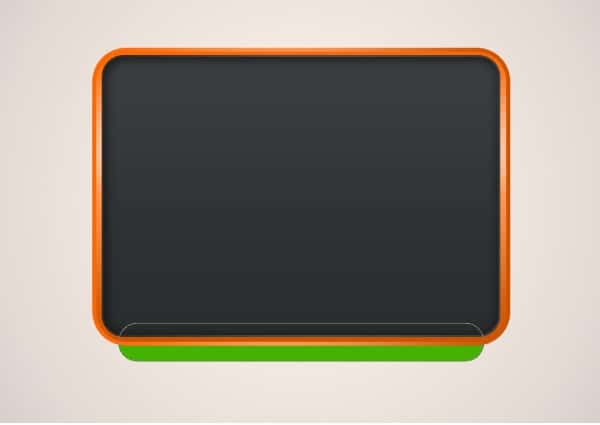
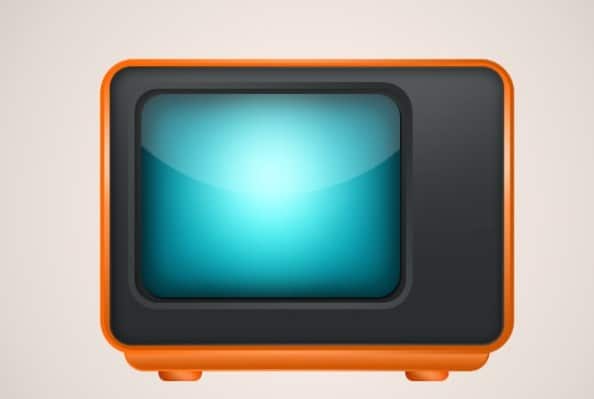
By now you should have created the following form:

Step 4
Use the Rounded rectangle tool (U shortcut key) to create a quadrilateral with a diameter of 35 pixels and your favorite color. Rename this layer to Body-2 and open the Layer Style and enter the following information in the opened page.


Apply Stroke style on the Body-2 layer.


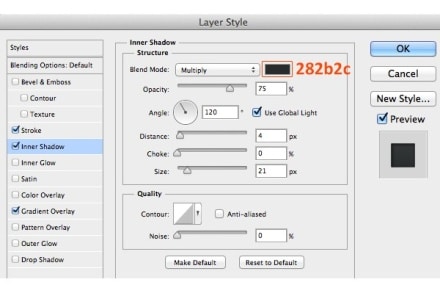
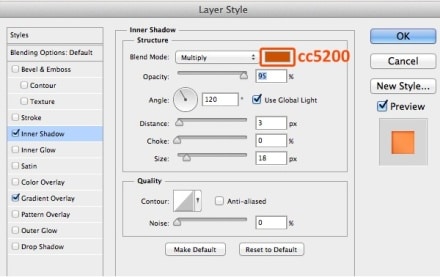
Now apply the Inner Shadow style on the Body-2 layer.

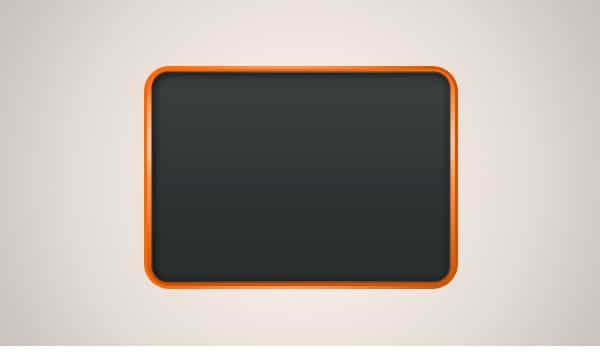
By now you should have created the following form:

Step 5
Create a new layer called Base and place it under the Body layer. Using the Rounded rectangle tool (U shortcut key), create a quadrilateral with a diameter of 35 pixels and your desired color as follows.

Right-click on the Body layer and select Copy Layer Style, then paste it on the Base layer. Now you need to set the Stroke size in the Base layer to 3 pixels.

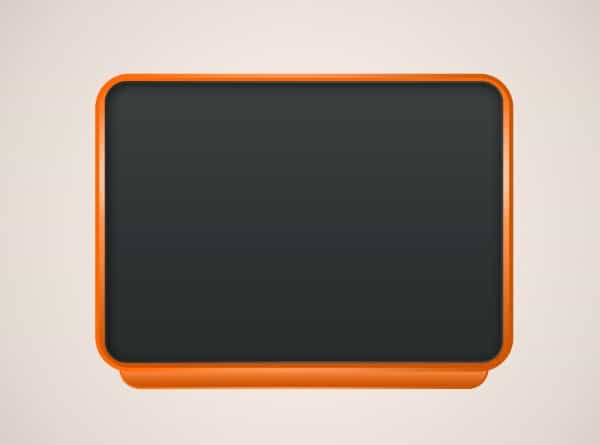
After clicking OK, you should look like this:

Step 6
Create a new layer called Foot and place it below the Base layer. Use the Rounded rectangle tool (U shortcut key) to create a square with a diameter of 35 pixels. Then open the Layer Style and enter the following information in the opened page.
Apply Inner Shadow style on the Foot layer.


By now you should have created the following form:
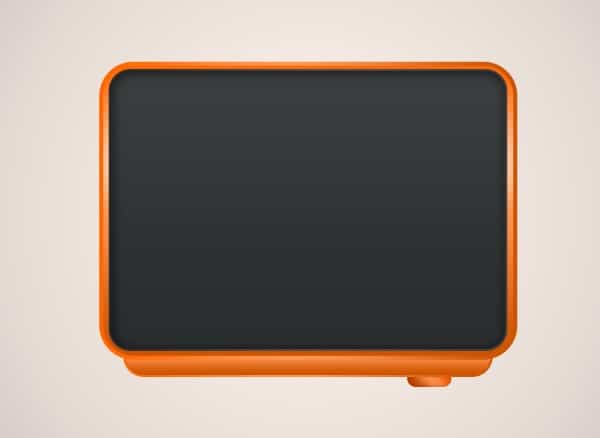

Now take a duplicate of the Foot layer and place it on the left side of the TV icon as shown below.
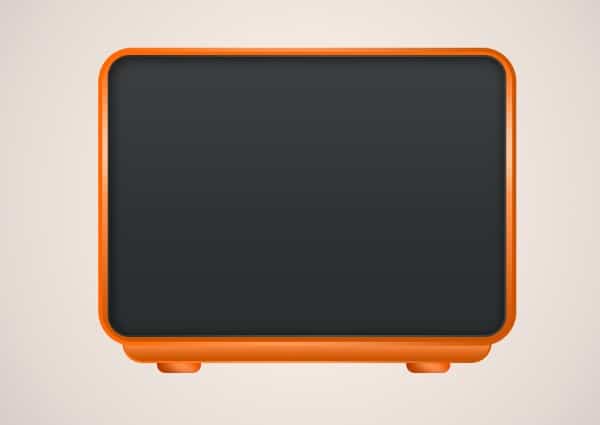
Step 7
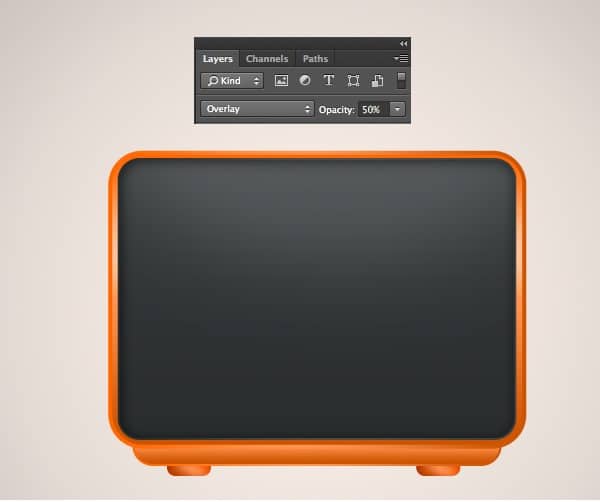
Create a layer called Glossy and place it on top of the other layers. Now select the brush tool (shortcut key B) and create a large circle at the top of the image.
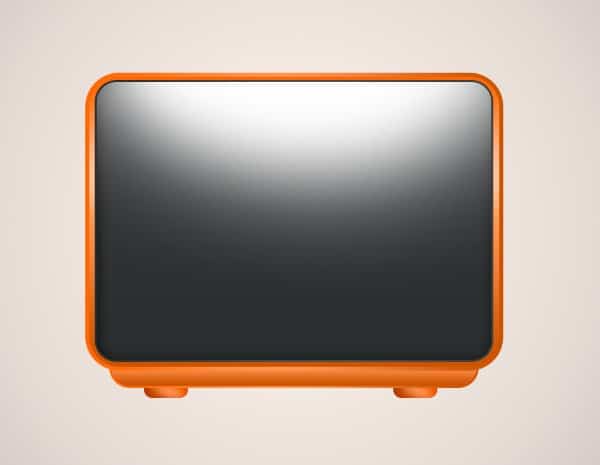

Then set the Blending Mode of the shape to Overlay and the Opacity value to 50%.

Step 8
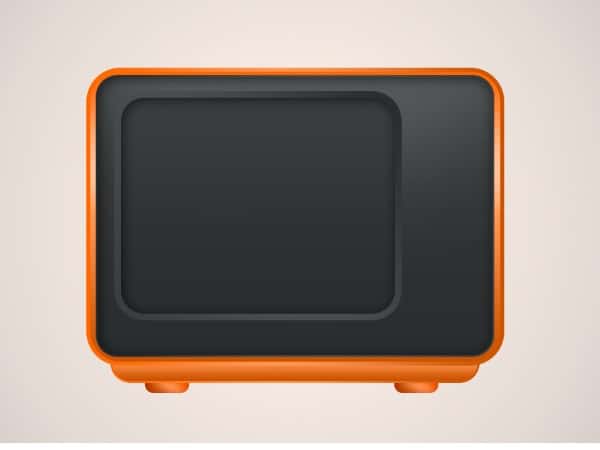
Create a layer called Screen and place it on top of the other layers. Use the Rounded rectangle tool (U shortcut key) to create a quadrilateral with a diameter of 35 pixels. Right-click on the Body-2 layer and select Copy layer Style and paste it on the Screen layer. Now you need to set the Stroke size in the Screen layer to 10 pixels.

By now you should have created the following form:

Step 9
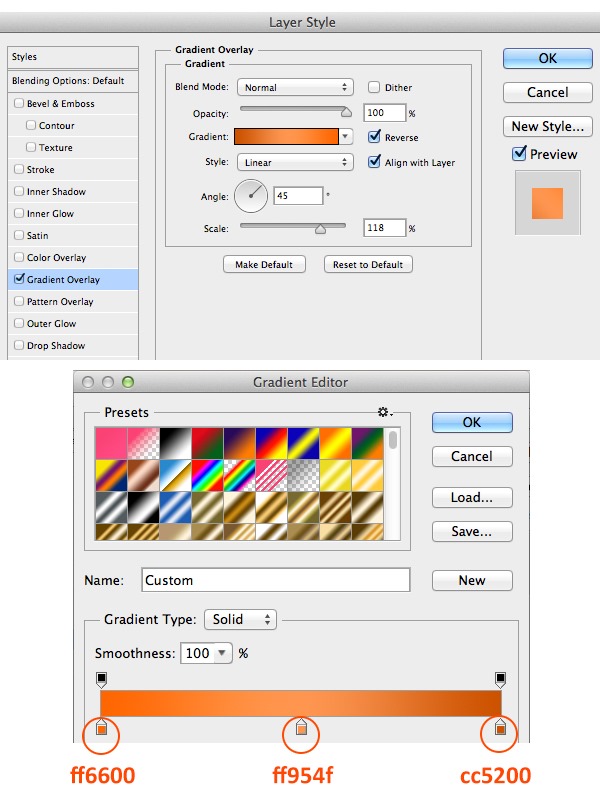
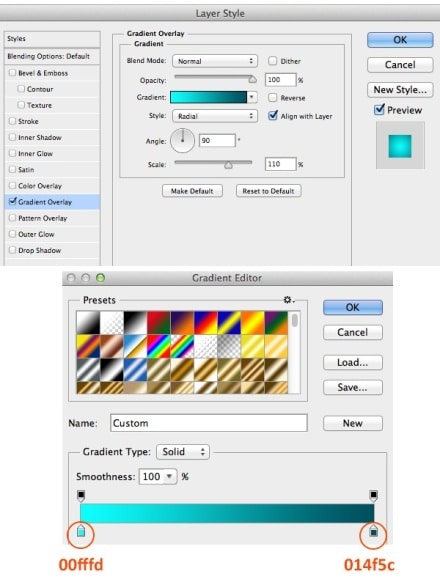
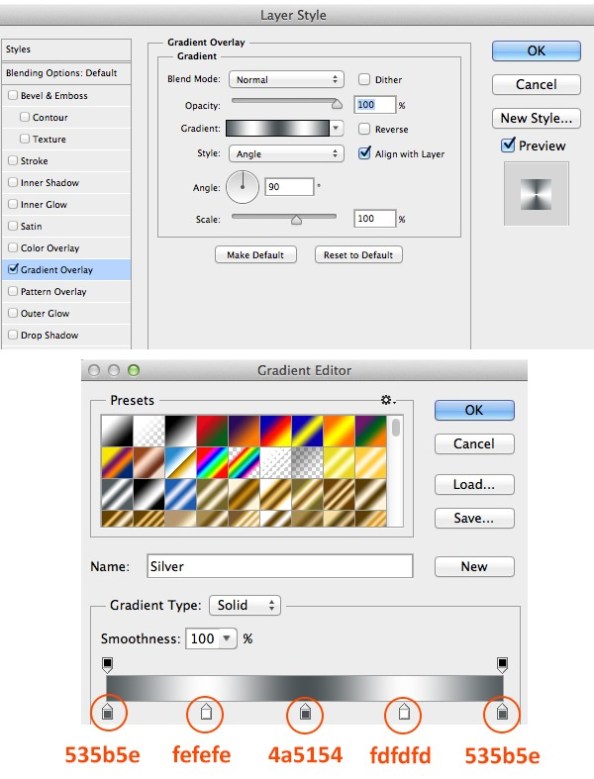
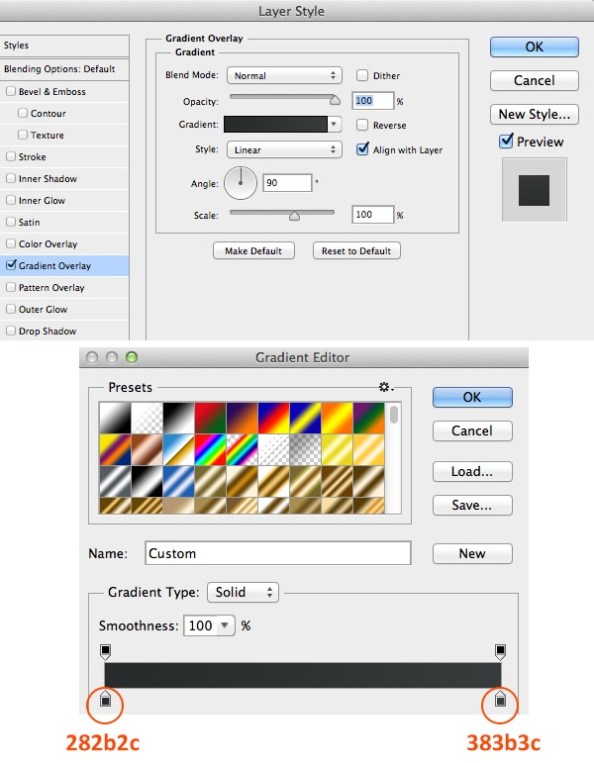
Create a new layer called Screen-2 and place it on top of the other layers. Use the Rounded rectangle tool (U shortcut key) to create a quadrilateral with a diameter of 35 pixels. Now apply the Gradient Overlay style on this layer.

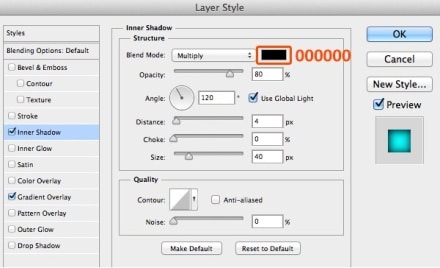
Apply Inner-Shadow style to Screen-2.

Apply Inner Glow style on the Screen-2 layer.


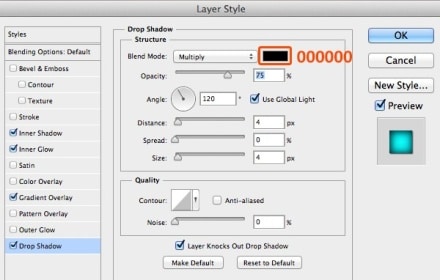
Then Apply the Drop Shadow style on the Screen-2 layer.

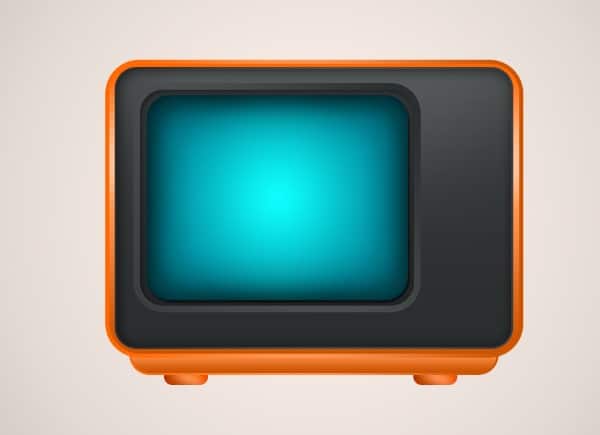
So far, so good:

Step 10
Create a new layer called Screen Glossy and place it on top of the other layers. Select the font tool (P shortcut key) and create a shape like the one below and fill it with white.
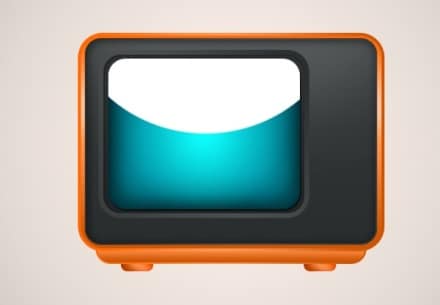

Set the Opacity to 20%.

Step 11
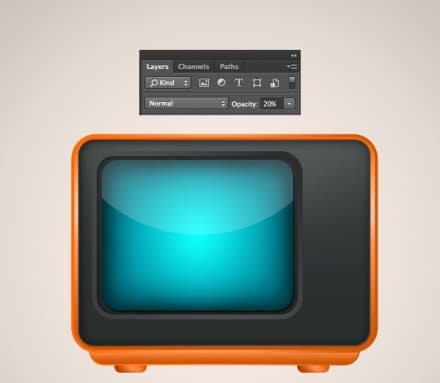
Create a new layer called Light Dot and place it on top of the other layers. Select the brush tool (shortcut key B) and create a large circle at the top of the image.

Step 12
Using the Ellipse tool, create a circle as shown below on the right side of the TV. Name this layer Button.
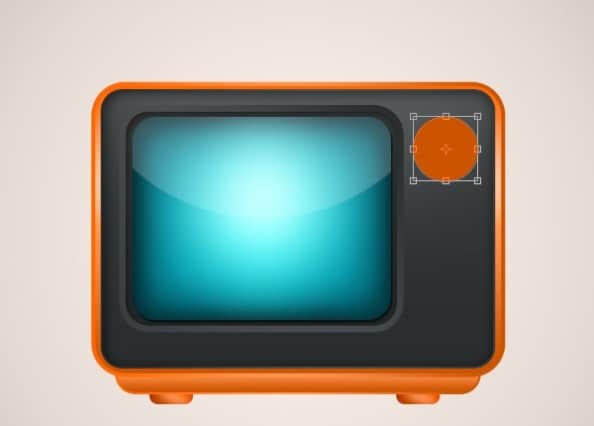

Right-click on the Body-2 layer and select Copy Layer Style and paste it on the Button layer. So far, so good:

Now create another circle like the one below.
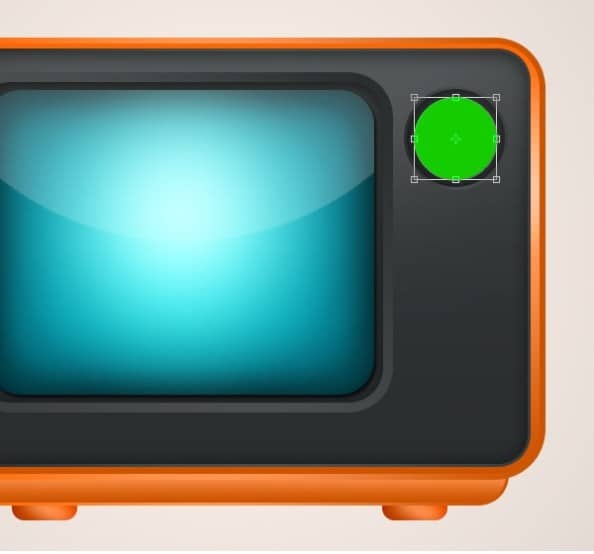

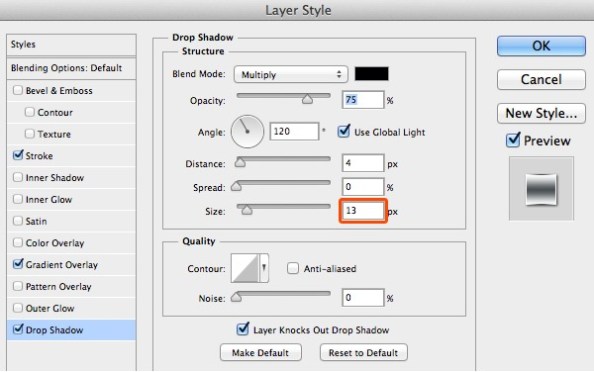
Open the Layer Style page and apply the following information to the Button layer.

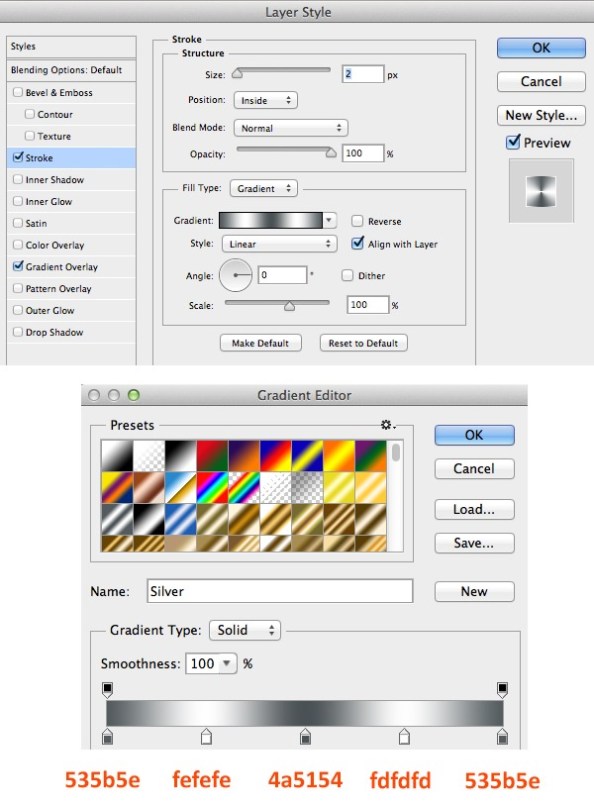
Apply the Stroke style to the Button layer.

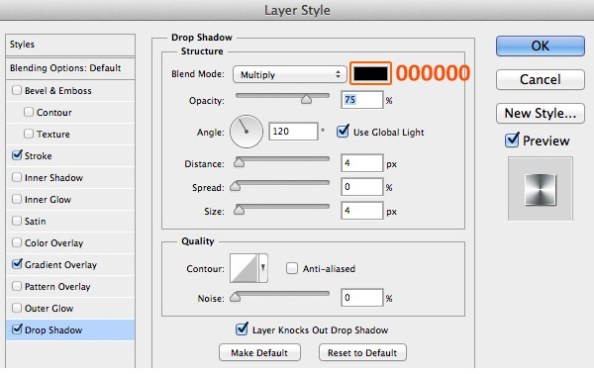
Apply the Drop Shadow style to the Button layer.

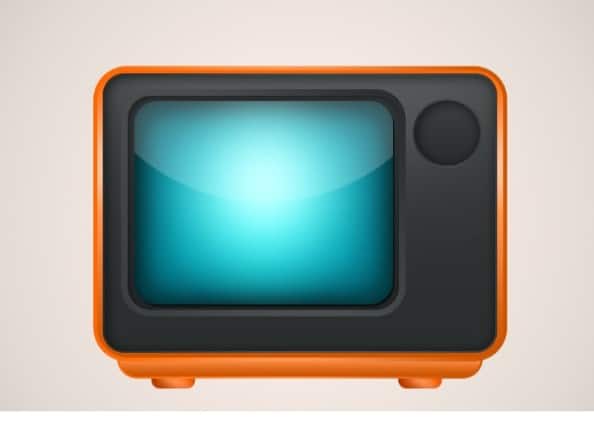
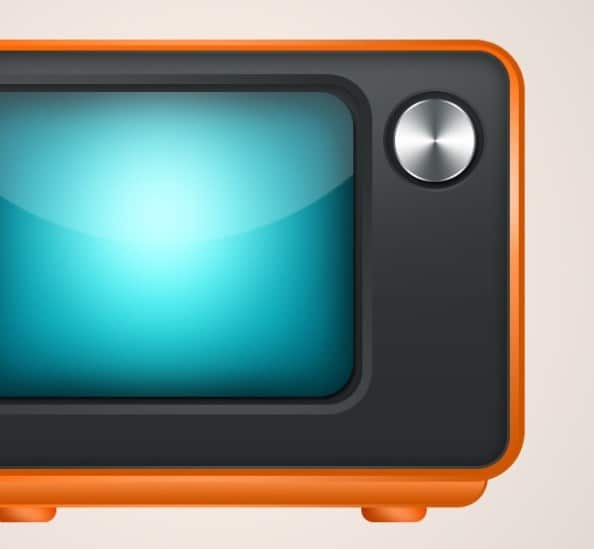
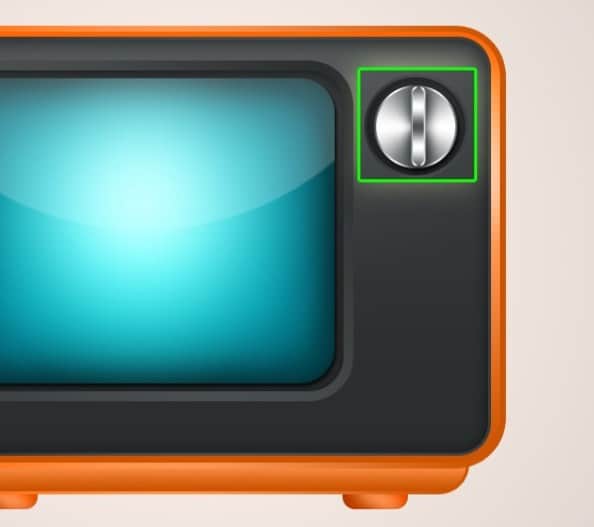
By now you should have created the following form:

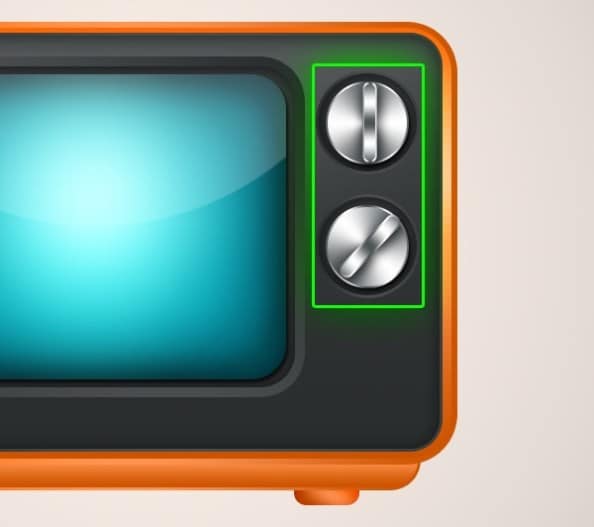
Use the Rounded rectangle tool (U shortcut key) to create a quadrilateral as shown below.

On the Layer Style page, enter the following information and apply the Stroke and Drop Shadow styles on that layer.

Here are the TV icon buttons:

Step 13
Take a duplicate of the Button layer and place it below the previous button as shown below. In this step, you need to change the values and Gradient Overlay style information as shown below.
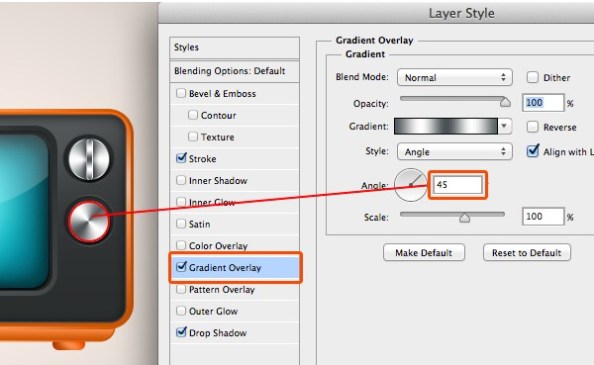

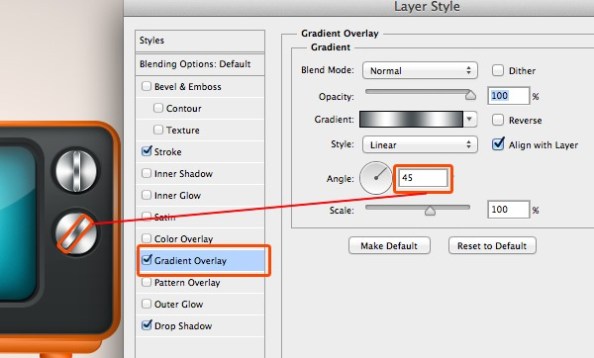

The second button was also created.
Step 14
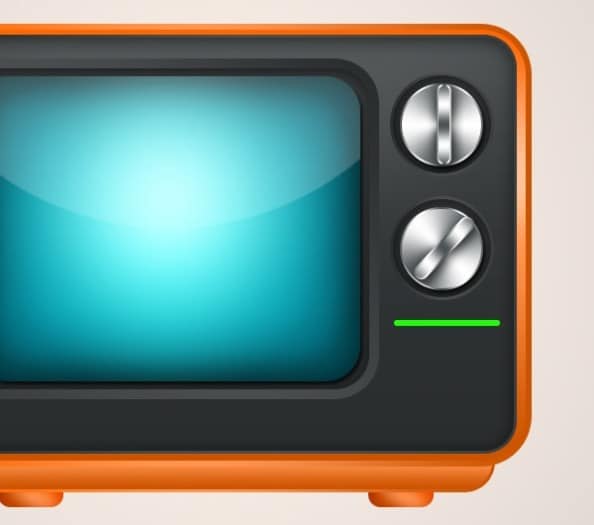
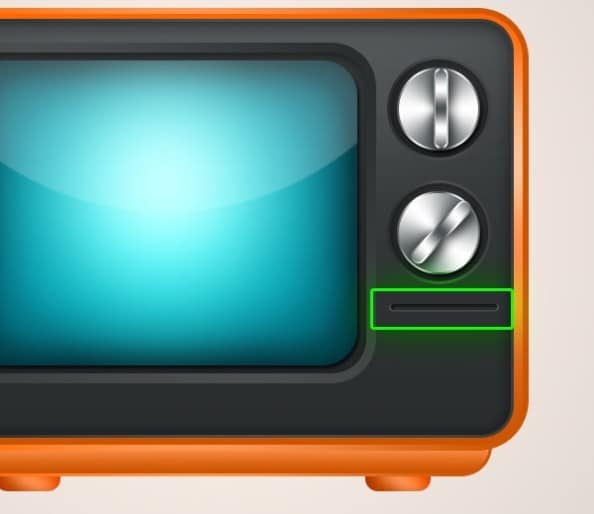
To create the shape of the TV speaker, you need to make a quadrilateral as shown below.

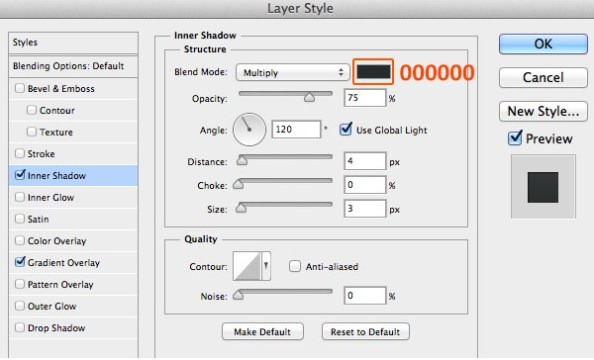
Open the Layer Style page layer and enter the following information.

Apply the Inner Shadow style to the Speaker layer.

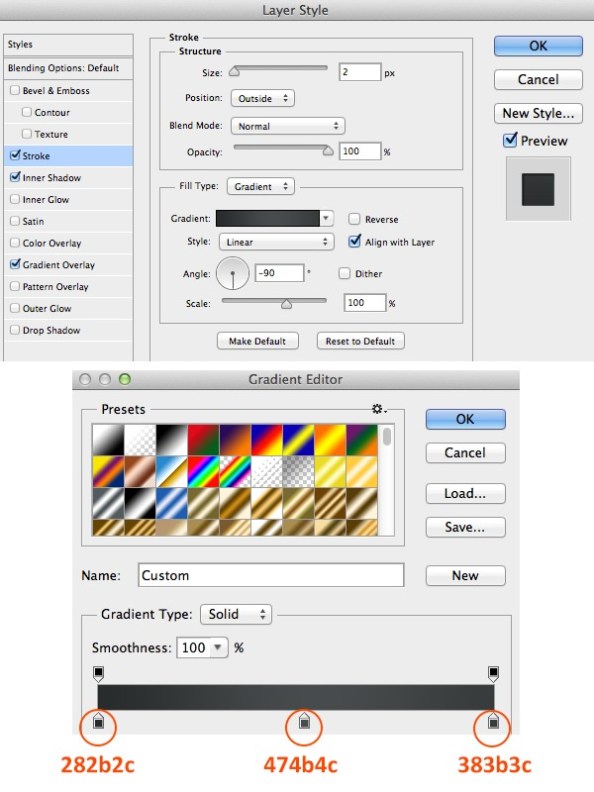
Also apply the Stroke style to the Speaker layer.

To create the following form:

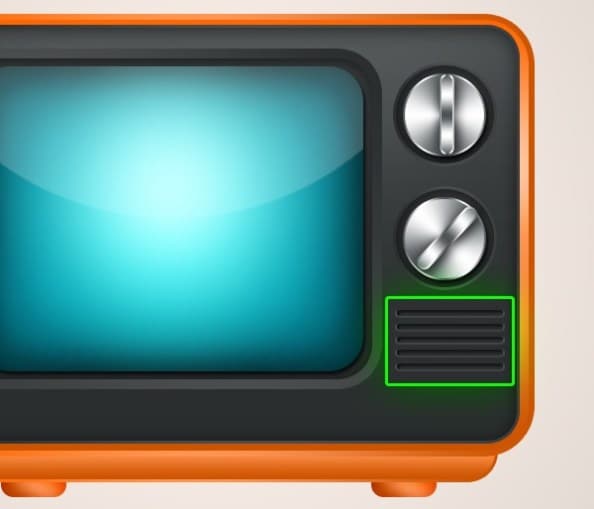
Now take a duplicate of the speaker layer and place it at the bottom of the first line as shown below.

Step 15
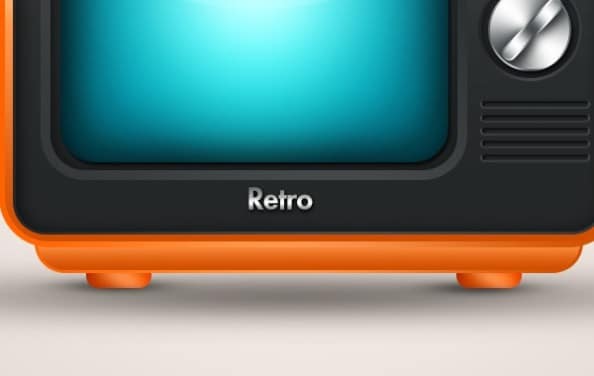
To metallize the TV brand, enter the following information on the Layer Style page.
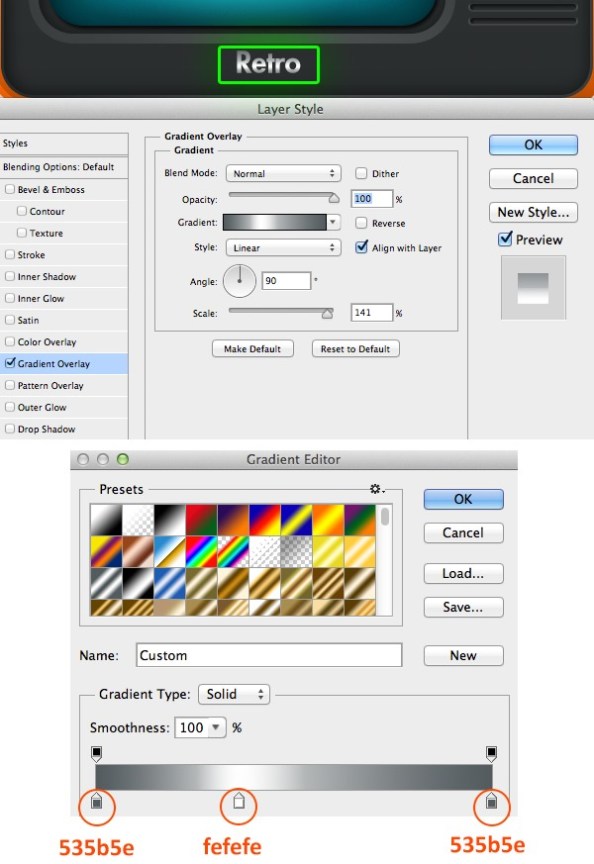

Apply Drop Shadow style on the TV brand layer.
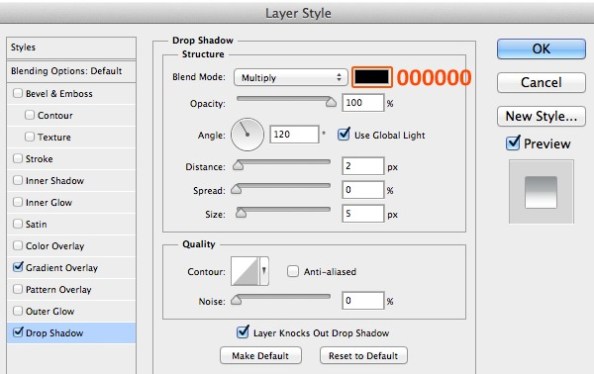
To create such a plan:

Step 16
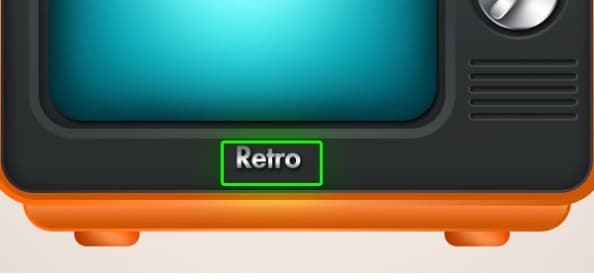
To create a TV antenna, use the Rounded rectangle tool (U shortcut key) to create a quadrilateral as shown below.
Then you can metallize the TV antenna just like its brand.

By now you should have created the following form:

Step 17
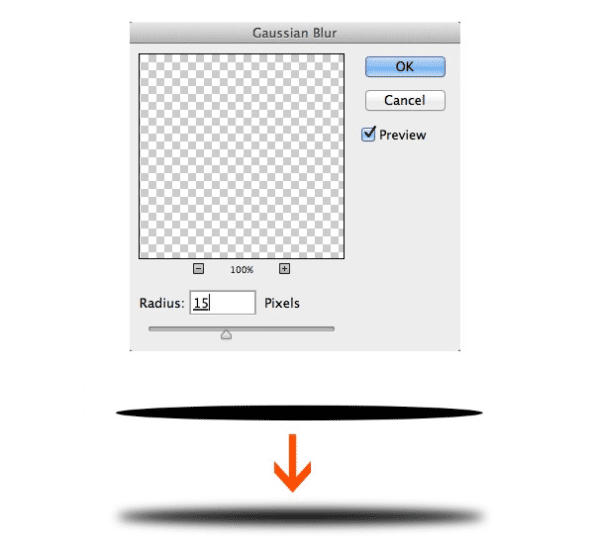
Create a layer called Shadow to create the shadow effect. Use the Ellipse tool (U shortcut key) to draw an oval and fill it with black. Then open the Gaussian Blur settings.

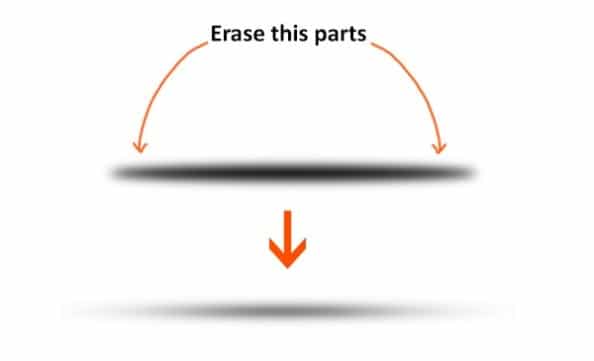
Now use the eraser tool (E shortcut key) to remove parts of the shadow to make it look more natural. Then set the Blending mode of the shadow to Multiply and its Opacity to 47%.

The TV shade should look like this:
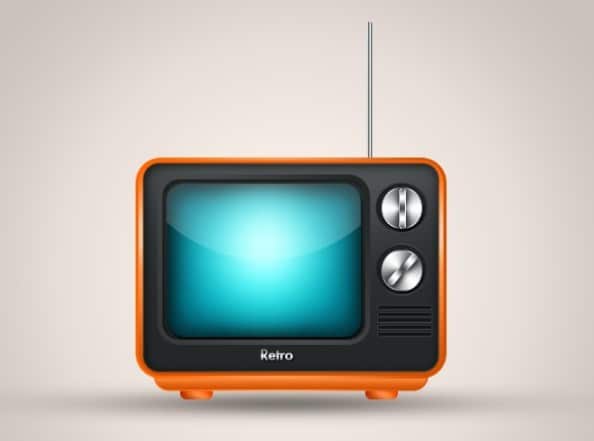
Take a duplicate of the shadow and reduce its size and place it on either side of the TV stand.

You could easily create a TV icon with the help of Photoshop.