


How to use wordpress text formatting !
The majority of your formatting options can be found in the Post Editor Toolbar. If you’ve ever used a word processing software such as Microsoft Word, most of these icons should look familiar.
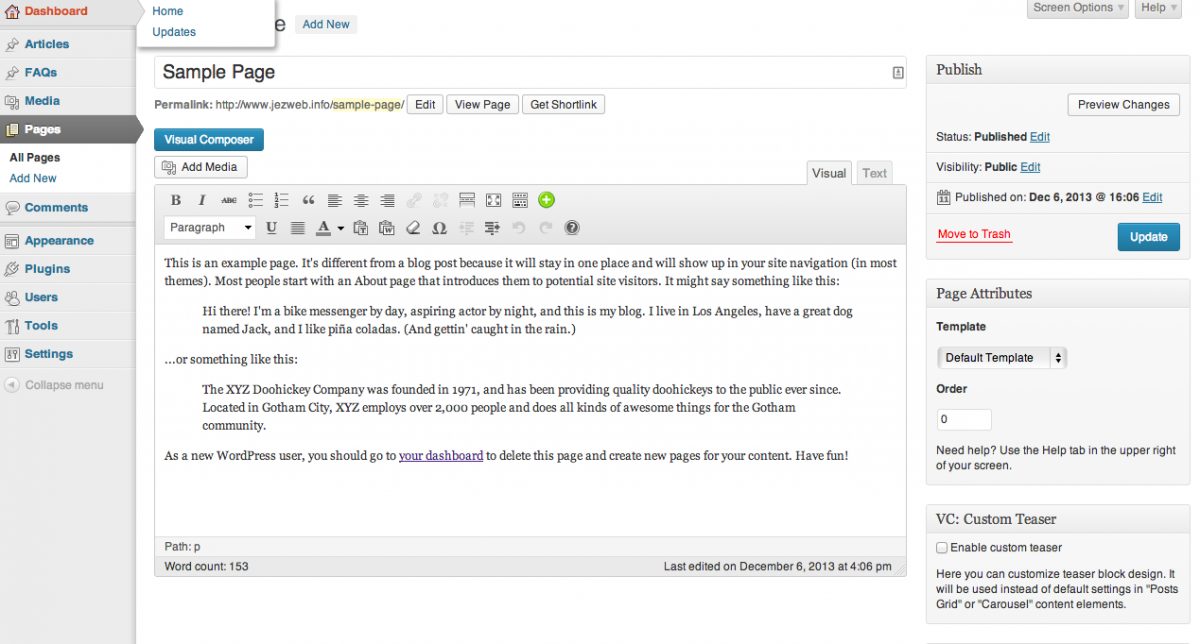
To get started formatting your WordPress posts, visit Posts > Add New or Post > All Posts and select the post you’d like to edit.
The formatting icons included in the WordPress post editor include:
- In the first row of the toolbar, we have options to bold, italicize or strikethrough text. To bold text, Just select the text you’d like to format and click the bold button. You’ll see this text is bold.
- The next two icons are for bulleted and numbered lists. If you’d like to add a list to a post, just select the text, then click that icon.
- The quotation mark icon is the block quote feature. By default, this will add an indentation and italicized style to your selected text. (Note: your WordPress theme controls how block quotes are styling on the front end of your site.)
- Also next are alignment options. You can choose to align left, center or align right.
- But next icon is the insert more tag. This will change how much text your blog page displays with a read more link.
- Also if you’d prefer to write your posts in distraction free mode, click this icon. This will take you to full-screen writing mode similar to using a Word processing software. To exit out of this mode, we’ll click “exit fullscreen.”
- Also if we click the Show/hide the kitchen sink, another line of formatting options will be revealed. Here you add heading styles to your text, underline text or set a full alignment.
- If you decide you’d like to change the color of you selected text, just use this icon to select the color.
- The next two icons are for pasting text — either as plain text or from Microsoft Word.
If you ever stick to using your formatting icons, you can simply hover over the icon to see the name and function.