


How to resize images and photos (in Windows and Android)
In this tutorial, we will teach you to step by step how to resize of several photos simultaneously in Windows 10 or 11 and Android without needing a particular program or software. This will change the size and reduce the file size of the images.
How to resize photos in Windows 10 and 11 without the need for a program
1- Right click on the Desktop. Then select New and then Folder.

2- Choose a name for your new folder (for example, call it Resized Photos). The folder’s name is not essential; you can name it whatever you want.
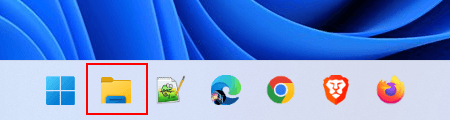
3- Open File Explorer or Windows Explorer.
4- Go to the location of the photos you want to resize.
5- Select the photos you want. You can do this in two ways. First, press Ctrl and A. In this way, all images are selected. The second method is to click on the first picture and press and hold the Shift key on the keyboard. Then click on the last photo to select all images.
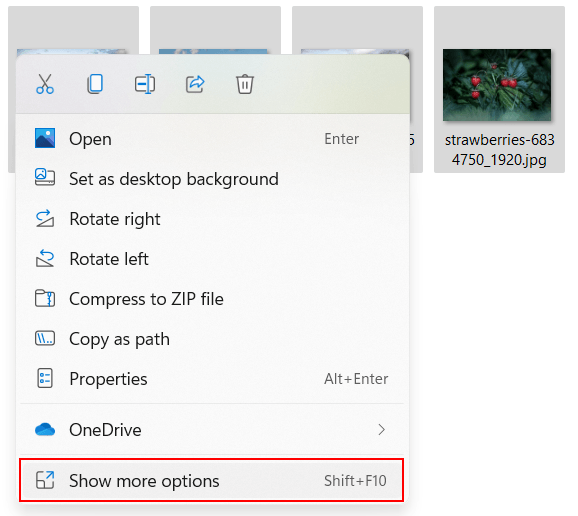
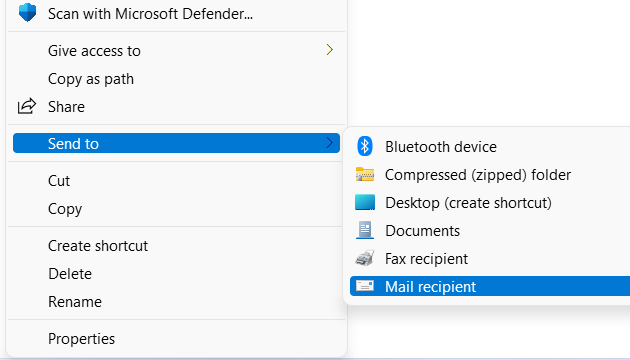
6- In Windows 11, right-click on the selected photos. Then select Show more options. Click Send to and then Mail recipient. In Windows 10, right-click on the chosen images. Then click Send to and then Mail recipient.
This will bring up the Attach Files window.
7- Now you have to choose the size of your desired photo from the drop-down menu; For example, 640 x 480, 800 x 600, 1024 x 768 or 1280 x 1024, etc.
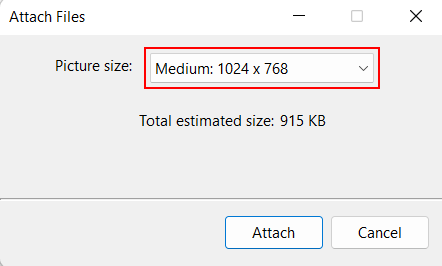
Tip: It doesn’t matter what size you consider for your photo; In any case, the aspect ratio will be correct. For example, if you choose a length of 800 x 600, your 1280 x 720 photo will still have the correct aspect ratio of 800 x 450. The aspect ratio shows the proportional relationship between the width and height of the photo.
8- Click on the Attach option.
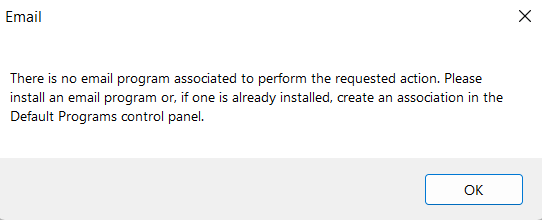
9- With this, Windows will open an email program such as Outlook or Thunderbird. Suppose you do not have an email program. In that case, you will encounter the message “There is no email program associated with performing the requested action,” which tells you that no email program is available to perform your requested action. If you encounter this message, there is nothing wrong because we do not need an email. Do not click OK, and do not close this message window.
10- Click on the Windows Start menu button.

11- Type %temp%.
12- Press the Enter button on your keyboard or click %temp% when it appears in the search results.
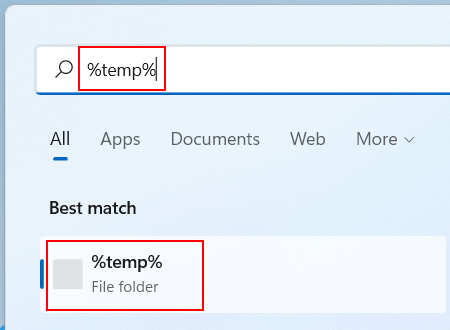
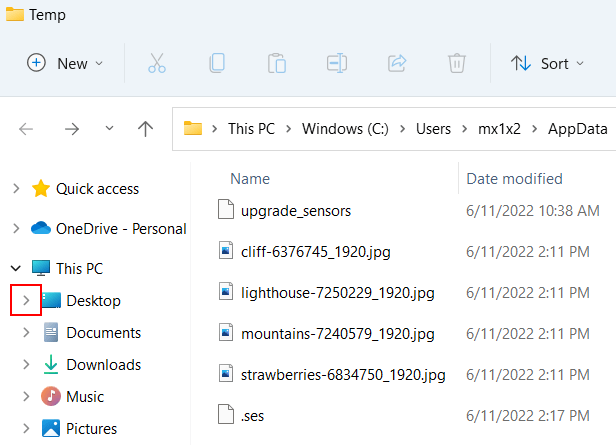
This will open the Windows Temp folder. This is where your resized photos are located.
Note: If the search does not work or the Temp folder does not open, follow the steps below:
- Open File Explorer or Windows Explorer.
- Open the C: drive.
- Click on Users.
- Open the folder with your username.
- Click the View option above.
- Select Hidden items.
- Open AppData.
- Open Local.
- Open the Temp folder.
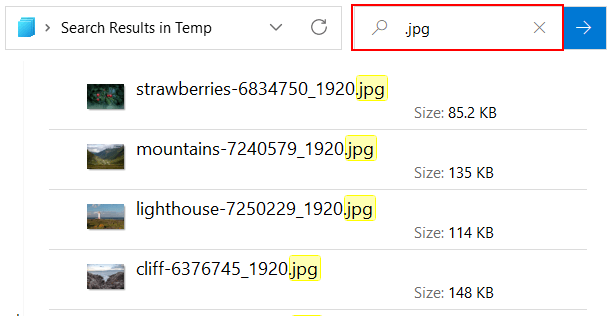
13- Click on the Type option at the top of the Temp folder. Doing this will make all your files sorted according to their type, and all the photos will be placed together.
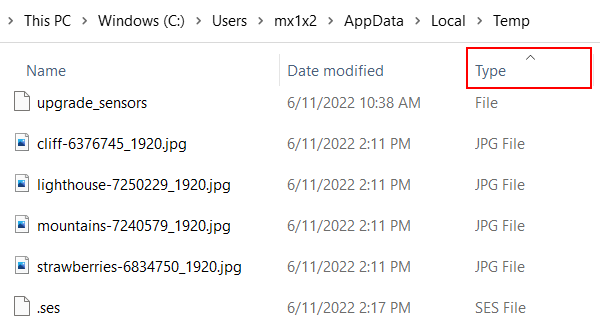
You can also type and search for the file extension of the photos (for example, .jpg, .png, .gif) in the search bar. This way, File Explorer will only display images with your chosen extension.
14- Click on the ❱ or ▷ sign next to Desktop to display the folder you created on the Desktop.
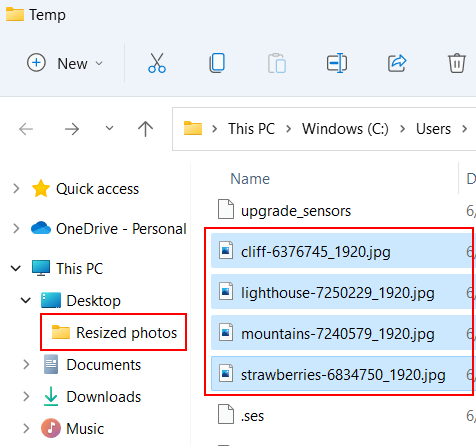
15- Drag the photos from the Temp folder to this new folder or copy and paste them.
How to resize photos in Windows 10 and 11 using PowerToys software
Microsoft PowerToys provides powerful and valuable tools that help you have a more enjoyable and comfortable experience working with Windows 10 or 11. Here we use the PowerToys Image Resizer tool to resize photos in bulk.
The first step is to download and install PowerToys Image Resizer.
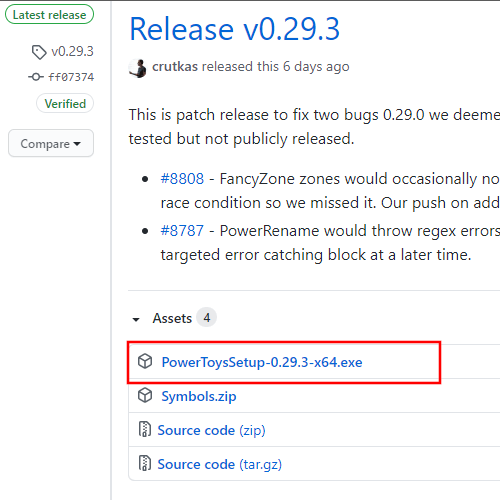
After downloading and installing the program, follow the steps below:
1- Open File Explorer or Windows Explorer.
2- Go to the location of the buttons where you want to change their size.
3- Select photos.
4- Right click on the selected photos and then click on Resize pictures.
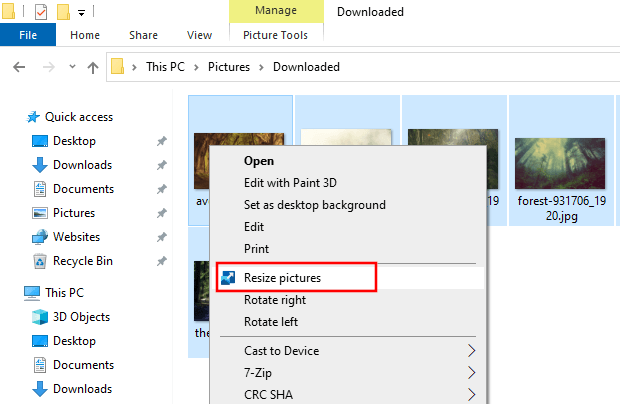
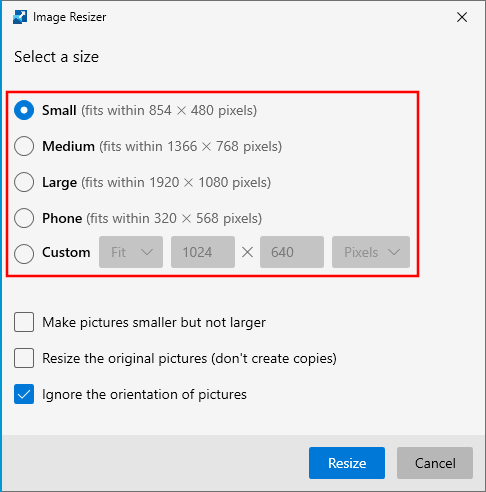
This will open the Image Resizer window.
5- Choose other photos from the list that appears or enter the desired size yourself.
Tip: It doesn’t matter what size you choose for your photo; In any case, the picture’s aspect ratio will be correct. For example, if you select a height of 800 x 600, your 1280 x 720 photo will still have the correct aspect ratio of 800 x 450. The aspect ratio shows the proportional relationship between the width and height of the photo.
6- Click on the Resize option.
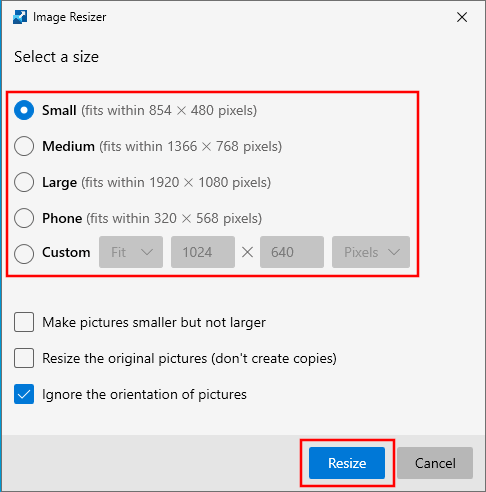
In this way, Microsoft PowerToys Image Resizer changes the size of your photos. The resized photos are saved in the same folder as the original photos.
How to change the size of a group of photos on Android using the Photo Editor program
1- Download the Photo Editor application from Google Play Store. (or from here)
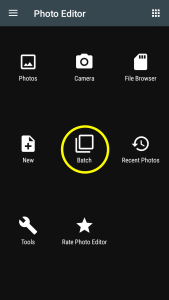
2- After downloading and installing, open the program and tap on “Batch” from the main window.
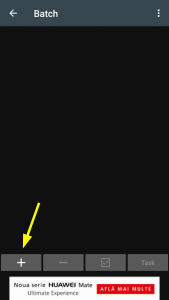
3- On the next page, tap on “+.” This will gray out the other options until you’ve added a few photos to the list.
4- To add photos to the program, use the file browser shown to you. Go to the folder where the images you want are located and select them. Photo Editor can open photos in JPEG, PNG, BMP, GIF, and WebP formats. To select photos, tap on any image you want or use the “select all” option.
In addition, if you tap on the settings icon, you can sort the photos by name, date, size, top to bottom, or bottom to top. You can also view your photos as thumbnails or a list of reduced photos.
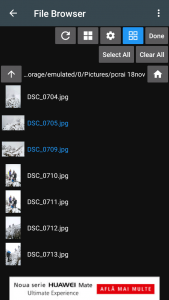
After selecting the photos, tap on the “Done” option.
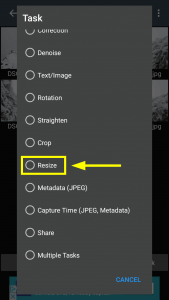
5- Now tap on the “Task” option (which was gray before). With this, you will be shown a list of tasks the Photo Editor can do on multiple photos simultaneously.
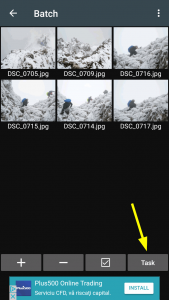
6- Scroll down and select the “Resize” option.
7- You can customize the photo resizing process on the next page. You can change the width and height of the image or increase its scale while maintaining the aspect ratio. In addition, at this stage, you choose the folder in which the photos will be saved and apply the format you want for the output result.
At this stage, exciting and advanced options are available to you. For example, you can change the DPI or the exact resolution or not touch it and even change the metadata. One of the excellent features of the program is to select all metadata fields except those already filled. Photo Editor is an all-in-one and multi-tasking program!
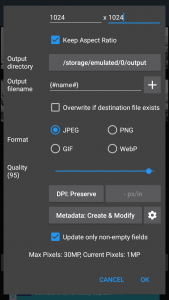
Click OK when you have applied all the settings you want. Then a box will appear telling you it will take a long time to resize a group of photos. Click START to start the resizing process.
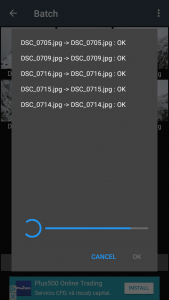
8- That’s it! It was done so quickly. Now you have to wait until the photo resizing process is complete.
We hope this guide was helpful to you, and from now on, you can easily change the size of your photos.