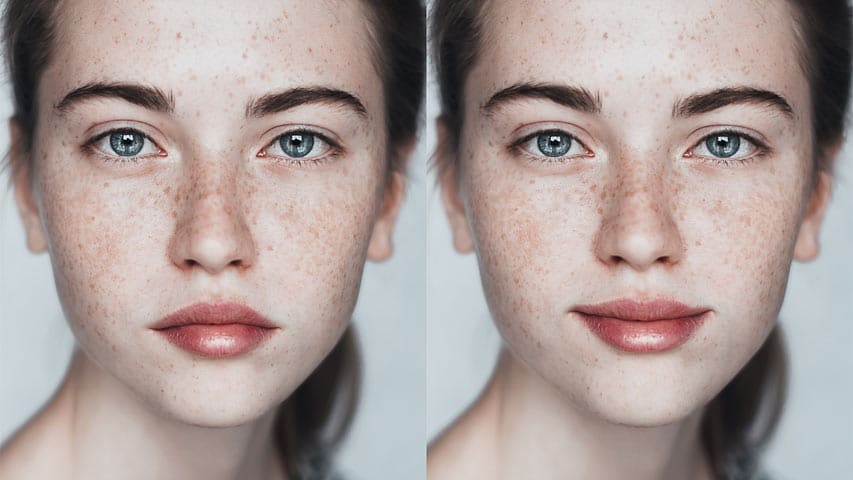
With Photoshop’s Face Aware Liquify filter, you can easily make a person’s face smile. With the help of this filter, in addition to adding a smile to a person’s face, you can change the shape of the cheeks, eyes and تا to make the person’s smile look more natural.
Do not forget that to use this filter, you must have the latest Photoshop CC update. Join us to learn the easiest way to add a smile to a person’s face.
Before:


Next:


Step 1: Turn the background layer into a smart object
You can see the background layer in the Layers panel:
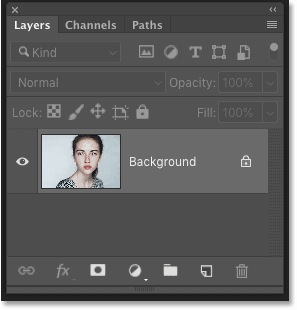

The easiest way to add a Liquify filter to a photo is to turn the background layer into a smart object. To do this, click on the menu icon at the top right of the Layers panel:
![]()

In the menu that opens, select Convert to Smart Object:
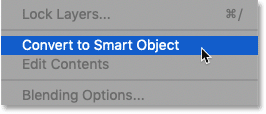

This will bring up the Smart Object icon next to the background image:
![]()

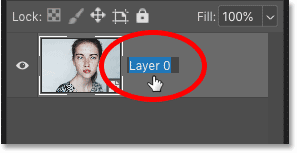
Step 2: Rename the background layer
As the background layer becomes a smart object, its name changes from Background to Layer0. It is best to choose a meaningful and relevant name for the background layer at the very beginning. To change the name of the background layer, double-click on that layer:

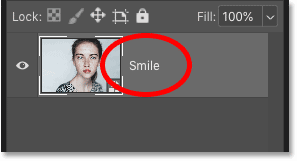
Then rename it to Smile and then click Enter (on Windows) / Return (on Mac):

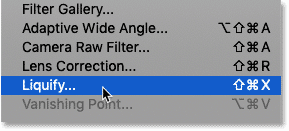
Step 3: Select the Liquify filter
Follow Filter> Liquify:

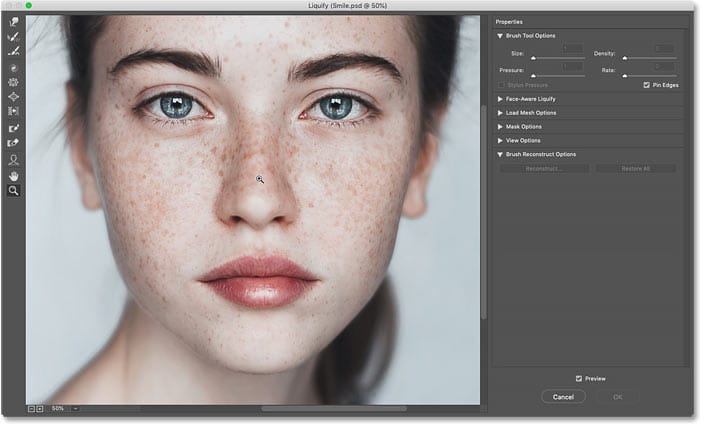
This will open the Liquify filter page:
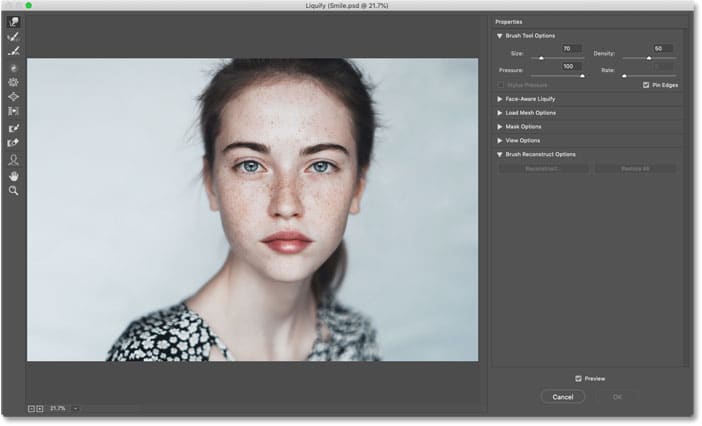

Step 4: Zoom in on the subject’s face
On the left side of the toolbar, select the Zoom tool:


Now if you click on the subject a few times, the subject’s face will be zoomed in:

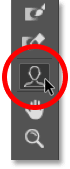
Step 5: Select the Face tool
This tool is used to add a smile and is only available in Photoshop CC:

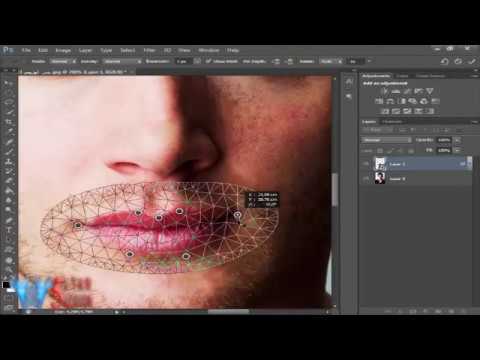
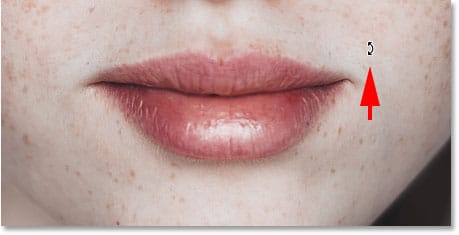
Step 6: Pull the corner of the lip upwards
After selecting the face tool, drag the corners of the lips upwards:
![]()

To do this, click on the image once and then drag the icon shown in the figure above:

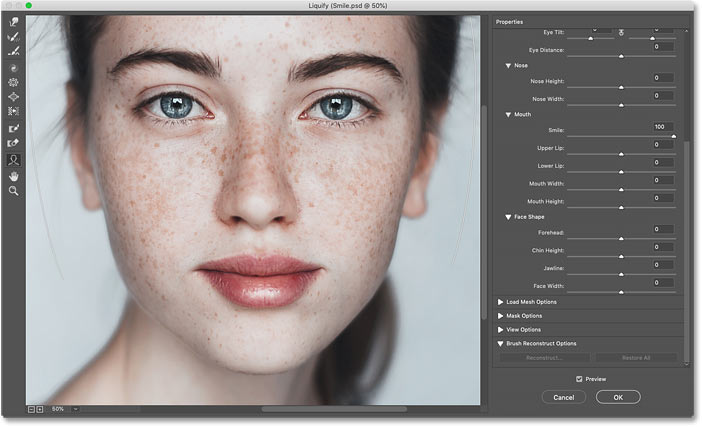
Another way to add a smile to a person’s face is to use the Smile Slider option on the right side of the screen. Increasing the Smile number makes the person smile:


Now, if you look at the person’s face, you will notice that the person’s face is warm and smiling:

Compare before and after photos
To compare the photo before and after editing, you can click on the Preview option:
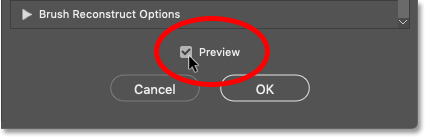

Here are the photos before and after:
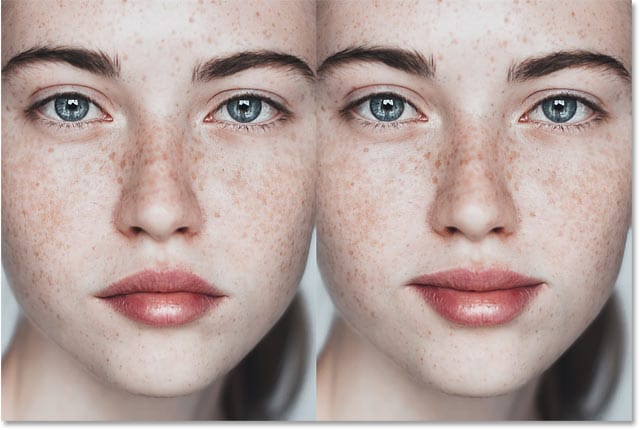

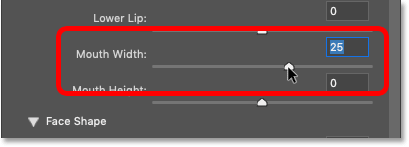
Step 7: Widen your smile
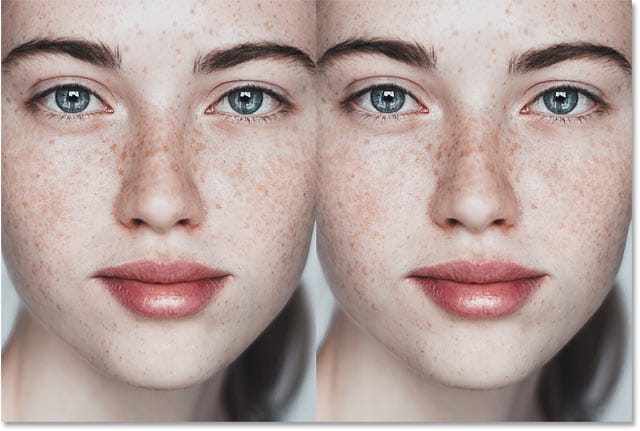
To widen the smile, you can increase the Mouth Width option number (for example, 25). Be careful that the person’s smile does not go out of its normal state:

Take another look at the before and after photos to better understand the difference:

Step 8: Highlight the lips
To highlight the lips, you can change the number of options Upper lip (Lower lip) and Lower Lip (lower lip):
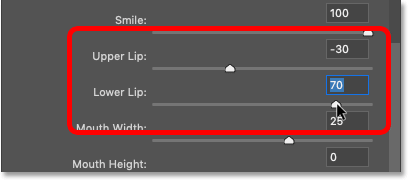

Now if you look at the before and after photo, you will notice that by changing the values above, the right lip is more prominent than the left lip:

Step 9: Pull the cheeks up
When smiling, in addition to raising the corners of the lips, the cheeks are also pulled up. To raise a species, you must first click on the species:
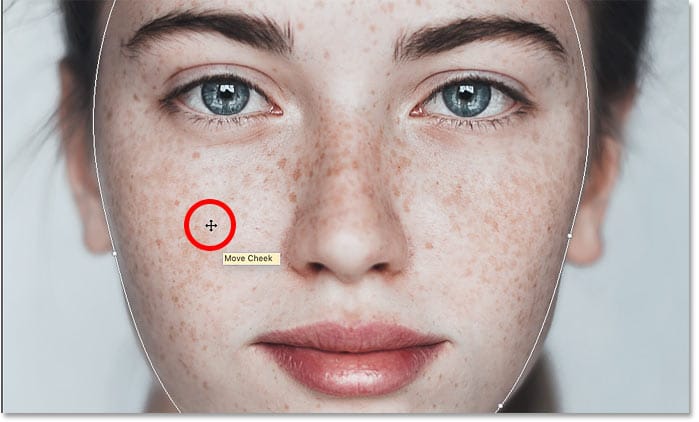

Then slowly pull the cheeks up. Make sure that the natural state of the person’s face is not lost:


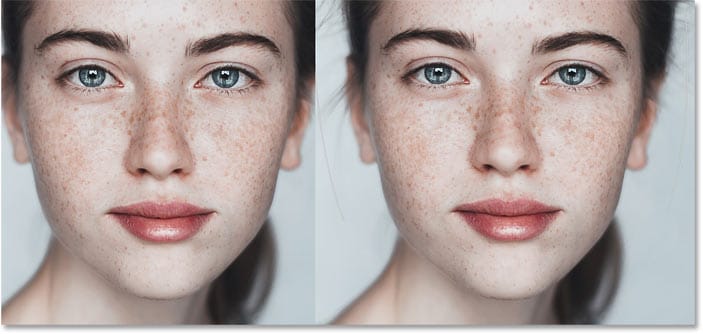
Photo before and after lifting the cheeks:

Step 10: Pull the eyes down
Eyes may also be raised as the cheeks are raised. To lower the eyes, you must first click on one of the eyes:
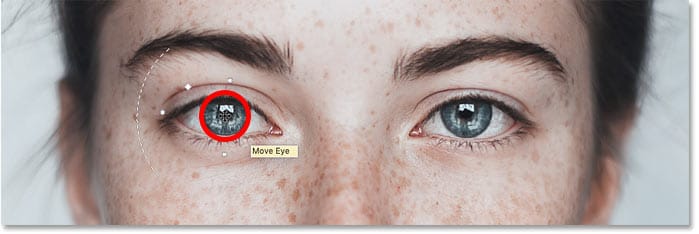

Then pull the eyes down slowly, preserving the natural state of the person’s face:
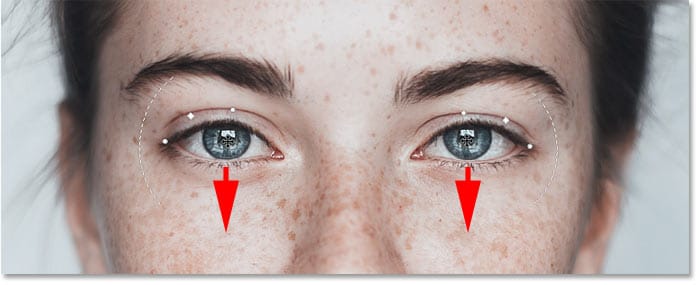

Photo before and after lowering the eyes:

Step 11: Select the Forward Warp tool
Another way to raise the corners of the lips is to use the Forward Warp tool with the toolbar:


Step 12: Pull the corners of the lip upwards
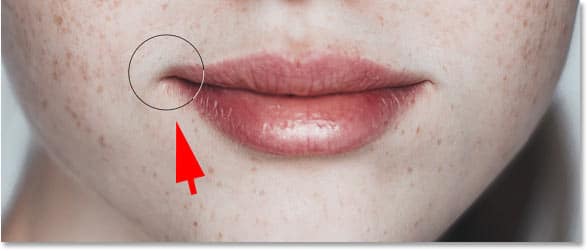
Now use the Forward Warp tool to pull the corners of the lips up. Use ( [ ) to shrink the brush and ( ] ) to zoom in:
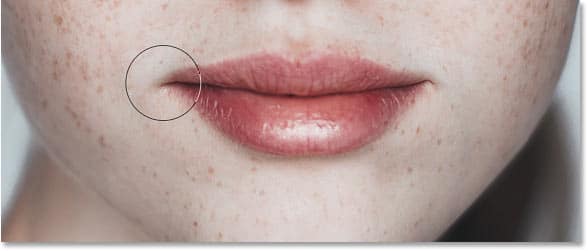

Click on the left corner of the lip and pull it up:
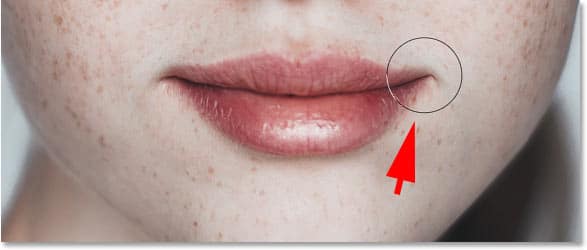
Click on the right corner of the lip and pull it up:

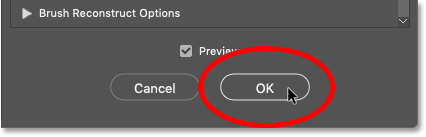
Step 13: Click Ok
Finally, if you are satisfied with the result, click OK to apply the changes to the photo:

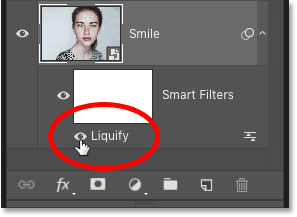
Finally, in the Layers panel, disable the Liquify filter by clicking on the eye icon:

You can easily make a person smile with the help of Photoshop: